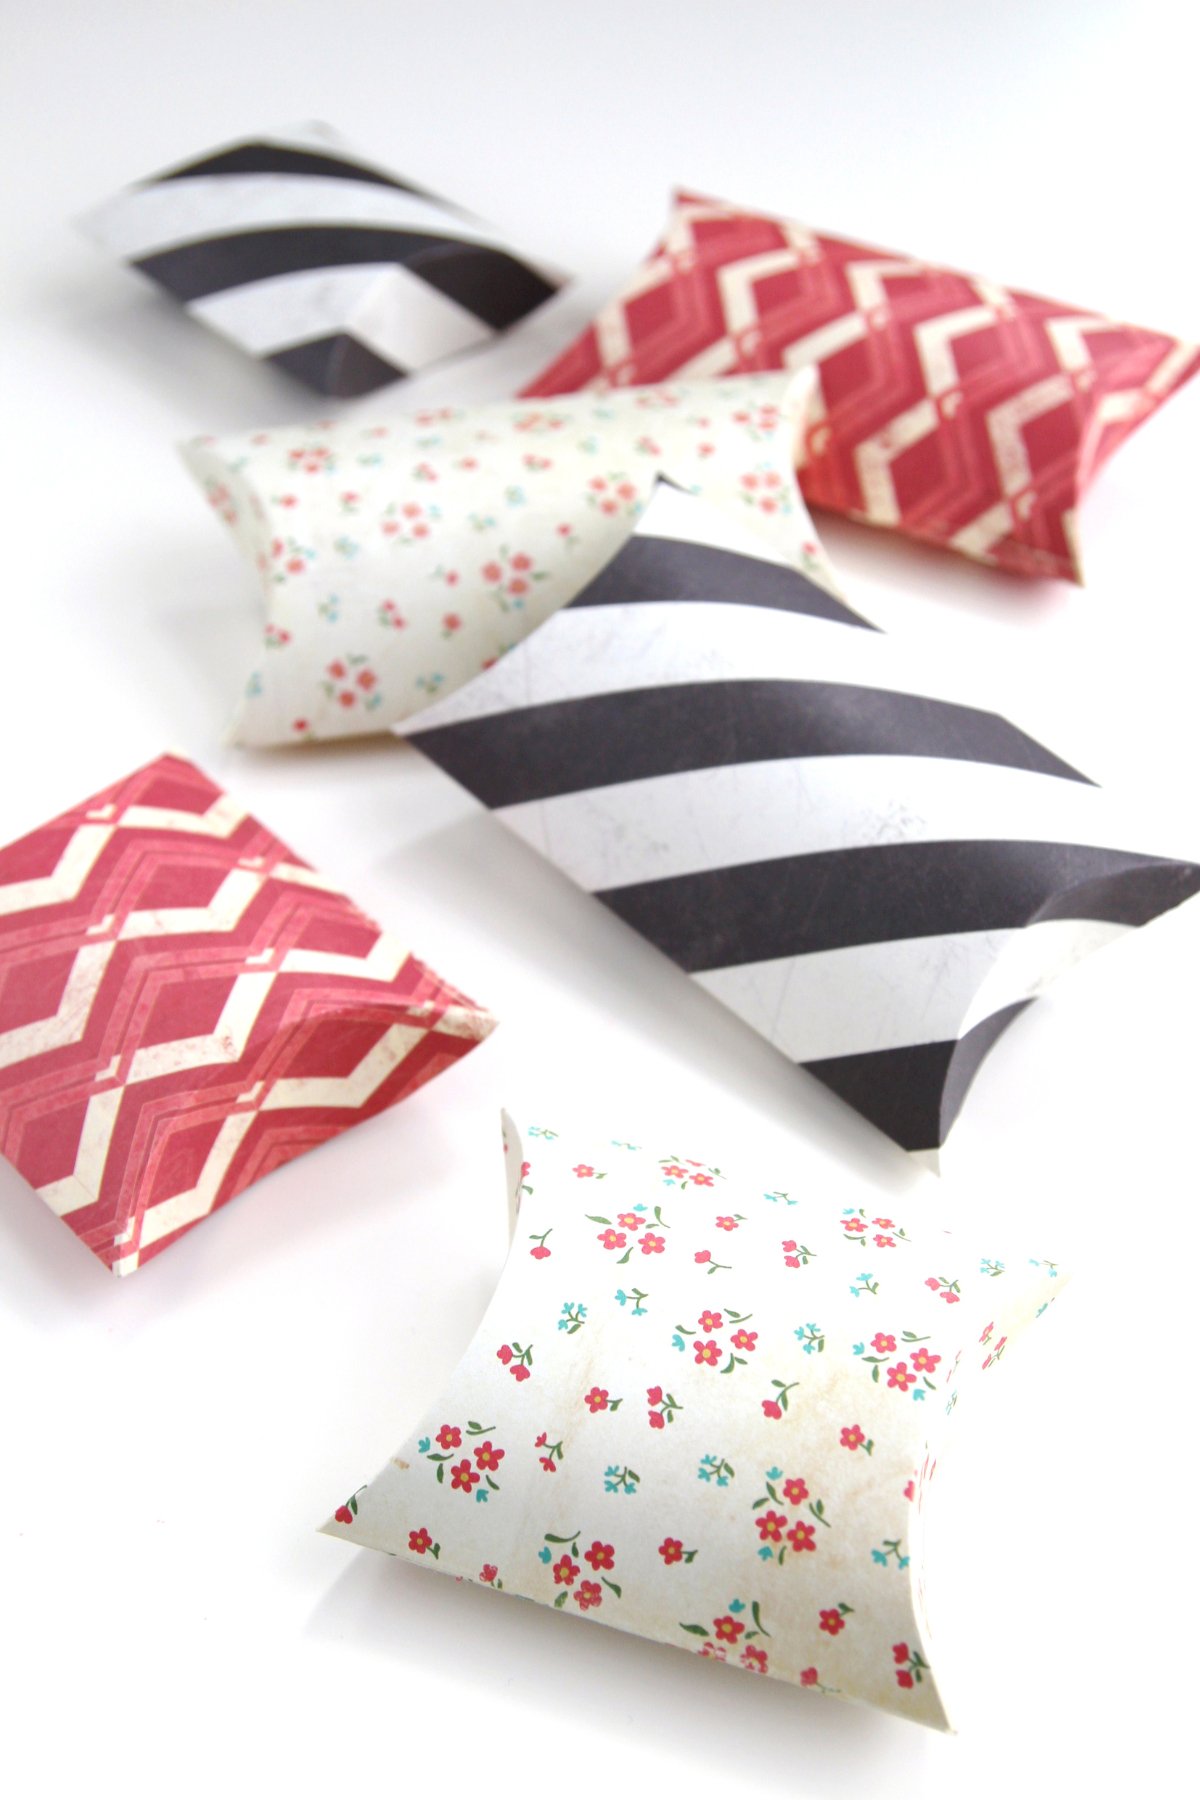
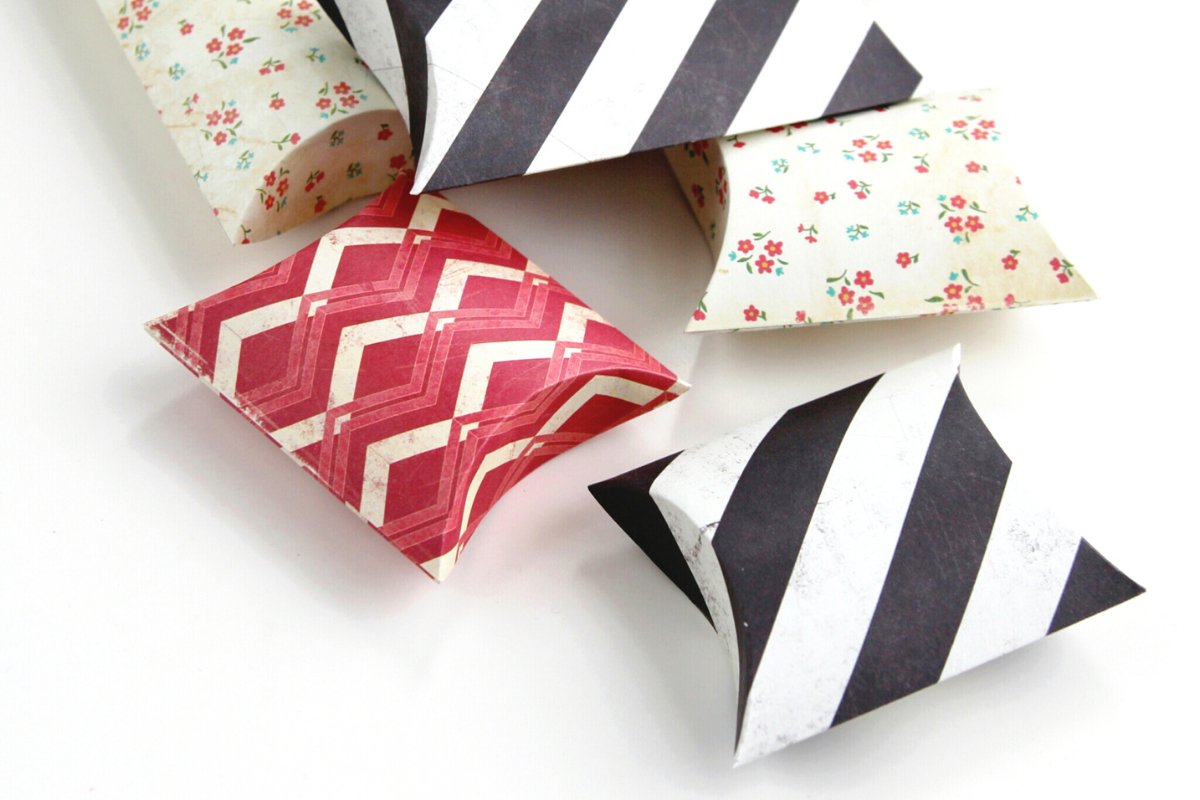
How To Make DIY Pillow Boxes
/Add some handmade charm to your party favours with DIY Pillow Boxes! They're not only cute but also super easy to make.
You can personalise them with your favourite colours, patterns and embellishments. Perfect for birthdays, holidays or any special occasion.

This page contains affiliate links. This means that if you make a purchase after clicking a link I earn a small commission but it doesn’t cost you a penny extra!
DIY Pillow Box.
Get ready to elevate your gift-giving game with this simple DIY Pillow Gift Box tutorial! In just a few easy steps, you'll learn how to create a charming box that can hold tiny gifts like jewellery, chocolates or candy.
These adorable little boxes are not only great for gift-giving, but they also make fantastic party favours or unique storage solutions.
And the best part? We’ll be making both square and rectangle pillow boxes without a template!
Small Pillow Boxes Out Of Paper.
I like to use lightweight cardstock or scrapbook paper to make small boxes. It comes in such a wide variety of beautiful designs and vibrant colours that it always adds bags of charm to any DIY gift box.
Remember, you can experiment with different sizes and designs for your pillow boxes. Mix and match papers, add some sparkle or incorporate personalised touches to make each box unique.

Supplies:
Scrapbook paper (I used Crate Paper Diy Shop that is sadly no longer available),
A scoreboard,
A bone folder or an embossing tool,
A pencil
And an old cd or bowl.
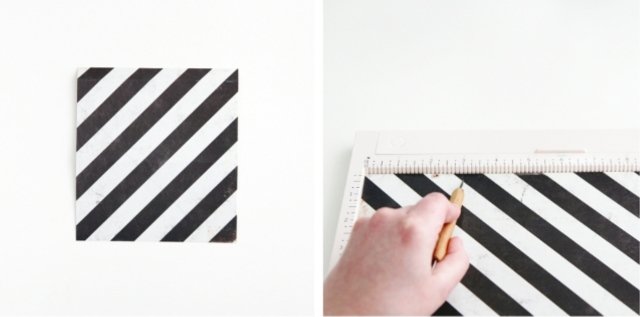
How To Make A Pillow Box Without A Template (rectangular pillow box that measures 3 x 5 inches when finished).
1. Trim your chosen paper to 6 x 6.5 inches.
2. On the side measuring 6.5 inches long score lines at the 3 and 6-inch mark using either a scoring board or an embossing tool and a steel ruler
You should have a flap on the end of the paper that measures 1/2 inch.

3. Fold and crease along the scored lines tucking in the 1/2-inch flap.
4. Take something round, I used a cd but you could use a glass or bowl and line it up with the edge of the paper. Draw around it with a pencil. Do the same on the other end and cut along your traced lines with a pair of scissors.

5. Open your paper back out and trim off the pointy ends of the 1/2-inch flap.

7. Fold your paper back up. Take your cd and line it up facing the other way.
You want to make an eye shape. The edge of the cd needs to touch both corners of the paper you've just cut.
8. Hold the cd firmly, you don't want it to slip and use your embossing tool to score around the cd. Do this on both ends.
If you press firmly enough you should be able to score straight through to the other side of the paper.
You may want to put a cutting mat or some scrap paper underneath to protect your work surface
If you don't score all the way through flip your paper over and repeat on the other side.
9. Open your paper out and apply a strip of double-sided tape to the flap. Stick the flap down to make a tube.

10. Gently press and fold in your scored eye shapes at each end of your pillow box.

11. Leave plain or decorate with ribbon or a tag.
To make the smaller square pillow box (3 x 3.5 inches) use a piece of paper measuring 4.5 x 6.5 inches and score lines at 3 and 6 inches on the longer side.