DIY (SORT OF) GRANNY STITCH CROCHET HAT.
/ GRANNY STITCH CROCHET HAT")
Ok, so I wasn't entirely sure what to call this post. This hat is one of those projects that didn't go entirely to plan. Originally it was supposed to look like this, a slouchy beanie made using a v-stitch but somewhere along the way it turned into a sort of granny stitch stripe crocheted hat instead.
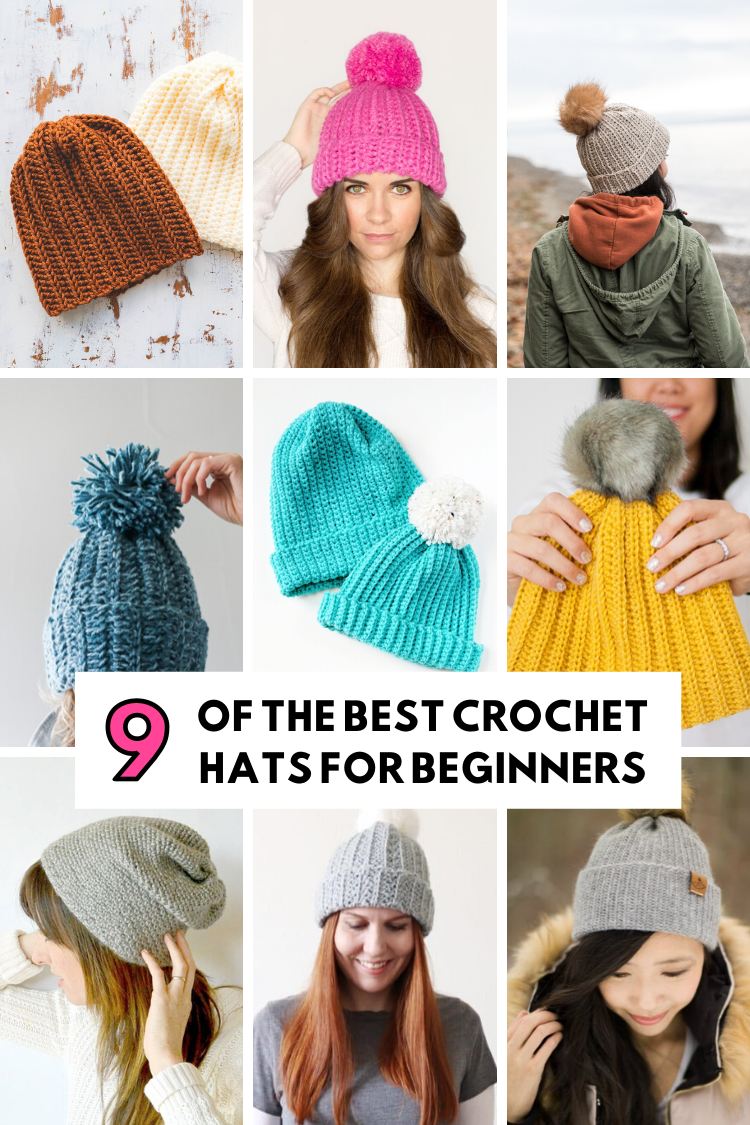
Late 2015 I made my 1st crochet project, a simple ribbed crochet hat by crocheting a rectangle and stitching it together. I've made a few more crochet projects since then so I wanted to try something a bit more complicated. The free v-stitch hat pattern seemed easy enough but somehow I ended up crocheting in the space between each cluster of treble crochets rather than the space between the individual treble crochets. I'd already crocheted several rows before I realised what I'd done and by that stage I loved the way it looked so much that I decided to call it a happy accident and carry on.
As this was a bit of an improvisation there isn't a pattern as such but if you want to re-create this hat for yourself here's how I made it.
 GRANNY STITCH CROCHET HAT")
The following is in U.K. crocheting terms. For U.S. terms you can use this conversion chart.
To make the ribbed band I chained 10 and then double crocheted in the 2nd chain from the hook. I chained 1, turned and then double crocheted in the back loops only to create a stretchy ribbed effect. You can see a close up of how to do this in this post.
I carried on double crocheting in the back loops until I had 80 rows. You can wrap the band around your head to see if it fits. You may need to make it smaller or larger depending on the wool. If you do need to make it larger you need to add rows in multiples of 4 for the pattern to work.
I joined the band together using another row of double crochet. This is a good post from Cherry Heart Crochet and how I learnt if you're not sure how to do this.
 GRANNY STITCH CROCHET HAT")
After watching some youtube videos showing hats being crocheted from the base up I decided to work a row of double crochet. You don't have to do this. I've seen quite a few people crochet straight into the band but I found this made the tricky 1st row easier, I crocheted into each side of the raised rib effect to make the 80 stitches.
For the 1st row of granny stitch I chained 3, this counts at the first treble crochet and then treble crocheted in the same stitch (if you want you can do a traditional granny stitch and do 3 treble crochets in the same stitch). I skipped 2 stitches and did 2 more treble crochets in the next stitch and repeated this all the way around. I made another 10 rows in the same way before I started decreasing. To join the round slip stitch in the top of your chain 3.
 GRANNY STITCH CROCHET HAT")
To give the hat some shape I did a bit more improvising and decreased the next 9 rows. Instead of making 2 treble crochets in each cluster I alternated by doing 1 double crochets, skipping 2 stitches and then doing 2 double crochets. If any crocheters out there can recommend a better way of doing this please share in the comments below. I had a google but wasn't sure how else to do it without a bit more improvisation.
Fasten off the last row and leave a long tail. Use this tail to weave back through the last row of stitches and pull to close the top of the hat. There was still a small hole at the crown so I added a few more stitches to close it up.
 GRANNY STITCH CROCHET HAT")
To finish the hat I made a large pom pom using the remaining wool and attached it to the top of the hat.
 GRANNY STITCH CROCHET HAT")
And there you have it. A warm, chunky, hat, perfect for the cold weather we've been promised this weekend. Three cheers for happy accidents.
 GRANNY STITCH CROCHET HAT")
 GRANNY STITCH CROCHET HAT")