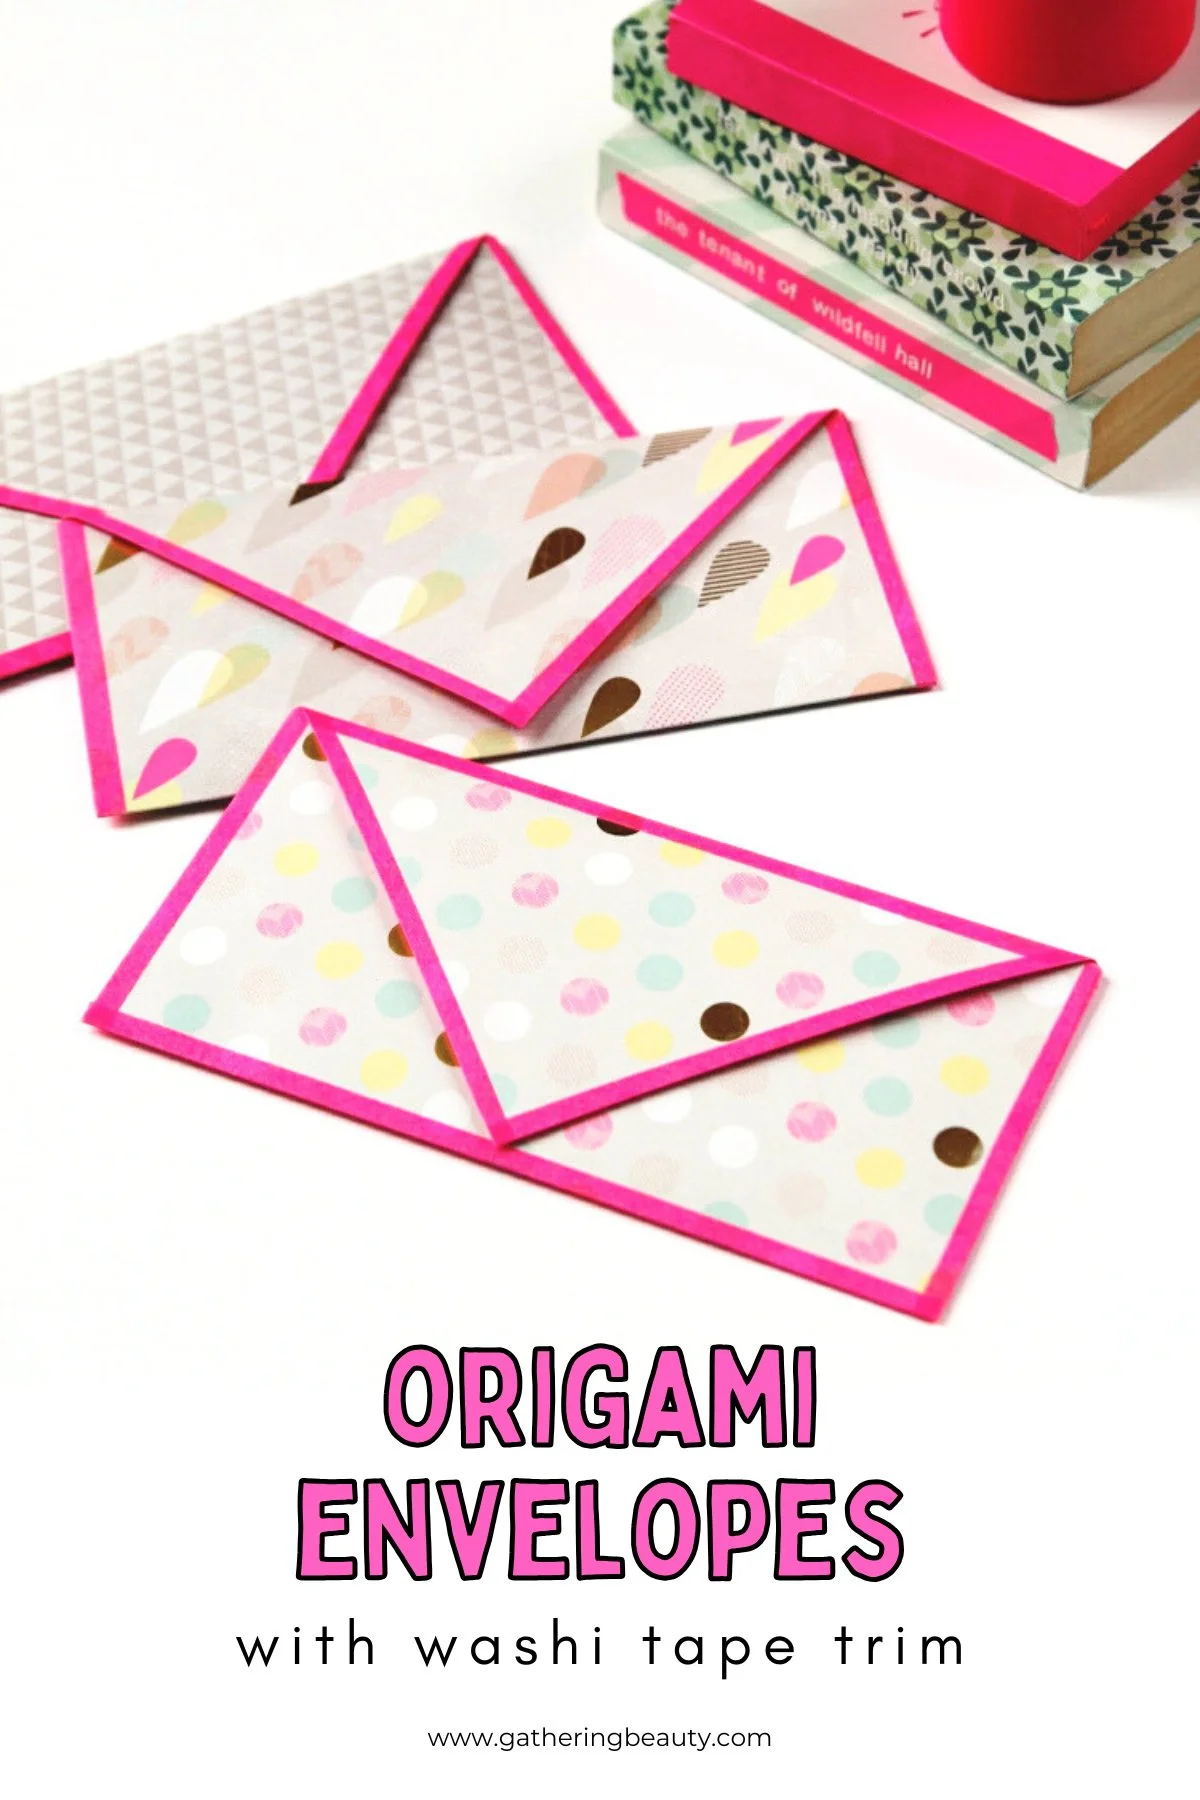
How To Fold An Envelope Out Of Paper (With Washi Tape Edge)
/Get ready to fold, tape, and create a DIY Envelope in minutes with our step-by-step guide using scrapbook paper and washi tape.
Whether it's for a special occasion or just because these handmade envelopes are sure to impress. Your snail mail will never be the same again!
This page contains affiliate links. This means that if you make a purchase after clicking a link I earn a small commission but it doesn’t cost you a penny extra!
How To Make An Envelope.
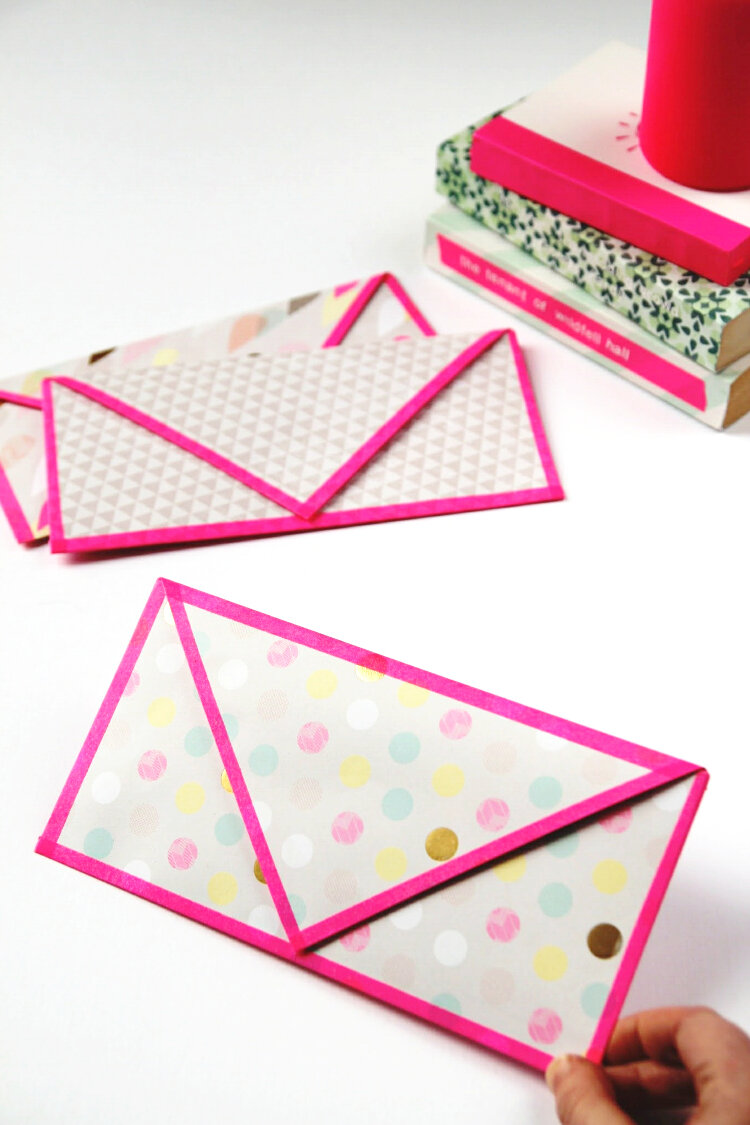
Today, I'm going to show you a super fun and easy way to fold an envelope and give it a cute washi tape edge.
These DIY envelopes are made using a folded piece of square paper. Perfect for using up those leftover paper scraps.
Use them to send snail mail, store photos, ephemera or as an embellishment on scrapbook layouts.

Washi Tape Envelope DIY.
I've made quite a few DIY envelopes in the past but I don't think any of them have been as easy as these. Apart from my Free Printable Envelope Template ones anyway.
I used a piece of 12x12-inch piece of scrapbook paper to make mine. But feel free to experiment with different paper sizes, patterns, and tape designs to make each envelope uniquely yours.
It’s is a fantastic way to add a touch of personality to your letters, invitations, or even handmade cards.

Supplies:
A bone folder or ruler,
And a pair of scissors.

How To Fold An Envelope.
1. Fold your square in half along both diagonals but make sure not to crease your paper all the way along.
You just want to press down and crease your paper in the middle.

2. Open your paper out. The folds should have made a small 'X' in the centre of the paper.

3. Using the 'X' as a guide fold 3 of the corners in to meet in the middle.
Your paper should now look like a small house with a triangle roof on top.
4. Take the bottom of the paper and fold it in half to meet the bottom of the triangle.

5. Now is a good time to run a bone folder or the flat side of a ruler over the creases to make the folds nice and crisp.
6. Fold the top triangle down to make the final flap.

7. Trim the edges of your envelope in your chosen washi tape.
8. Stick down the 2 sides to seal your envelope.
I found it gave a much neater finish to trim the inside of the closing flap first and then stick the sides down afterwards to finish.
9. Place your letter, invitation, or card inside and fold down the top flap. You can secure it with a small piece of washi tape or use a sticker for an extra decorative touch.
And that's it. A quick 10-minute paper craft to kick off the week.