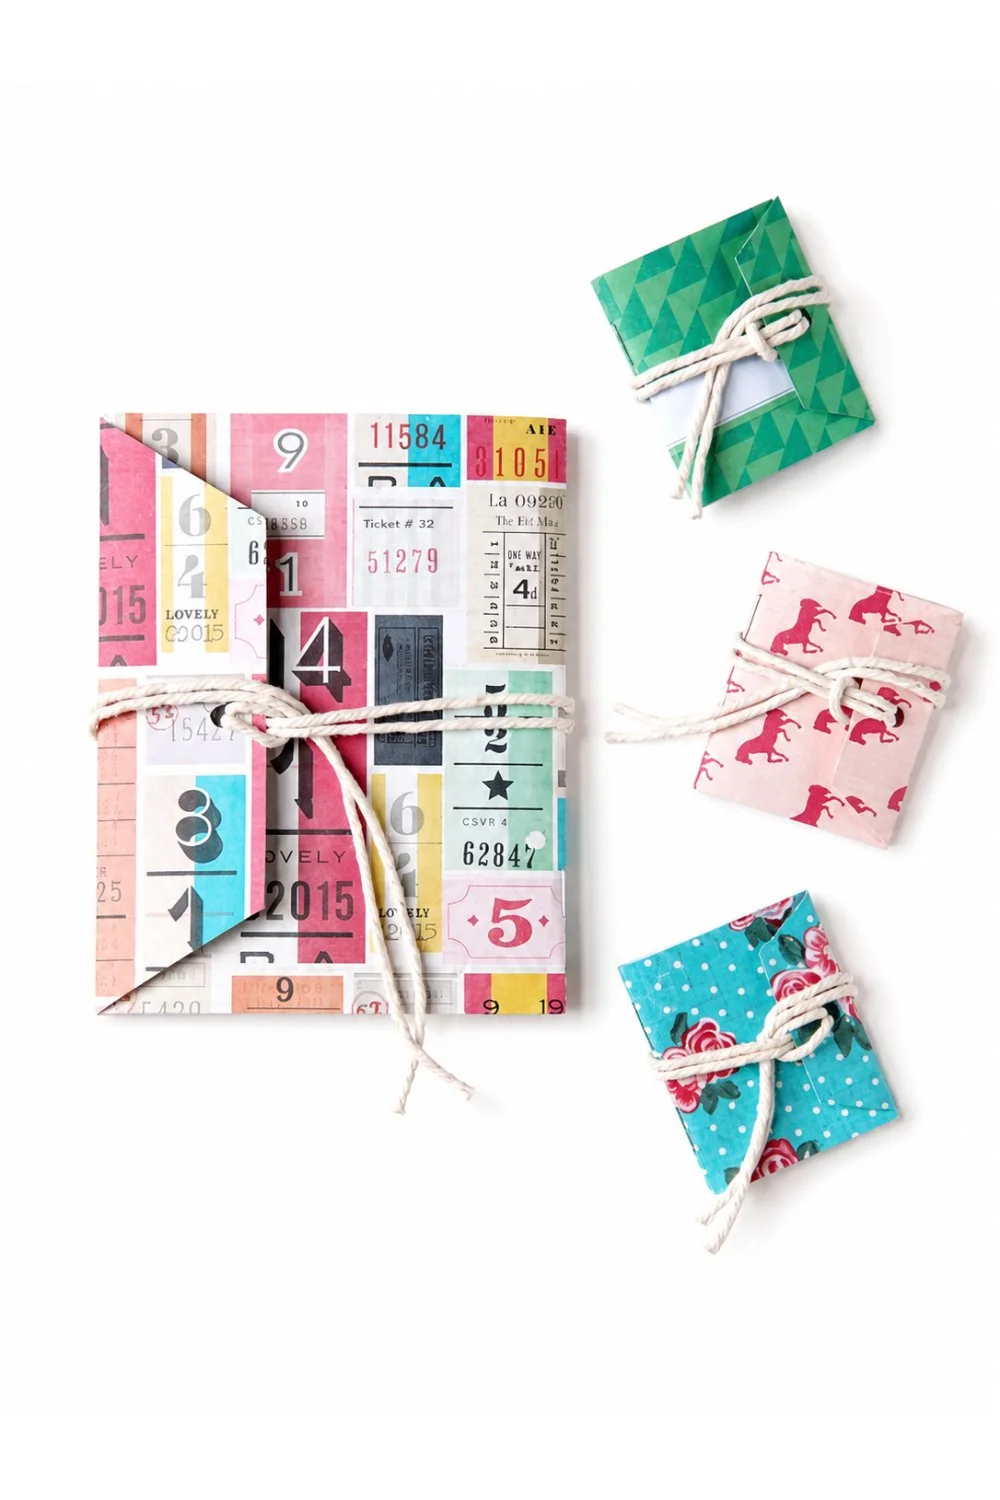
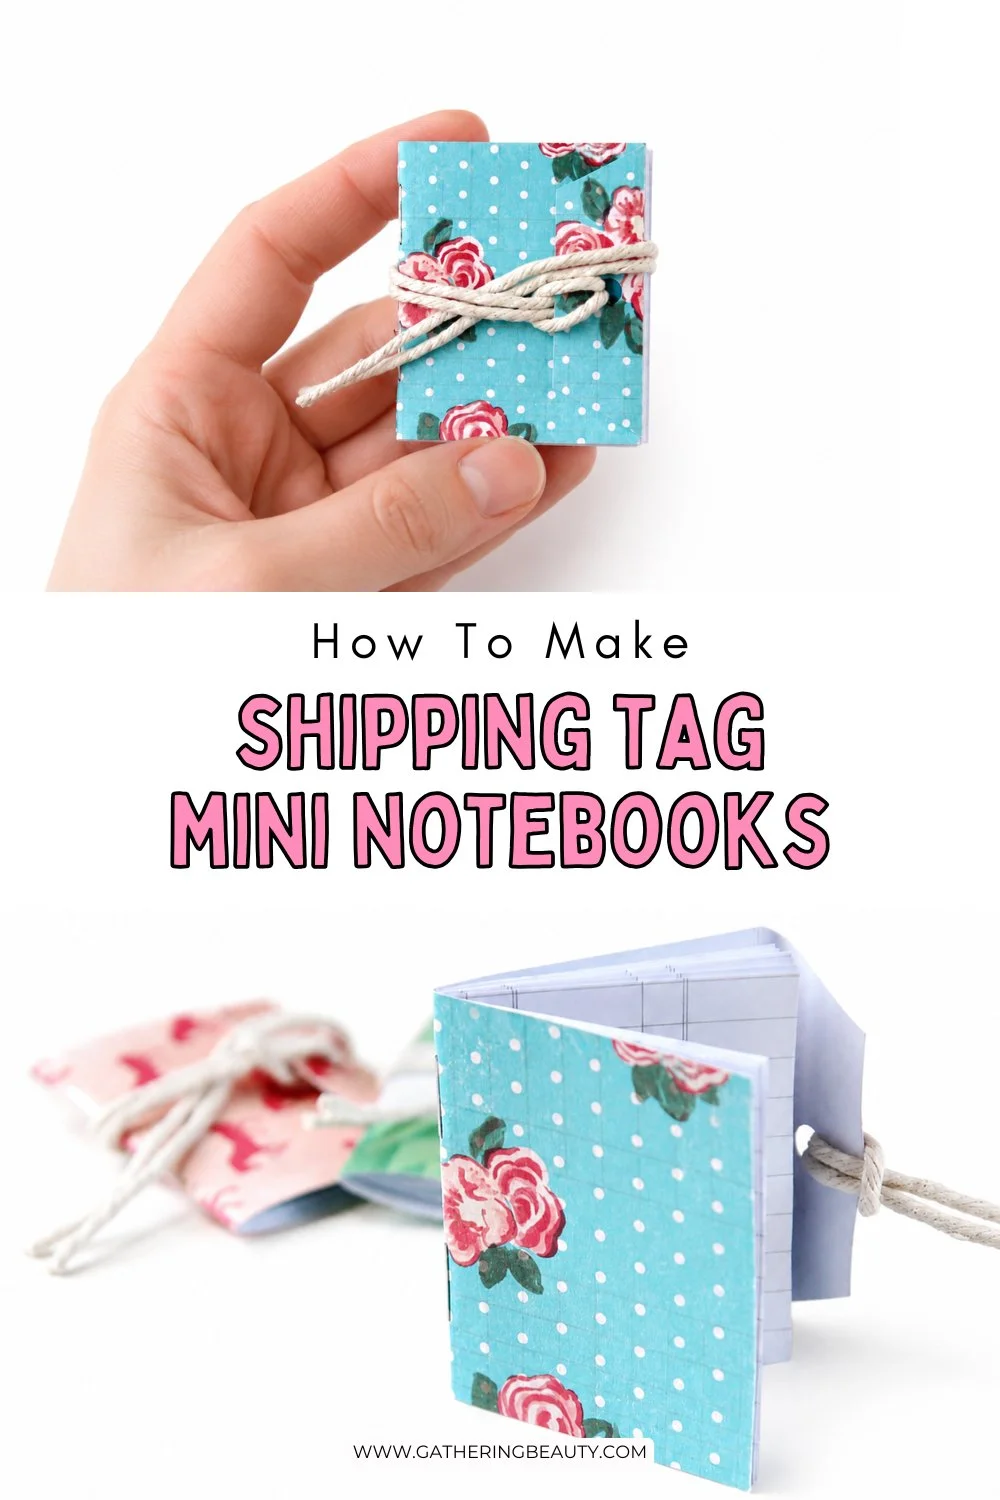
DIY Mini Notebooks Using Shipping Tags
/Get ready to transform plain paper shipping tags into pocket-sized wonders - your very own DIY Mini Notebooks. Perfect for jotting down notes or gifting to fellow crafters!
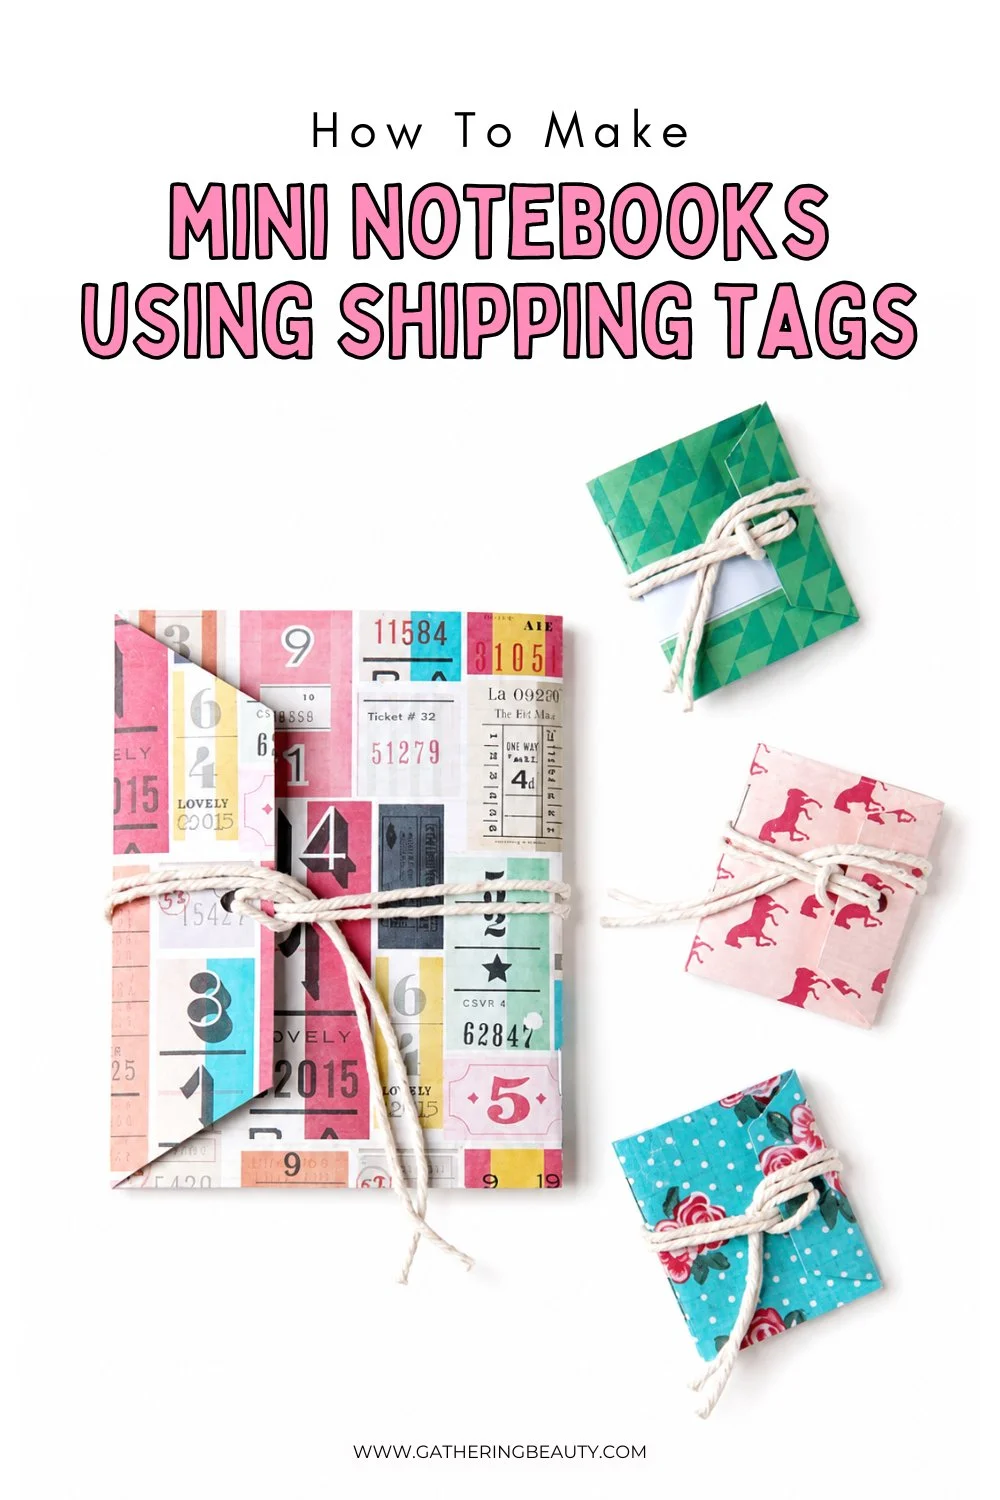
DIY Mini Notebooks Using Shipping Tags.
If you're anything like me, you can never have too many little notebooks! I keep them tucked into handbags, craft drawers, and even jacket pockets so there's always somewhere to scribble down an idea before it disappears.
These DIY mini notebooks are made using ordinary paper shipping tags as a template. They're quick to make, easy to customise with your favourite scrapbook paper, and small enough to take with you wherever you go.
Whether you're making a tiny notebook for journaling, sketching, keeping lists, or adding to a handmade gift, this is a fun project that uses just a handful of basic supplies.

Supplies:
Paper Shipping/Luggage Tags
Scrapbook Paper
Lined Paper
String
A Pencil
Hole Punch
Stapler
Embossing Tool
Ruler
Cutting Mat
And a Pair of Scissors.

How To Make Mini Notebooks Using Shipping Tags.
1. First, you're going to want to take your shipping or luggage tag and trace around it onto your chosen scrapbook paper.
Make sure to mark where the hole is as well.
2. Cut out your tag.

3. Line up your hole punch with the mark you made earlier and punch through the paper.

4. Use an embossing tool and ruler to score a line below where the tag starts to narrow.
5. Measure halfway down your tag and score another line.
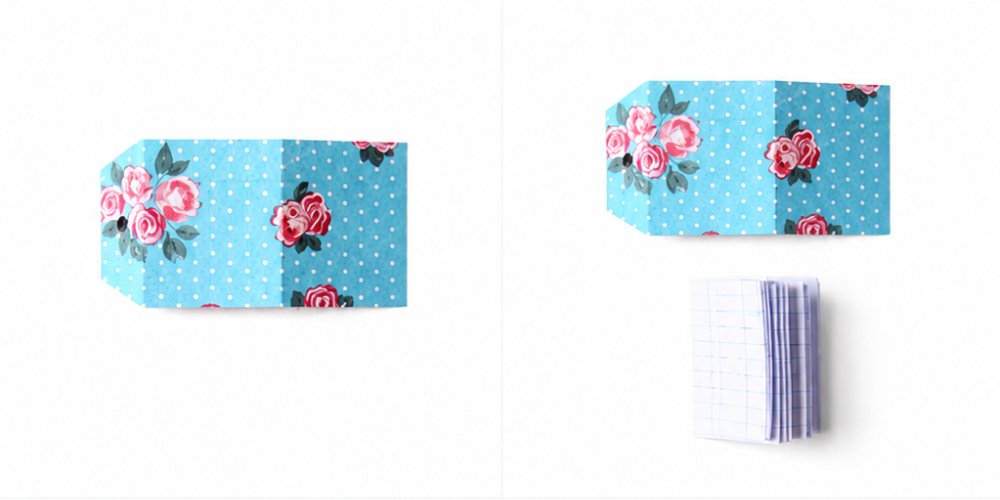
6. Fold your tag along the score lines.
7. Make sure the flaps all fit neatly inside each other. Trim if necessary.
8. Cut and trim some lined paper to fit inside your mini notebook.

7. Line up your pages and notebook cover and staple together.

8. Fold your notebook. If your pages don't quite fit, you can always trim away any excess.
9. Loop some string through the hole and wrap it around to keep your notebooks closed.

Your DIY mini notebook is now ready to be filled with notes, sketches, lists, or anything your creative heart desires. The compact size makes it perfect for on-the-go use, and you can easily slip it into your pocket or bag.

Make A Larger Shipping Tag Notebook.
Once I'd made the tiny versions, I couldn't resist scaling the idea up.
To make a larger notebook measuring approximately 5¾ x 4½ inches, create a shipping tag measuring 10¾ x 5¾ inches.
To form the angled top corners, measure 2 inches down from the top and 1 inch in from each side, then join the marks with a ruler before cutting.
The larger size works beautifully as a journal, sketchbook, or scrapbook notebook.