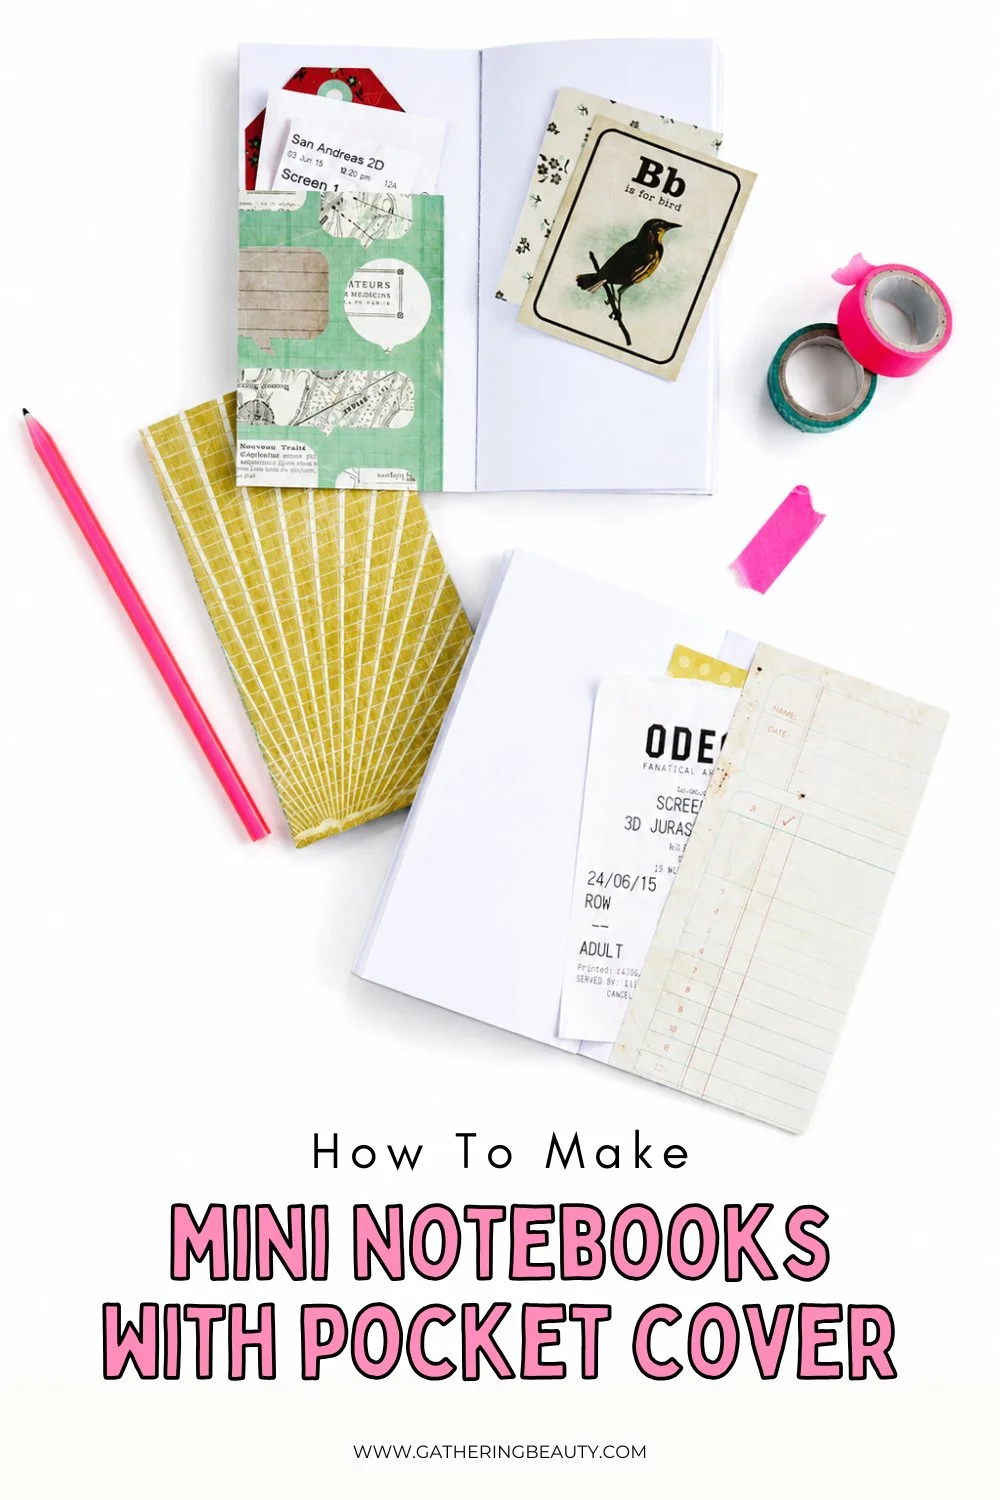
DIY Mini Notebook With Pockets
/Are you a fan of pretty notebooks? Do you always like to keep one to hand? Then these easy DIY pocket notebooks are for you.
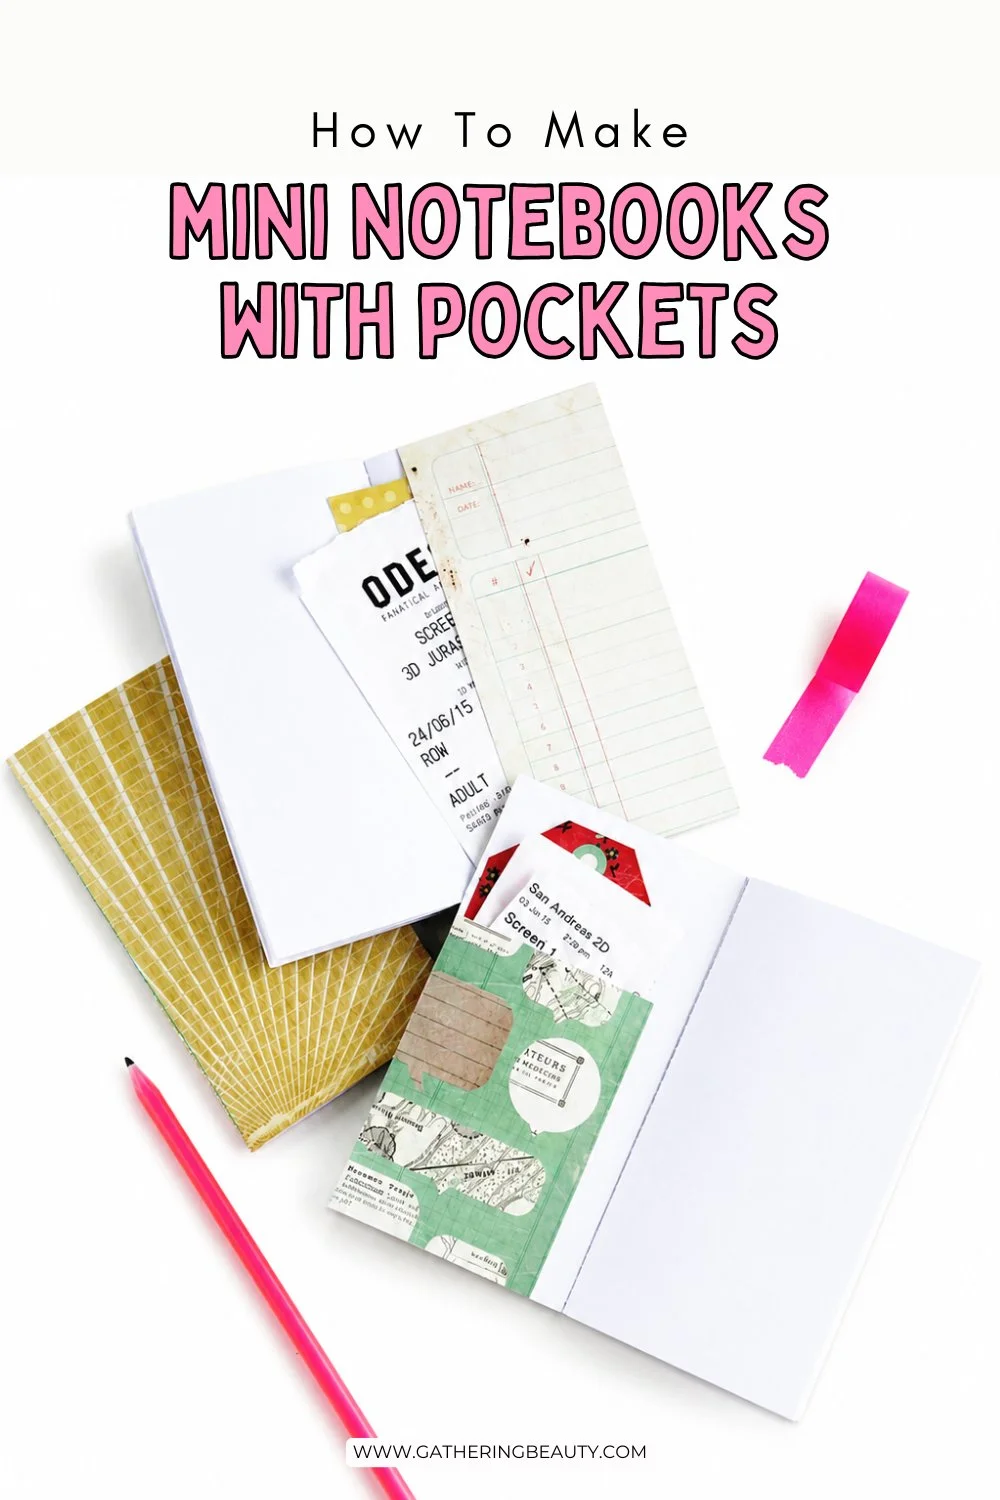
Simple and inexpensive to make, they can be whipped up in less than half an hour. Complete with paper pockets in both the front and back cover, you’ll never lose a receipt or ticket again.
This page contains affiliate links. This means that if you make a purchase after clicking a link I earn a small commission but it doesn’t cost you a penny extra!
DIY Pocket Notebooks.
Today I’m going to show you a really fun technique for making mini notebooks that have extra pockets on the inside of the cover. Perfect for storing stickers, letters or receipts.

Do you remember those DIY notebooks I made recently? I've nearly filled them and was about to make some more when I realised there was one thing that would make them even better. Pockets!
Instead of stuffing all my receipts in between the pages and hoping they didn't fall out, wouldn't it be better to have a pocket on the inside of each notebook?

If you’re a scrapbooker or memory keeper of any kind, you’ll know how easy it is to collect a bunch of paper that you want to keep but haven’t gotten around to actually sticking in your scrapbook yet.
Receipts, wristbands, stickers, food wrappers or even Instax photos (smartphones are great but there’s nothing like watching a real-life photo develop before your eyes).
These paper pocket notebooks are a fantastic way to keep all these loose bits of paper safe.
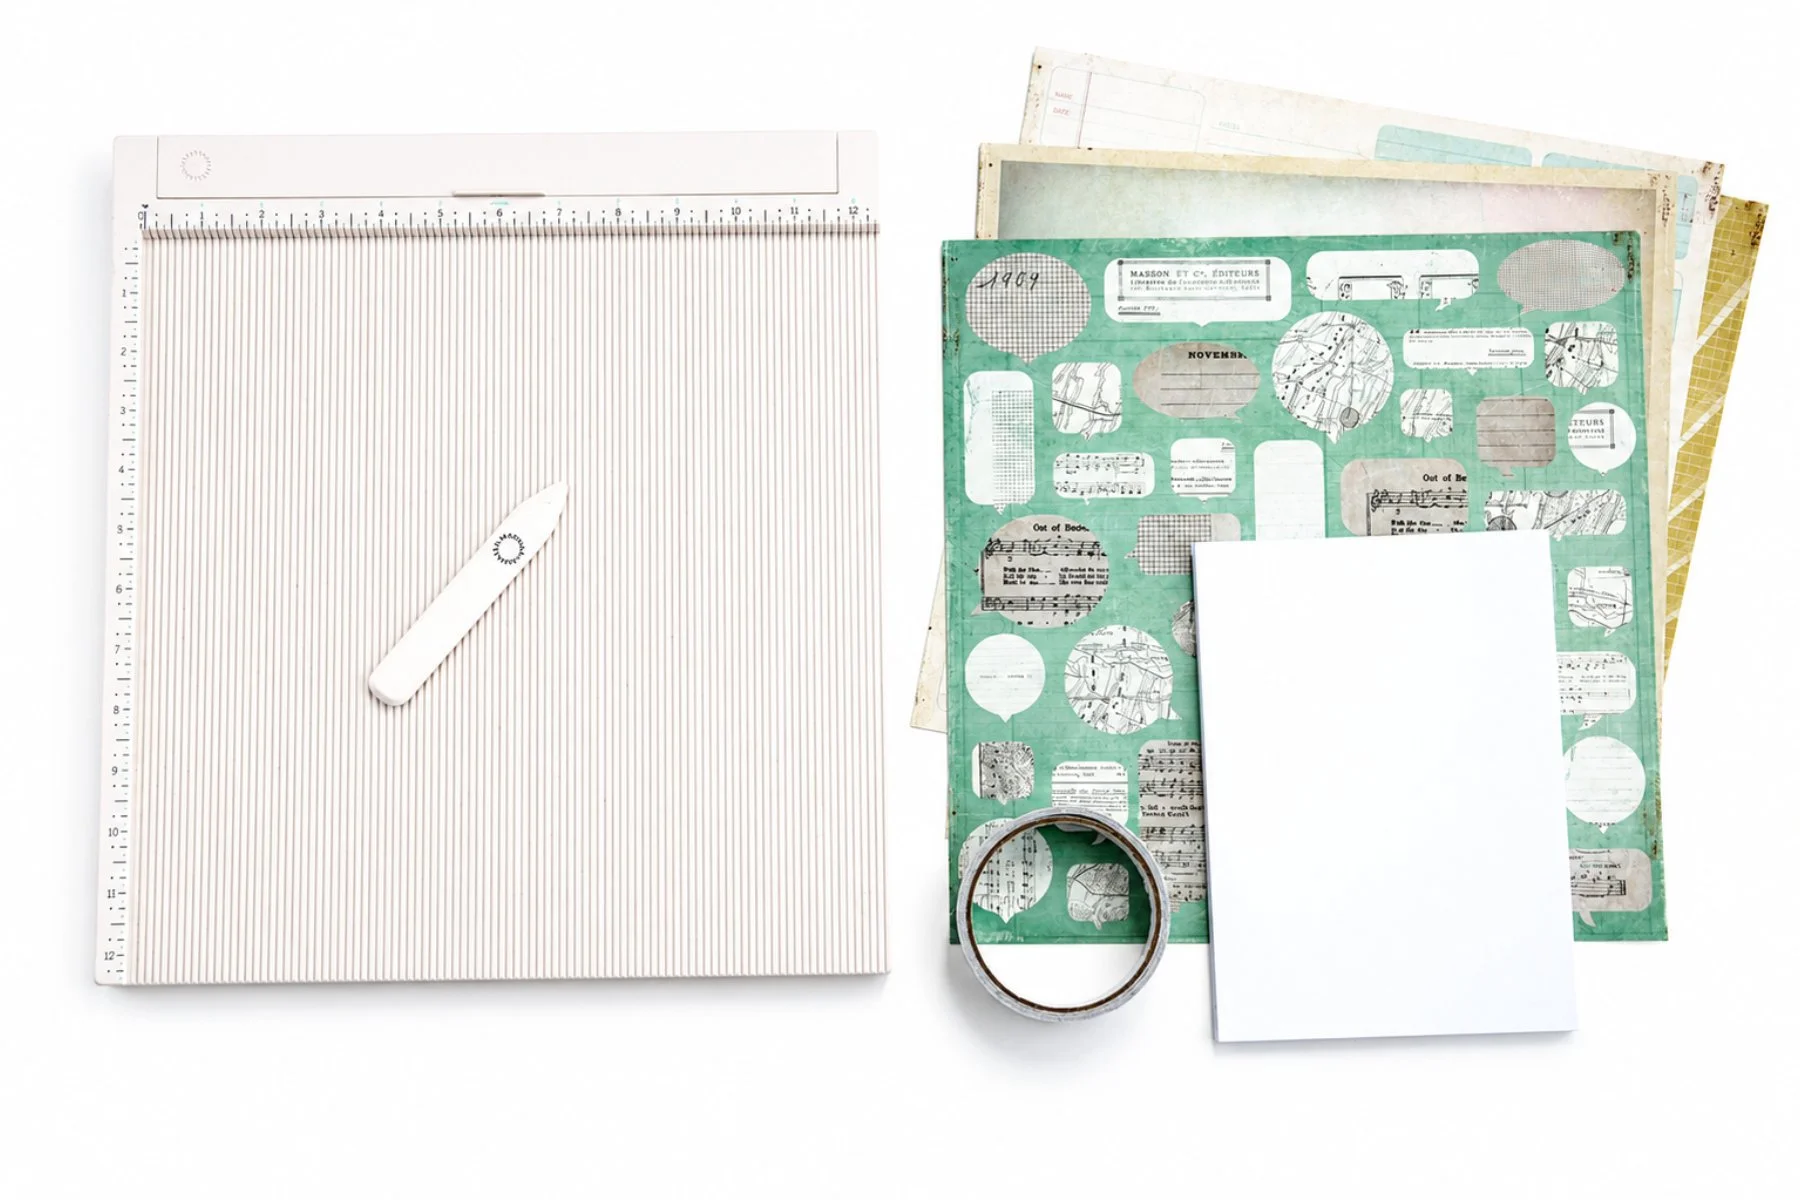
Supplies:
Scrapbook paper (I used this Crate Paper pad)
Scoring Board and Bone Folder or an Embossing Tool and a Steel Ruler
Double-sided tape (I like this skinny 1/4 inch tape) or a Tape Runner
Plain paper
And a Sewing Machine
How to make a Mini Notebook with a Paper Pocket.
1. Trim your paper to size.
For each cover, you'll need a piece measuring 12 x 6 inches.
This means that if you're using scrapbook paper, you can get two covers out of each 12 x 12 piece.
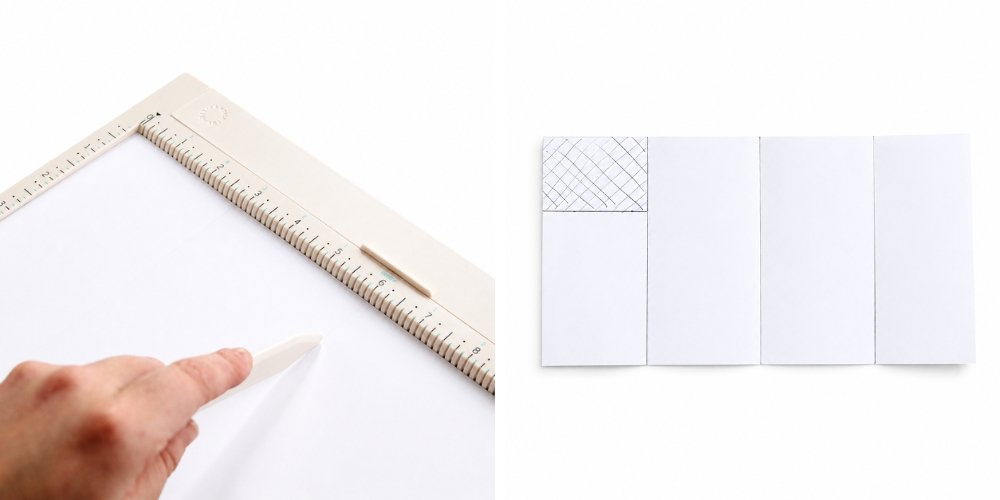
2. Using either a scoring board and a bone folder or an embossing tool and ruler, score lines at 2 3/4 inches, 6 inches and 9 1/4 inches (7 cm, 15.2 cm and 23.2 cm).
Your paper should now be divided into 4 pieces. The two outer pieces will make your pockets.
3. To make the first pocket, you need to cut out the top left corner.
Measure and cut out a piece 2 x 2 3/4 inches. It's the shaded part in the first picture above.

4. Apply some adhesive to the bottom and outside edge of the flap. This will make a paper pocket that will open from the top.
Fold this in and stick it down.
5. To make the second pocket, fold the right-hand side in and stick both the top and bottom edges down. This will make a pocket that opens from the side. Perfect for holding receipts or tickets.
I like to use double-sided tape or a tape runner to stick the pockets down, as runny school glues can make the paper buckle.

I made and attached my pages in the exact same way as my DIY Mini Notebooks. I've briefly laid out the steps below but if you want a more in-depth tutorial and some step by step photos I recommend reading the original post.
6. For the pages of your notebook you need to cut and trim some paper to size.
I used plain printer paper and trimmed it to 6 inches tall. Fold your sheets of paper in half and crease using a bone folder.
7. Stack your folded pages inside of each and then place them inside your cover.
8. Lay everything flat and use binder clips to hold your pages in place.
9. Use a sewing machine to sew down the centre of your pages.
10. Knot together the ends (you can find out how to do this without your thread unravelling here) and cut away any excess thread.
11. Remove the binder clips and fold your notebook.
12. Fold your notebook in half. You’ll find the edges of your paper stick out from the edge of the cover.
13. To neaten up the edges, trim away any excess using a ruler and a craft knife.
To do this, line up a ruler (a metal/steel ruler works best) with the edge of your cover and trim away any excess paper with a craft knife.
The best way to ensure a smooth edge is to make several light, slow cuts rather than pressing the blade as hard as you can.

Depending on the number of pages, you may need to press your finished pocket notebooks under something heavy.
One of mine kept popping open. I placed it under a stack of books for a couple of hours, and that seemed to do the trick.