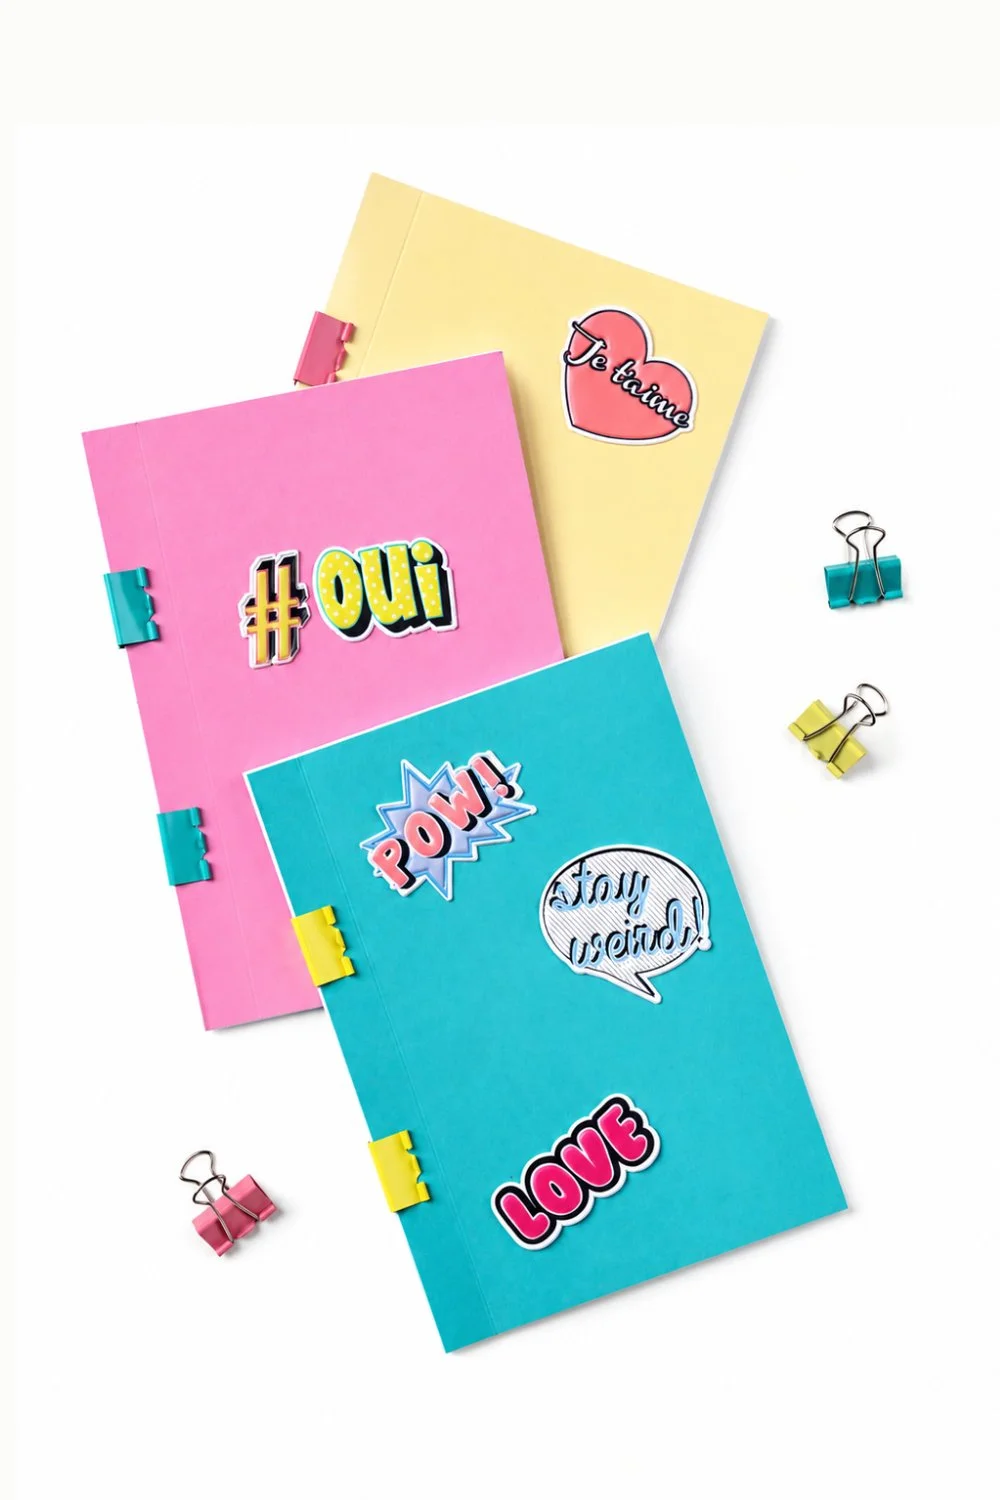
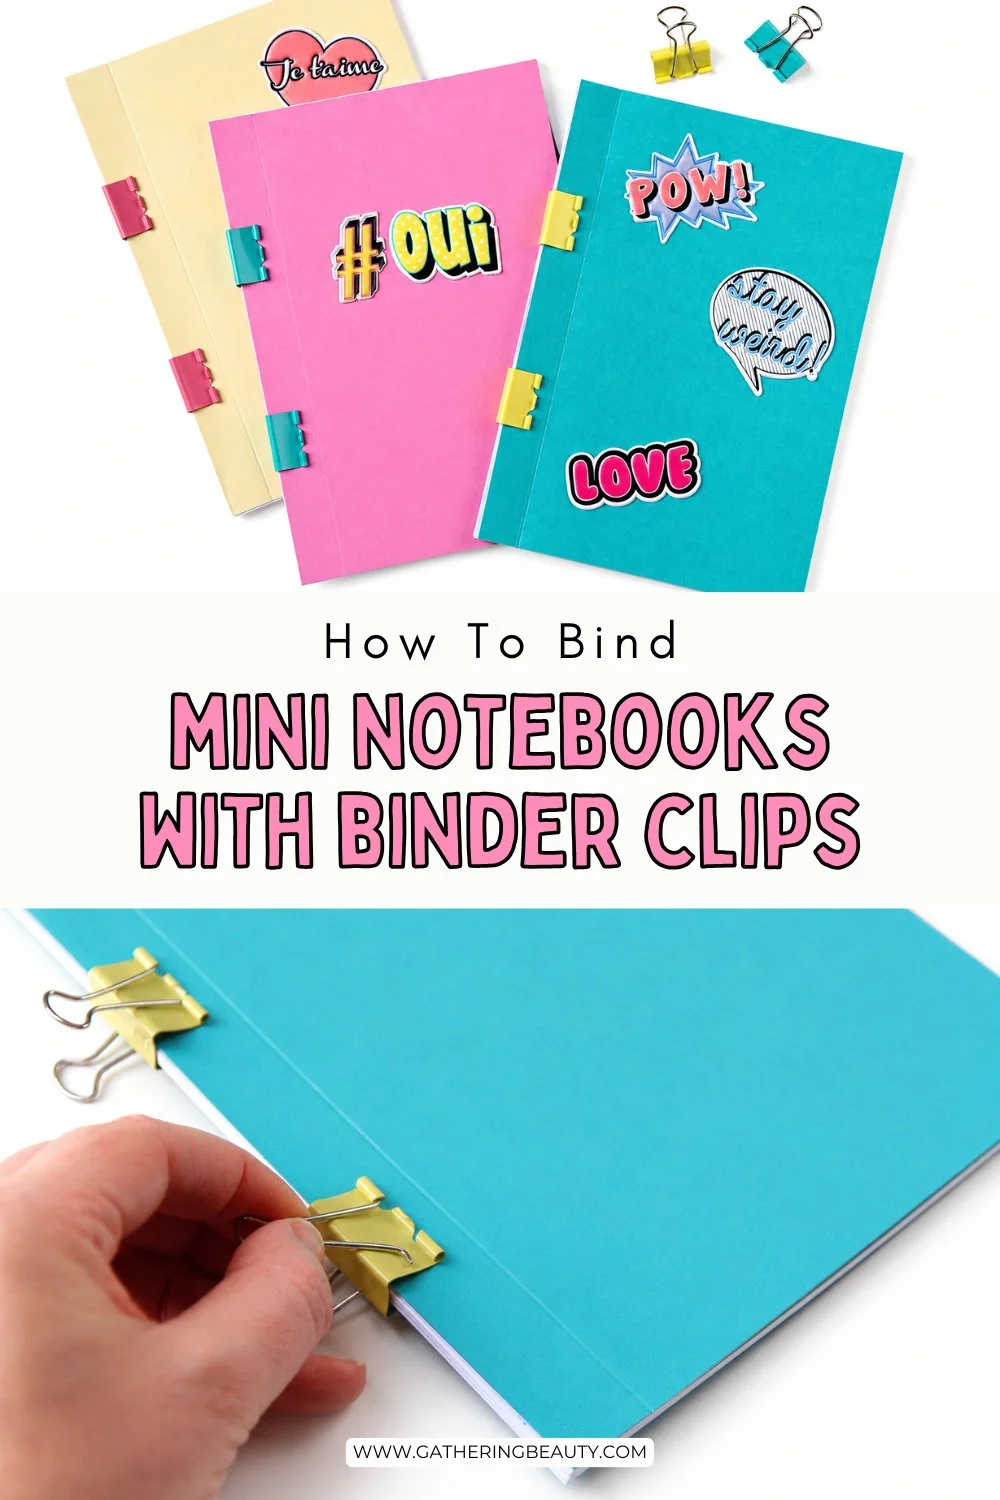
DIY Binder Clip Notebooks
/Get ready for back-to-school with this easy book-binding hack. Instead of throwing away half used notebooks use this clever trick to upcycle them into brand new journals.
All you need is some paper, cardstock and a couple of binder clips for a totally unique DIY notebook.
This page contains affiliate links. This means that if you make a purchase after clicking a link I earn a small commission but it doesn’t cost you a penny extra!
Binder Clip DIY Notebooks.
Today I’m going to show you how to make a cute notebook using only binder clips (sometimes called bulldog clips) and some leftover paper. It’s a simple bookbinding technique that’s a foolproof way to create your own notebooks or sketchbooks.
For this quick and easy notebook, we’re going to use binder clips to hold the spine in place. I think it might be one of the easiest bookbinding methods I’ve tried so far.

Supplies:
A5 Paper or Leftover Scrap Paper
Coloured Cardstock or Scrapbook Paper (for the cover)
Stickers (to decorate)

How to Bind a Notebook With Binder Clips.
1. Trim down your card to the same size as your pages. I chose to make mine A5.
2. Measure your binder clips and score a line just in front of where your clips will be.
This lets your cover fold open easily and not crease. Do this for the front and back covers.

3. Sandwich your pages between your front and back covers and secure with a couple of binder clips.
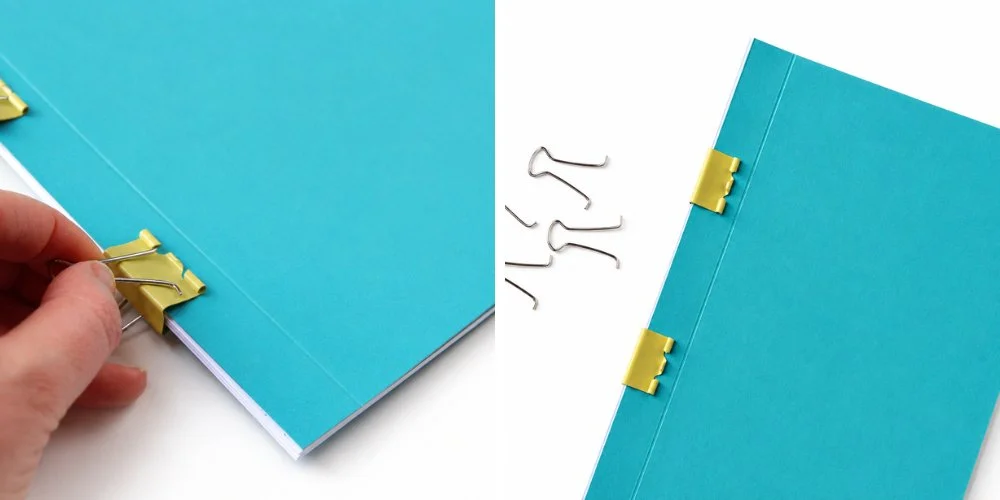
4. To remove the handles from the binder clips gently squeeze them together.
5. Remove the other binder clip handle.

6. To finish, decorate your notebook with stickers.

So, what do you think? Pretty easy, right? And the great thing about them is you can refill them as much as you like.
Simply attach the metal handles to the clips again, open them out and swap out the pages.