DIY CHALK MARKER VOTIVES.

DIY CHALK MARKER VOTIVES

The lovely people over at Stationery Island were kind enough to send me some of their fantastic chalk markers to try out. You know I'm a sucker for anything bright and colourful so of course these markers were right up my street. As soon as I opened them I instantly fell in love with the bright, vibrant colours.

Stationery Island Chalk Markers

They are a water based marker that you can use to draw on any non-porous chalkboards, ceramic, mirror and even glass which made them the perfect for decorating some boring, plain glass votive holders I had lying around.

SUPPLIES: Stationery Island Chalk MarkersGlass Votives, a sketchbook and pen, a damp cloth to touch up any mistakes.

DIY CHALK MARKER VOTIVES

I started off by sketching out a couple of pattern ideas. I found simple shapes and line drawings worked best.

DIY CHALK MARKER VOTIVES

1. Start by wiping down your glass and removing any residue or sticky finger marks.

2. Prime your marker. You need to shake the pen for around 10 seconds every time you use it. The first time you get your markers you need to pump the nib in and out until it fully covered in ink.

3. Draw on your pattern using the chalk marker.

4. Leave to dry so you don't smudge your design.

5, Pop in a tea light and enjoy.

DIY CHALK MARKER VOTIVES

My favourite colours were the neon pink, green and the blue. I drew a random swirly pattern in the blue and then combined all 3 colours in the last votive.

DIY CHALK MARKER VOTIVES

And don't forget if you make a mistake or simply want to change the design all you have to do is wipe the chalk away with a damp cloth.

The possibilities are endless.

DIY CHALK MARKER VOTIVES

What would you draw on yours?

Comment

Emma

Hi, I'm Emma.

I'm a crafter, blogger and paper enthusiast living in the North West of England.

Gathering Beauty is the place where I share craft tutorials and diy inspiration. I started this blog back in 2013 as a way of sharing all the things I love and make. I share paper crafts, clay crafts, origami, printables and desktop wallpapers as well as the odd crochet and weaving project. I hope you find something here that inspires you.

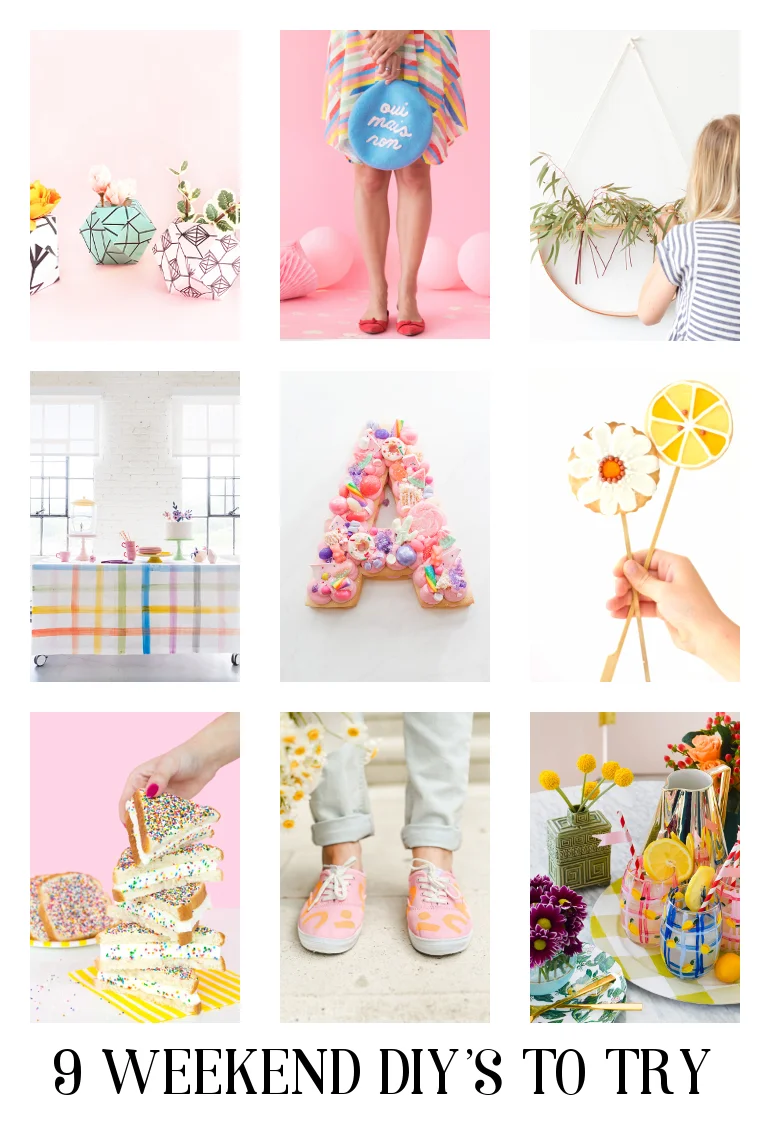
9 WEEKEND DIY'S TO TRY.

9 WEEKEND DIY'S TO TRY

Yep, it's the weekend and you know what that means, it's time for 9 more weekend diy's to try.

1. Get organised with a free motivational monthly planner from Drawn To Diy.

DIY Plate Clock

Sharing the most genius DIY Plate Clock today! With its beautiful DIY details, this baby will no doubt be a conversation starter.

Painted Patio Tile DIY

Rather than a rug, I wanted to try a black and white tile pattern instead, and after a few hours of inspiration scouring, I decided on a slightly amended version of a beautiful tiled patio.

DIY Graphic Tees

Even though almost every t-shirt I own is a plain white or black one, lately I've been liking retro inspired graphic tees with cute little sayings on them.

No-Bake Salted Caramel Cups

No-Bake Salted Caramel Cups! Oat crust with a soft salted caramel centre, topped with chocolate and sea salt. Perfect for a quick snack or dessert!

DIY Modern Message Board

I made a new DIY Modern Message Board for my new home office with those words above that are the core ingredients to our mission.

Lavender Earl Grey Blackberry Ice Cream Floats (Vegan)

This lavender earl grey blackberry ice cream float is my summer drink mascot.

DIY Concrete Paperweights

I love these little concrete letters, I'm using mine as paperweights cause I always have loads of notes and press releases cluttering up my desk.

DIY Geometric Metallic Vases

Learn how to upcycle simple bottles into this modern geometric metallic vases in just few minutes.

Wishing you a wonderful weekend.

Comment

Emma

Hi, I'm Emma.

I'm a crafter, blogger and paper enthusiast living in the North West of England.

Gathering Beauty is the place where I share craft tutorials and diy inspiration. I started this blog back in 2013 as a way of sharing all the things I love and make. I share paper crafts, clay crafts, origami, printables and desktop wallpapers as well as the odd crochet and weaving project. I hope you find something here that inspires you.

Easy Origami Wall Art

EASY ORIGAMI WALL ART.

DIY Origami Wall Art.

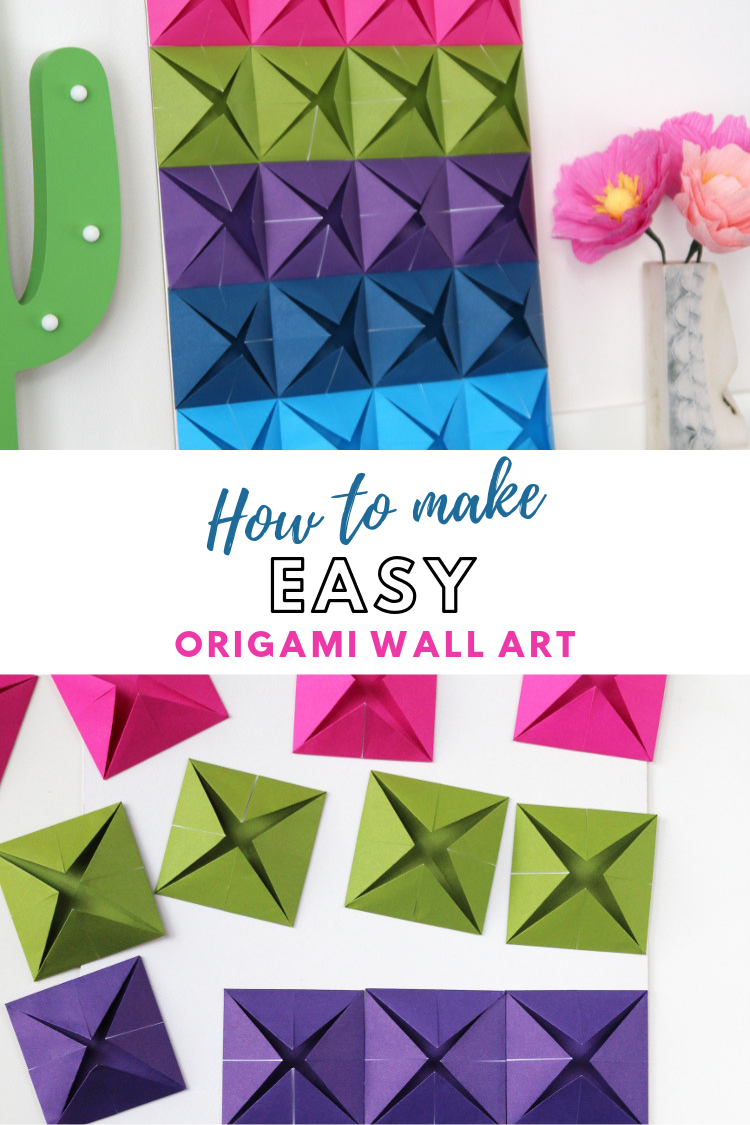
I was looking for a cheap and easy way to create some art to go in the living room when I remembered this folded paper wall art tutorial from How About Orange. It's a simple diy that I think adds a lot of impact to a room and can really brighten up a neglected corner.

I've changed mine up slightly from the original inspiration and instead of having the white of the paper showing through I decided to fold mine so the colour could be seen on the inside as well.

To do this I made each square using the first few steps of an origami fortune teller. I made the whole thing in around an hour, not long at all. Here's how I did it.

If you’re new to origami make sure to check out these 3 Basic Origami Folds For Beginners.

EASY ORIGAMI WALL ART

Supplies:

  • Origami Paper - This paper is specifically designed for origami and comes in a variety of different colours and patterns.

  • Bone Folder - You can use a bone folder to help make crisp creases in the paper.

  • Card - To mount your finished piece on.

  • Glue.

It's worth noting that while I always recommend using origami paper you can make origami with many different types of paper. If you don’t have any origami paper on hand here are a few alternatives that you probably already have at home.

  • Regular Printer Paper,

  • Gift Wrap,

  • Magazine Pages,

  • Newspaper,

  • Maps,

  • Colouring Book Pages,

  • Old Books,

  • And Newspapers.

I even have some printable origami paper you can download and use for FREE. Simply download, print and cut into 7x7-inch squares.

1. Take your origami paper and fold in half along both diagonals.

2. Open it back out and fold each of the corners into the center.

3. Flip your paper over and fold all the corners into the center again.

EASY ORIGAMI WALL ART

4. Arrange your design and cut a piece of foam board or cardboard to size.

EASY ORIGAMI WALL ART

5. To finish use a glue stick or some double-sided tape and secure your origami pieces to the card.

EASY ORIGAMI WALL ART

What do you think? I know blank walls can seem like quite a daunting challenge so I think this is the perfect quick solution.

I've got it on the picture ledge above the sofa at the moment but I think I might move it to hang above my desk instead.

EASY ORIGAMI WALL ART.
Comment

Emma

Hi, I'm Emma.

I'm a crafter, blogger and paper enthusiast living in the North West of England.

Gathering Beauty is the place where I share craft tutorials and diy inspiration. I started this blog back in 2013 as a way of sharing all the things I love and make. I share paper crafts, clay crafts, origami, printables and desktop wallpapers as well as the odd crochet and weaving project. I hope you find something here that inspires you.

THREE DIY'S I'D LOVE TO MAKE.

THREE DIY'S I'D LOVE TO MAKE

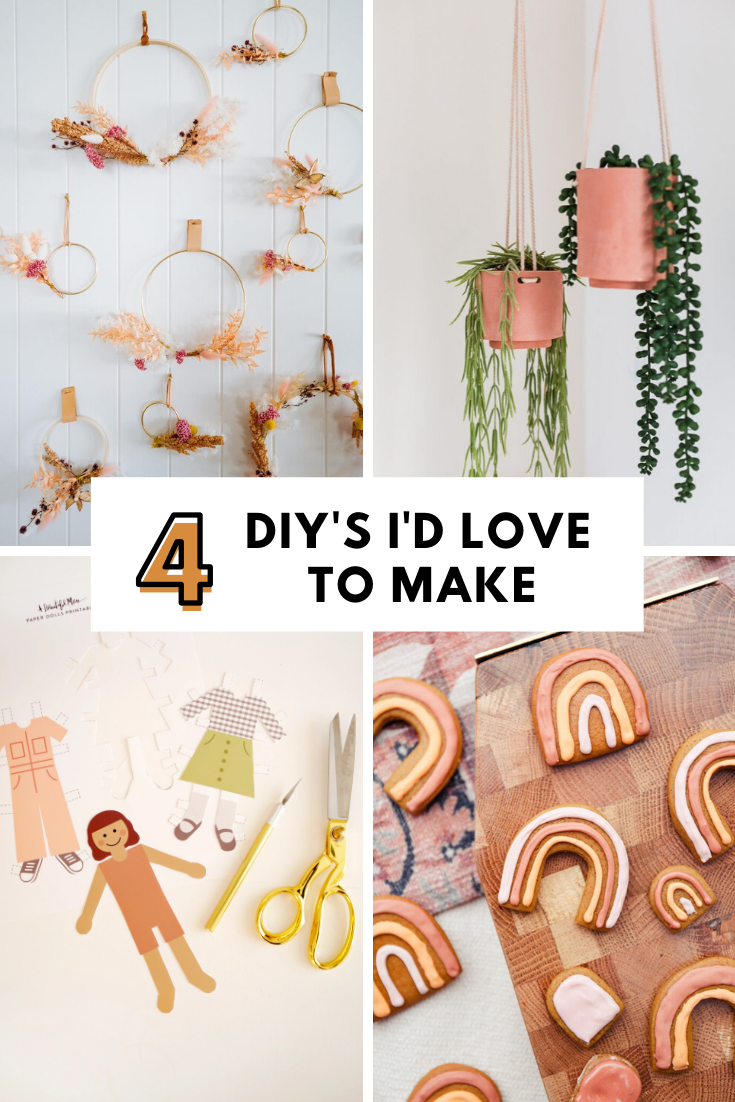
Hi everyone. I'm back from my 2 week break and raring to go so I thought we'd dive right in with 3 diy's I would absolutely love to make.

DIY Copper Origami Brooch

It’s easy, it doesn’t require lots of supplies and you can turn it into a brooch, necklace, earrings, and so much more!

Floral Embroidery Patterns for Dishtowels

Doing needlework on simple tea towels provides a wonderful stash of hostess or birthday gifts as the summer progresses.

Marbled Doughnuts

These doughnuts are light and fluffy and delicious. They are seriously the best homemade doughnuts I have ever had!

Comment

Emma

Hi, I'm Emma.

I'm a crafter, blogger and paper enthusiast living in the North West of England.

Gathering Beauty is the place where I share craft tutorials and diy inspiration. I started this blog back in 2013 as a way of sharing all the things I love and make. I share paper crafts, clay crafts, origami, printables and desktop wallpapers as well as the odd crochet and weaving project. I hope you find something here that inspires you.

SEE YOU IN SEPTEMBER.

Three things I'm loving today.

Hi everyone. Just letting you know I'll be taking a Summer break for the next 2 weeks and will be back September 5th. In the meantime please feel free to catch up with some past projects in the archives and check out the latest three things I'm loving.

1. A quote from one of my all time favourite films // Simple Kid Industries.

2. How to turn your old table cloths into a simple shift dress // Paper & Stitch.

3. The cutest pineapple cups. Perfect for celebrating the last few weeks of Summer.

Wishing you a happy weekend :)

Comment

Emma

Hi, I'm Emma.

I'm a crafter, blogger and paper enthusiast living in the North West of England.

Gathering Beauty is the place where I share craft tutorials and diy inspiration. I started this blog back in 2013 as a way of sharing all the things I love and make. I share paper crafts, clay crafts, origami, printables and desktop wallpapers as well as the odd crochet and weaving project. I hope you find something here that inspires you.