Origami Corner Bookmarks
/These simple Origami Corner Bookmarks are made with just a square piece of paper and a few basic folds. They’re a cute and quick project for kids or adults. Plus, they make lovely additions to journals or books!
This post contains some affiliate links for your convenience (which means if you make a purchase after clicking a link I will earn a small commission but it won’t cost you a penny extra)!
Easy Origami Bookmark.
If you’re anything like me, a total paper hoarder then you’re going to love today’s project. It's one of my favourite simple origami projects, origami corner bookmarks!
These little cuties are super easy to make and a great way to use up those leftover squares of paper from other paper crafts. I’ve made them from origami paper, scrapbook paper, old calendars, and even magazine pages. If it’s a piece of square paper, you’re good to go!
Related: DIY Easy Bookmark Ideas To Make

DIY Origami Bookmarks.
I don’t know about you, but I just can’t bring myself to fold down a page corner. I recently treated myself to a gorgeous cookbook and started marking recipes with my usual Post-it notes… then realised it totally deserved better than a bunch of scrappy tabs.
So I grabbed some pretty origami paper and whipped up a few simple origami corner bookmarks. They’re super easy and once you get the hang of it, each one takes about 30 seconds. In 15 minutes, my book was full of lovely little bookmarks!

Supplies:
These bookmarks were made using a 15x15 cm square of paper. But you can always experiment with different sizes of paper to see what works best. As they’re so simple they’d look fantastic decorated with stamps and stickers.
If you don’t have any origami paper on hand you probably have a few of these alternatives at home.
Regular Printer Paper
Magazines
Maps
Old Books
And Newspapers.
I even have some printable origami paper you can download and use for FREE. Simply download, print and cut into 7x7-inch squares.


How to Make Basic Origami Bookmarks.
These DIY bookmarks are great for beginners or crafting with kids. I’ll walk you through the basic folds and you can check out the step photo instructions below!
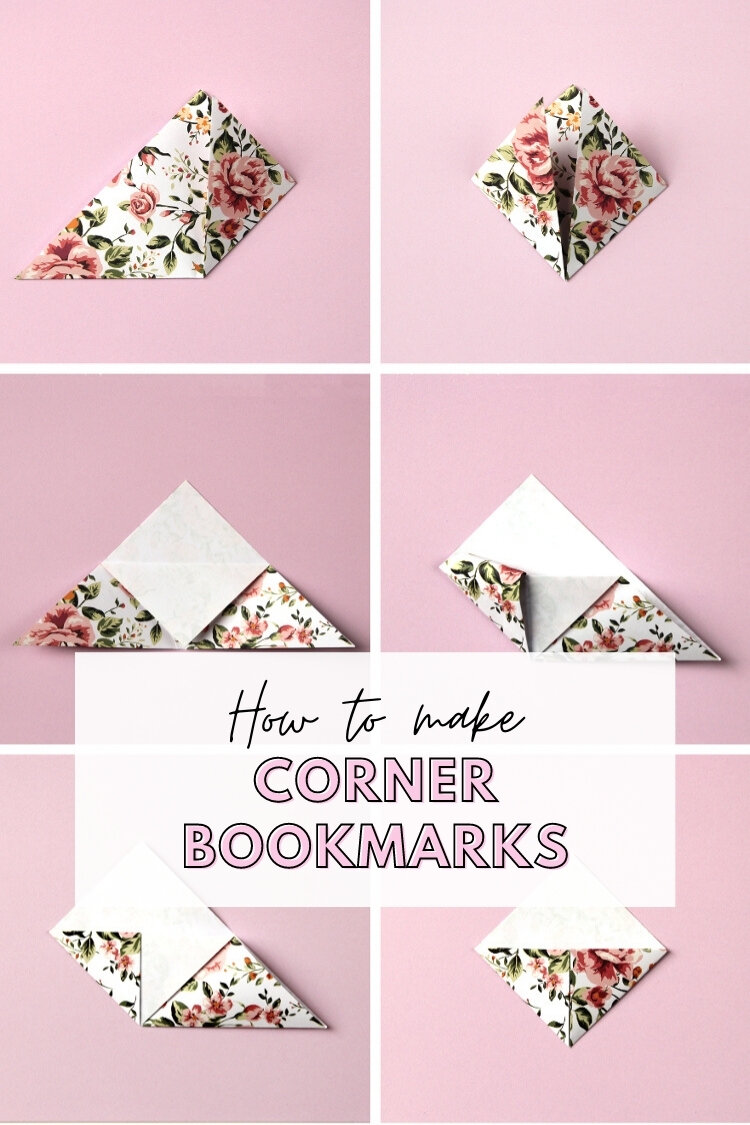
1. Take a square piece of paper and fold it in half across the diagonal to make a triangle.

2. Take the bottom right corner and fold it up to meet the centre point.
3. Repeat with the left corner.

4. Open back out and lay flat.
5. Take the top layer and fold the top of the triangle down to meet the bottom edge of the paper. This will form the pocket.
6. Take the left corner and fold it back up but this time tuck it into the pocket.

7. Crease and press flat.
8. Repeat on the other side.
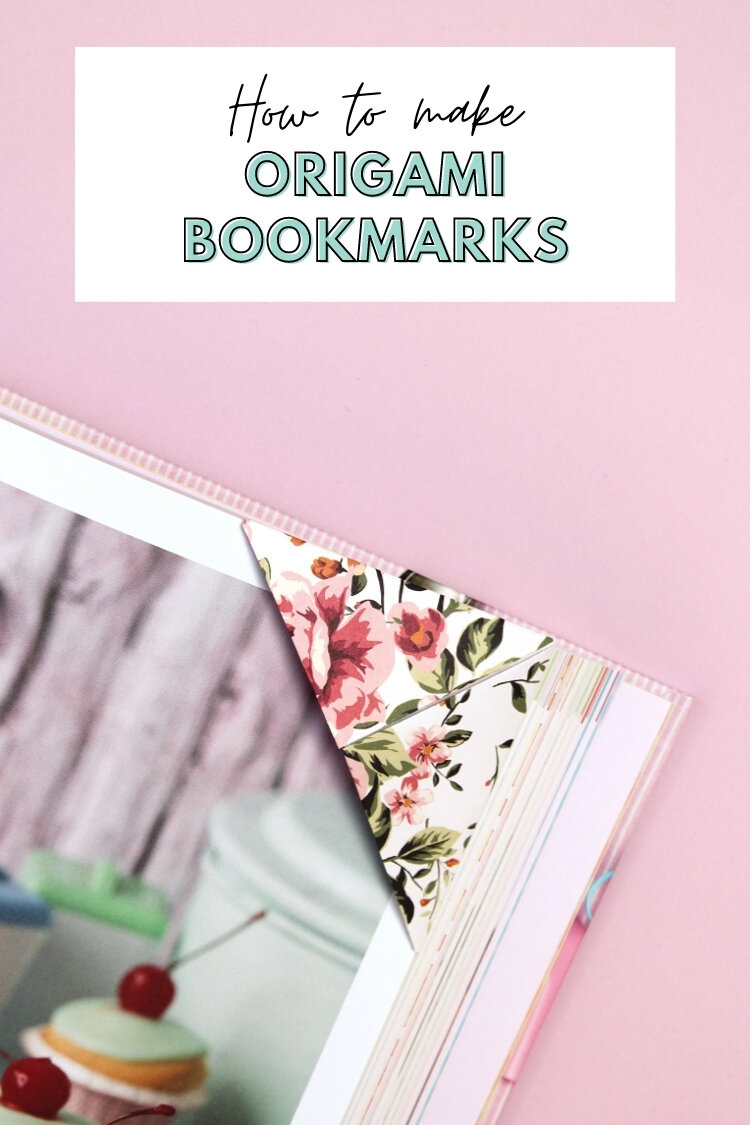
9. Slip your bookmark onto your page and never lose your place again.

Decorating Ideas.
Once you’ve mastered the simple folds, it’s time to jazz things up! Some fun ideas:
Add googly eyes and a tongue to make monster corner bookmarks
Use patterned scrapbook paper for a fancy feel
Decorate with doodles, stickers or washi tape.
You can even make seasonal ones, snowflakes in winter, flowers in spring, pumpkins in fall! These lovely bookmarks make sweet little gifts, too. I love tucking one into a card or pairing it with a book for birthdays or teacher gifts.