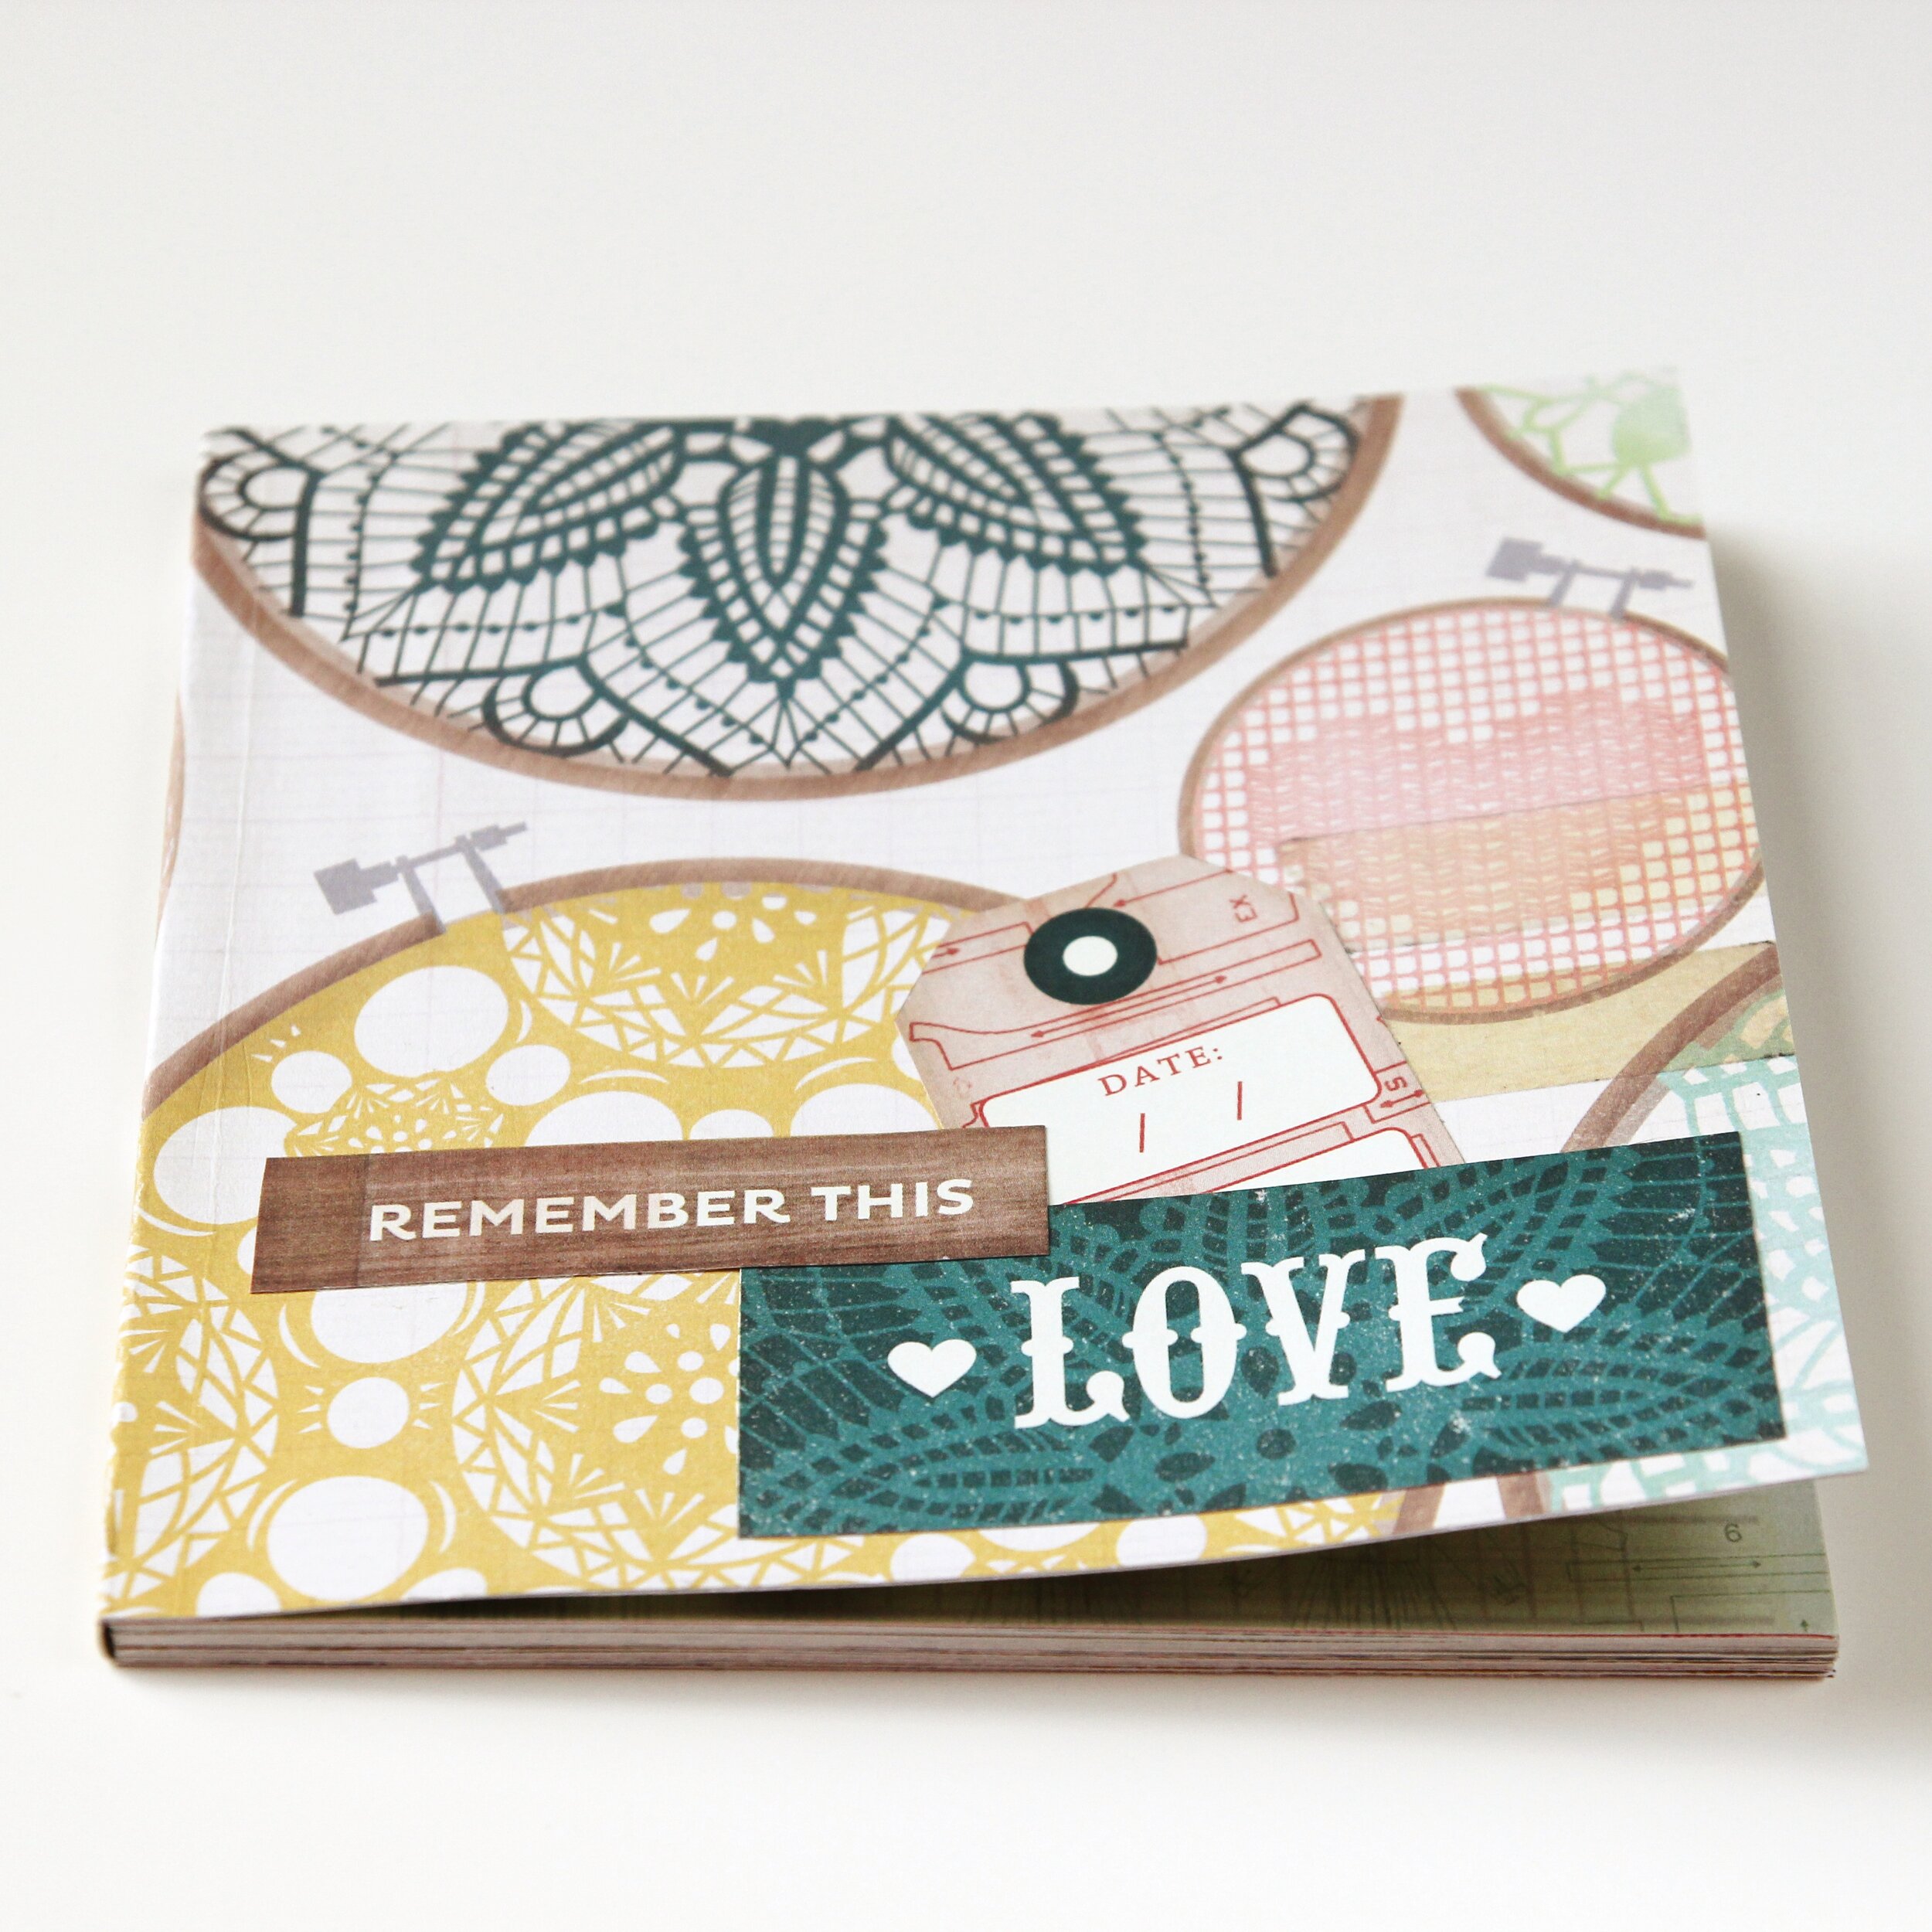
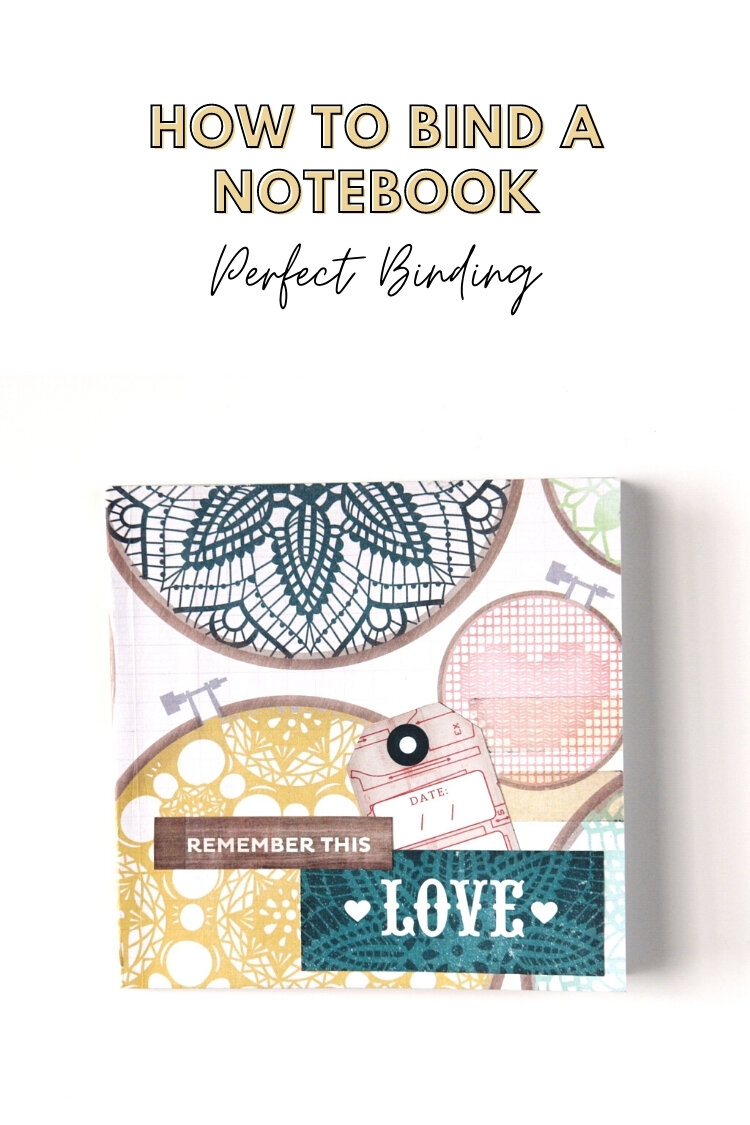
DIY Book Binding: Perfect Binding
/Learn how to make a simple notebook using this easy bookbinding method. Perfect binding requires no thread or stitching, just some glue and a little patience.
This page contains affiliate links. This means that if you make a purchase after clicking a link I earn a small commission but it doesn’t cost you a penny extra!
This post was originally shared in 2014 but has since been updated.
How To Bind A Notebook.
Are you ready to learn a simple bookbinding technique so you can make your own DIY notebooks? Perfect binding is a bookbinding technique that allows you to make quick and easy notebooks that don’t require any stitching.
It’s most commonly used in magazines and paperback books but it’s also a great way of making homemade notebooks yourself.
You use PVA glue or Elmer’s school glue to bind the spine of a book instead of stitching together signatures (groups of pages). The advantage to this is that it’s quick and easy and it allows you to bind single pages instead of groups (signatures).
DIY Notebook Binding.
I always had a notebook or sketchbook with me when I was at university and it’s something I still do now. You never know when you might need to jot something down or make a note.
After going through quite a lot of notebooks I decided to start making my own using leftover paper and a sewing machine like this Easy DIY Notebook and these Pocket Notebooks. The perfect binding technique is another great to bind a book if you don’t want to bother with all the stitching and sewing.
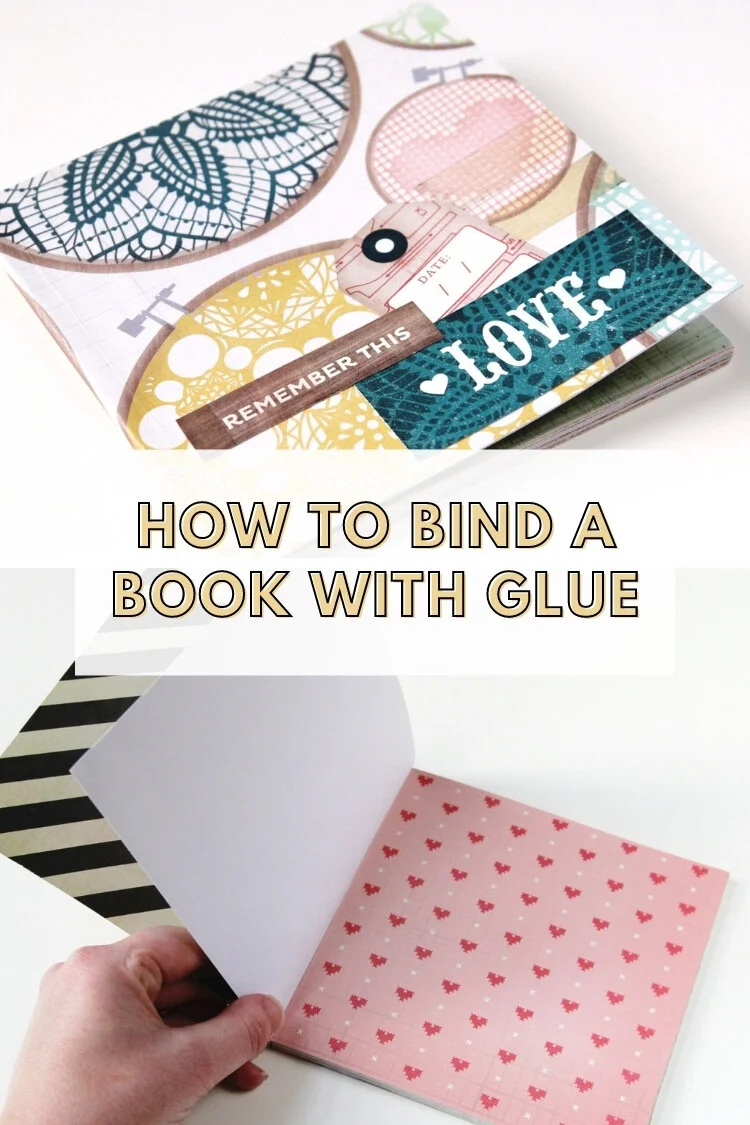
How To Bind A Book With Glue.
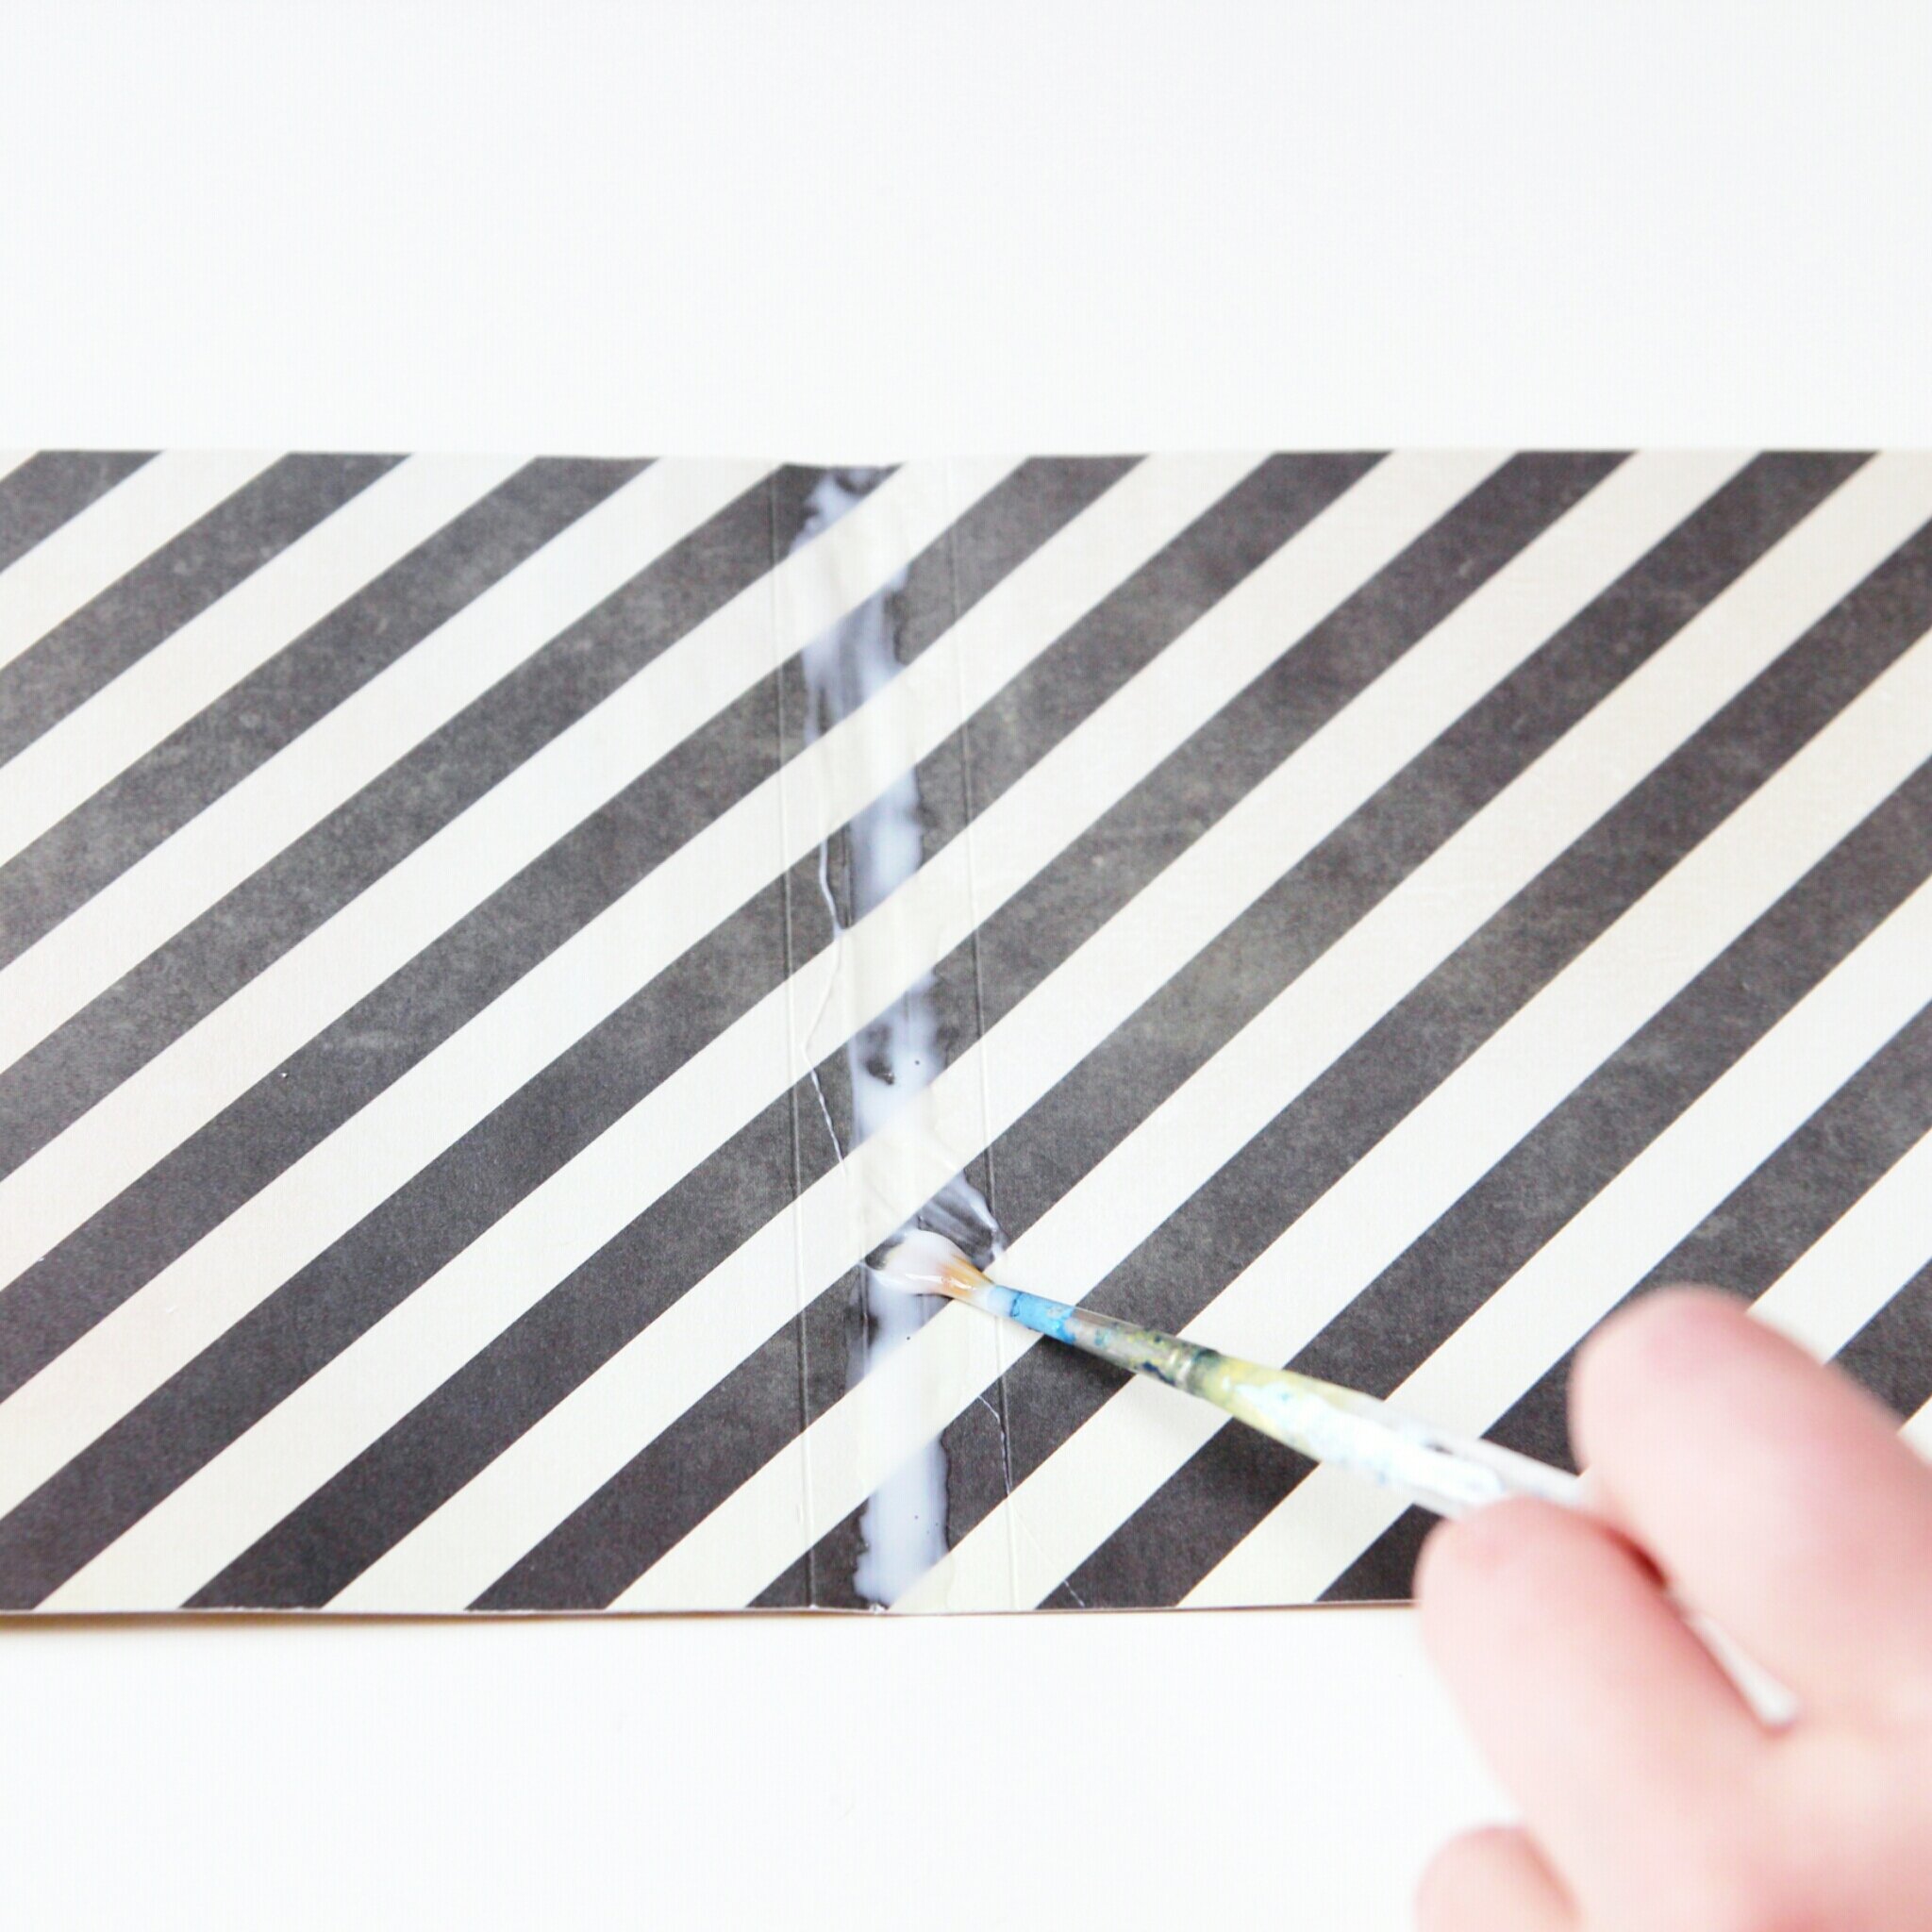
To bind the spine you need to make sure all the pages of your notebook are straight. Secure them using some bulldog clips. Once you’ve done that you need to take the glue and use a paintbrush or a foam brush and apply a thin layer along the edge.
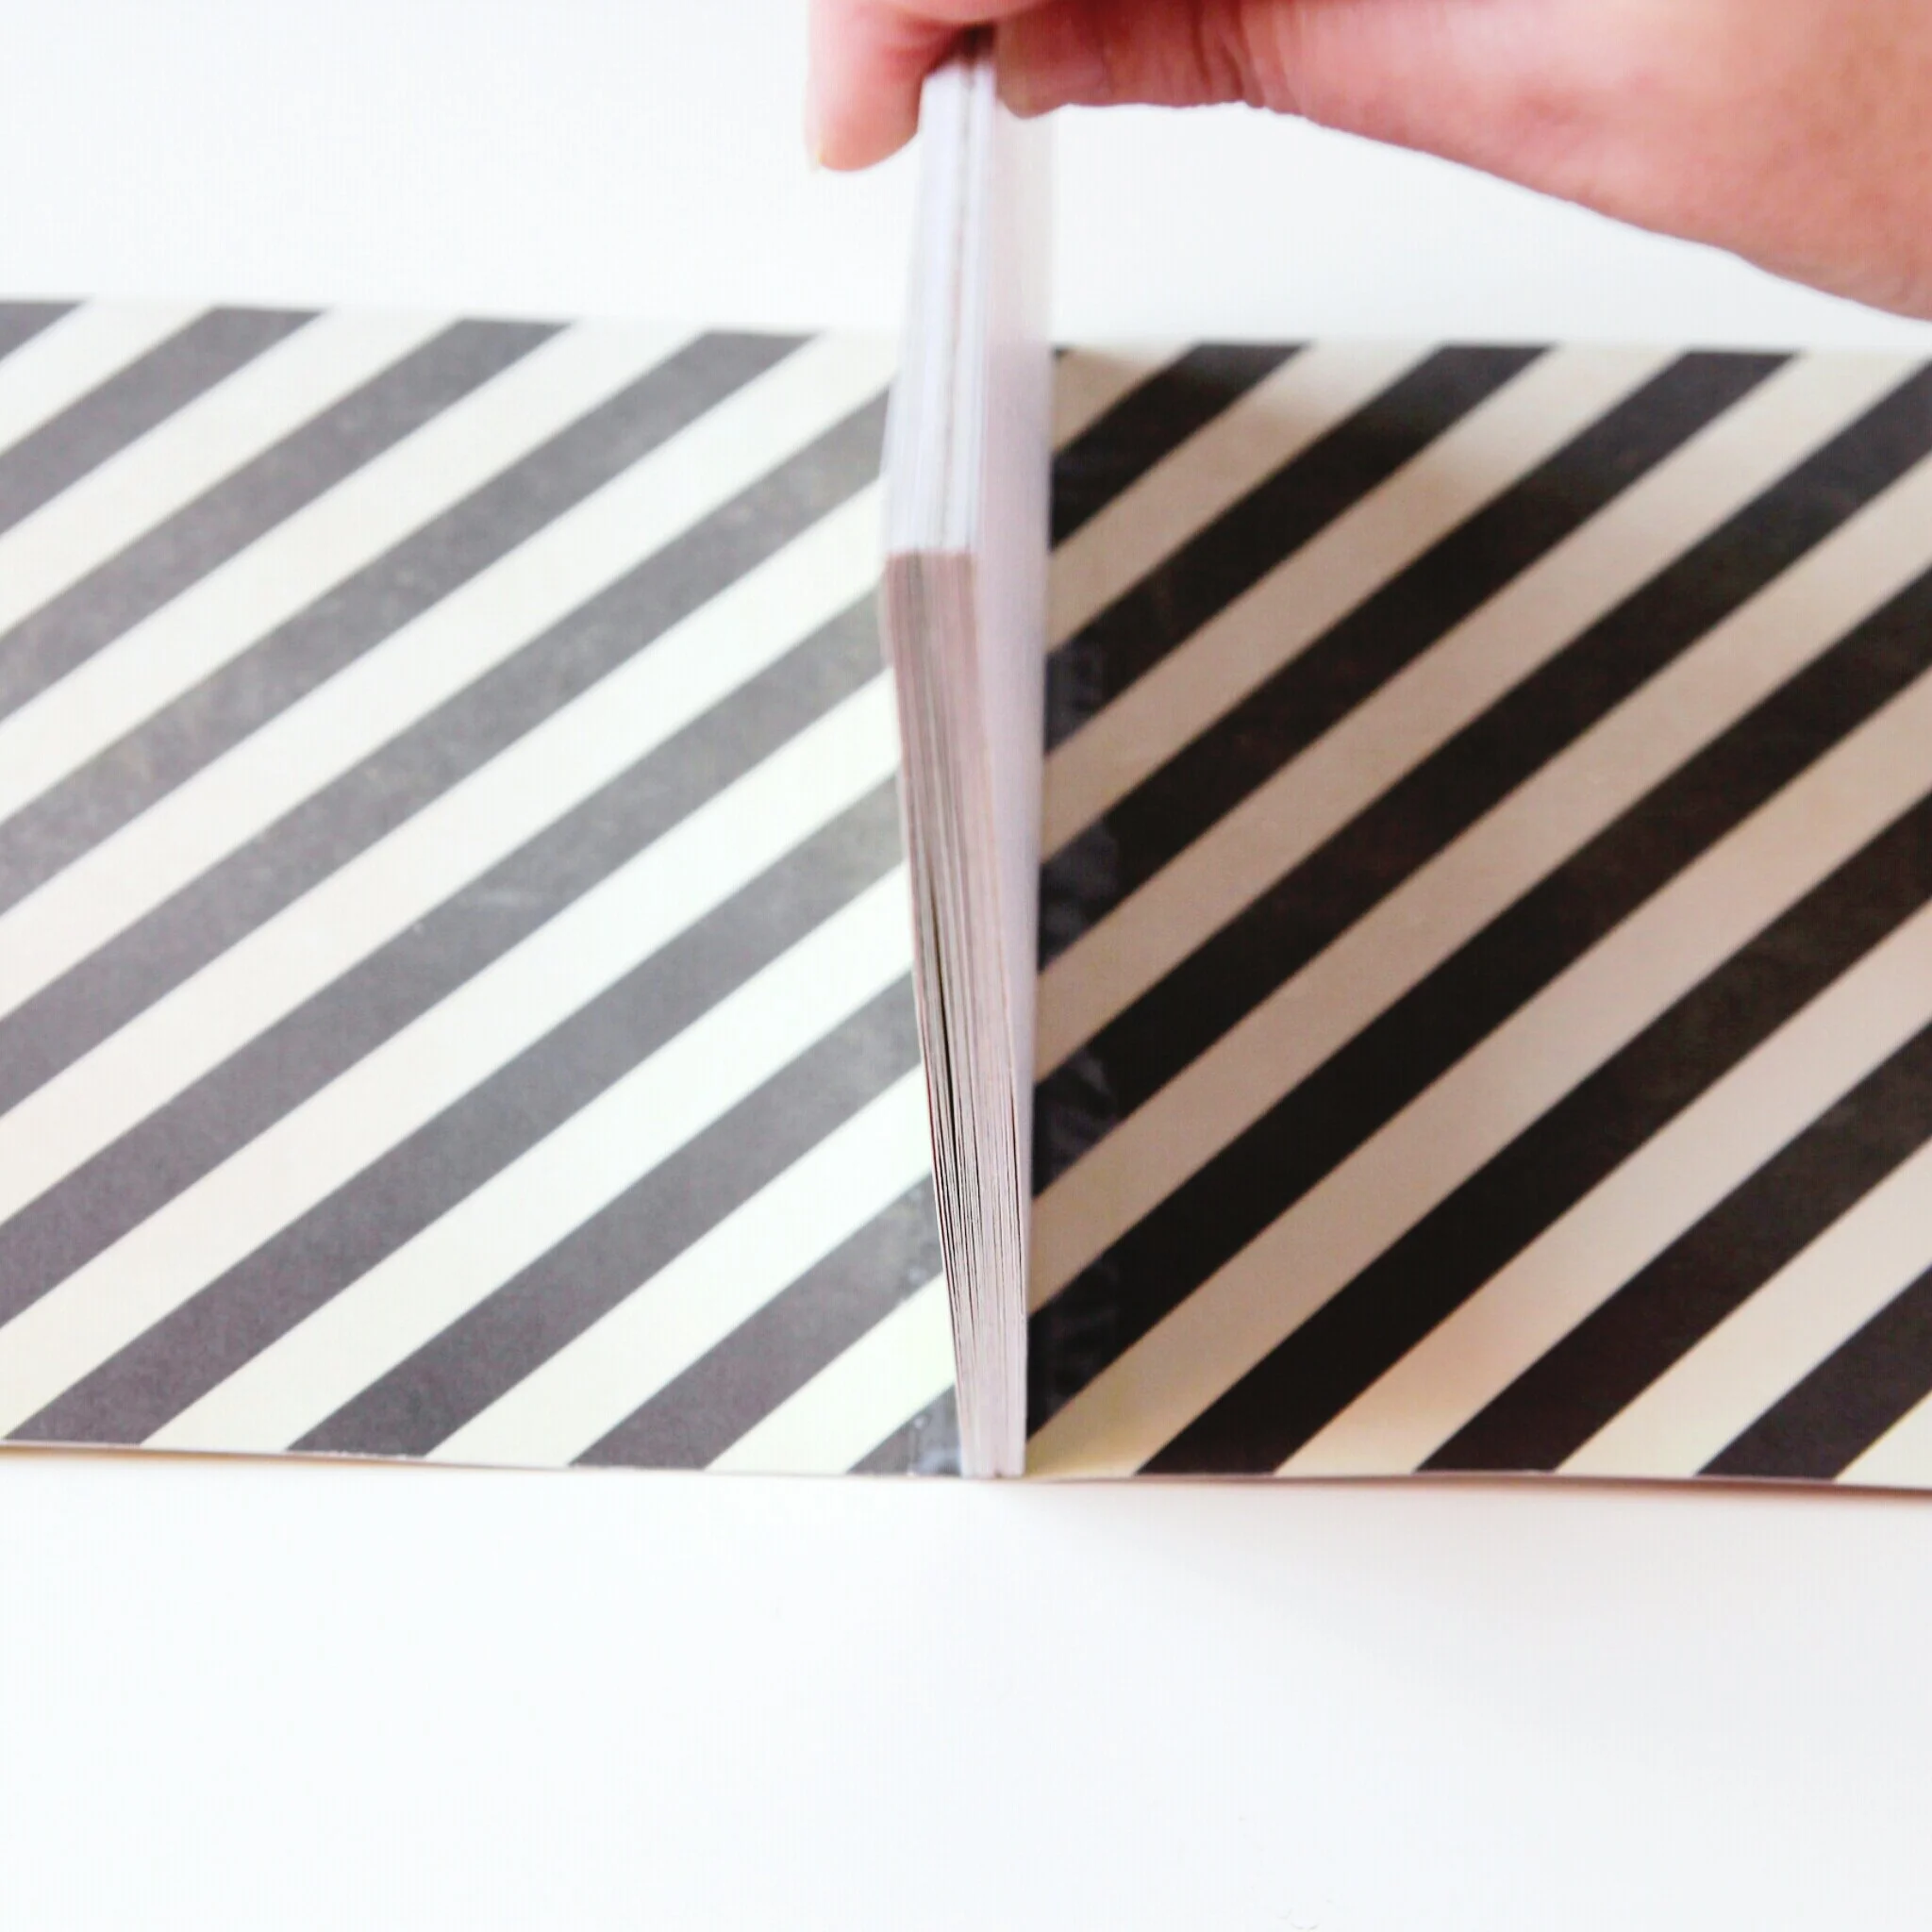
As the glue dries it creates a flexible bond on the edge (spine) of the paper. This is good for the kind of notebook where you can tear the pages off of it easily like a to-do list or a shopping pad.

Supplies:
A Paintbrush or Foam Brush
A Pencil
Scrap paper
Top Tip:
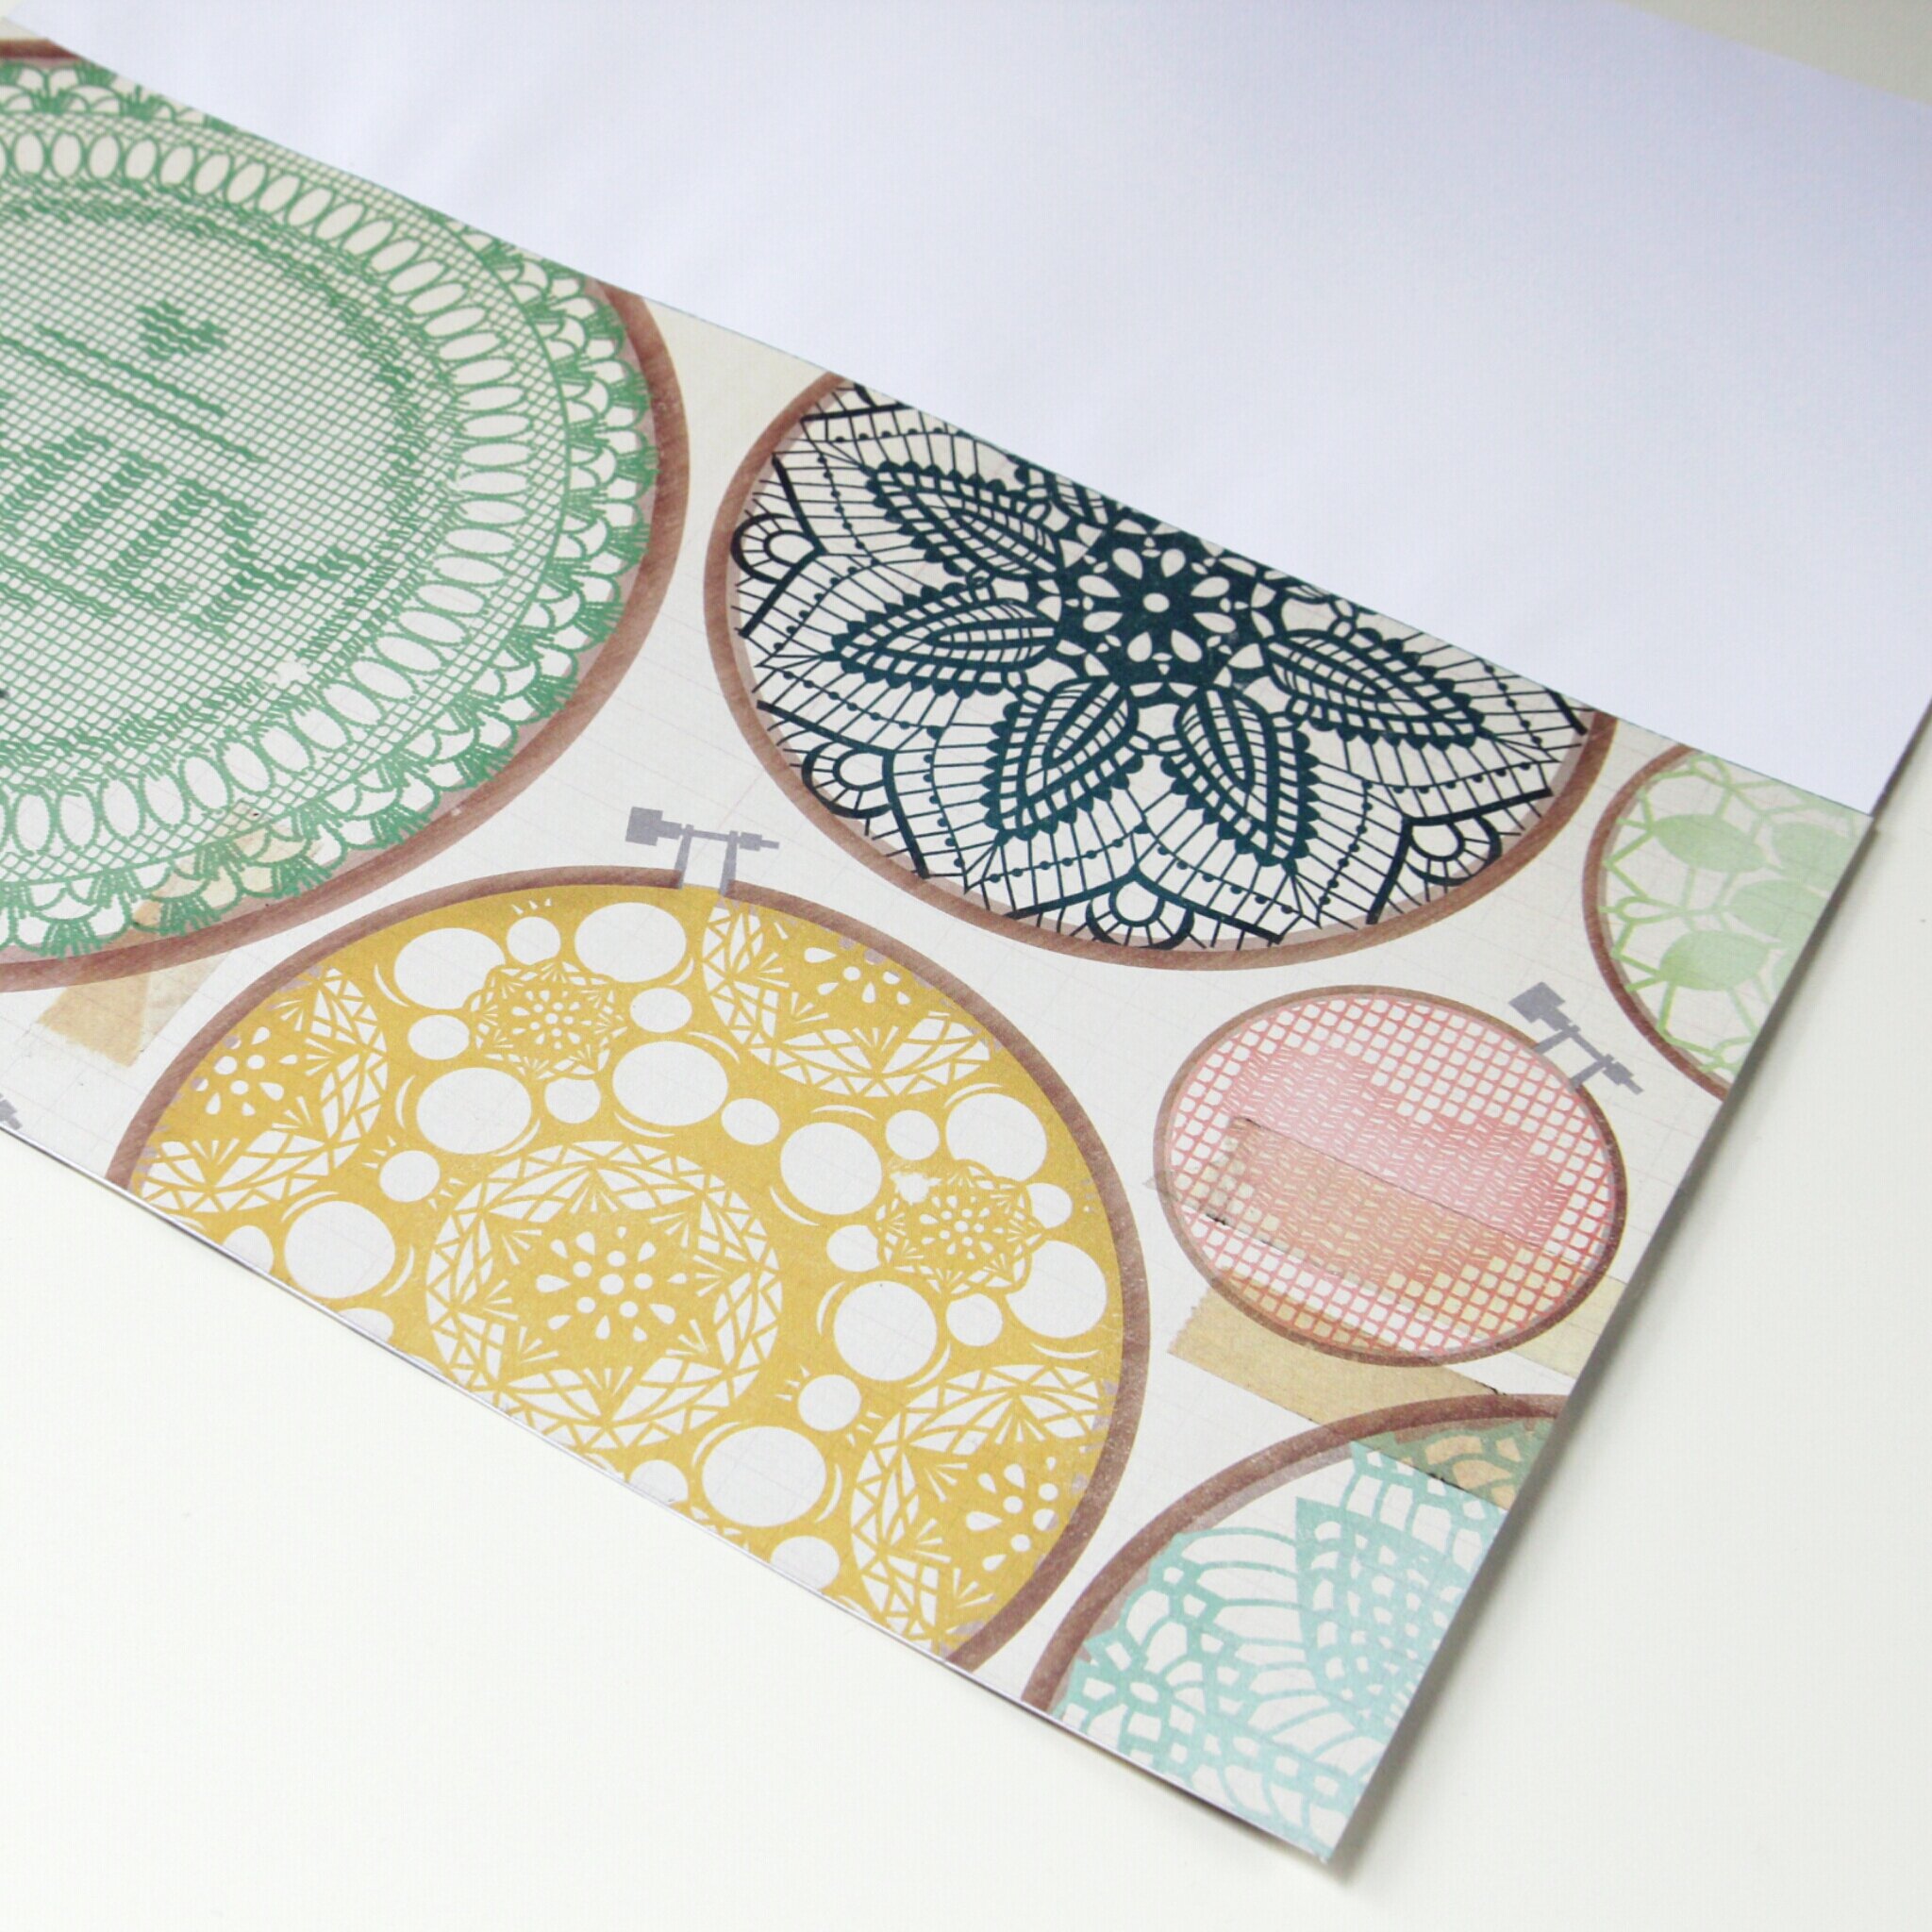
You can use any paper to make your pages, old books, graph paper or even maps but it's important to think about the size of the notebook. Whatever you use as your cover needs to wrap around the front and back of your pages with a little bit over on each side.
How To Perfect Bind A Notebook.
1. Select and cut your paper to size.
I used 6 sheets of 12x12 inch scrapbook paper to make my pages and cut them each down to four 5.5 inch squares pieces.
This meant that I could use a piece of 12x12 scrapbook paper to make my cover and still have half an inch leftover on each side.
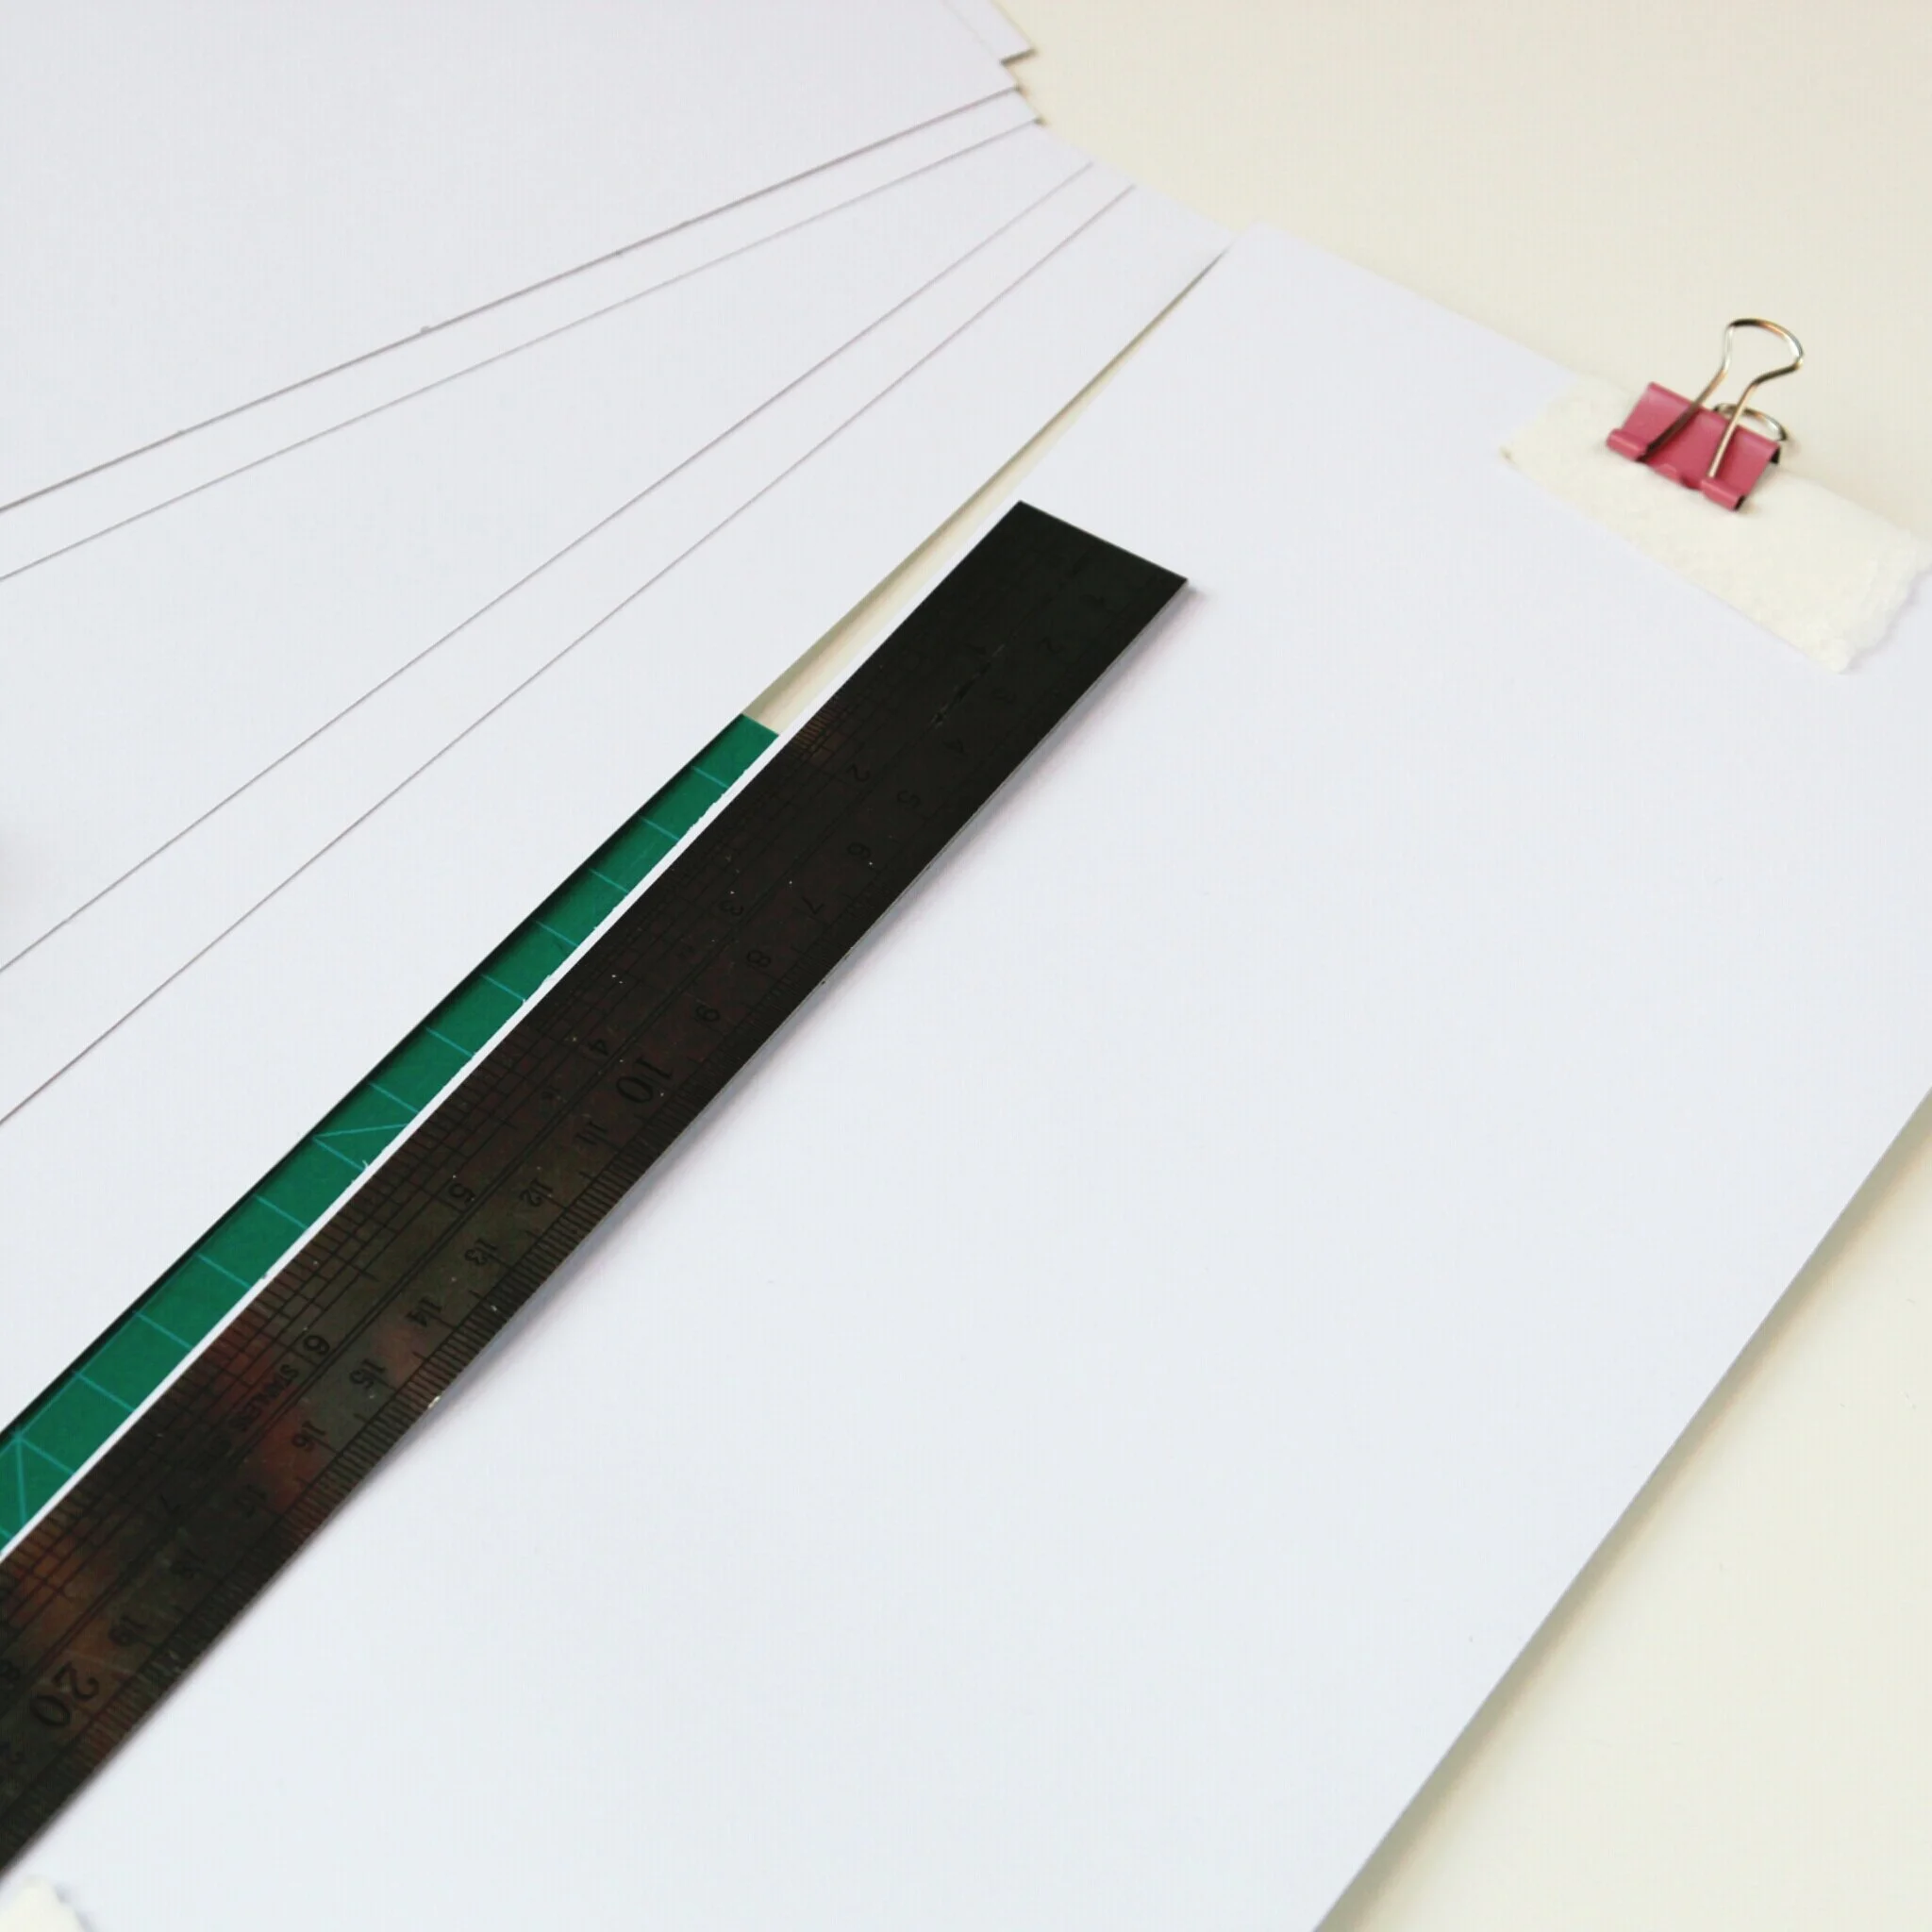
Top Tip:
Use binder clips to hold the paper in place as you cut it to keep it in place. Use a bit of scrap paper under each clip to protect your pages and prevent the clips from leaving a mark.

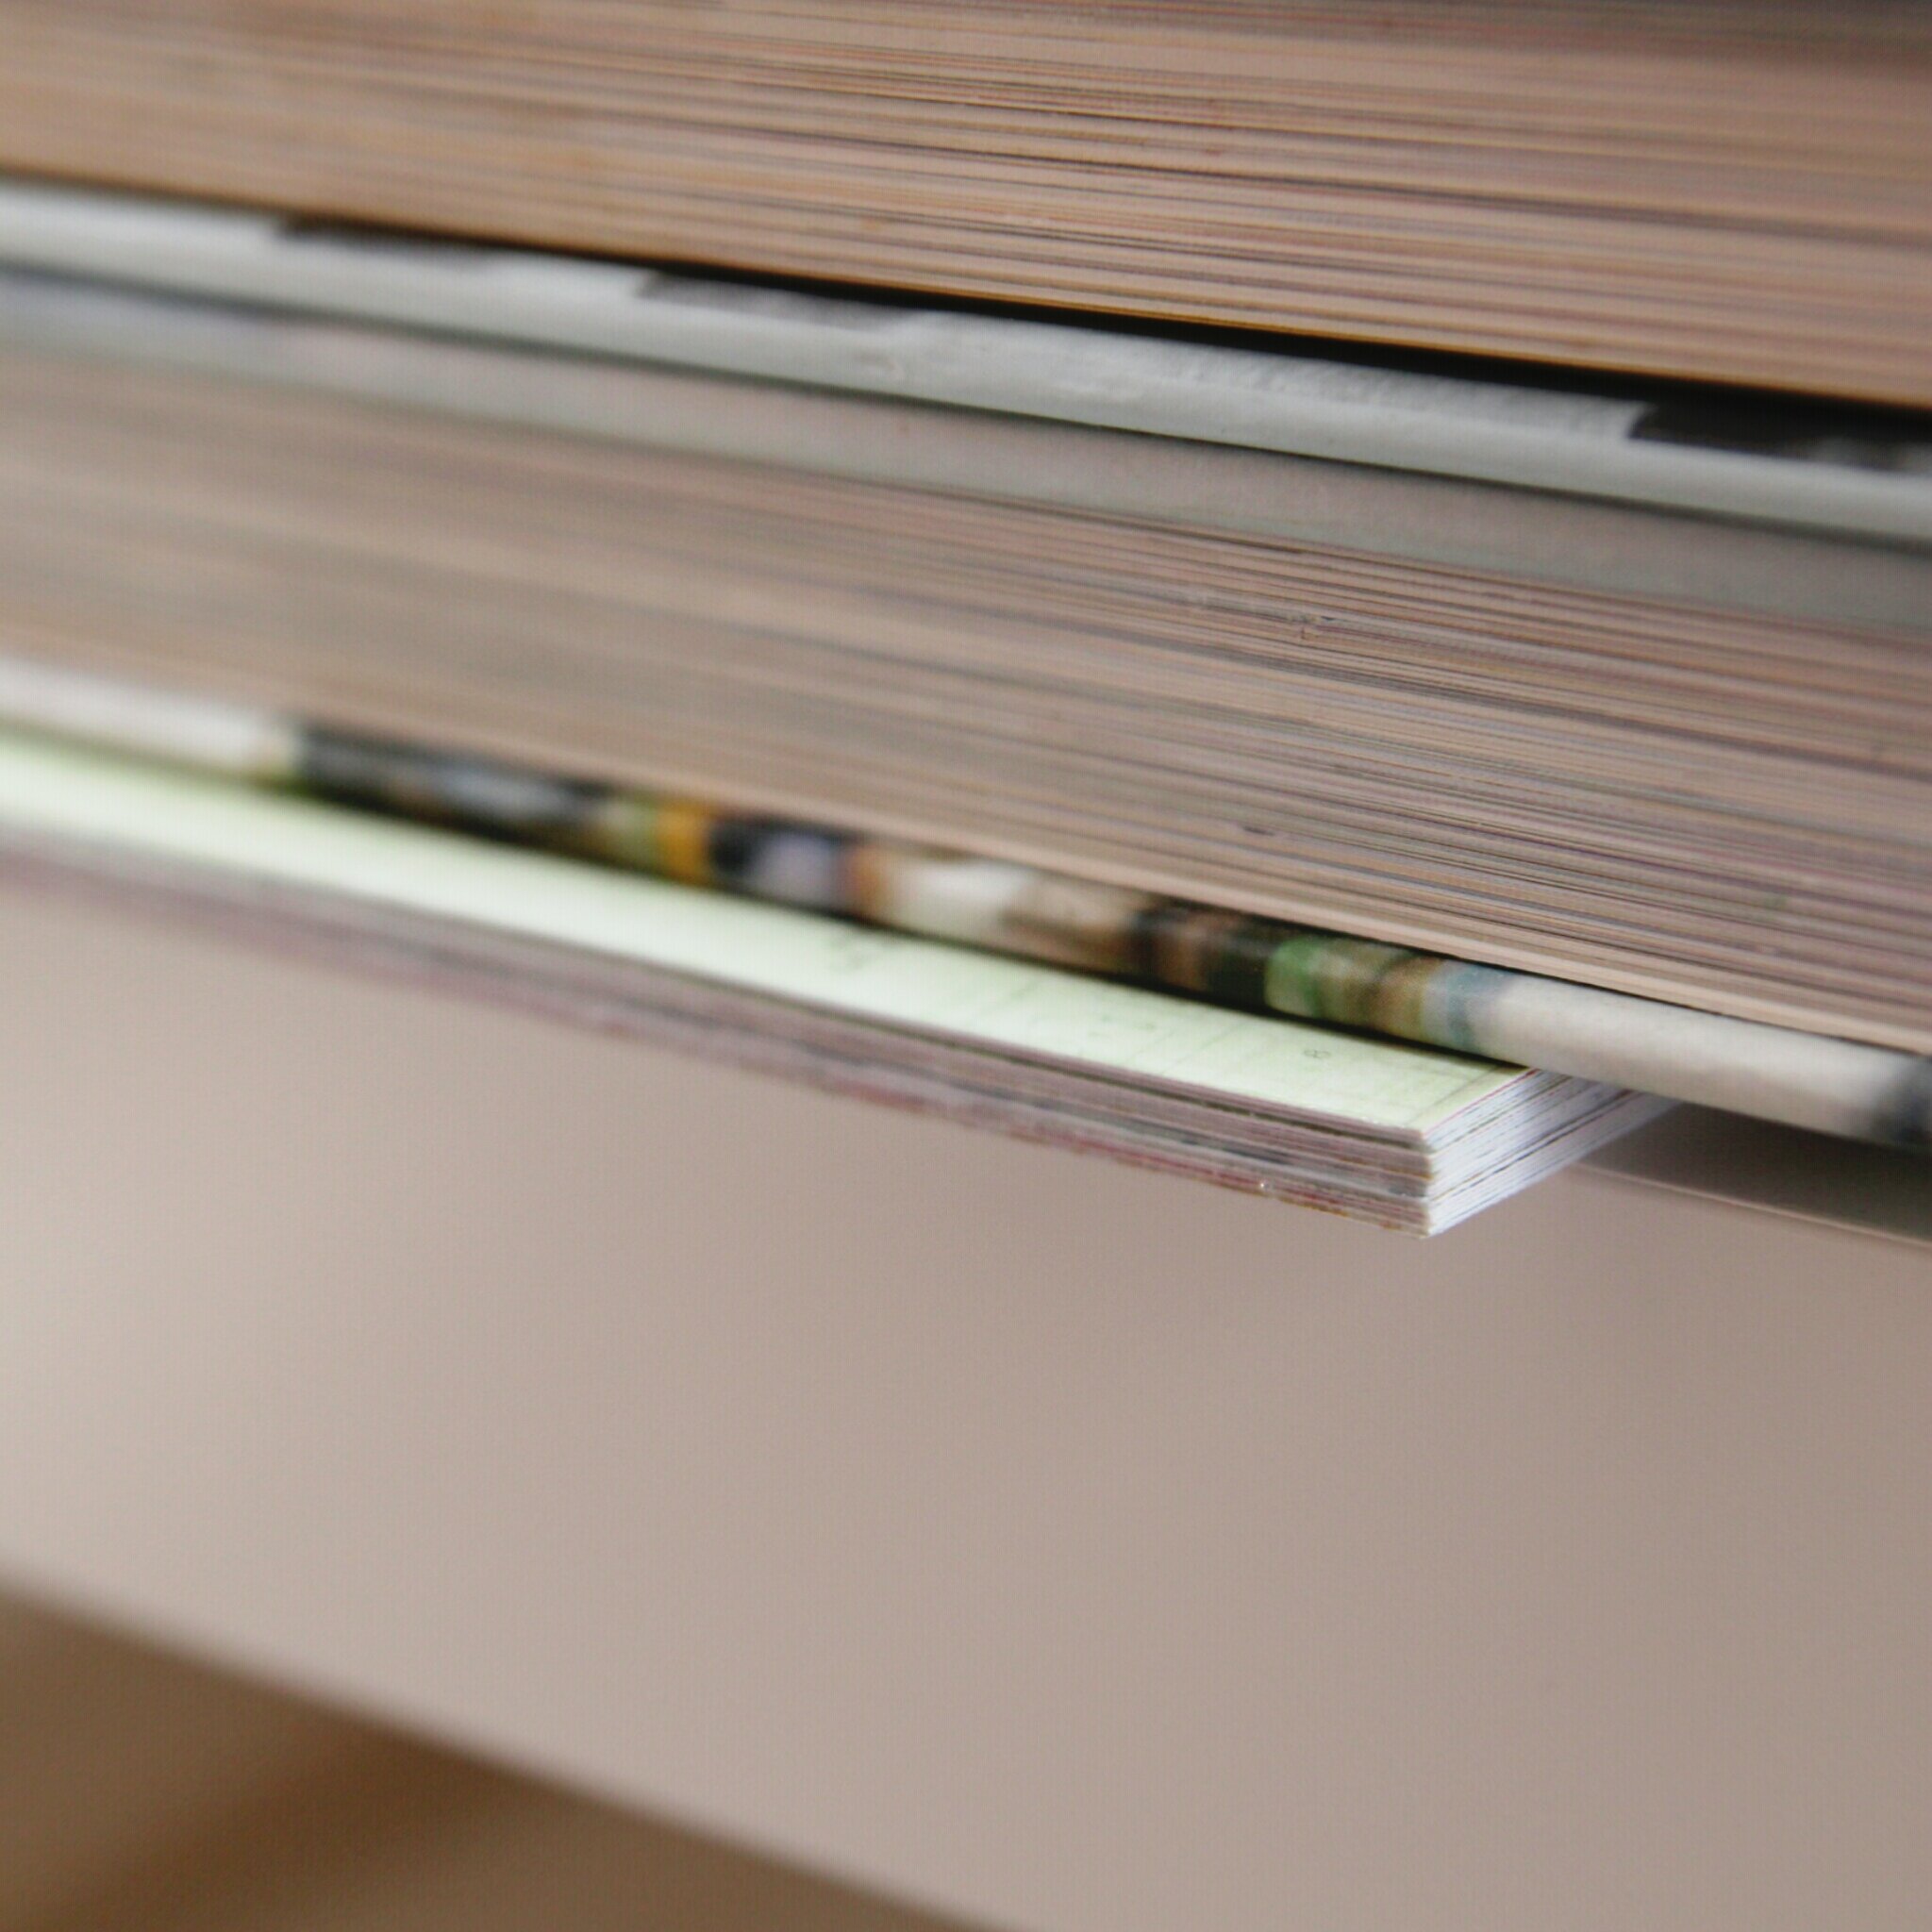
Making The Text Block.
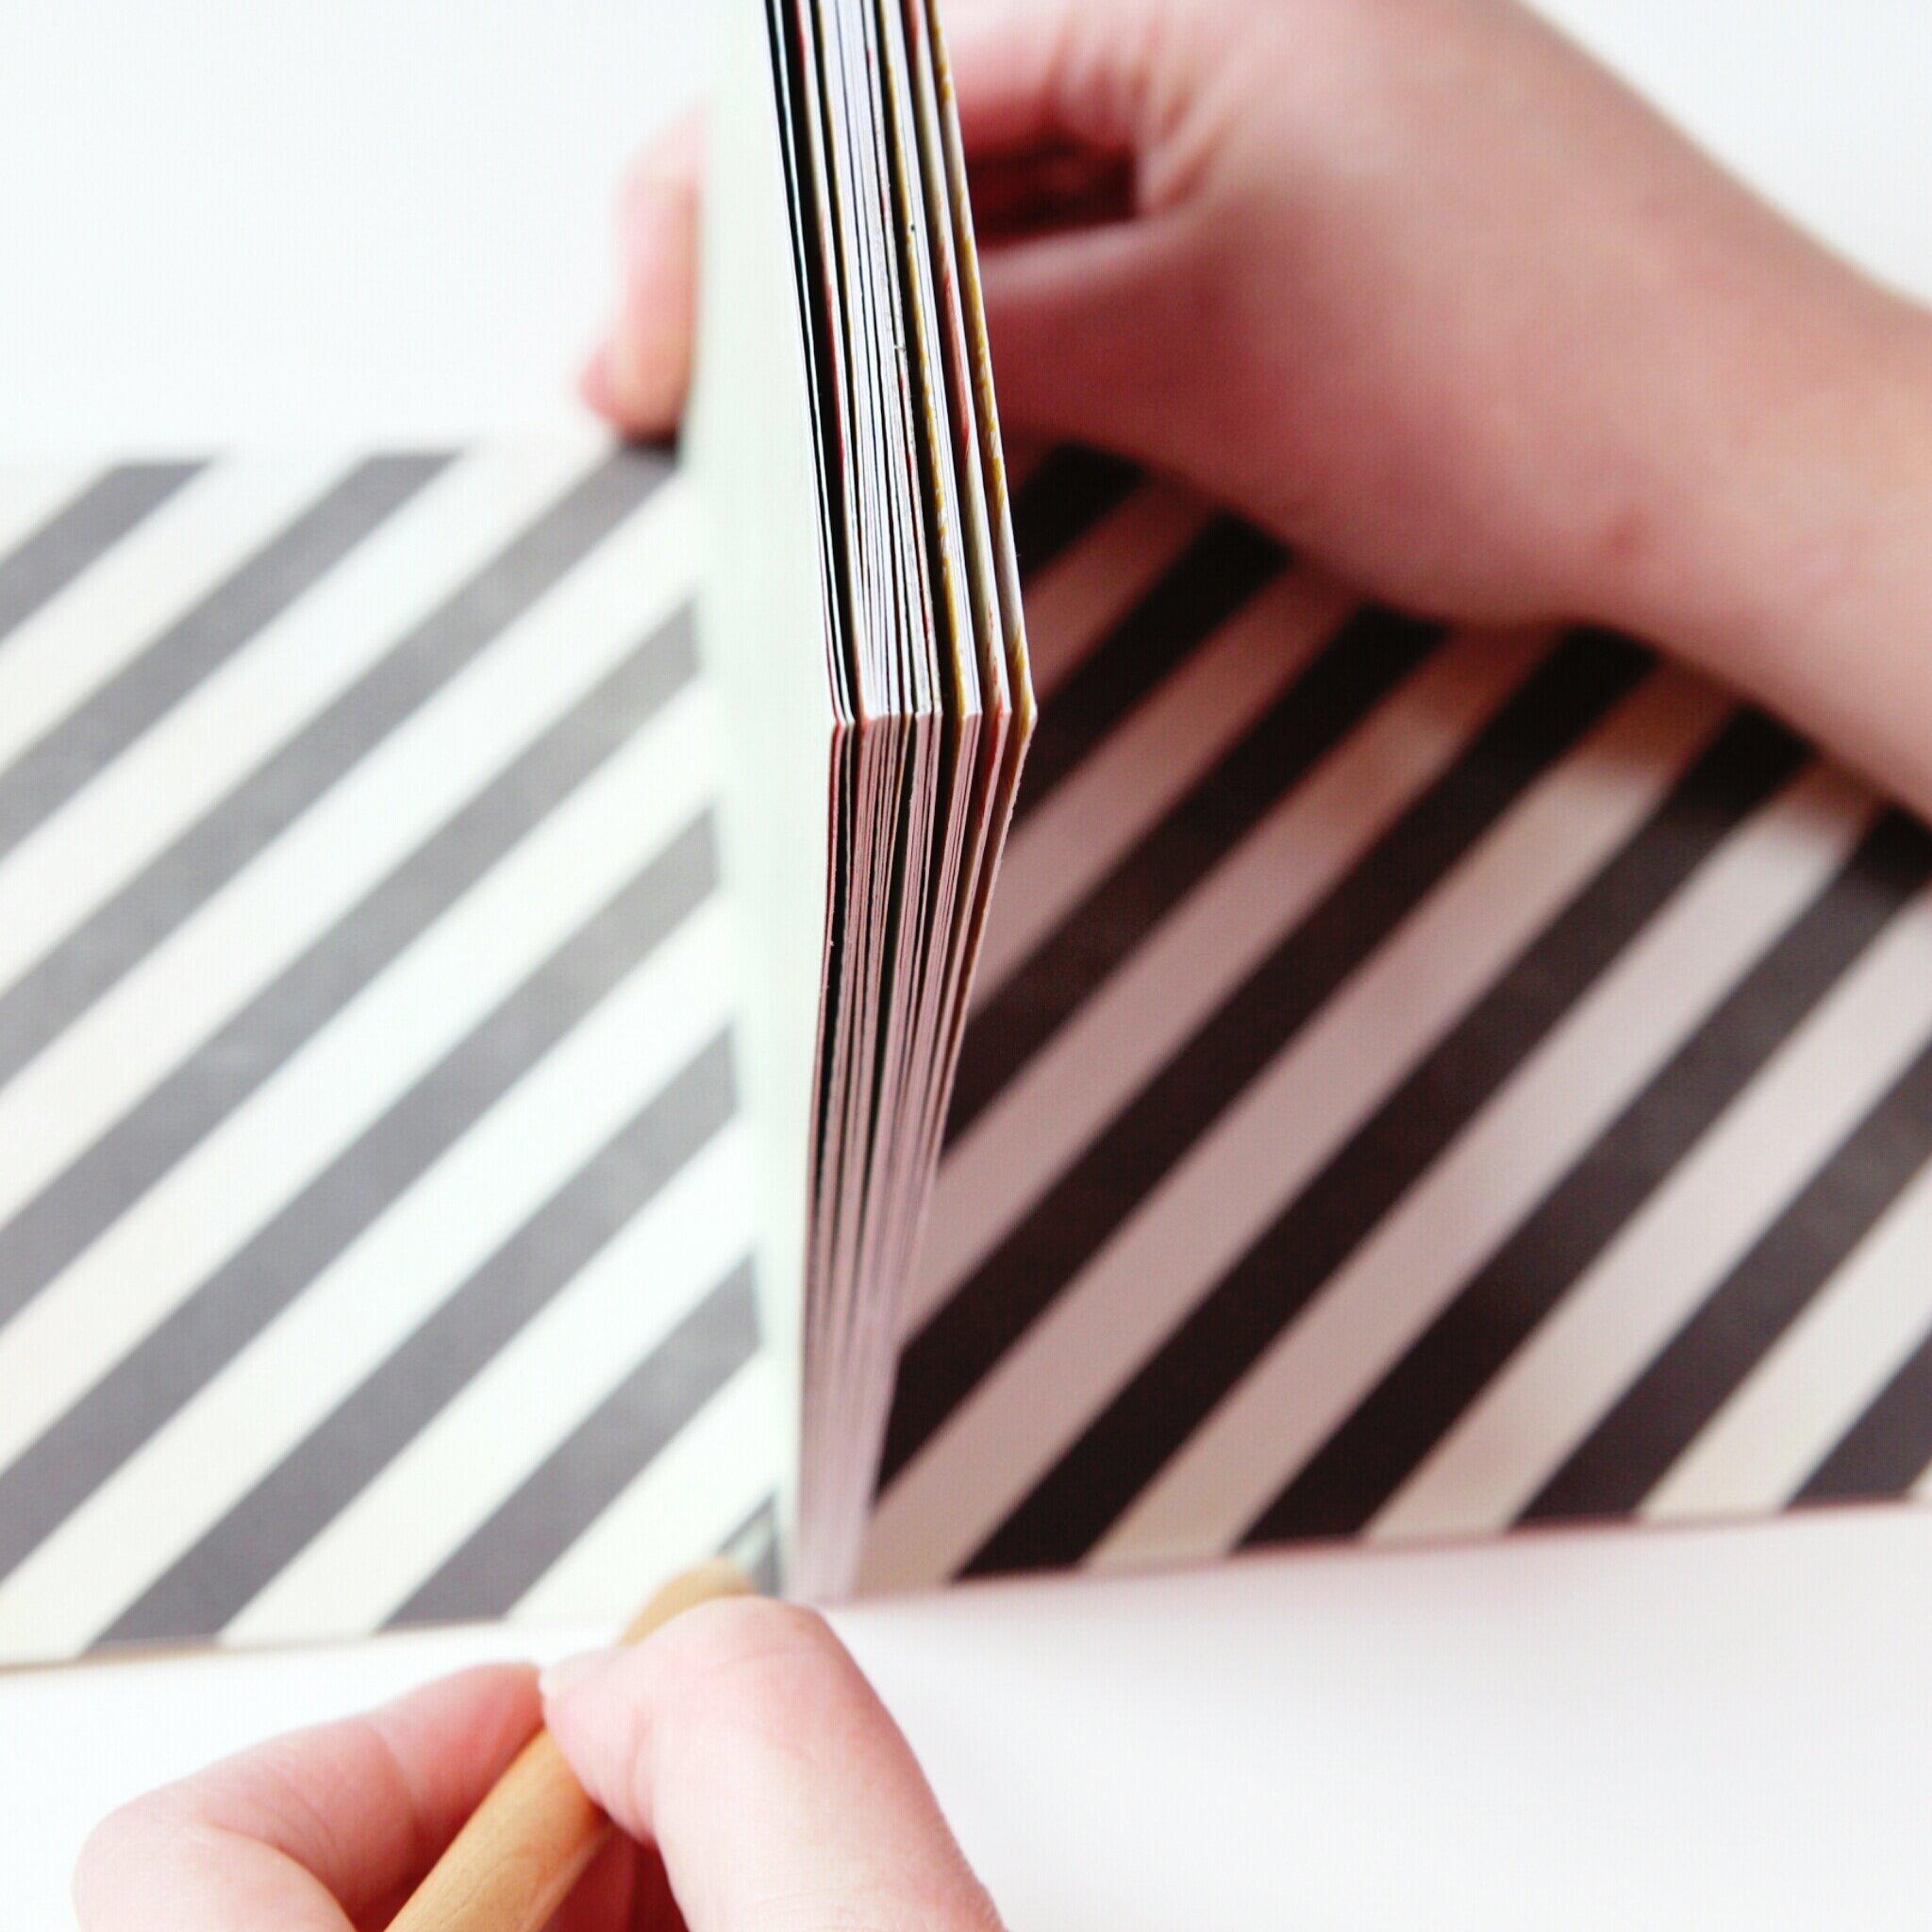
2. Stack your paper and line up all the sides by tapping the stack down against the tabletop.
3. Secure your stack of paper using binder clips.
It's important that the edge you are going to glue is completely flat. Any pages not flush with the edge will not get glued and could fall out.
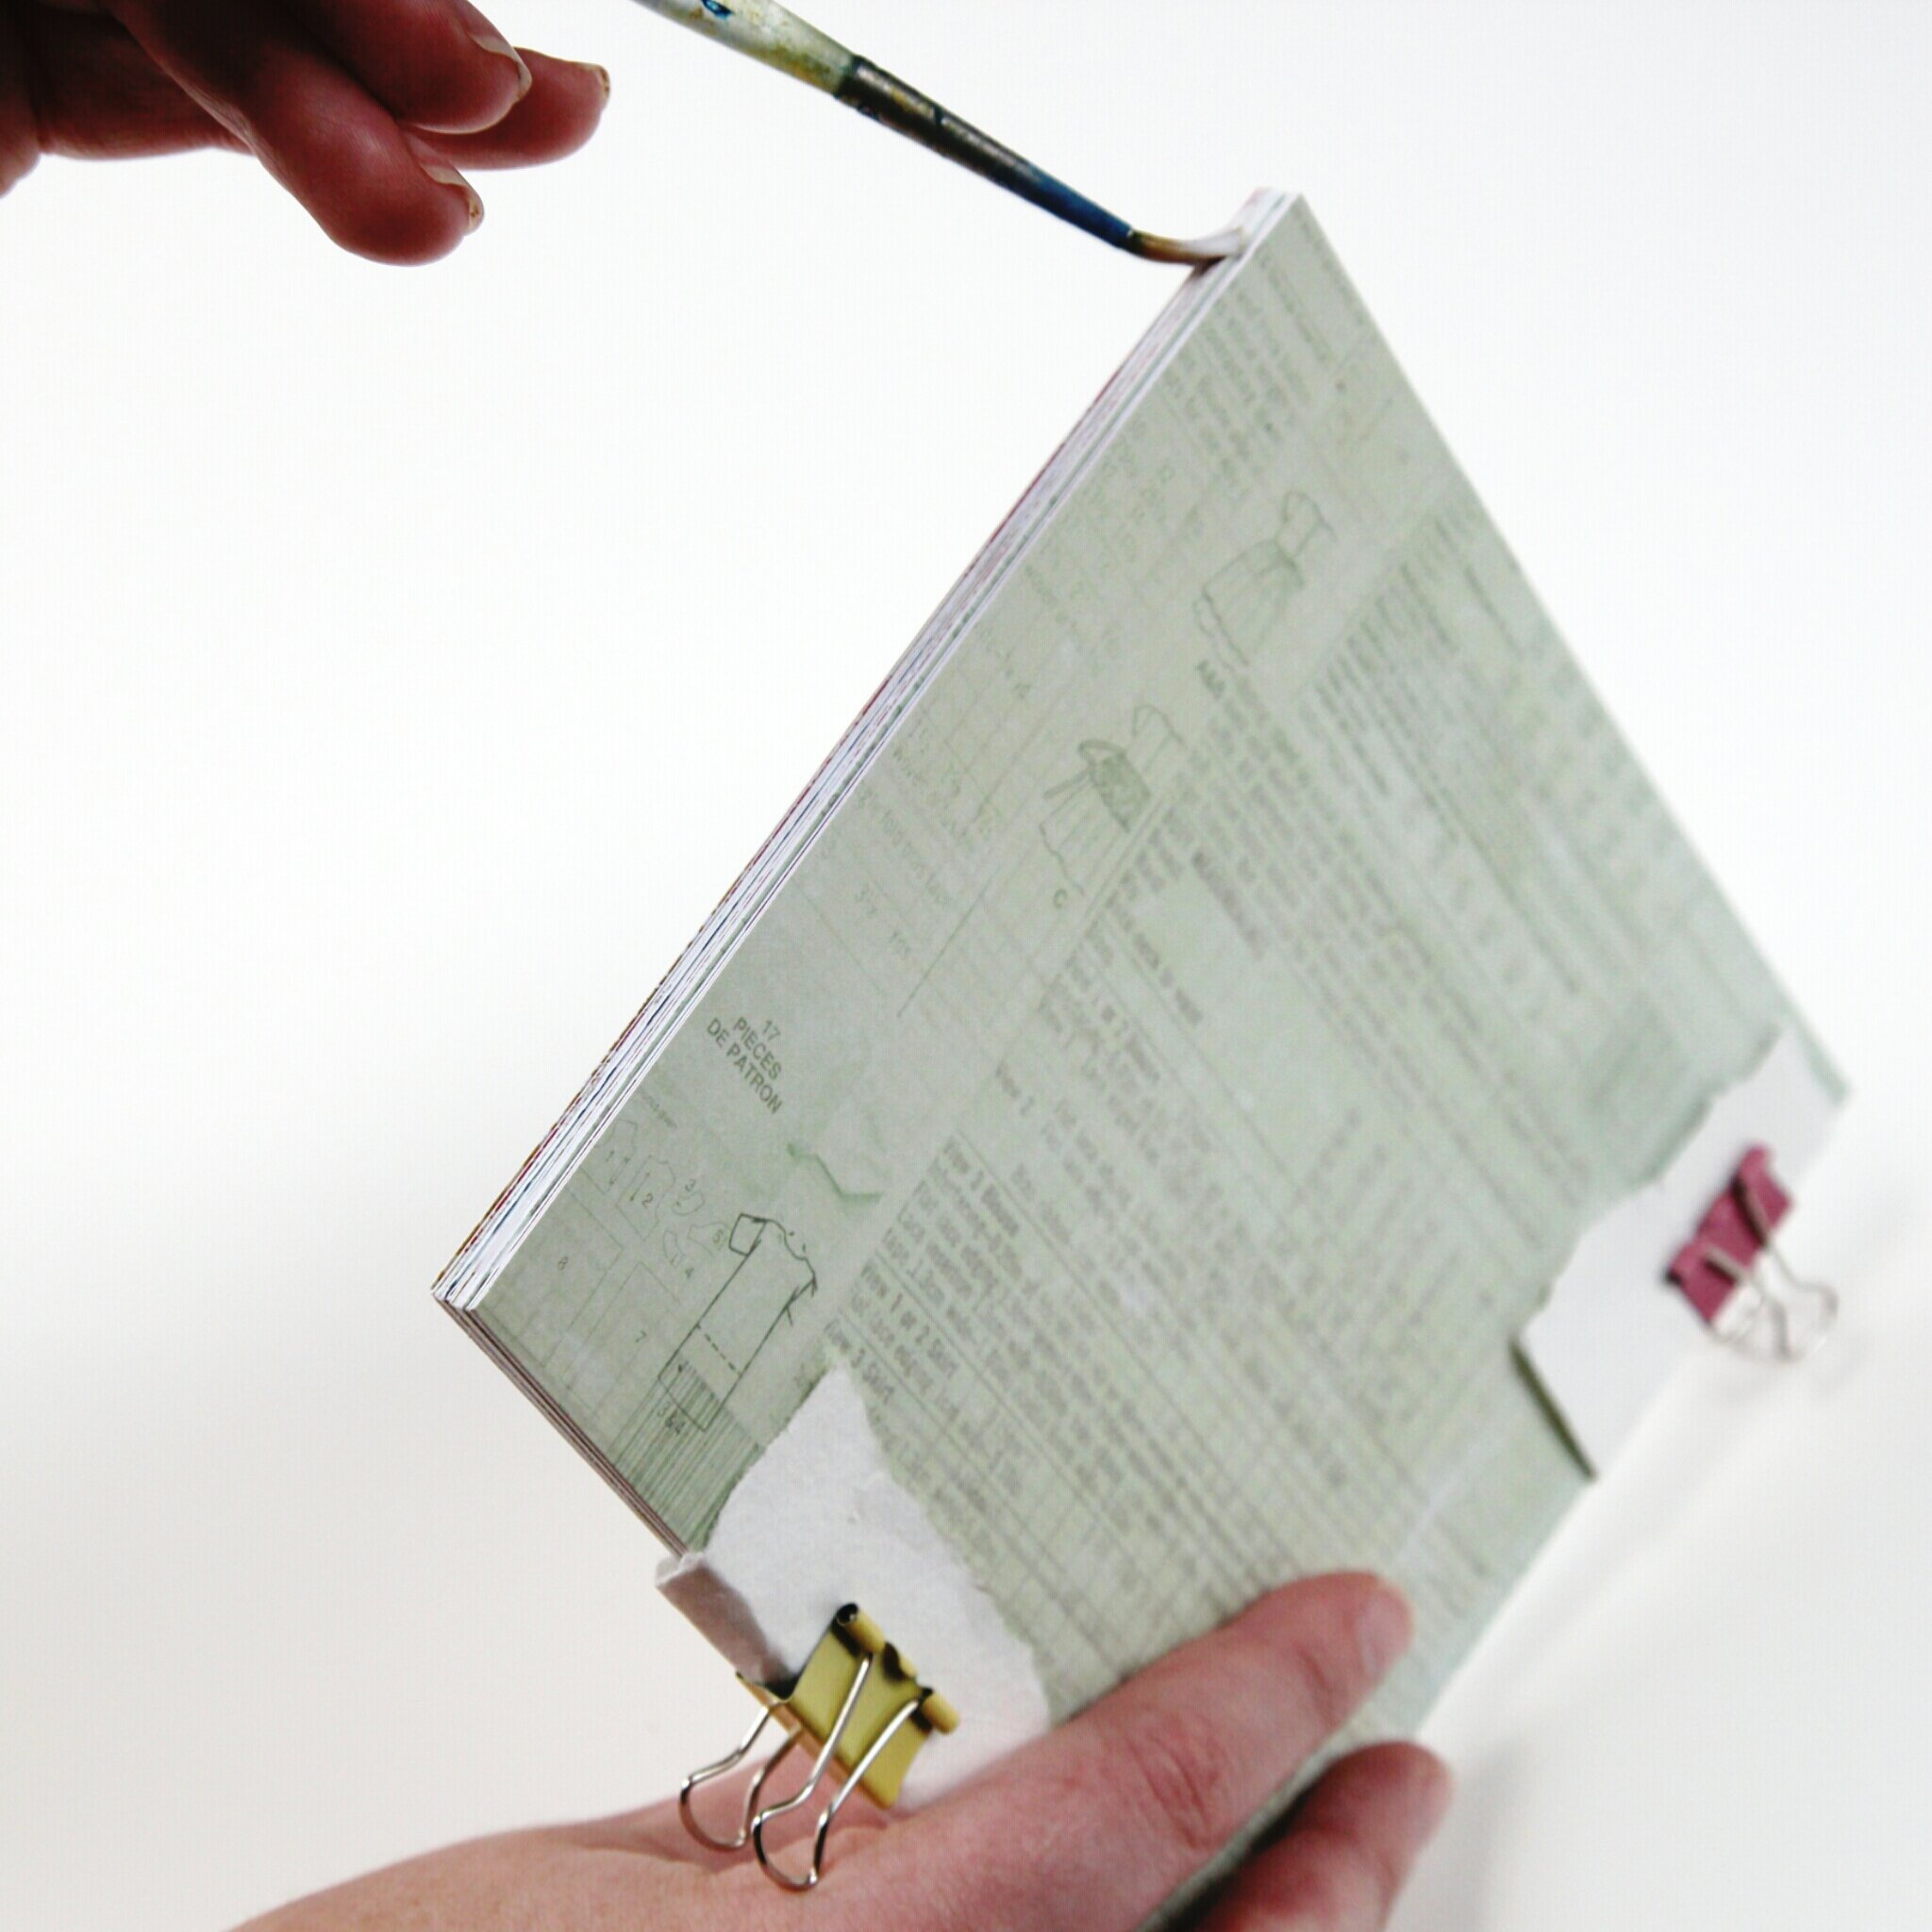
4. Use a paintbrush or foam brush and apply a thin layer of PVA or Elmer’s glue to form the spine of your notebook.
5. Let the glue dry and repeat.
I applied four layers of glue before I was happy with the results.
You may find that as your glue layers are drying your paper begins to buckle and bow out a little. I found the best way to fix this was to press the paper under some heavy books as the last layer dried.
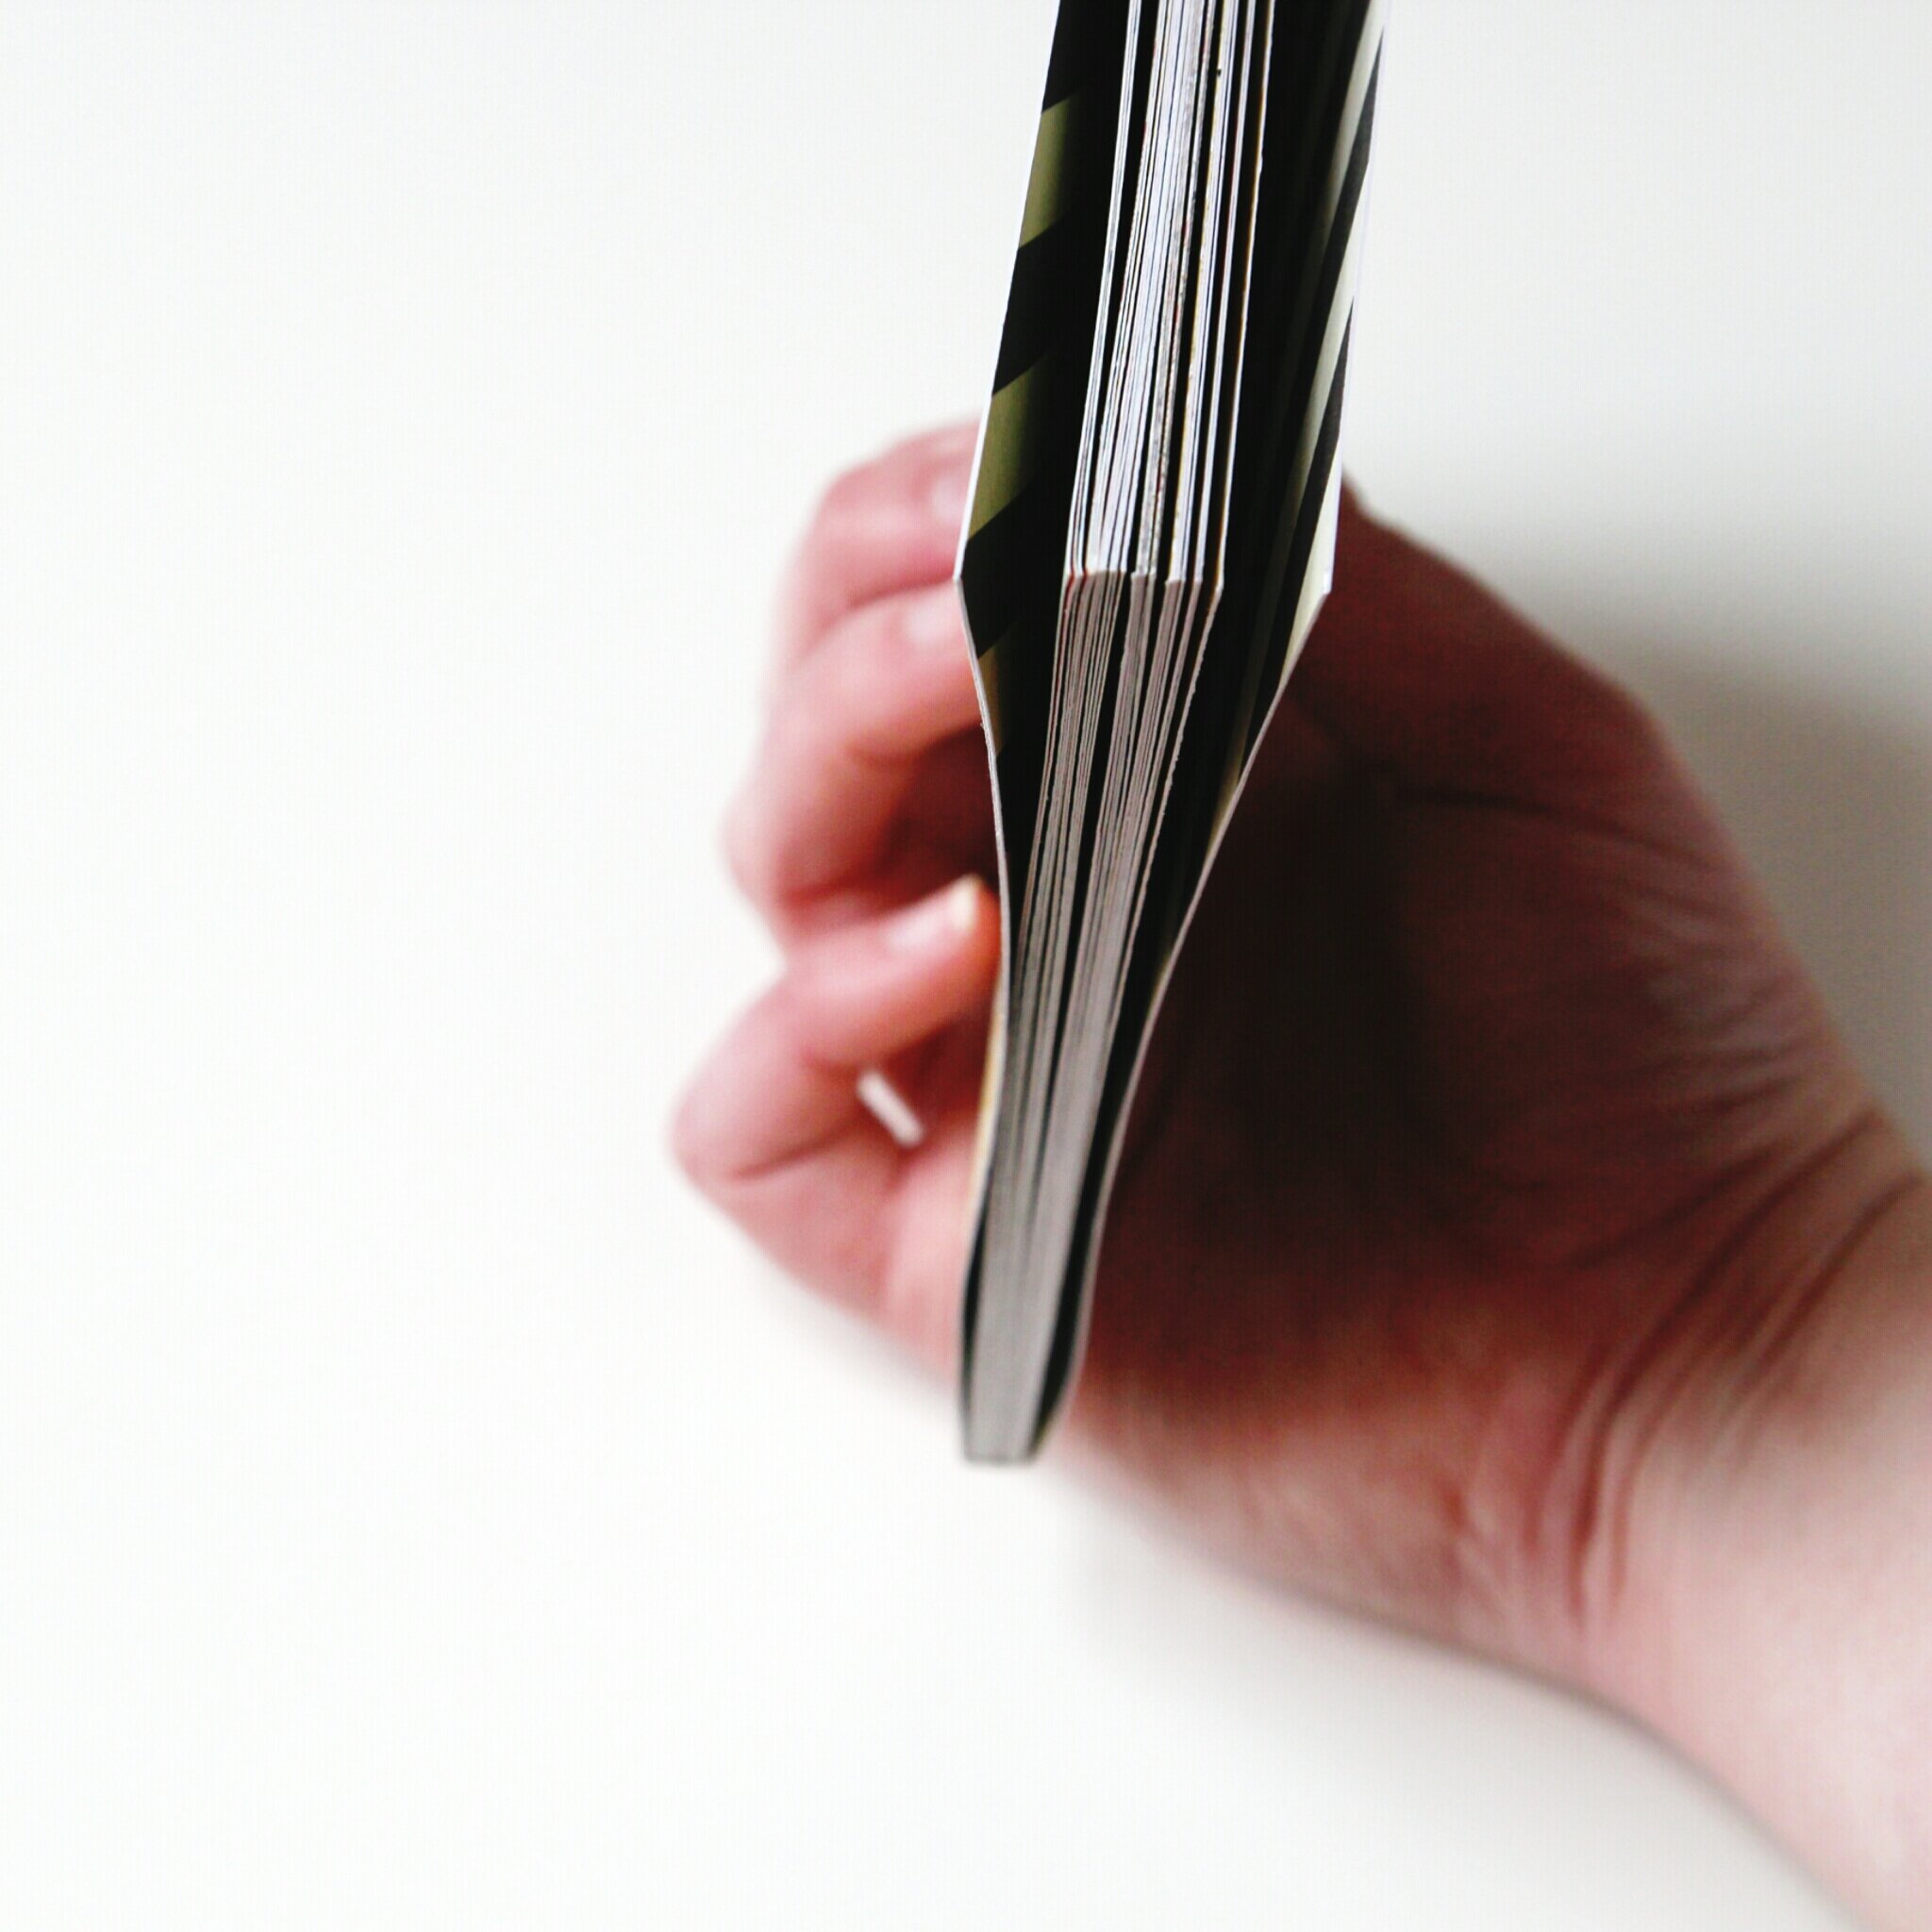
6. Leave to dry and trim if necessary.
Making The Cover.
7. If you want to use scrapbook paper for the cover you’ll need to make it stronger. You can do this by doubling up the paper and glueing it together or by sticking it to some plain card.
Remember you need the cover to be longer than the text block when it’s wrapped around.
8. Apply a thin layer of glue to the paper and stick together.
9. Leave to dry flat under some heavy books to stop the paper from buckling. Depending on the type of glue you use you may need to leave it overnight to dry.
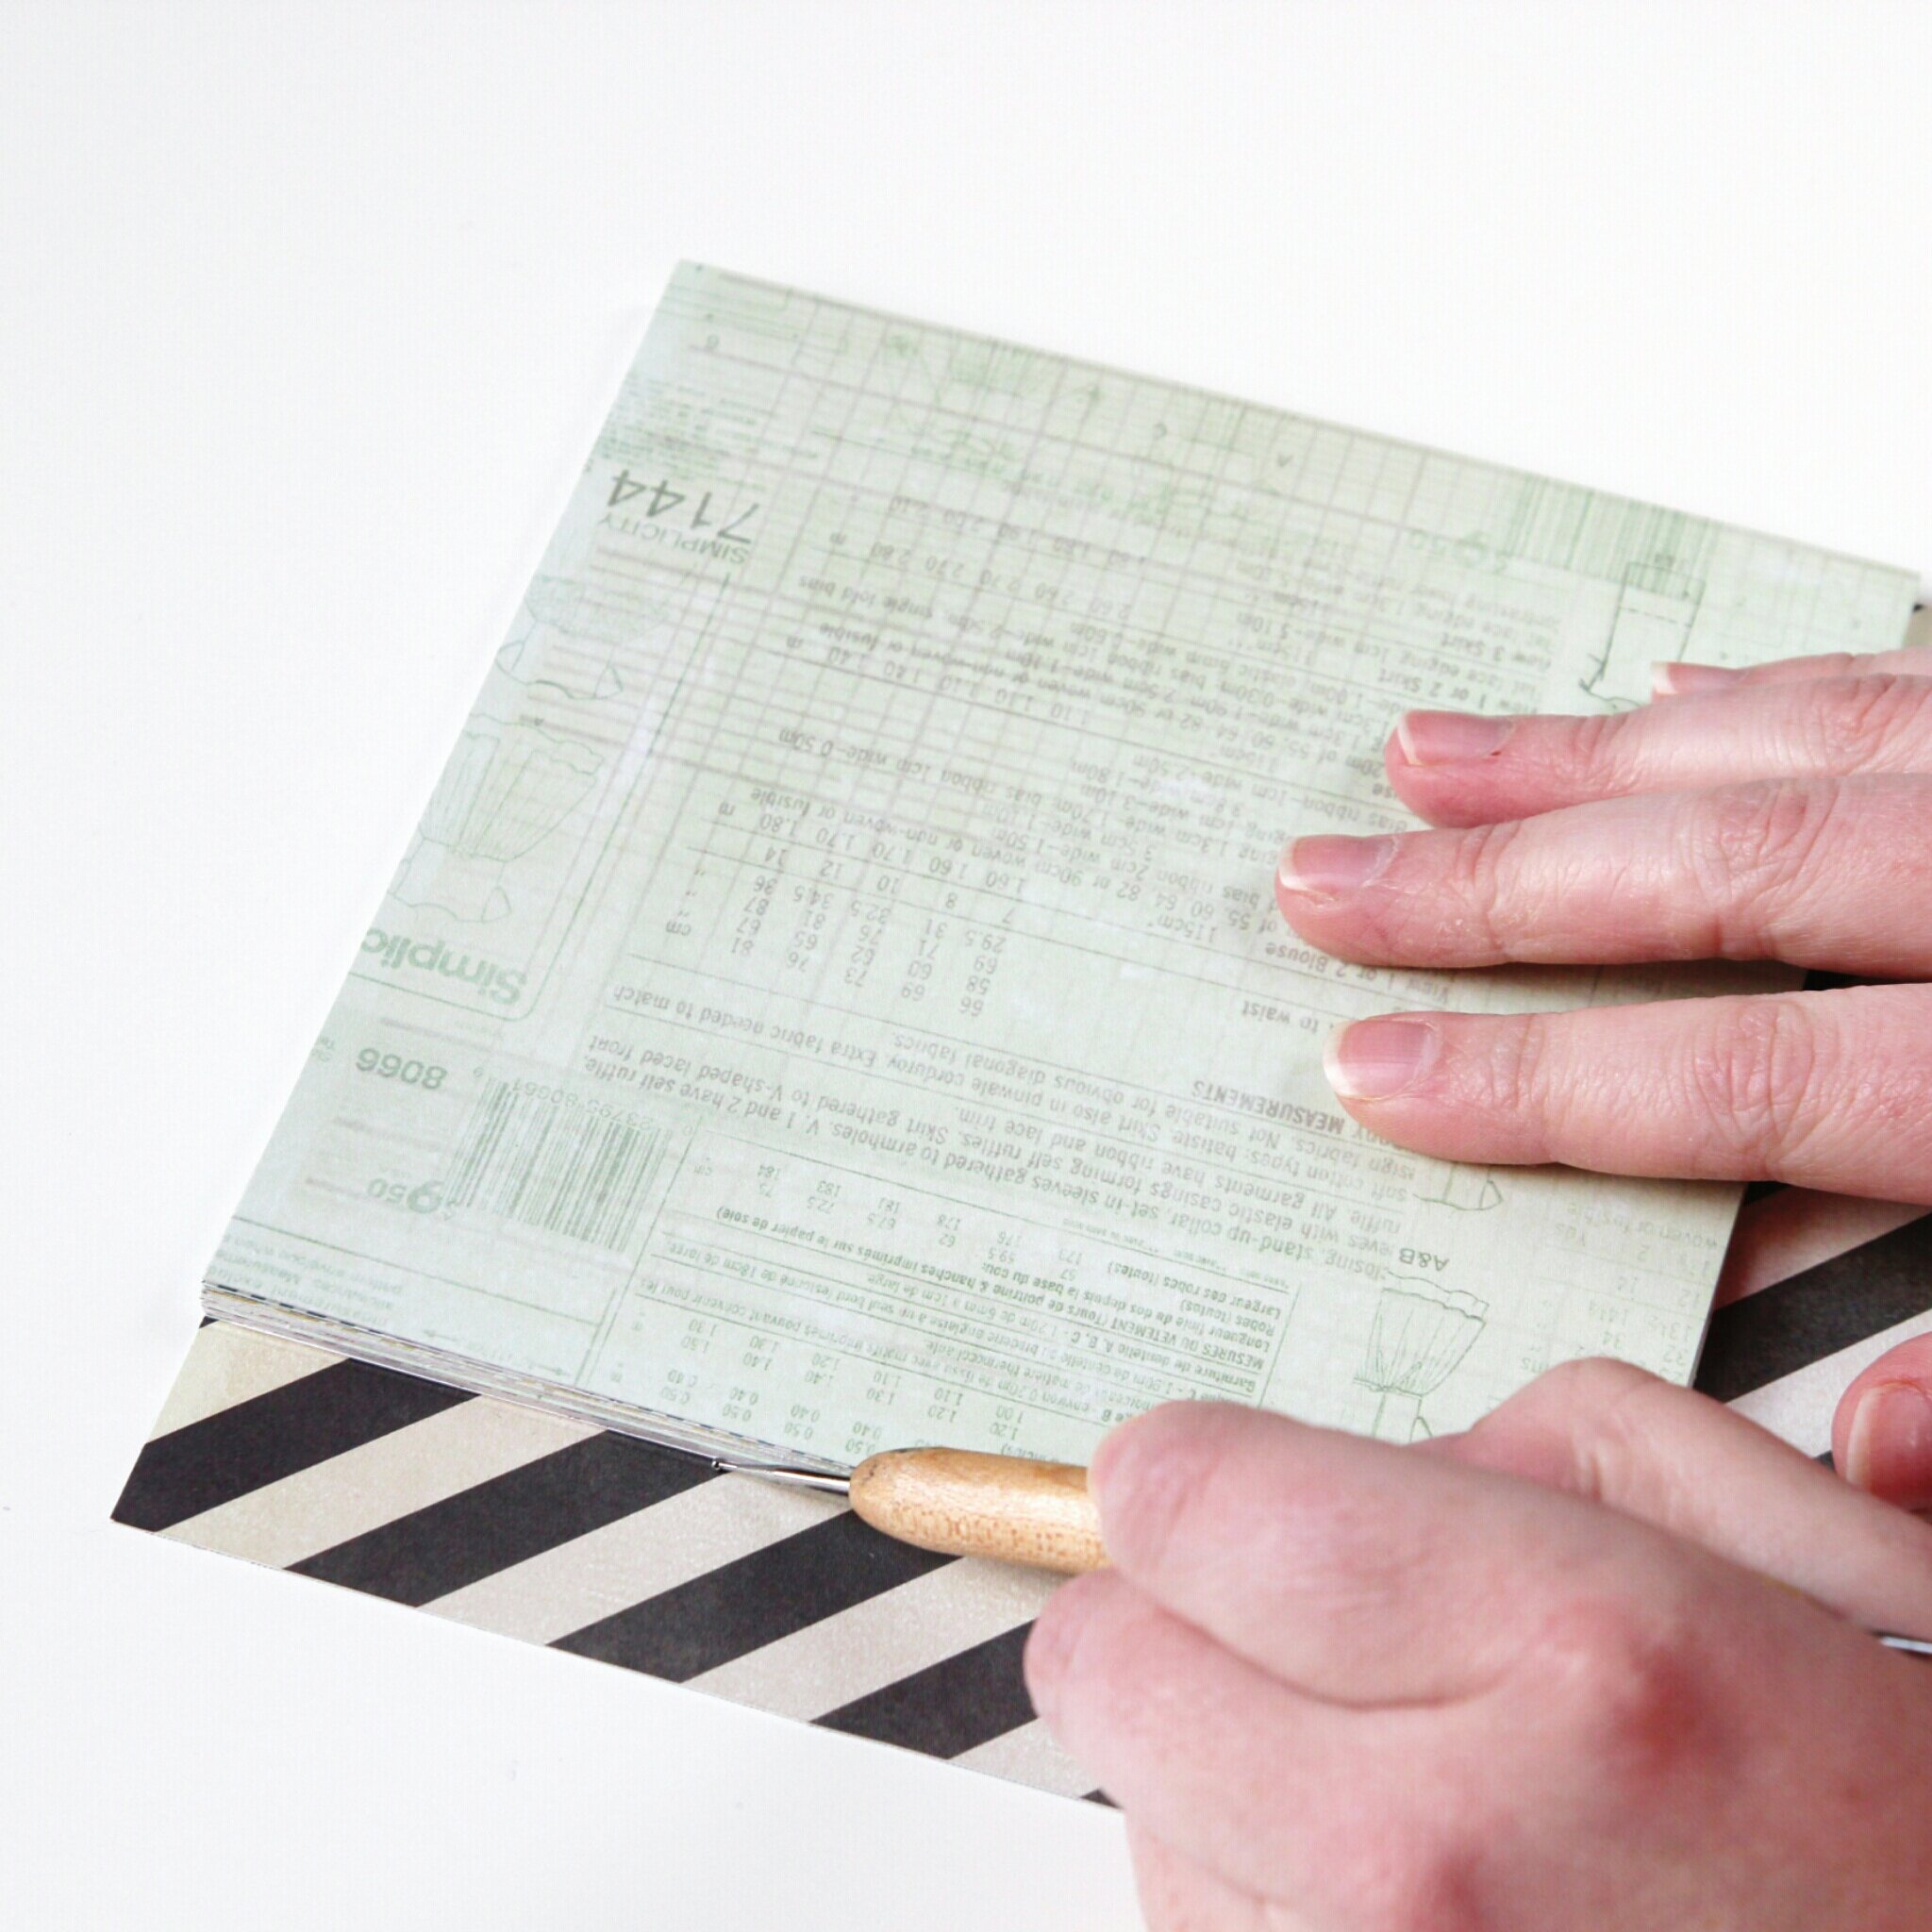
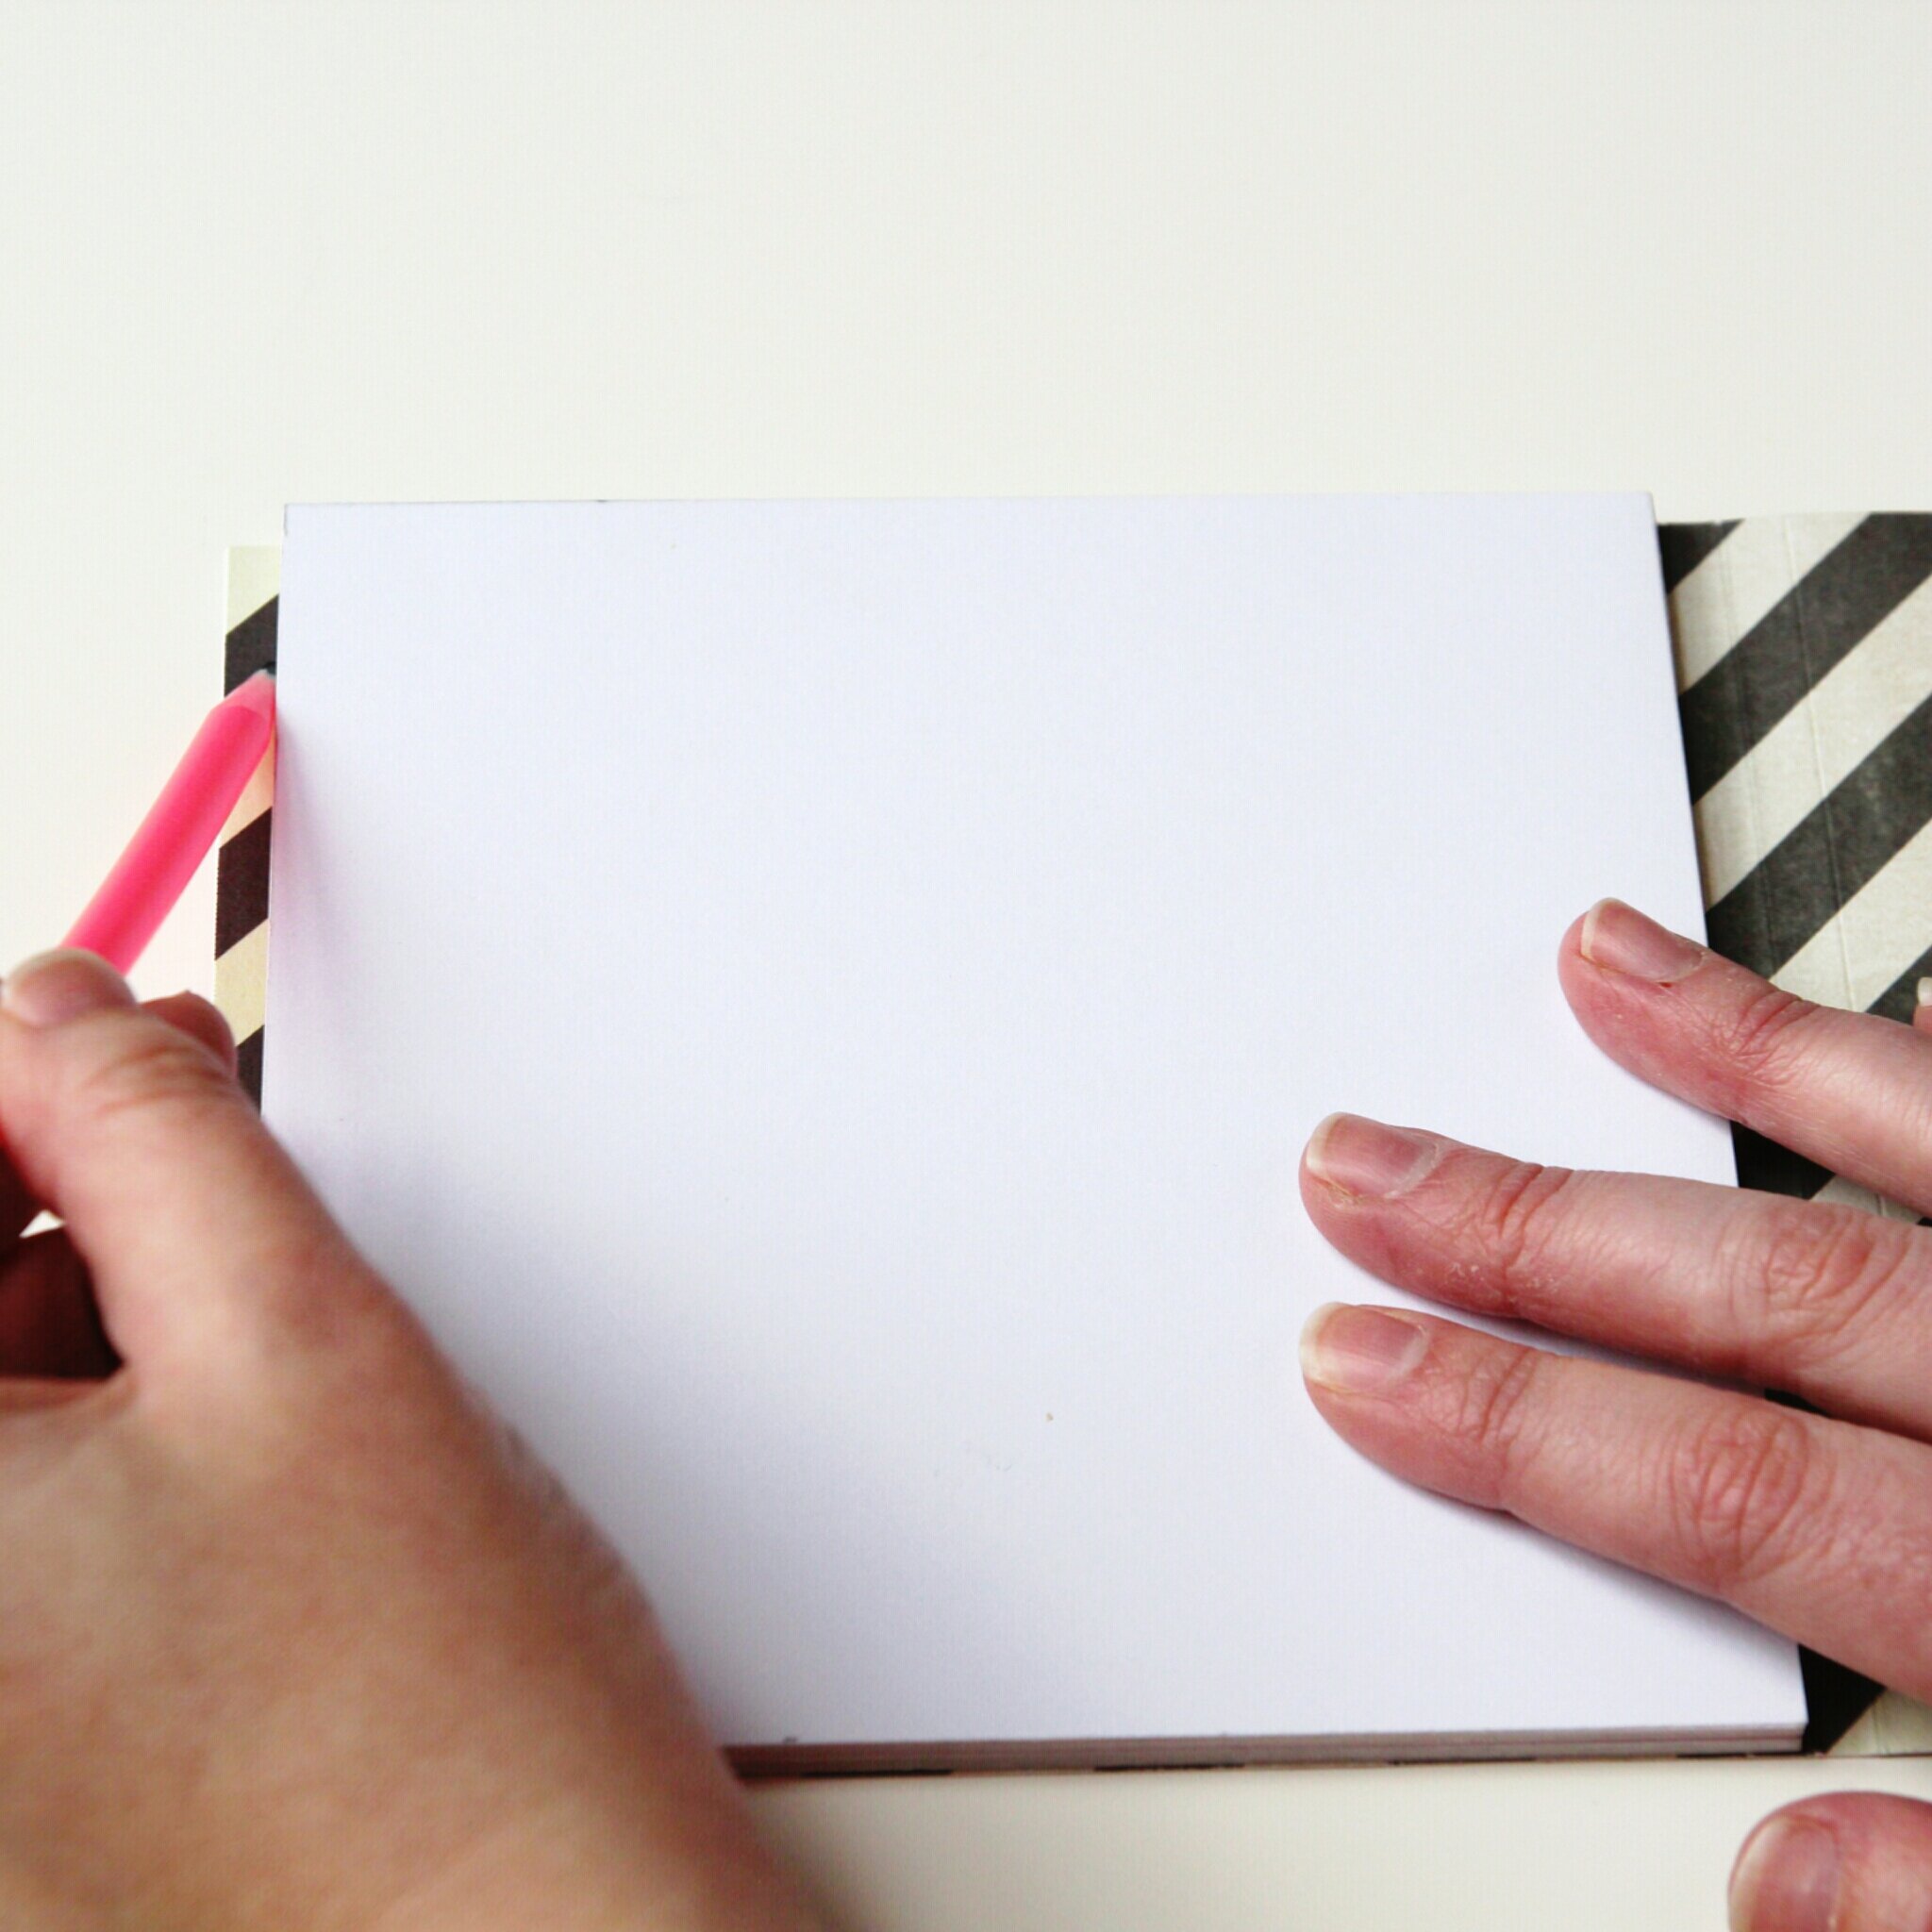
10. Take your stack of paper (text block) and line it up with the edge of what will be your cover.
11. Trace around it. You want the cover of your notebook to be the exact same height as your paper stack.
If you don't want any pencil marks on your paper you could use an embossing tool as I did.
12. Trim away any excess.

13. Place your stack on the cover. They should now be the same height but with a half-inch extra on the right-hand side.
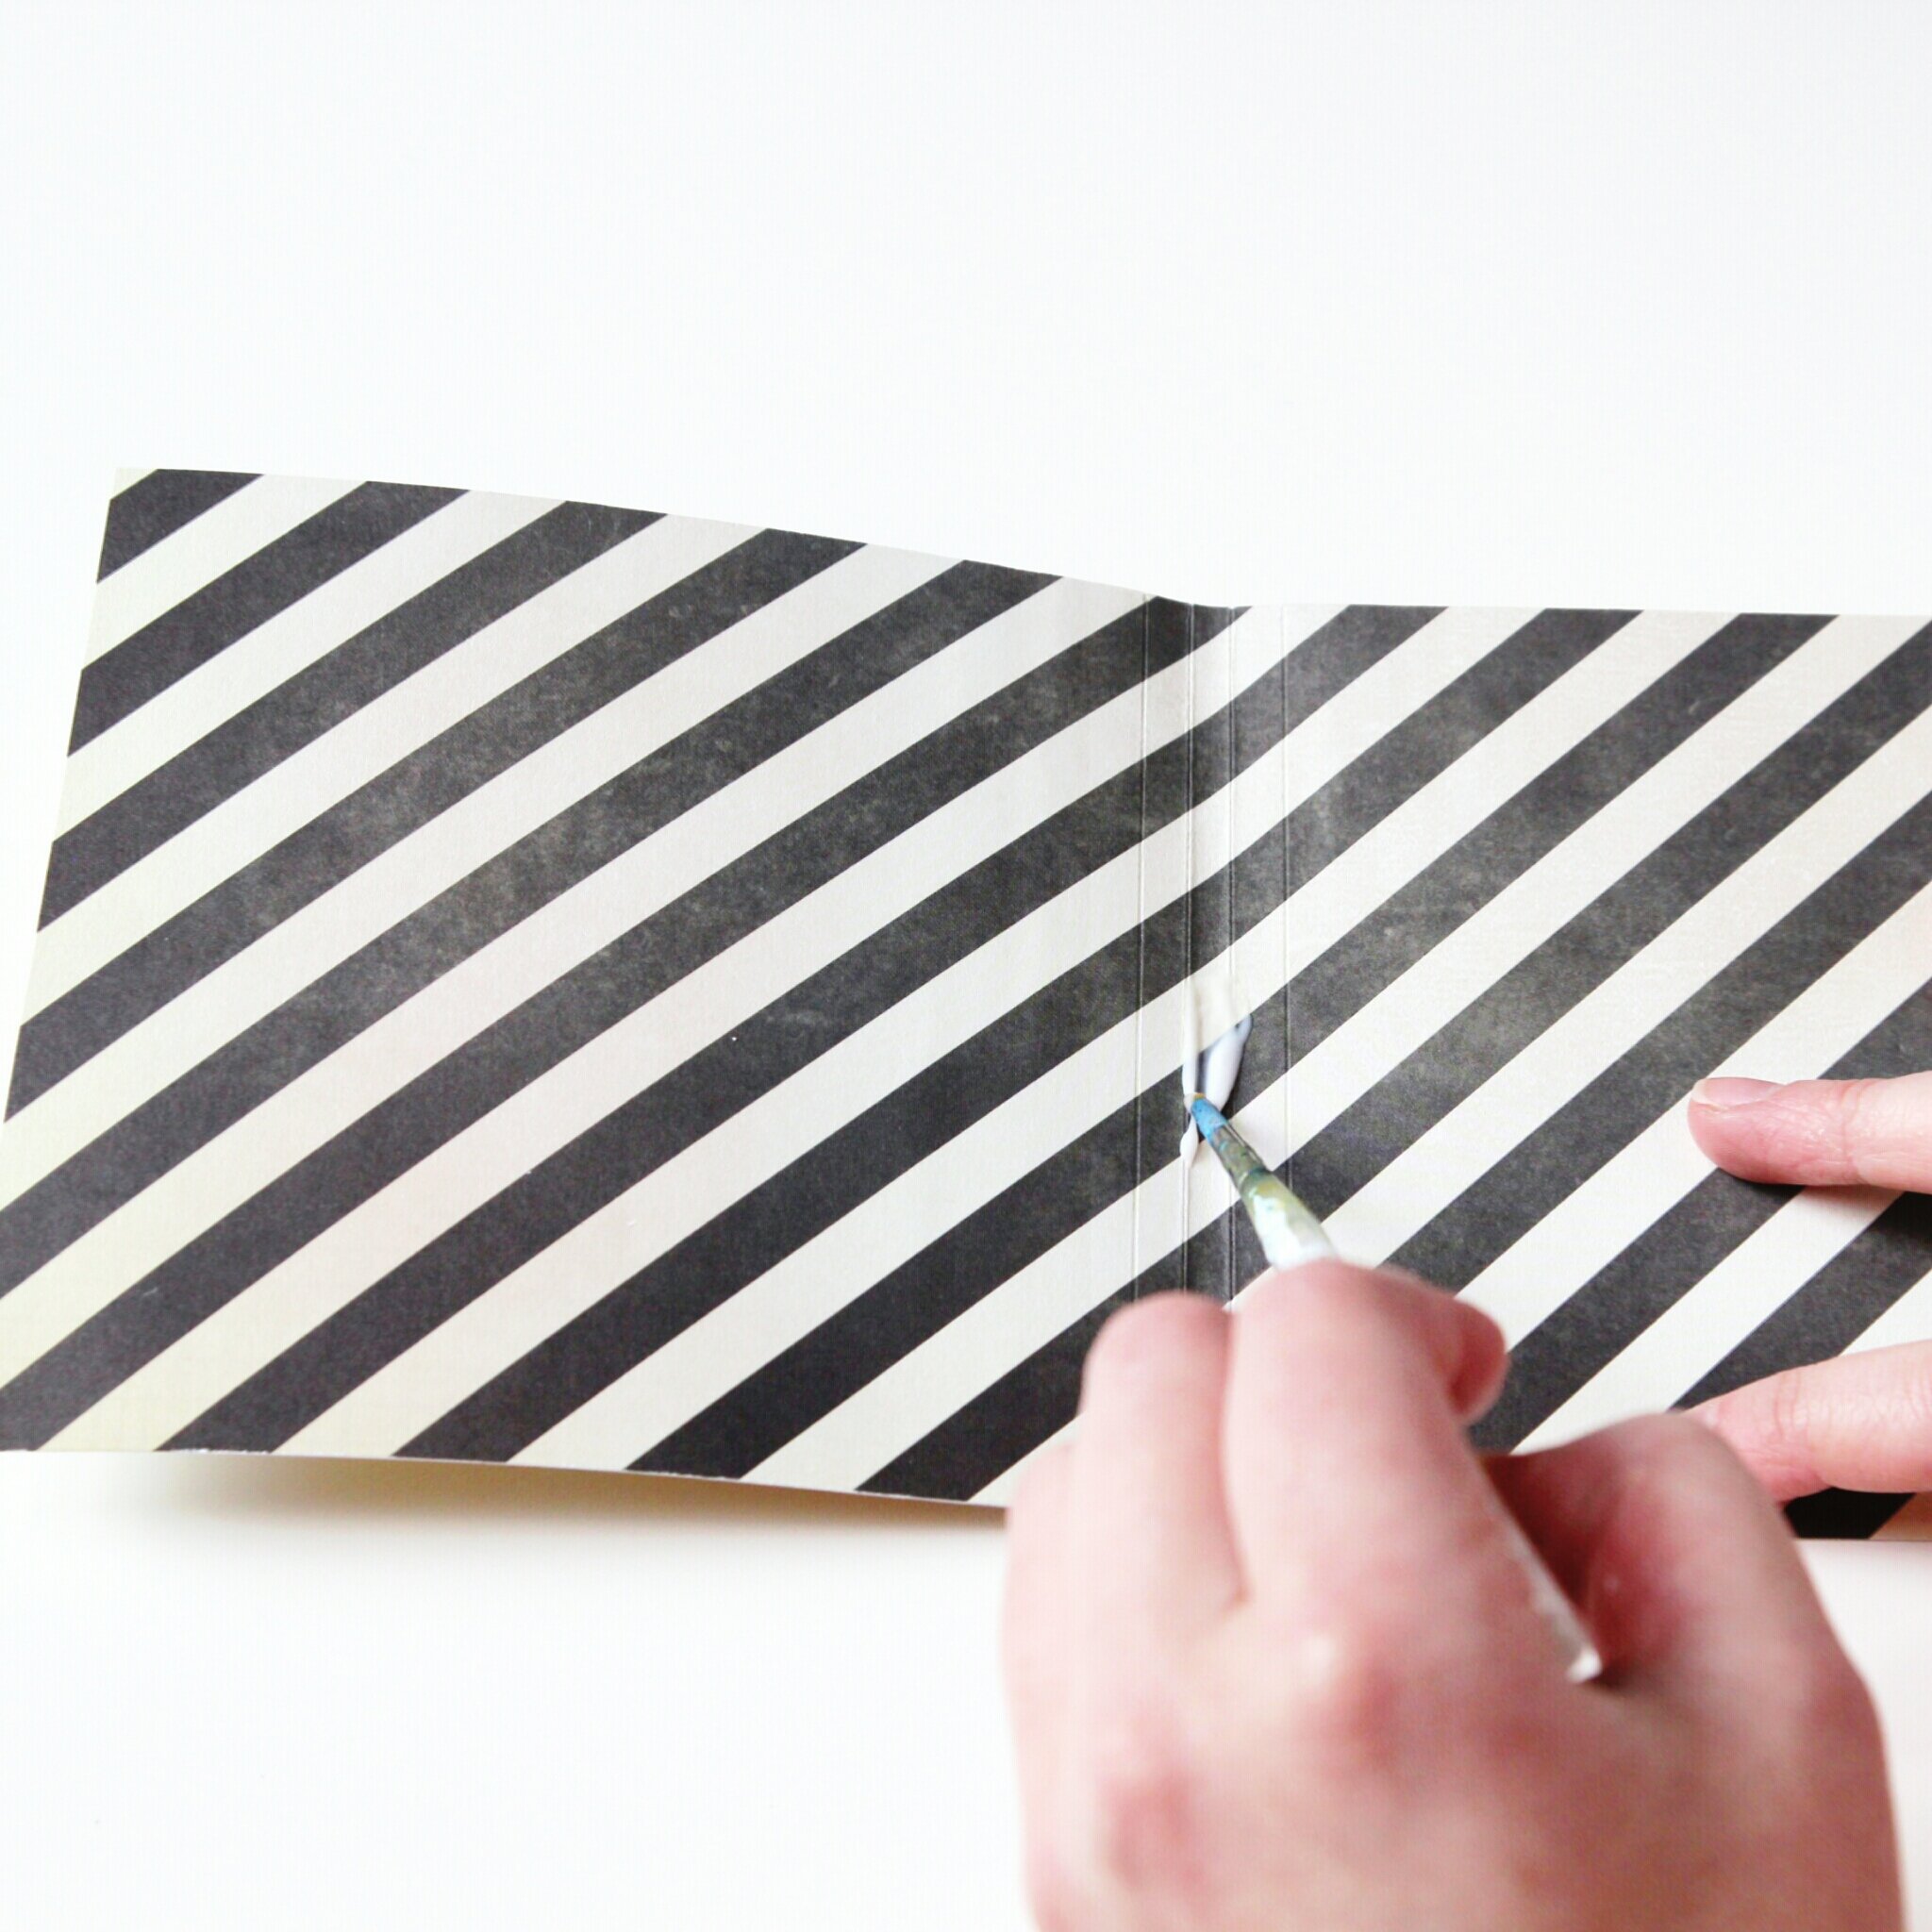
14. Take your embossing tool or pencil and lightly trace down the spine of your stack.
15. Lift the stack up on its end and trace down the other side as well.
16. Using a ruler and an embossing tool score along these two lines.
When folded this will be where your text block will fit.
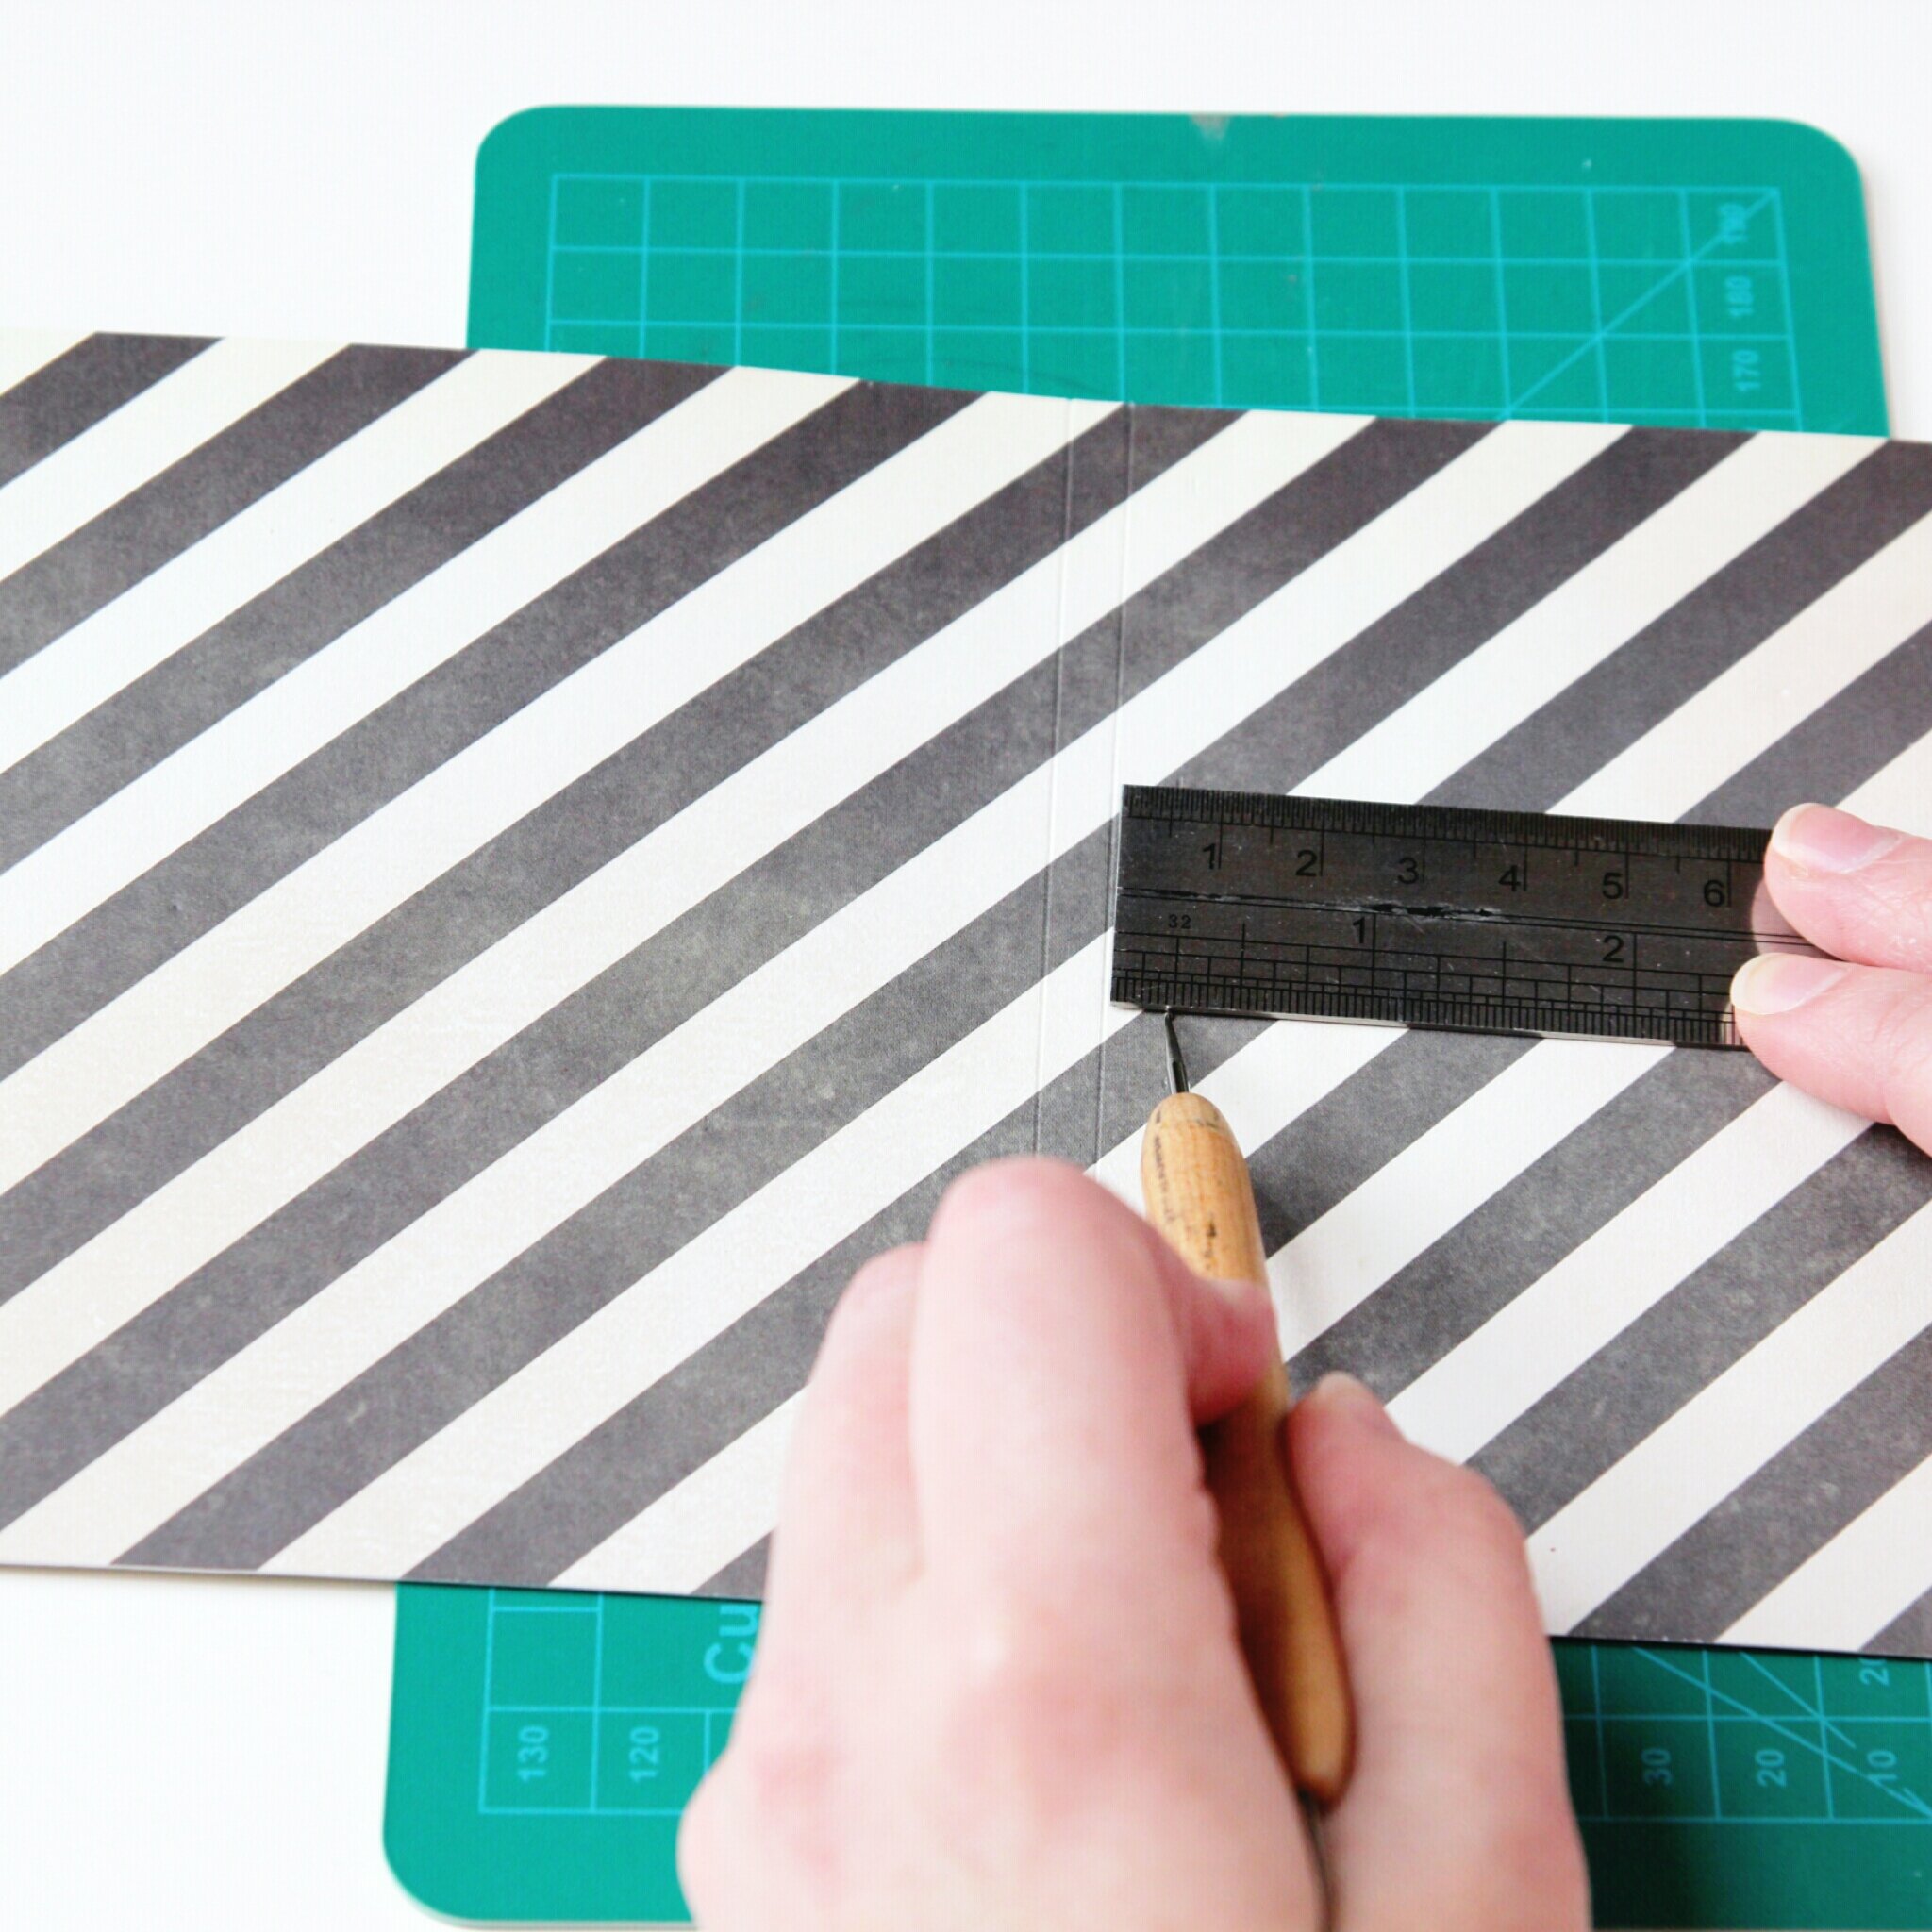
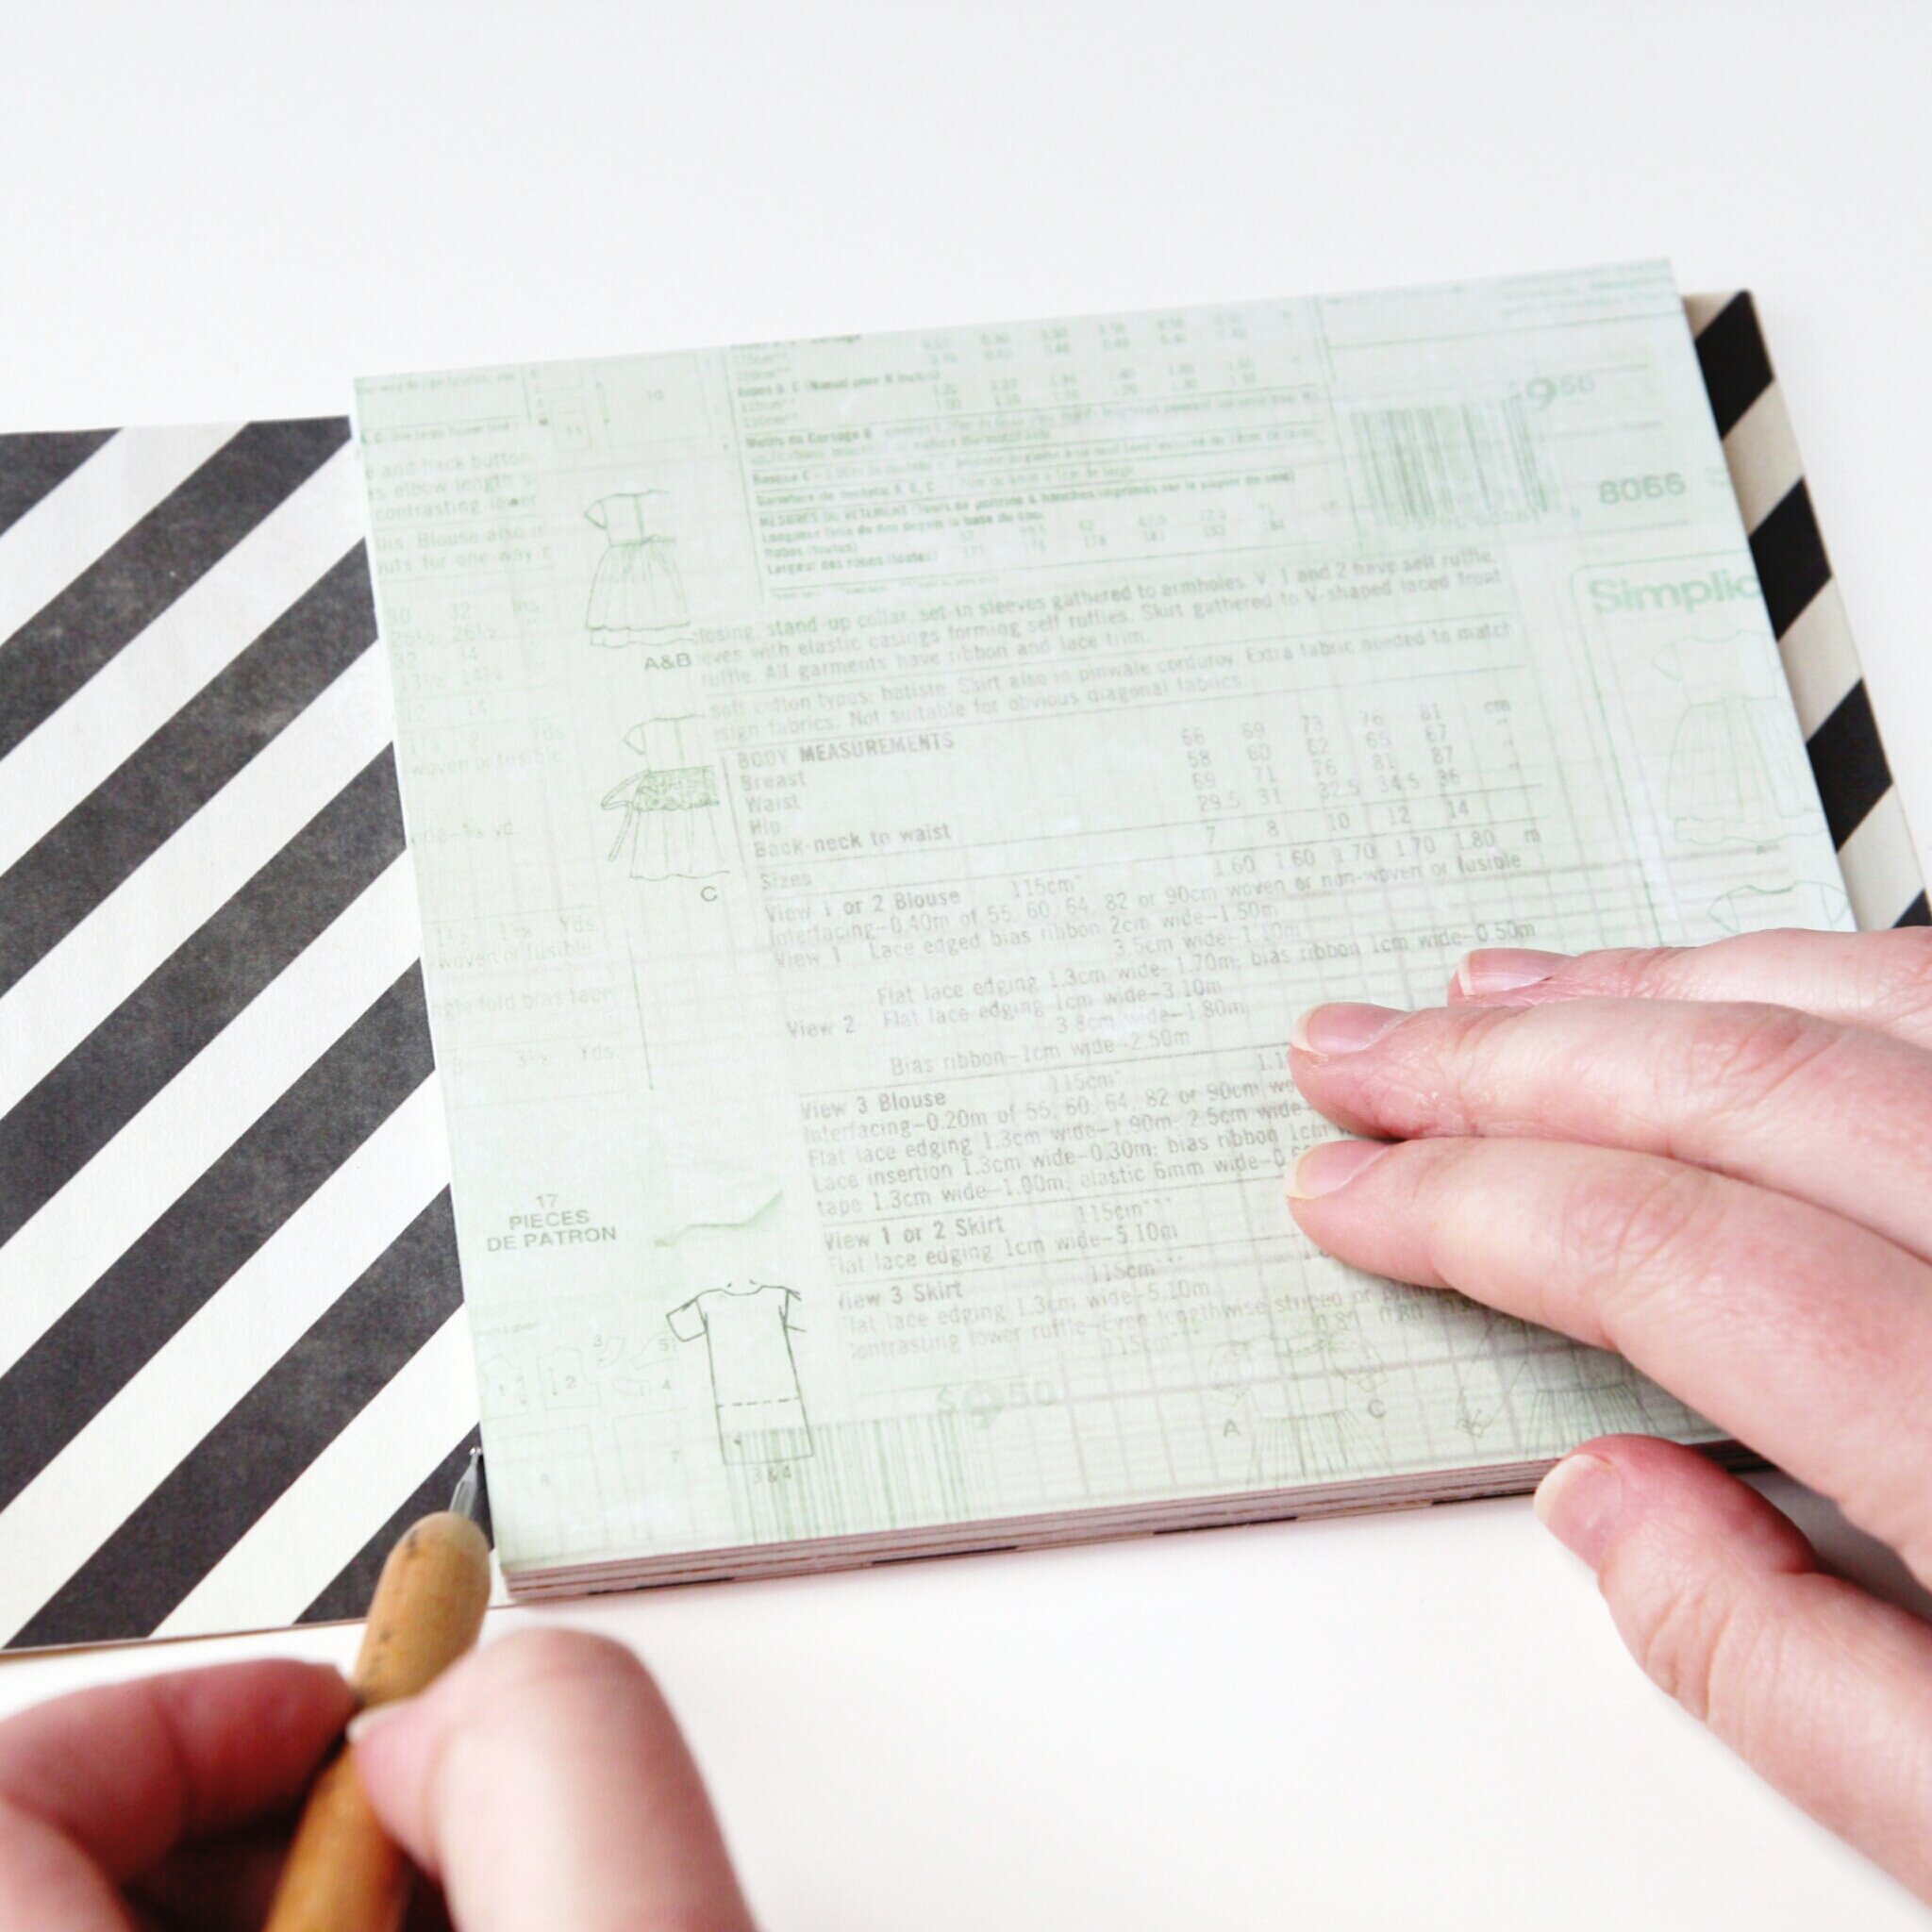
17. Next you need to take your ruler and measure out 1/4 of an inch out from each of the two lines you've just drawn and score.
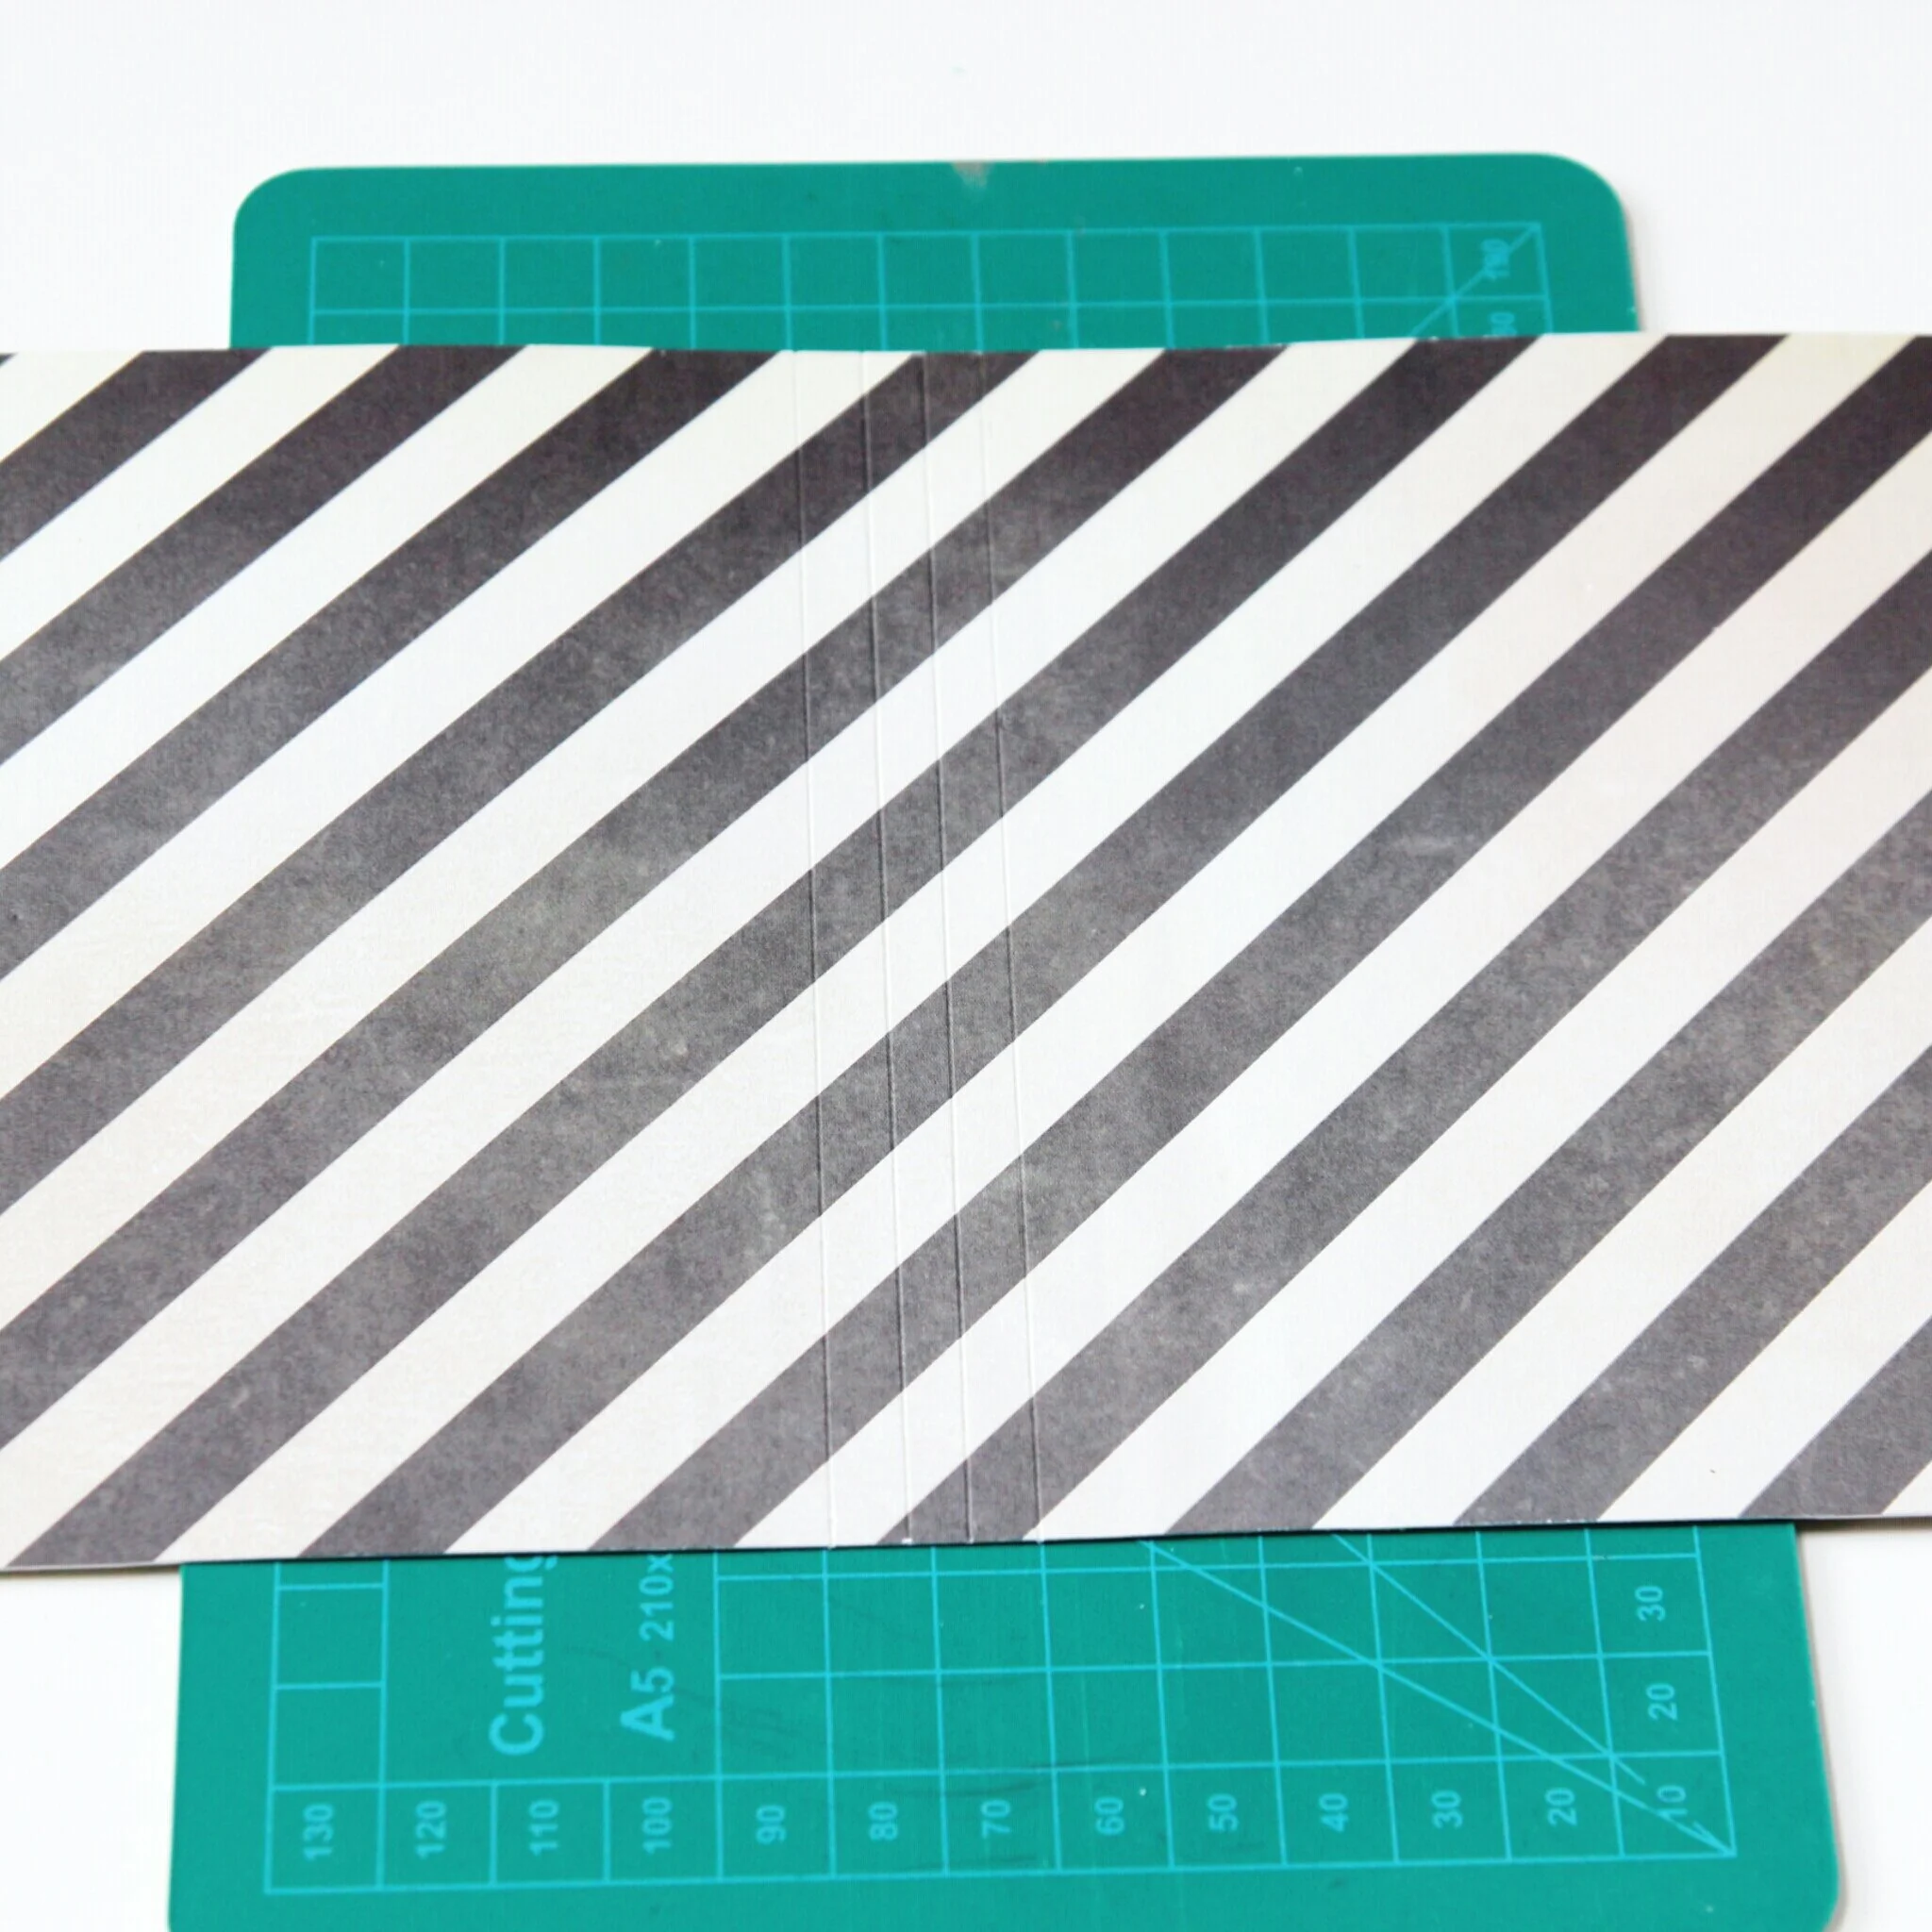
18. You should now have three sections made by your four scored lines.
These lines mean that when you open your finished notebook the cover will fold back in a crisp line.
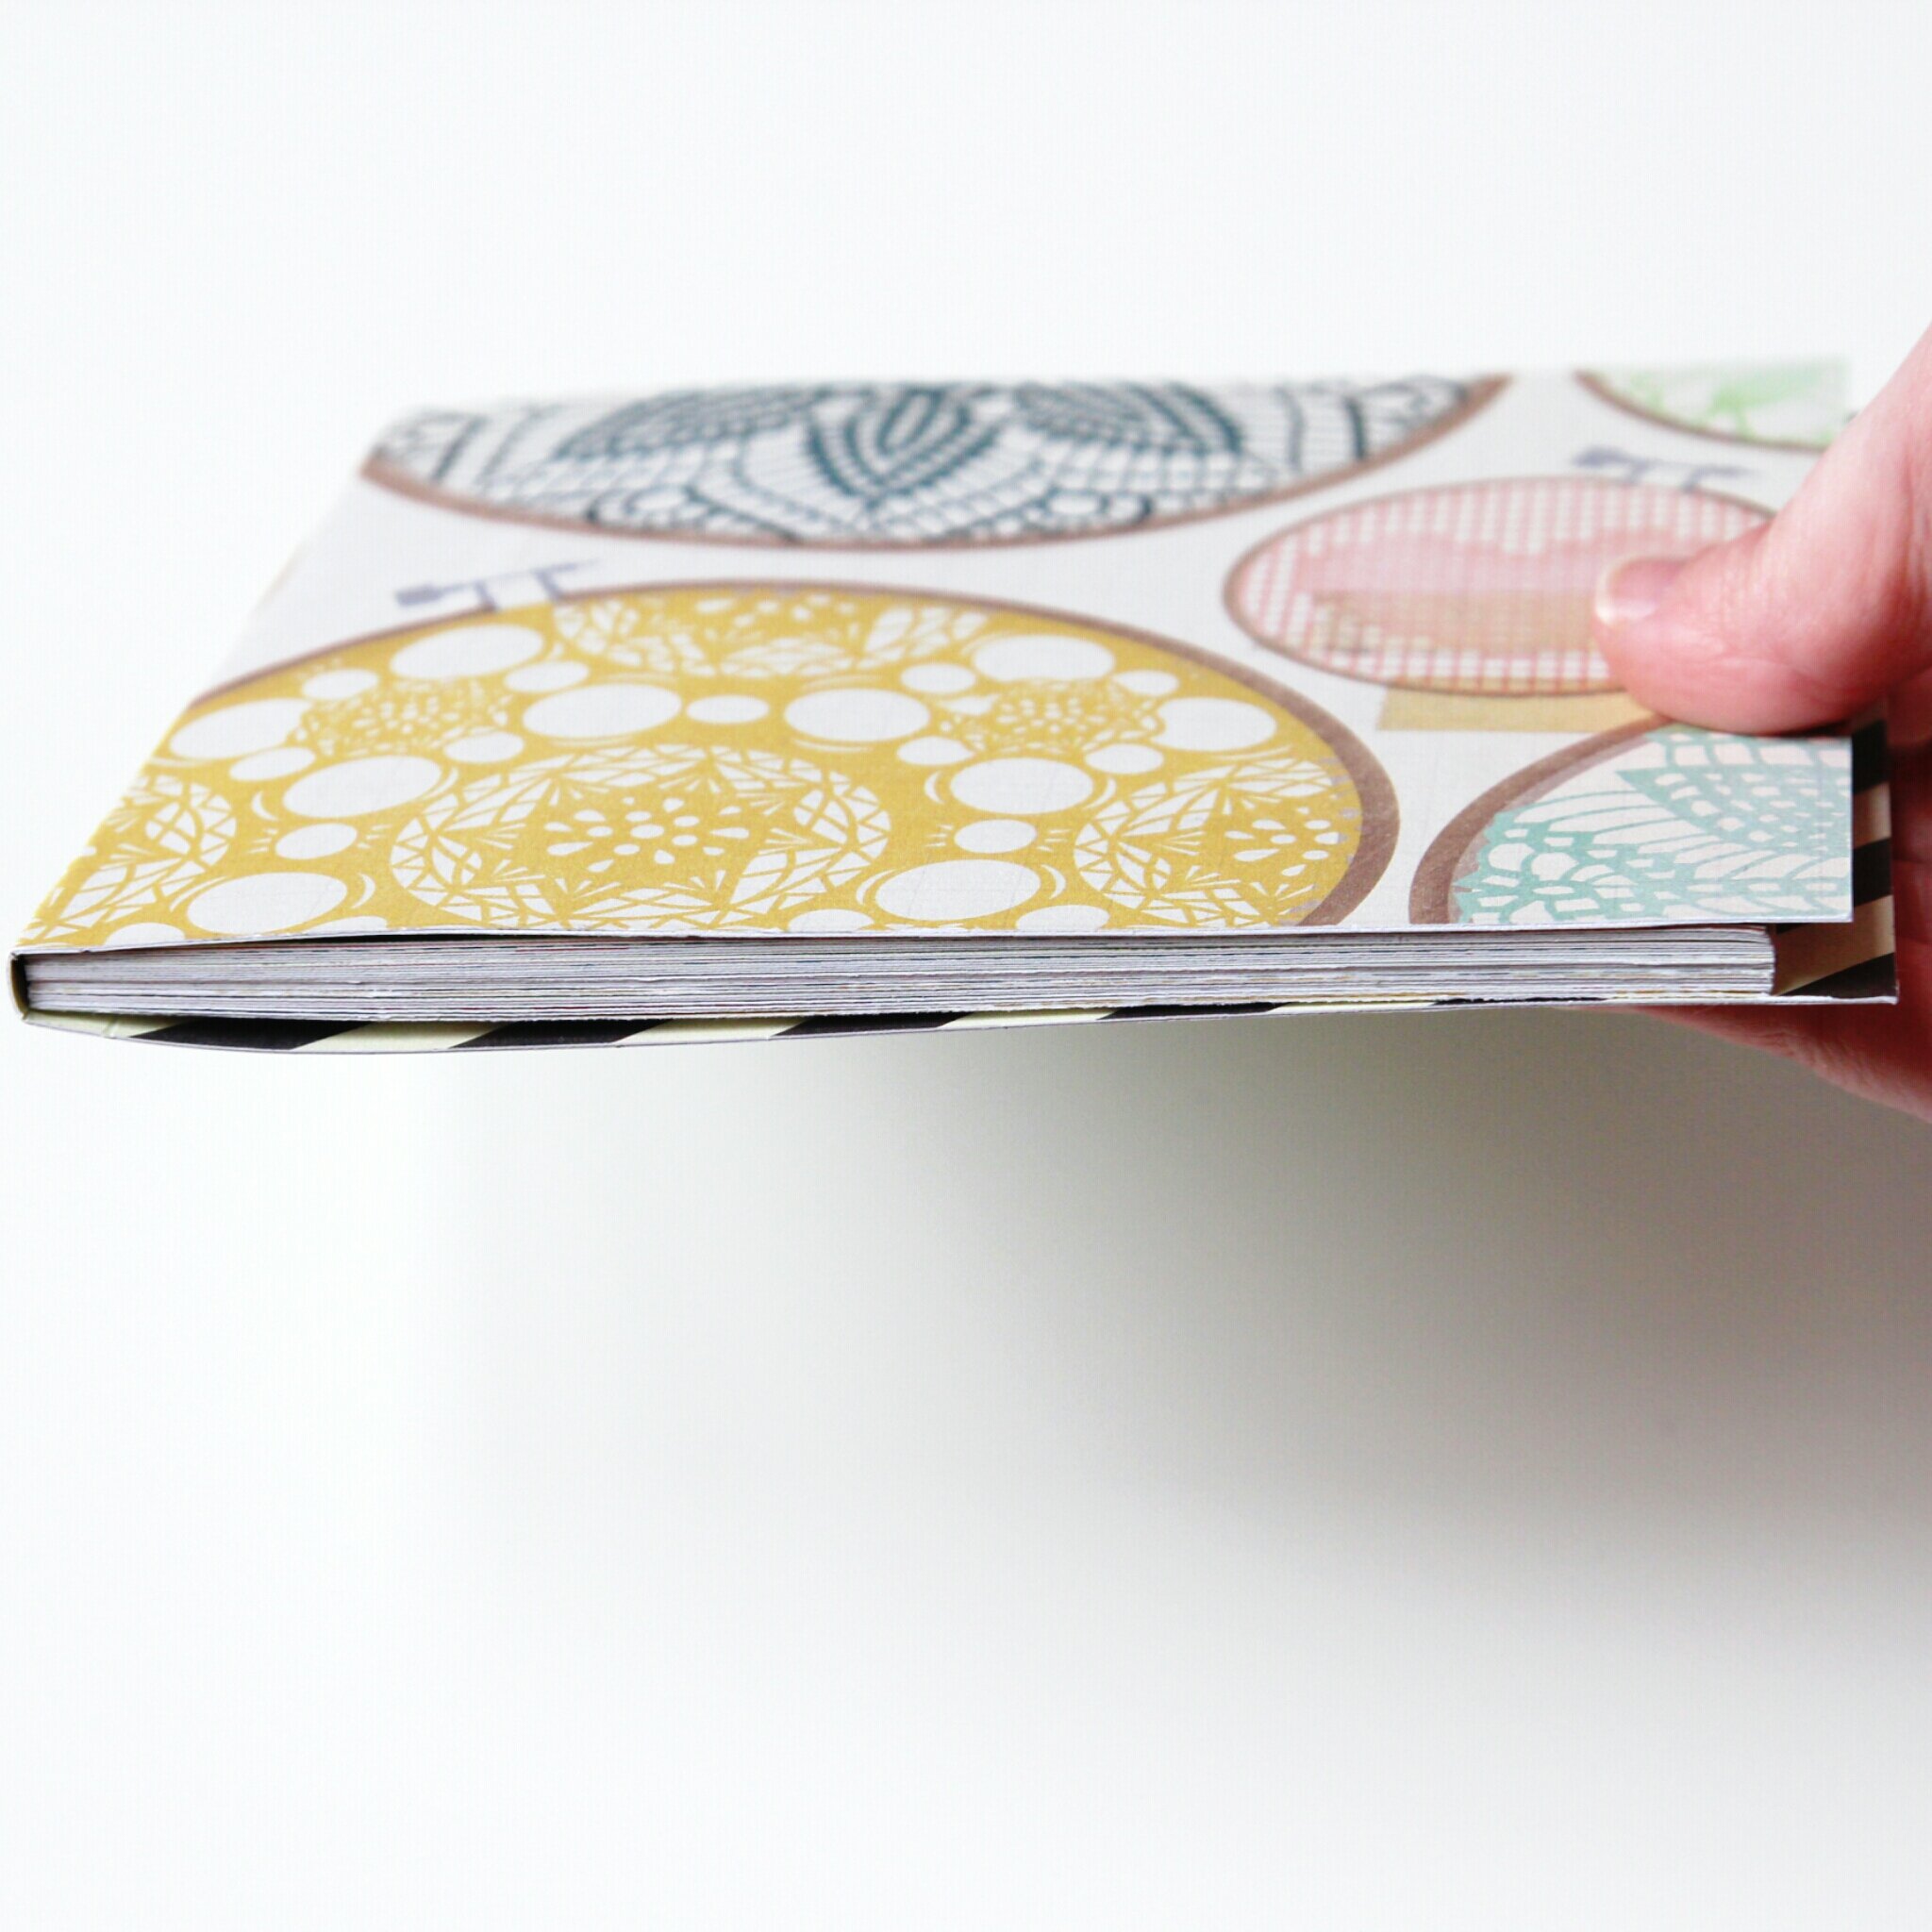
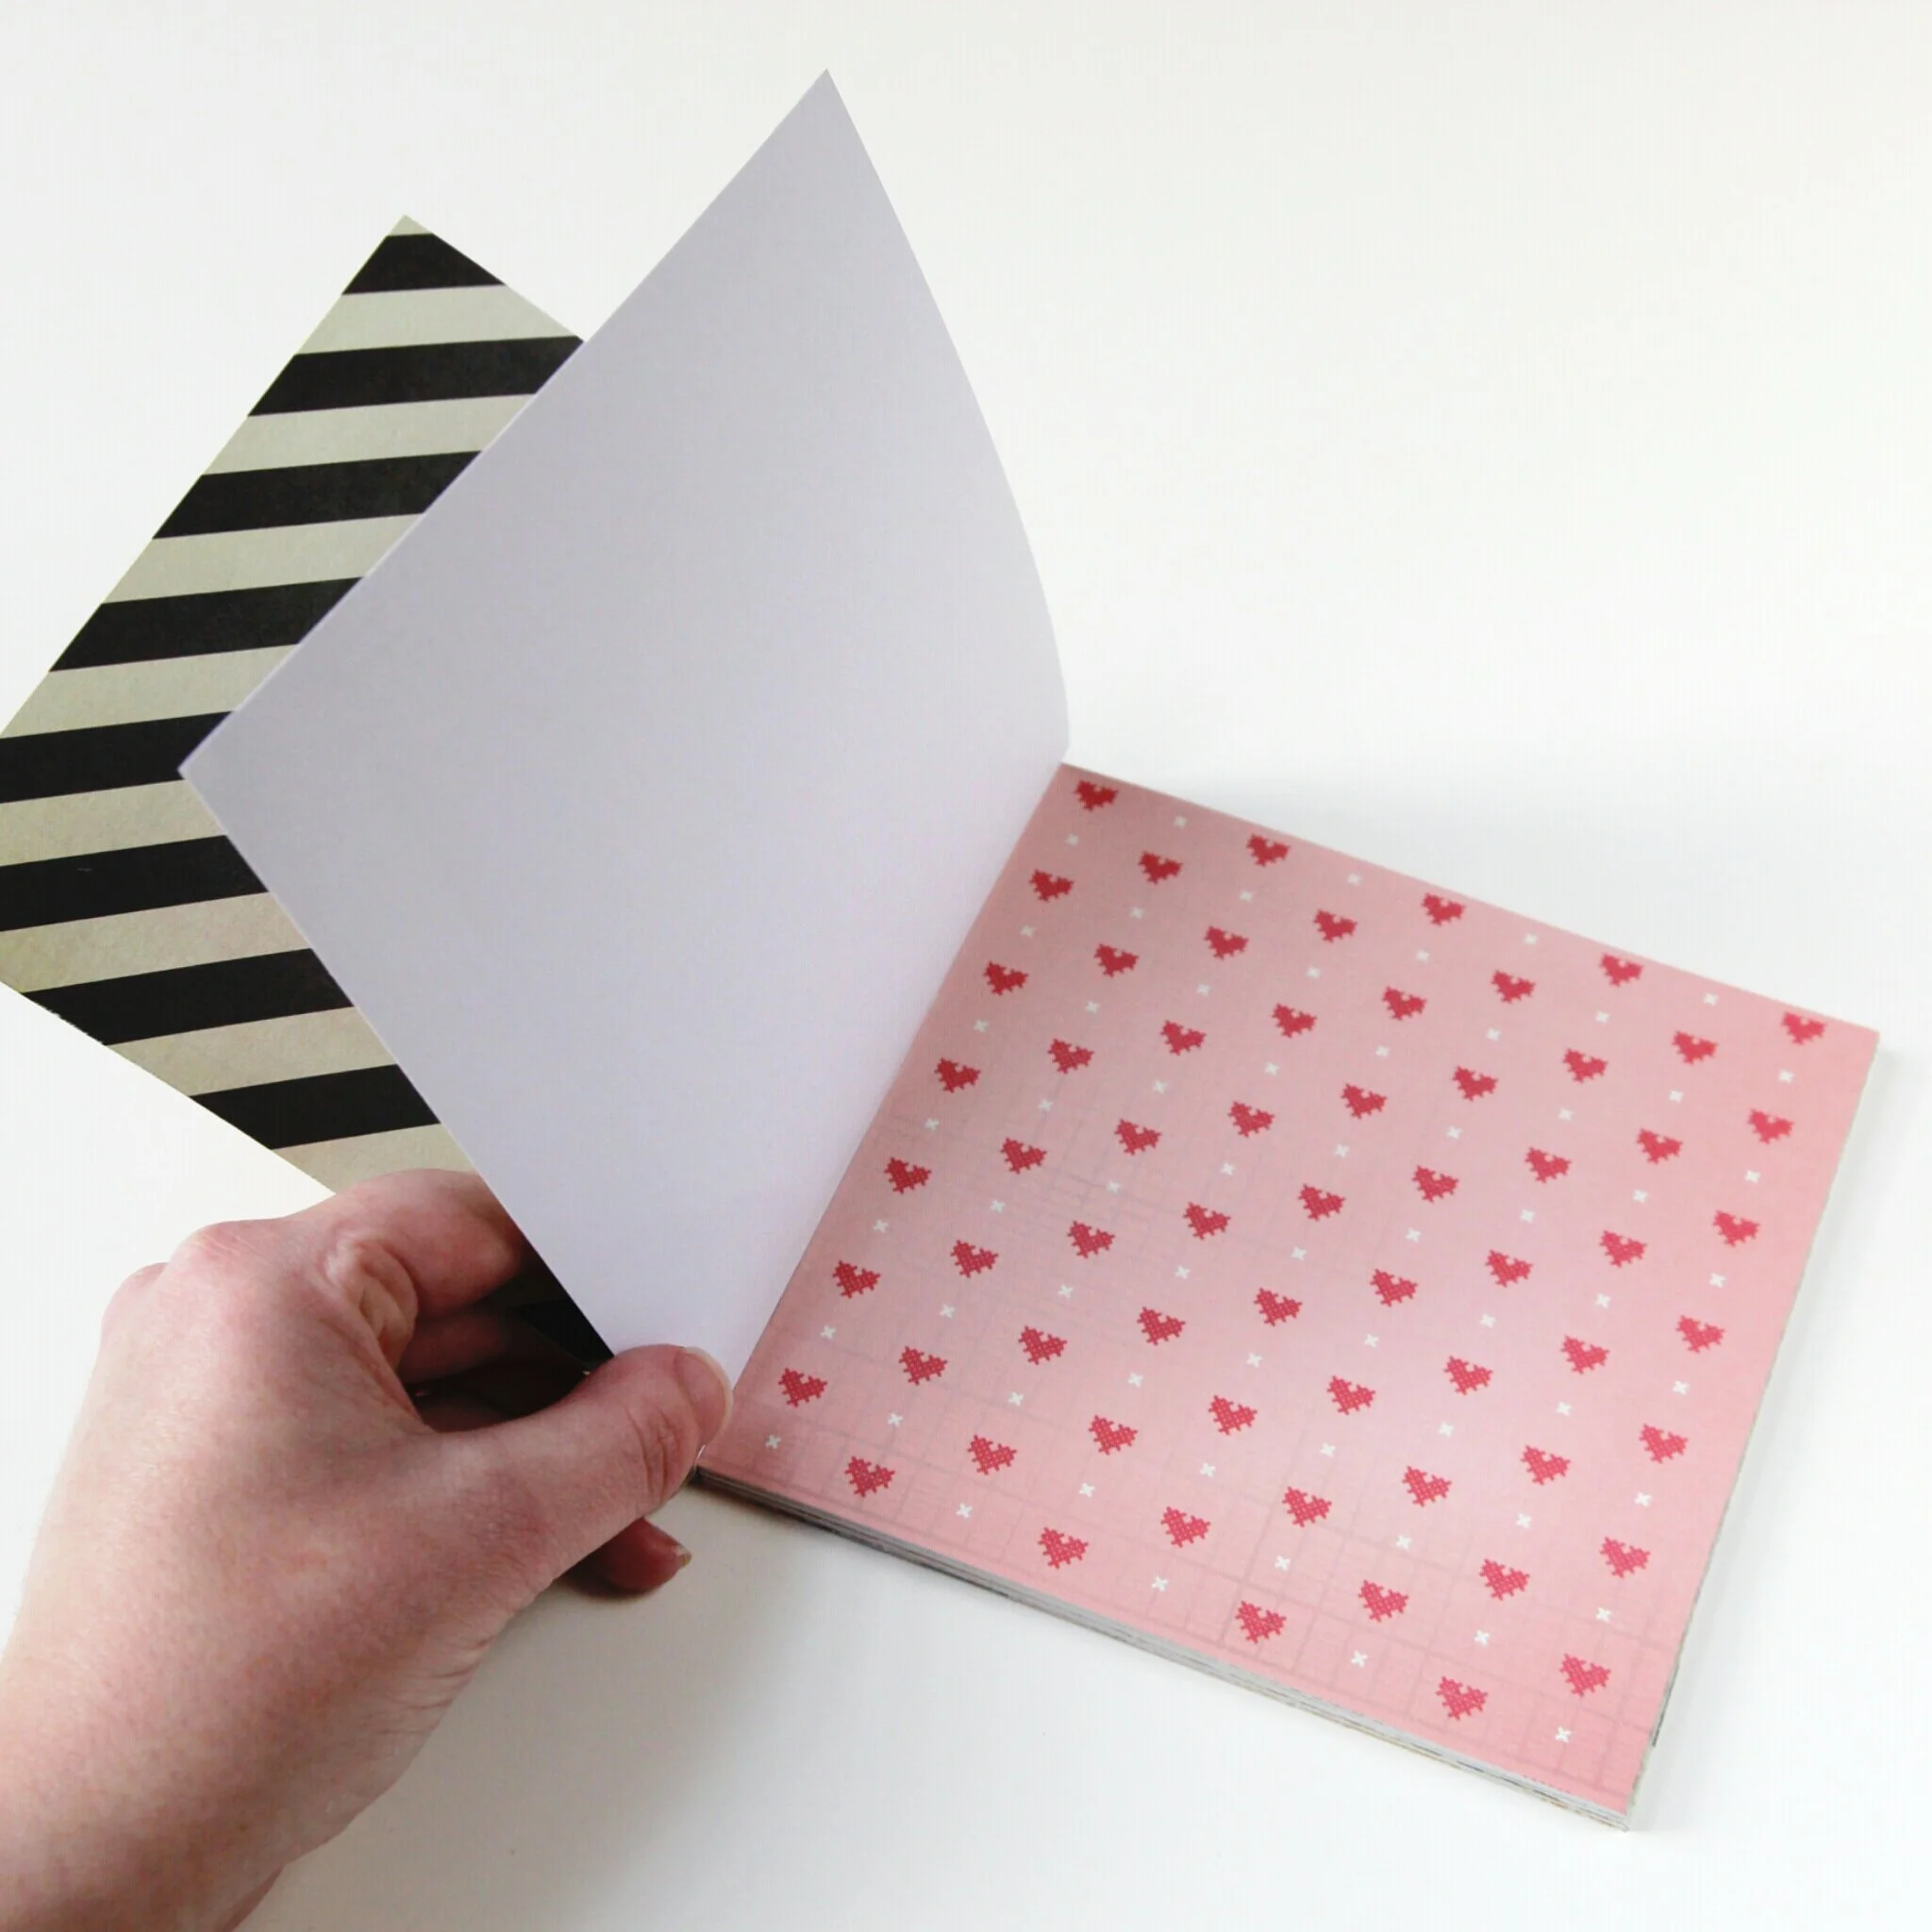
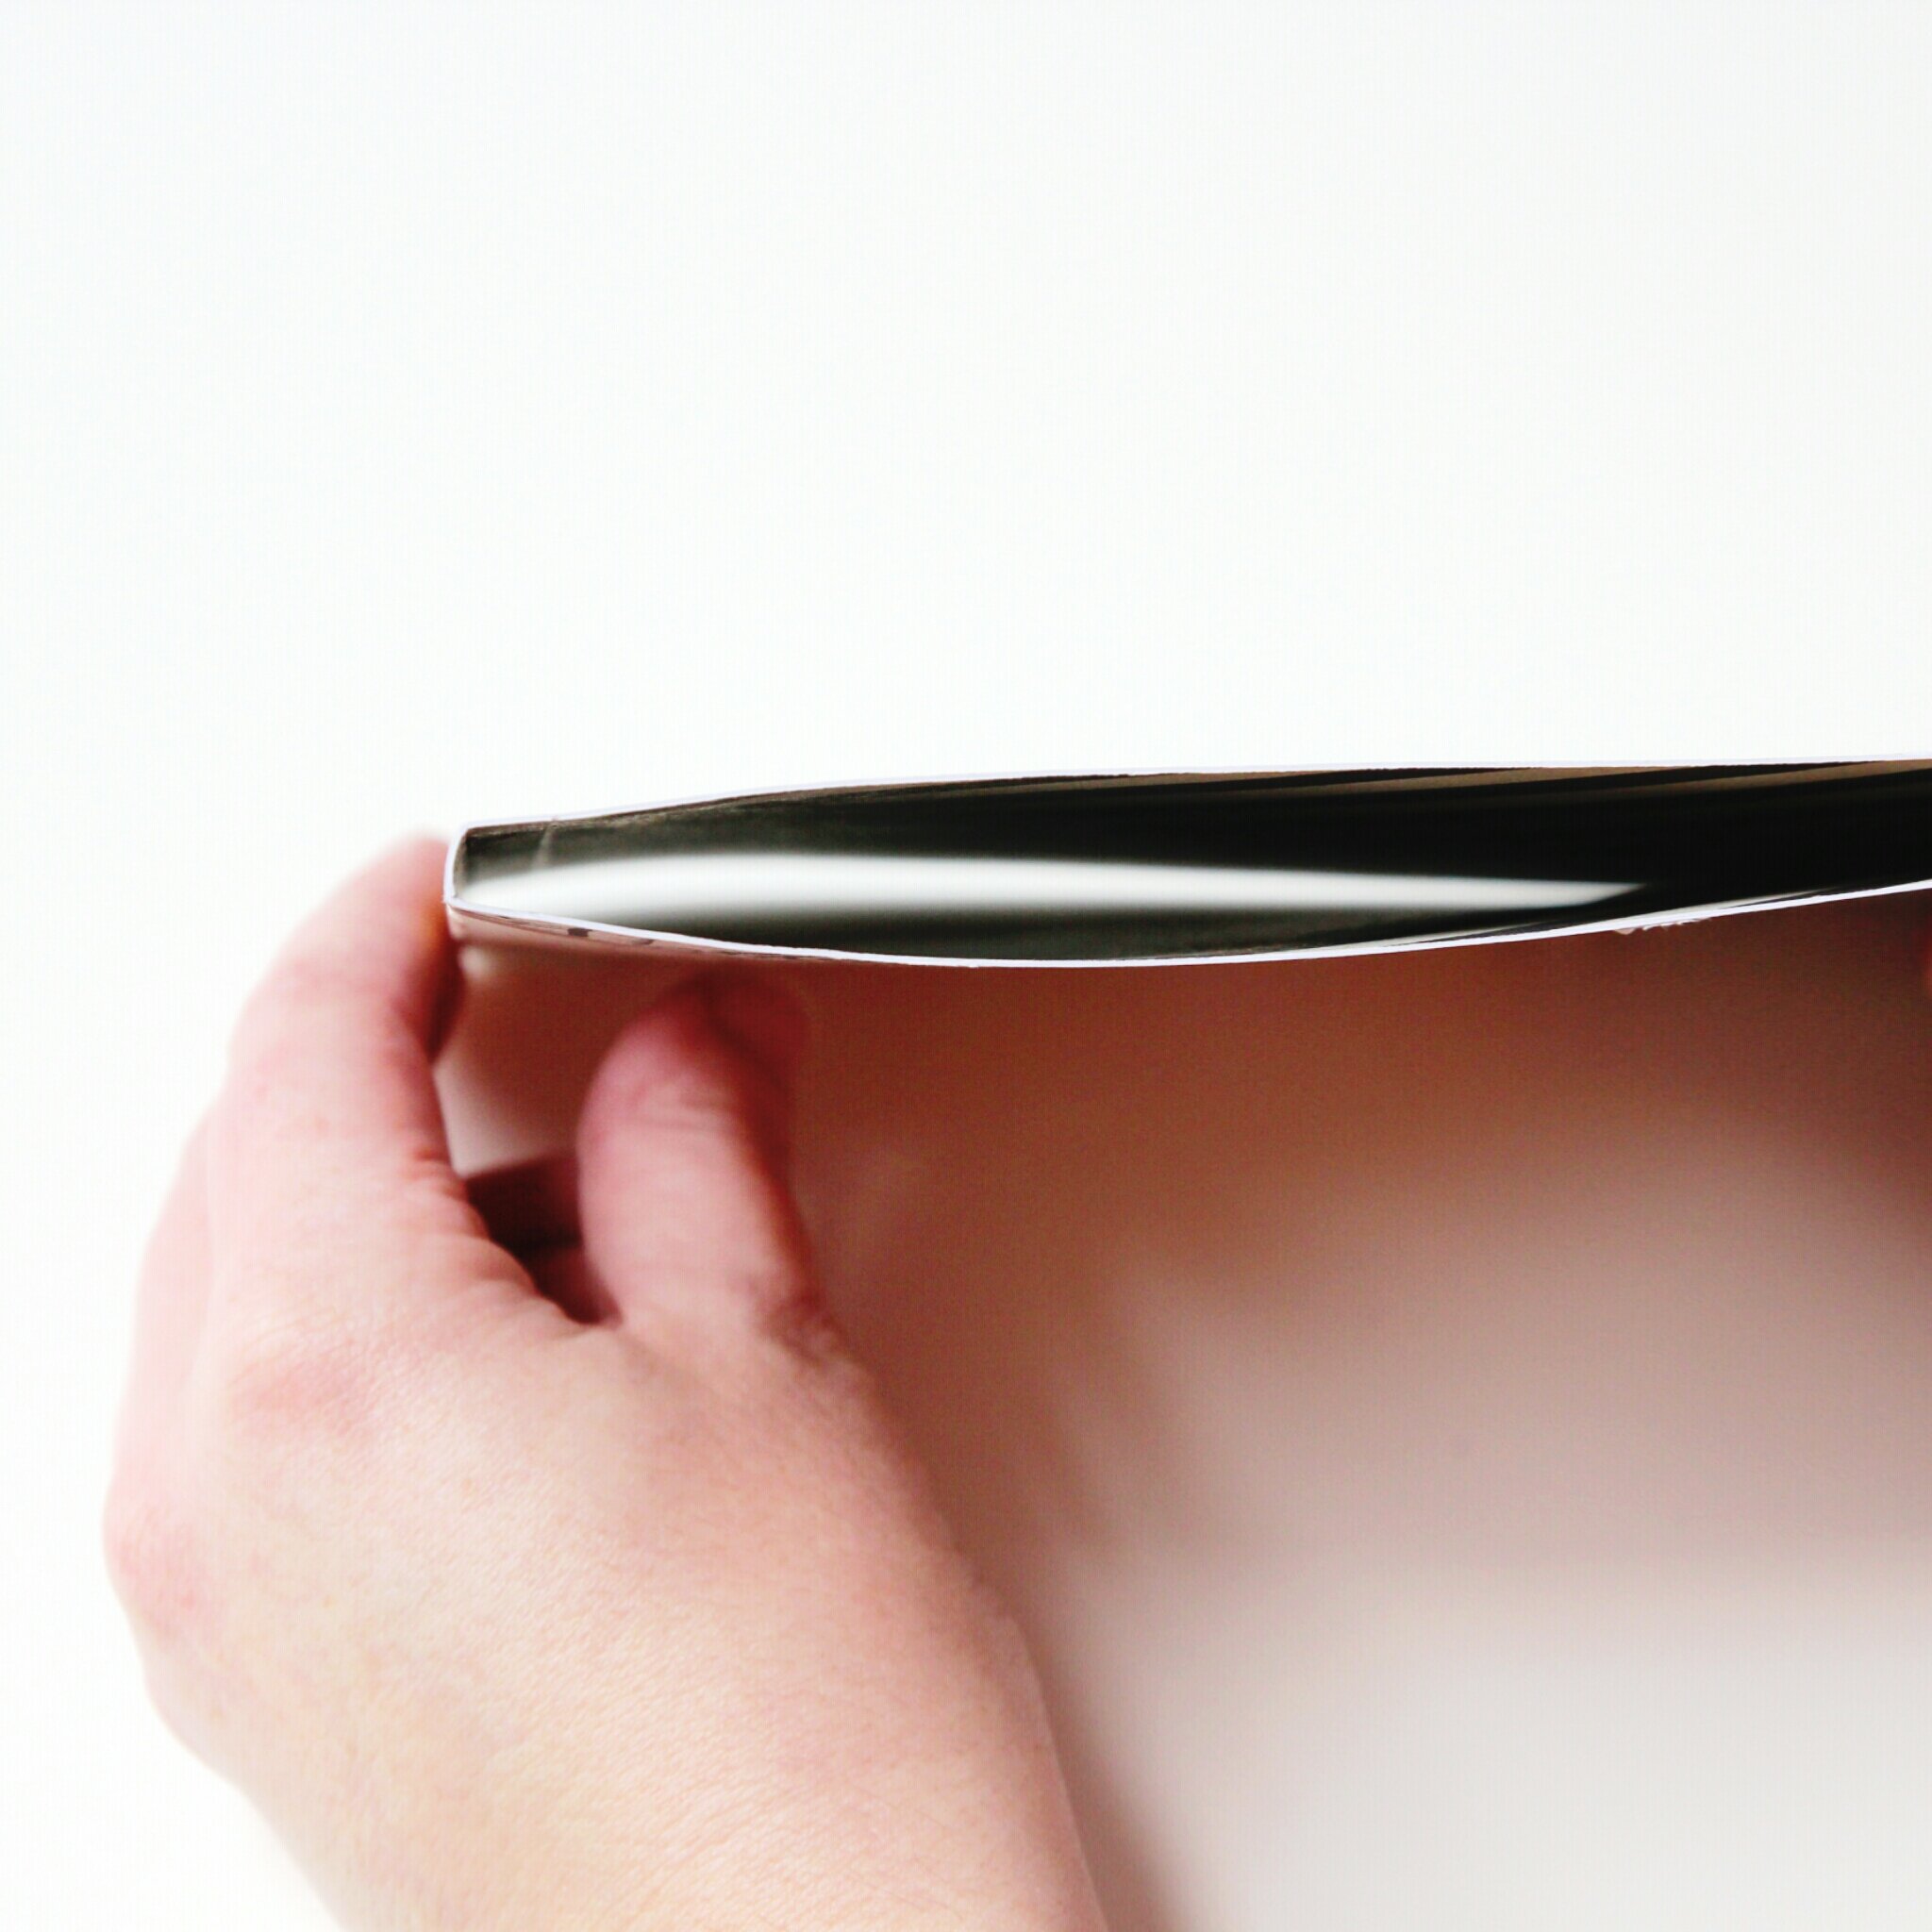
20. Crease and fold your cover. Your pages should now fit neatly inside your cover.
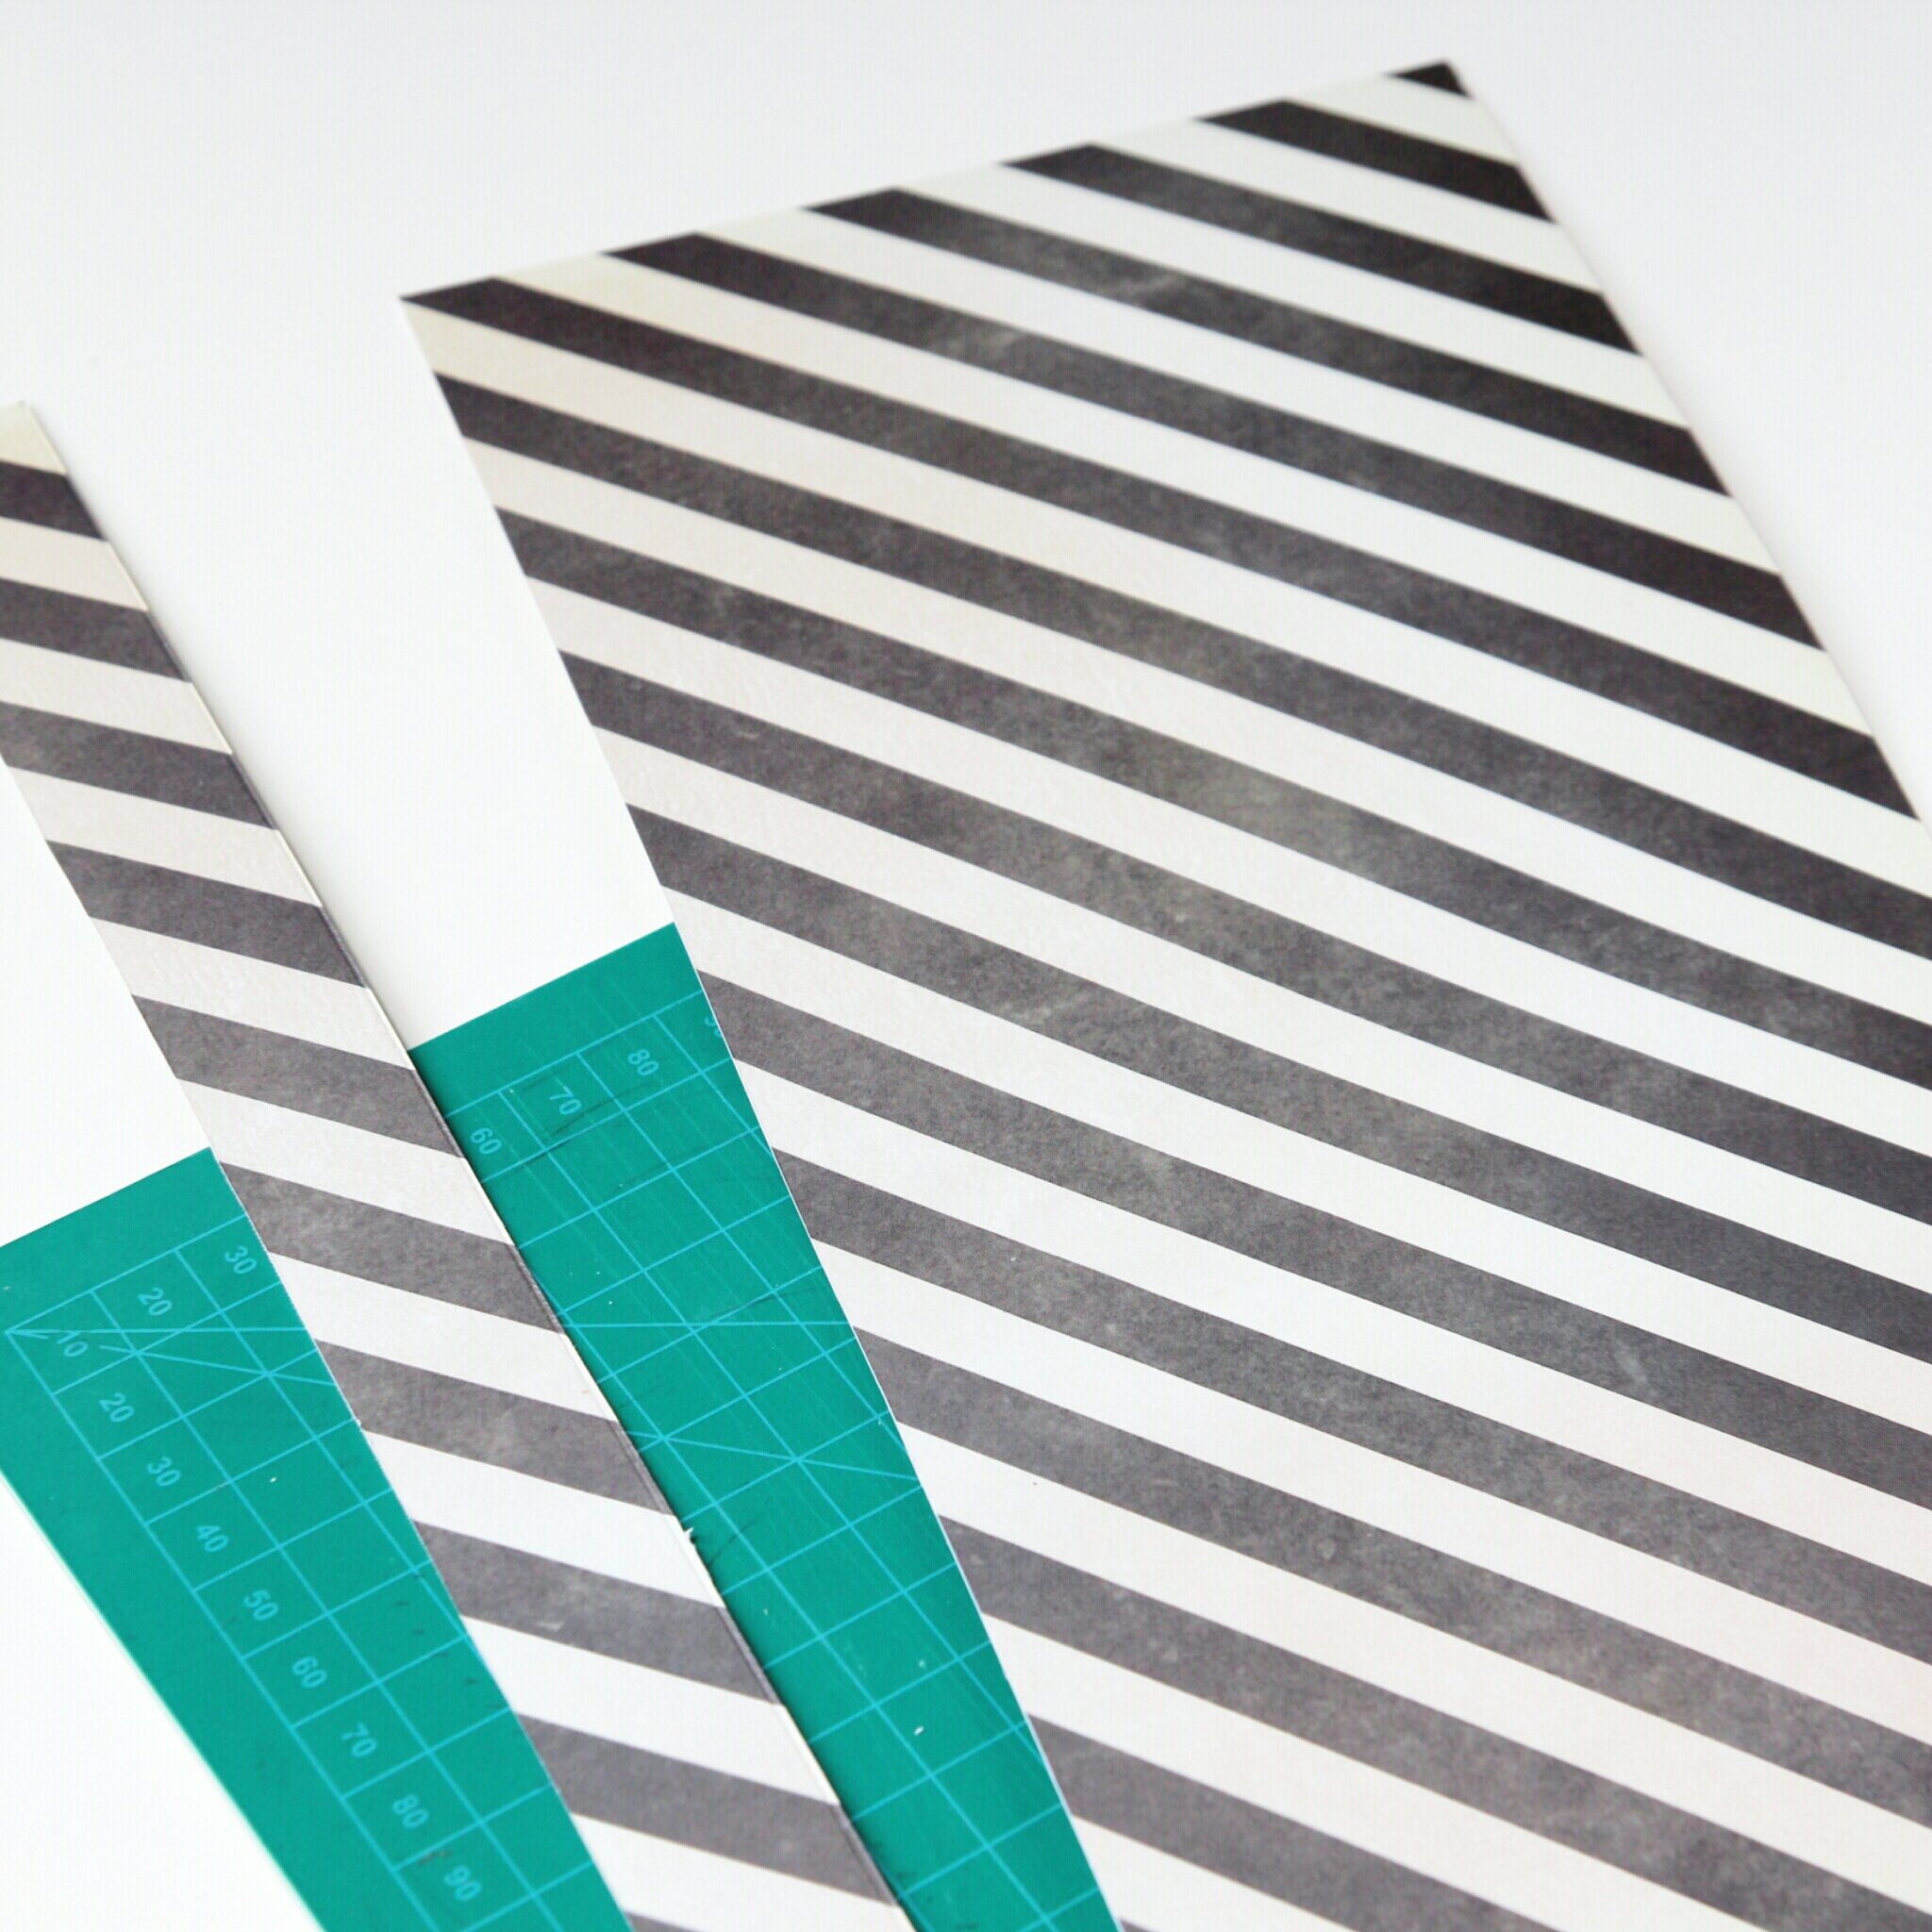
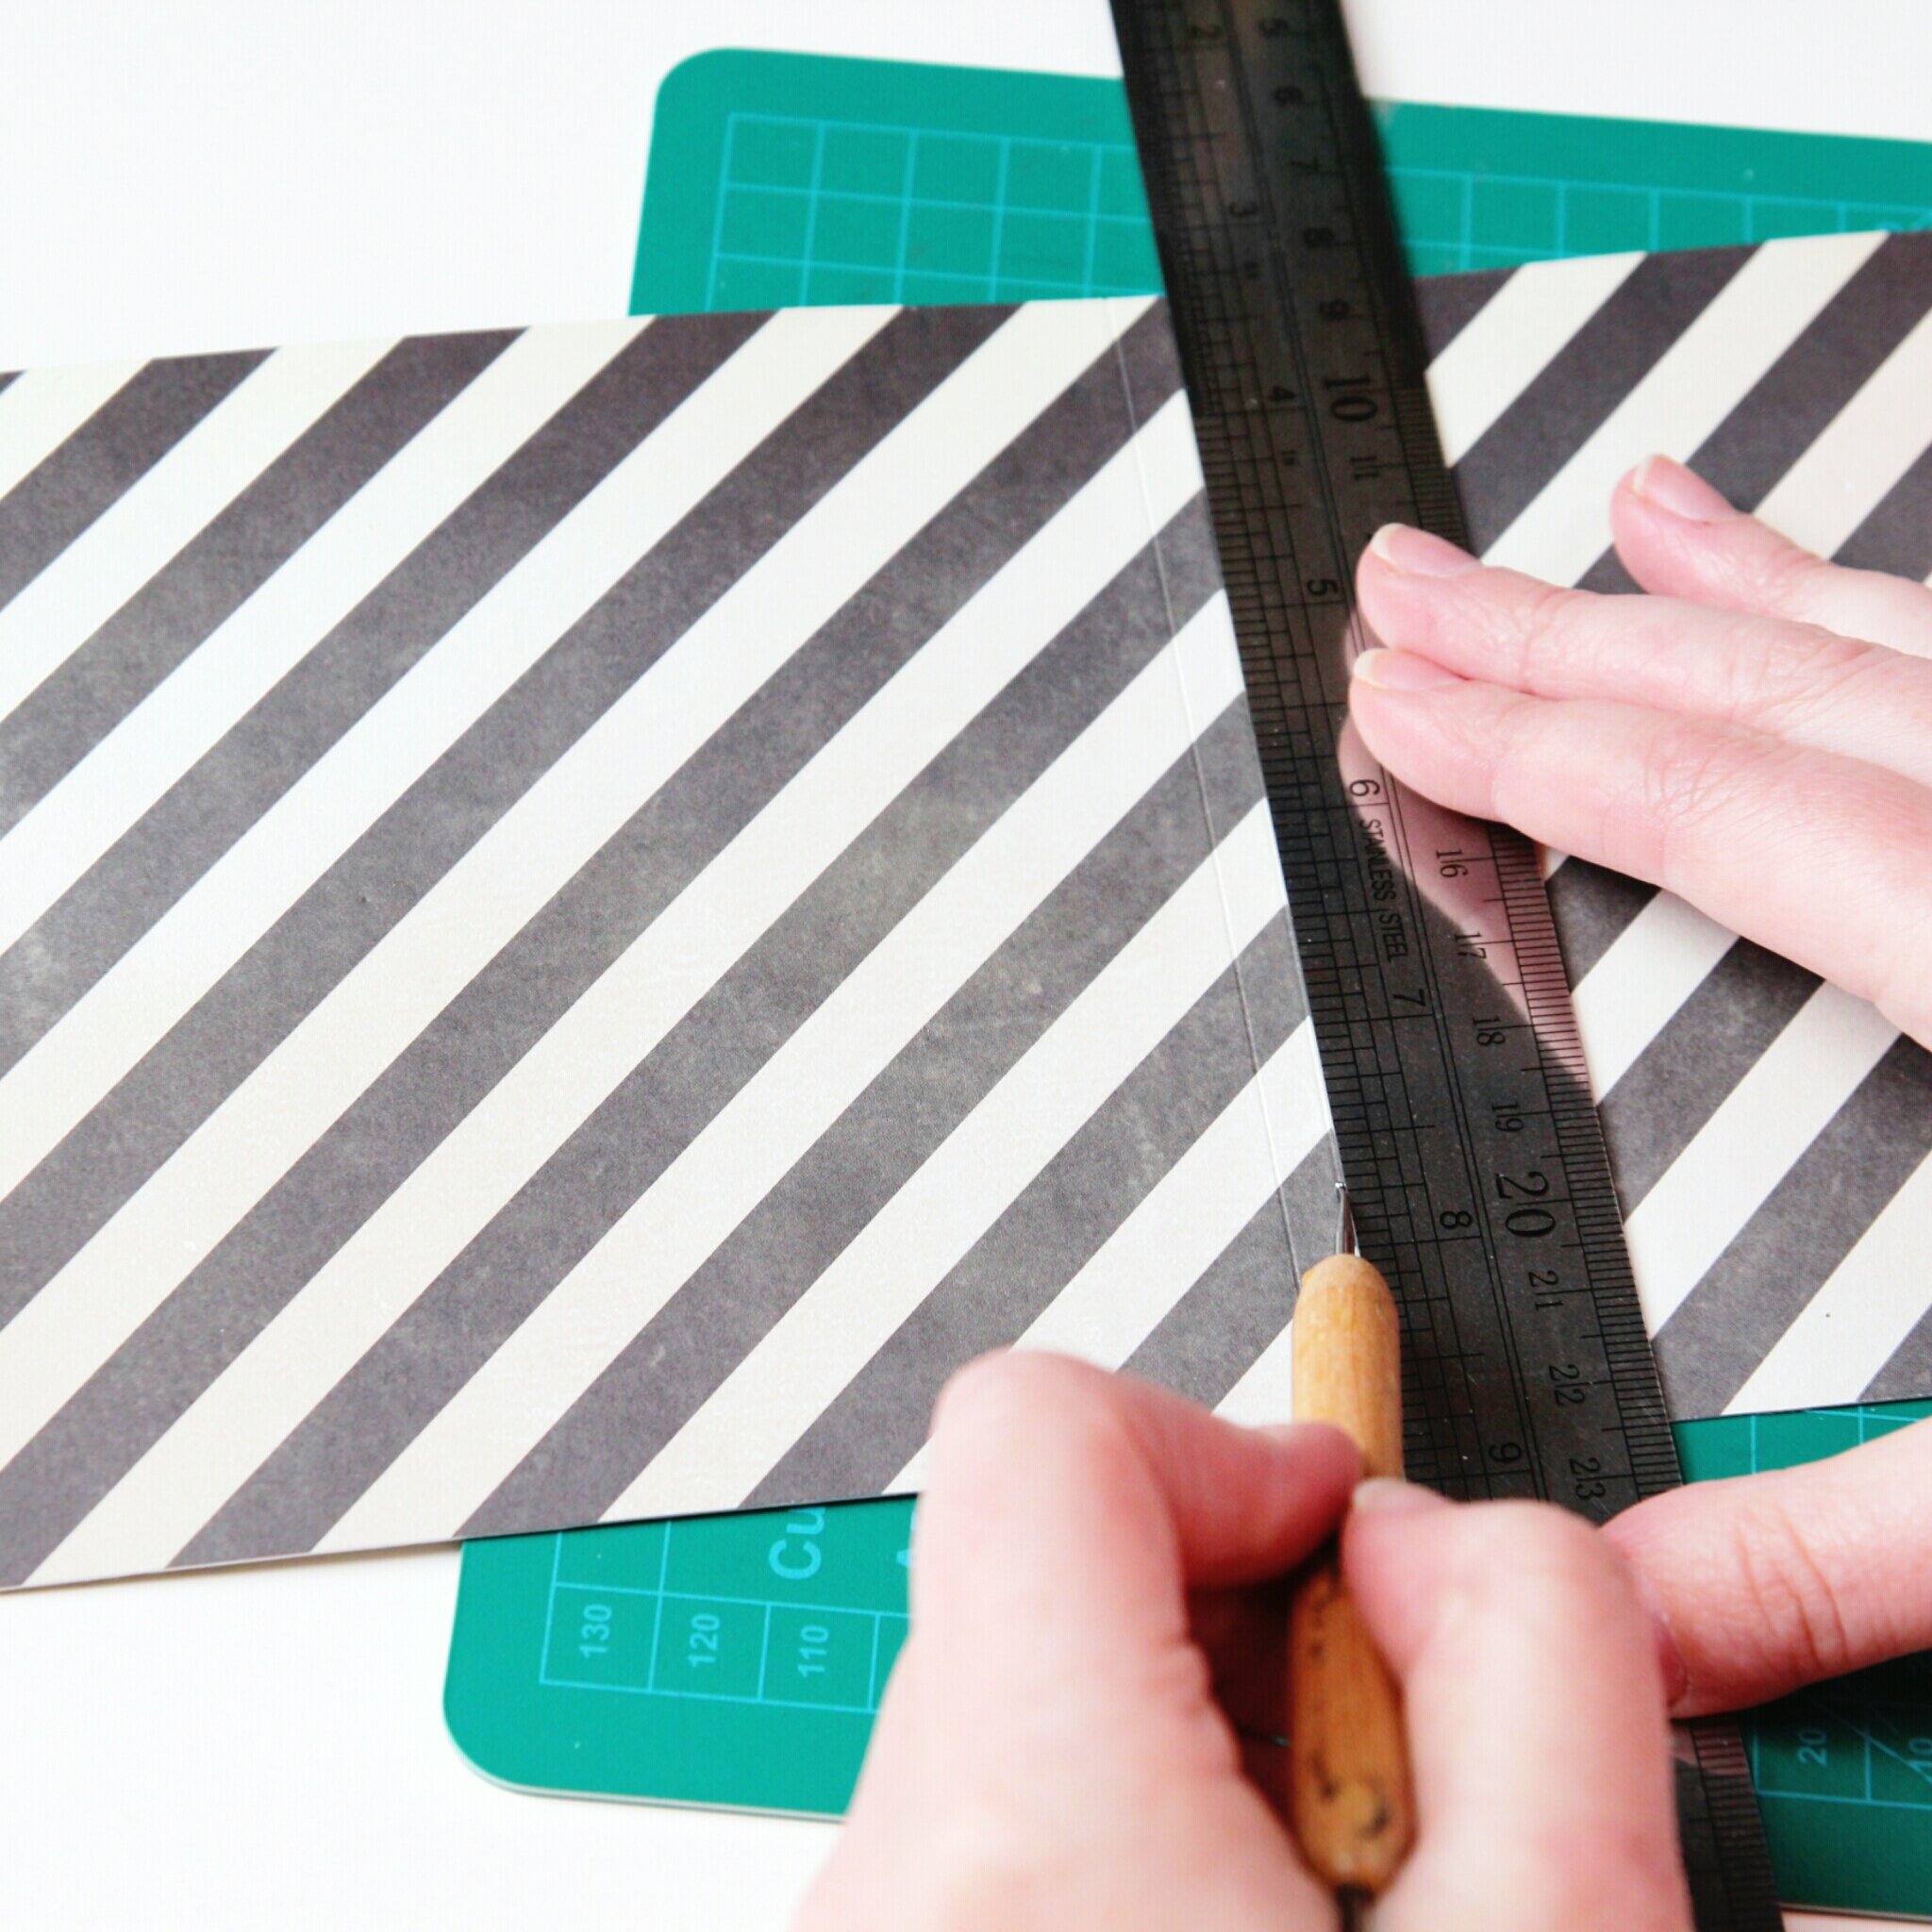
21. The next thing you need to do is trim your cover to size.
22. Line up your pages with the spine and trace down the edge.
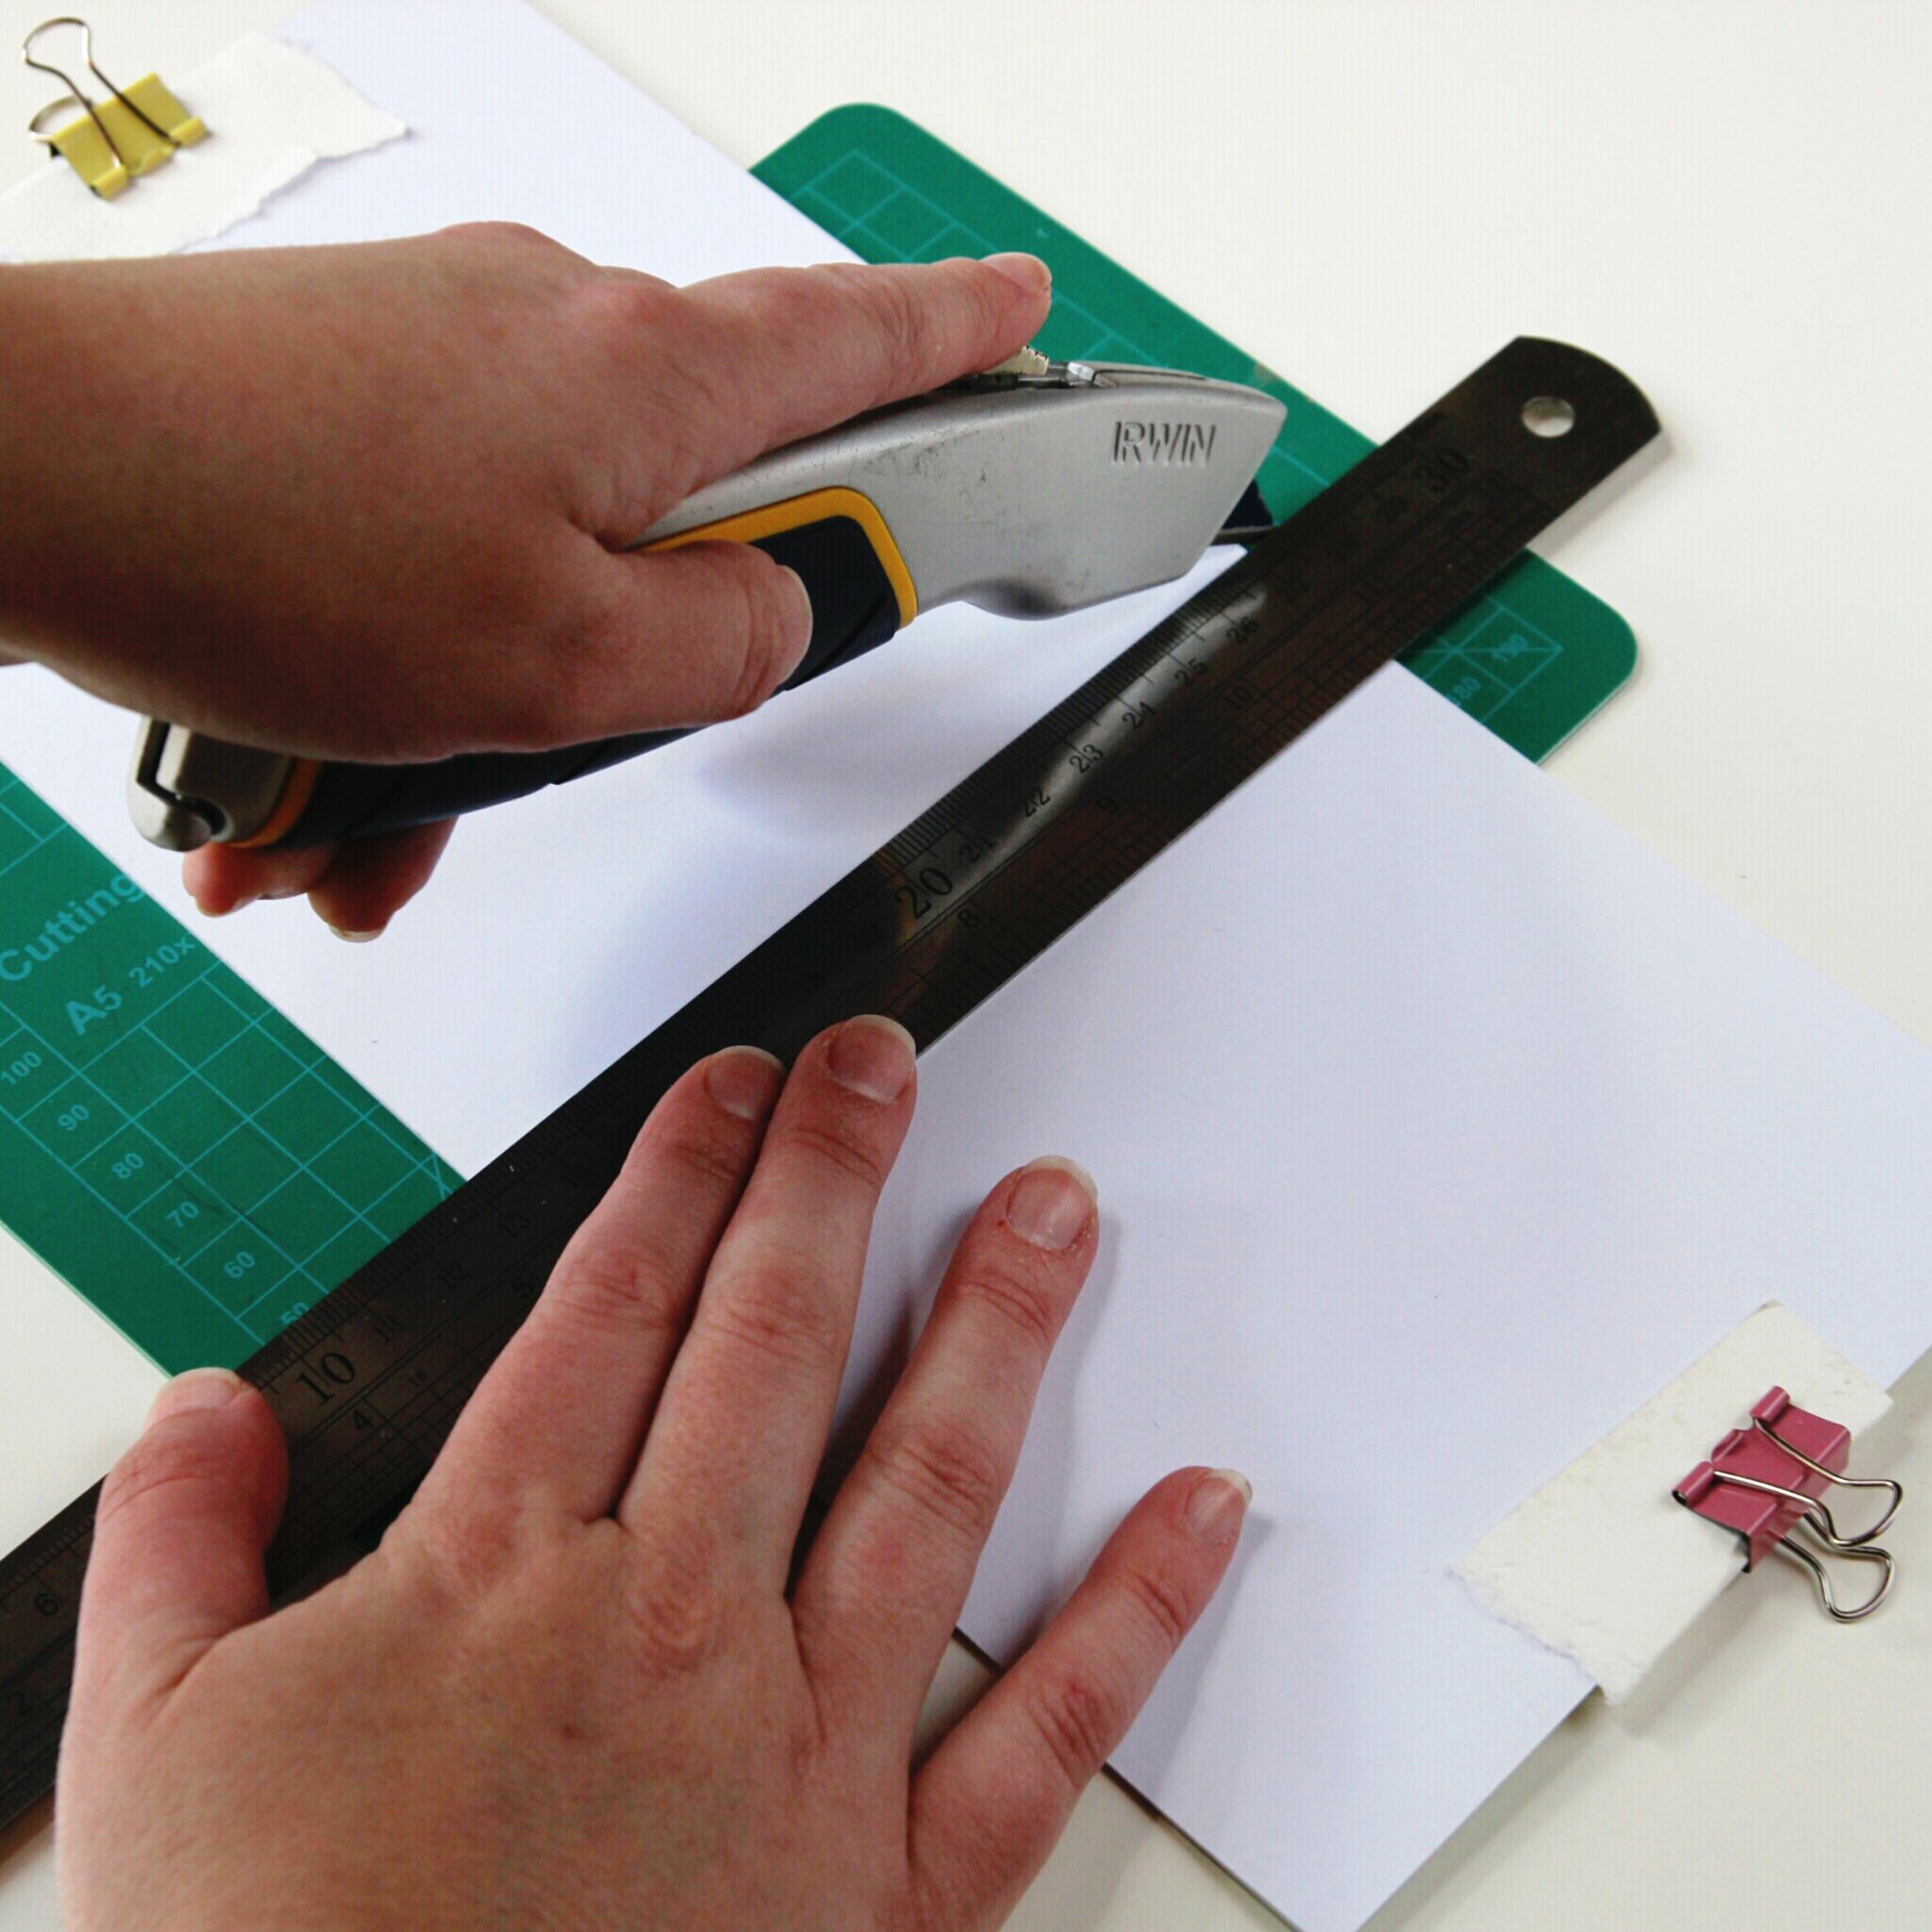
23. Do the same on both sides and then cut using a craft knife and a steel ruler for a straight edge.
Assembling Your Notebook.
24. Open up your cover and apply some PVA glue to the middle of the three sections.
You want the most glue to be where the spine of your paper stack will go.
25. Spread the rest of the glue out to the two outer sections being careful not to go over your scored lines.
26. Press your text block into the centre.
27. Wrap the cover around the text block.
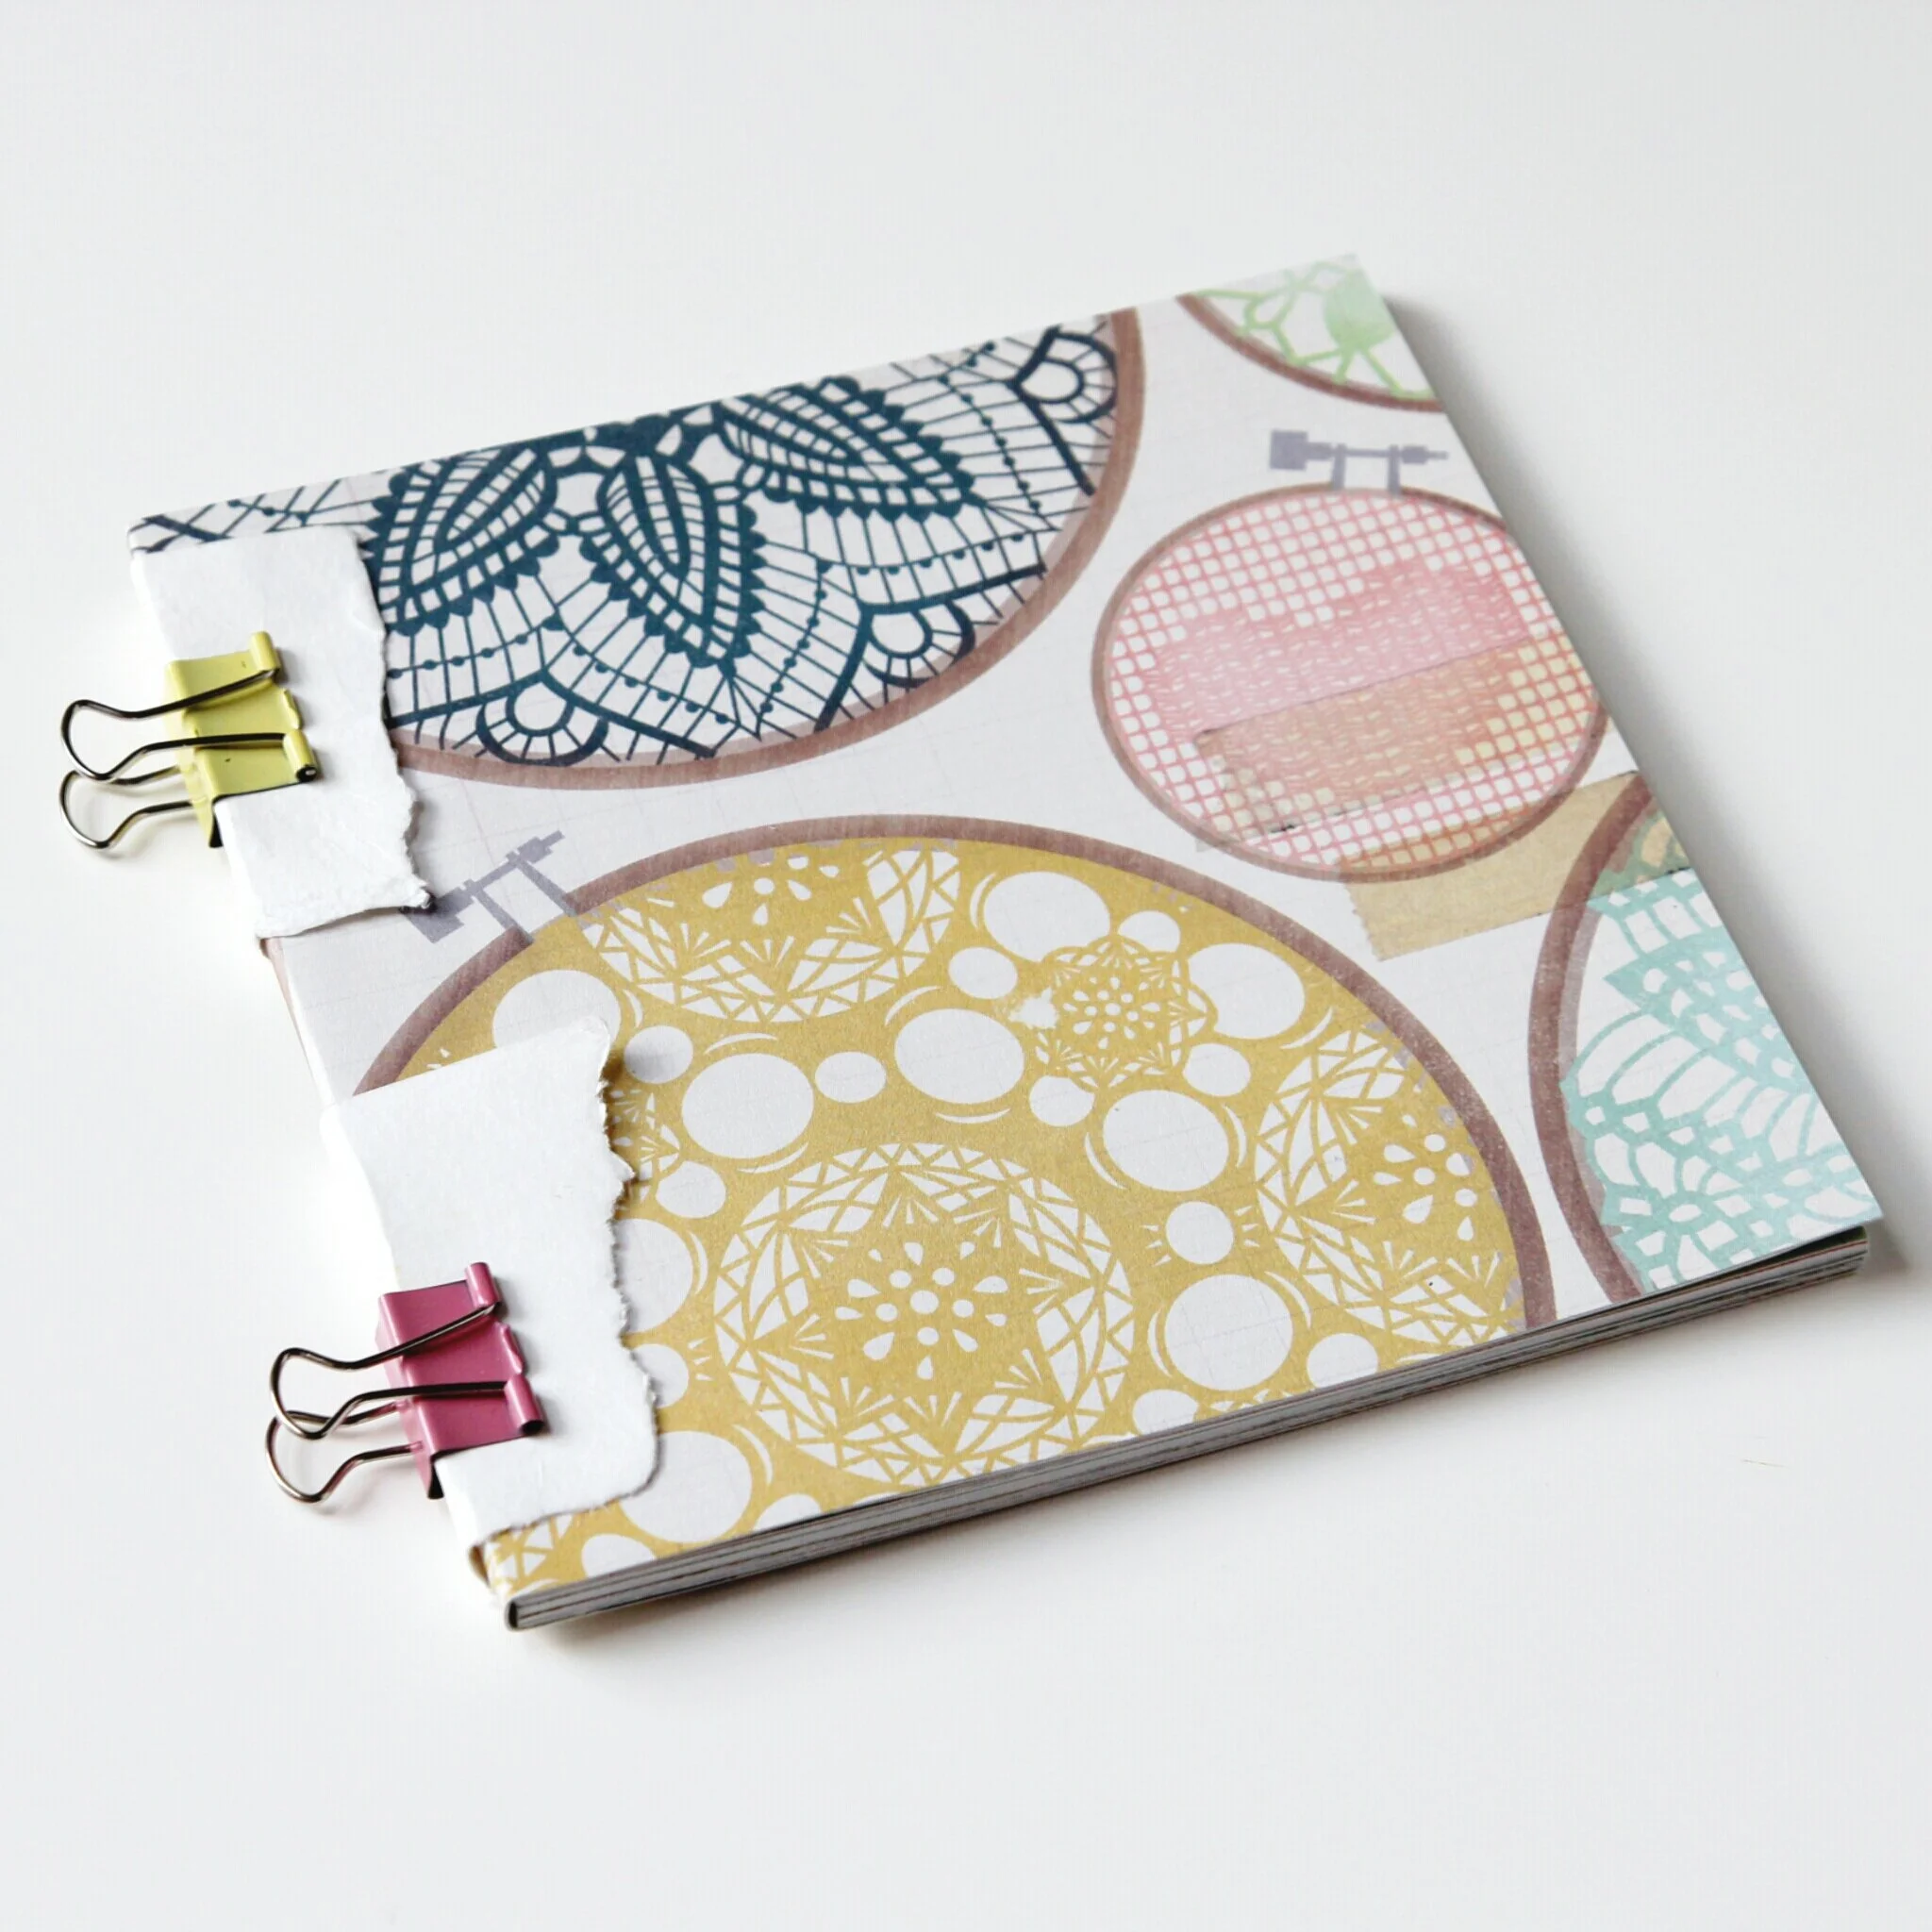
27. Use scrap paper and bulldog clips to hold it in place and leave it to dry overnight.

28. Once dry decorate your cover and fill.