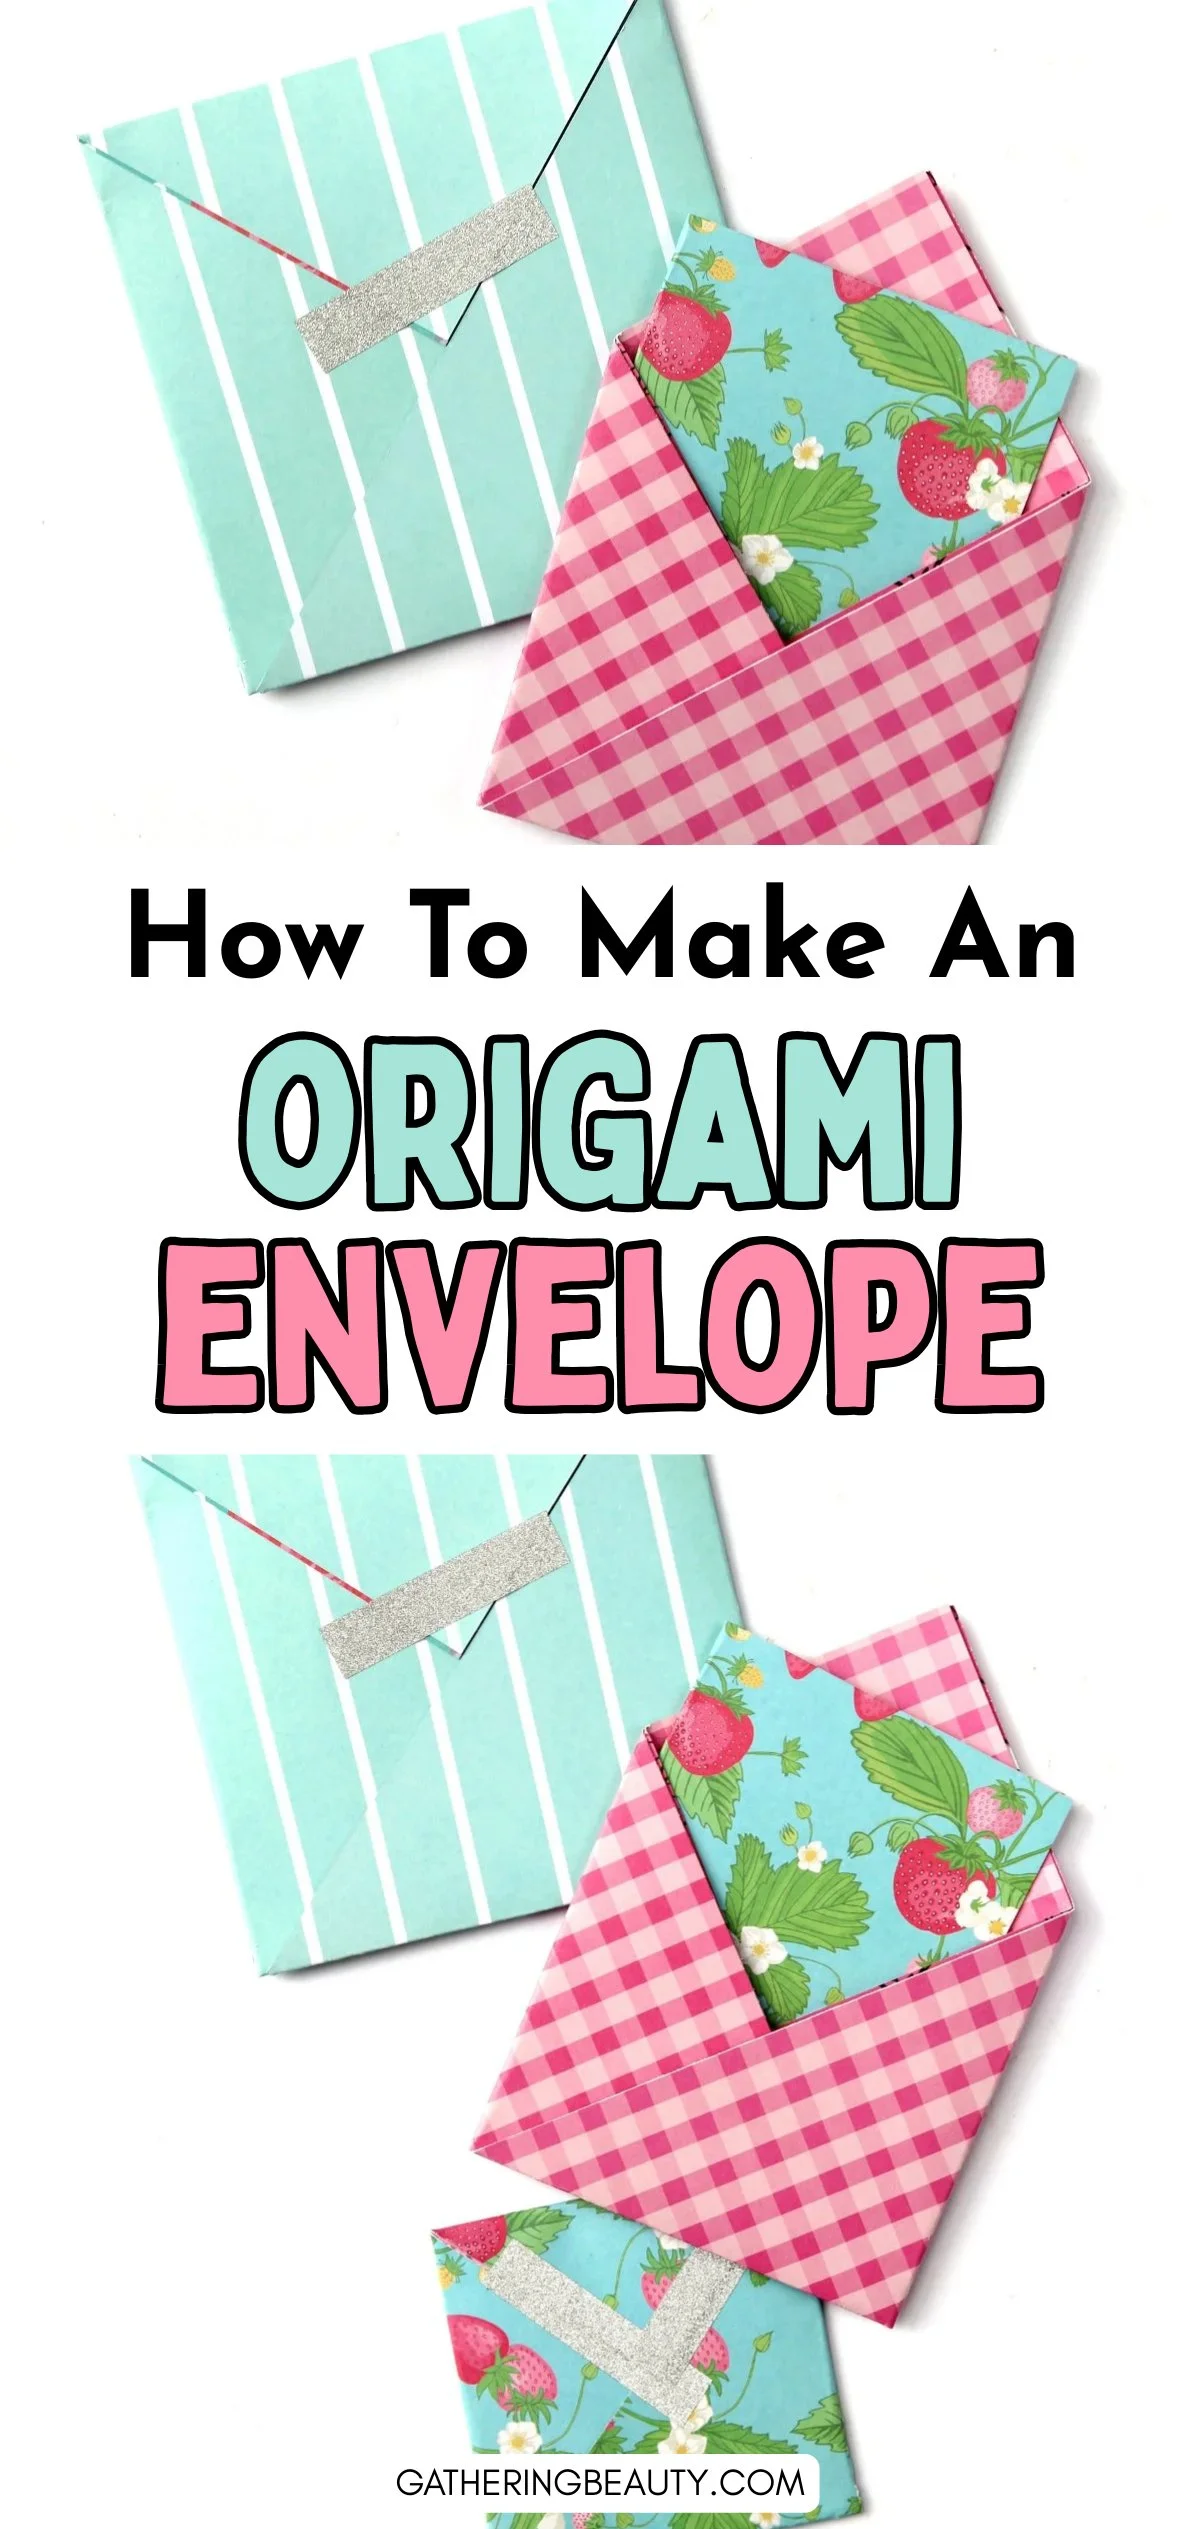
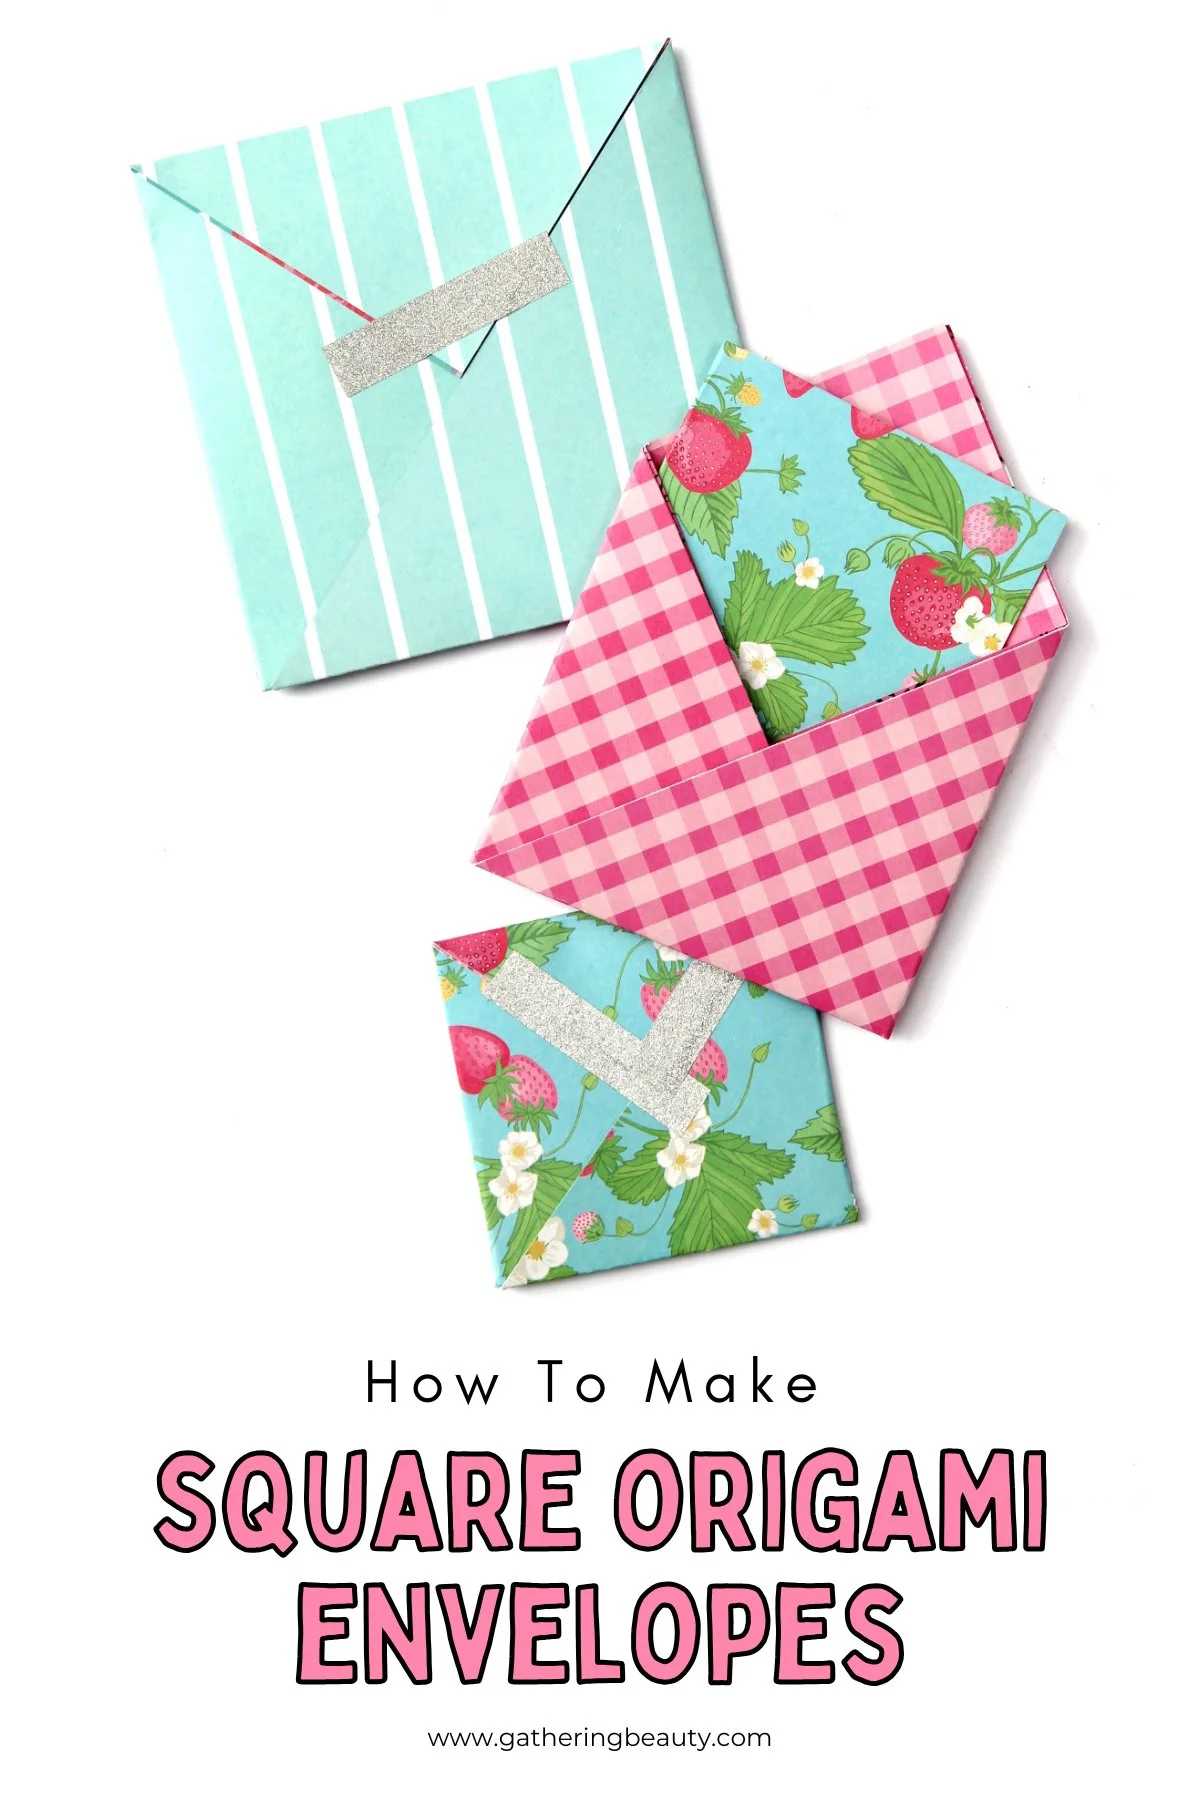
Easy Square Origami Envelopes
/Transform ordinary paper into adorable Origami Square Envelopes – perfect for sending notes or small gifts! Easy DIY tutorial included.
This page contains affiliate links. This means that if you make a purchase after clicking a link I earn a small commission but it doesn’t cost you a penny extra!
This post was originally published in 2016 but has since been updated.
DIY Square Origami Envelope.
Ever wanted to know how to make a simple square envelope? I have the perfect solution. It's something super fun and practical: a quick origami envelope tutorial.
I've made quite a few origami envelopes over the years but this one is a bit different. Not only is it super simple but it's also a square! You can find my other, more traditional origami envelopes here and here.
These square origami envelopes are something I used to make for my handmade cards and they really are the easiest thing to make. Even if you're a beginner, you'll have no trouble mastering the folds.
Related: 30 Easy Origami Crafts

DIY Square Envelopes.
You can make different-sized envelopes depending on the size of the paper you use. To make the large envelope, I used a 12 x 12-inch piece of paper. This makes an envelope big enough to hold a 5½ square card.
The pink gingham envelope was made using a 10 x 10-inch piece of paper and holds a 4½ square card.
And finally, the smallest envelope was made using an 8 x 8-inch piece of paper that fits a 3½ card.
They're perfect for holding square greeting cards, sending heartfelt notes or even a small flat gift (think badges or jewellery) to your friends and family. Follow the simple instructions to learn how to fold your own DIY square envelope.

What Can You Do With An Origami Square Envelope?
Not only are these square envelopes fun to make, but they're also incredibly useful! I've used them to send Christmas cards to friends and family, package small gifts for special occasions, and even organise my desk drawers by storing tiny items like stickers and mini sticky notes in them.
Supplies:
Origami Paper or Scrapbook Paper- For this tutorial I used scrapbook paper as it's thicker than regular paper and comes in a wide range of colours and patterns.
Bone Folder - You can use a bone folder to help make crisp creases in the paper.
It's worth noting that while I always recommend using origami paper you can make origami with many different types of paper. If you don’t have any origami paper on hand here are a few alternatives that you probably already have at home.
Regular Printer Paper,
Gift Wrap/Wrapping Paper,
Magazine Pages,
Newspaper,
Maps,
Old Books,
And Newspapers.
I even have some printable origami paper you can download and use for FREE. Simply download, print and cut into 7x7-inch squares.


How To Make Easy Origami Envelopes - Square.
1. First things first, you'll need a piece of square paper.
Don't worry if you don't have any fancy origami paper lying around – you can use any square of paper you have on hand, like scrapbooking paper, gift wrap or even plain printer paper that you've jazzed up with some doodles or patterns.
2. Take your square piece of paper and fold it in half across the diagonal.
I used a 12 x 12-inch piece of scrapbook paper to make an envelope big enough to hold a 5½ square card.

3. Next we're going to make two diagonal folds. For the first one fold the right corner over a third of the way across. I recommend using a ruler for this part.
4. Next fold the left corner over to meet the right corner.

5. You should now have 2 triangle pockets.
Open them back out and slide the left triangle into the right pocket.
Press everything flat.

6. Fold the top triangle piece down to form the envelope flap.
This flap will fit the gap exactly so you'll need to seal your envelope with some tape.
7. To fill fold the top piece of the triangle flap down. There should be a pocket inside.
8. Fill with your card or goodies and seal with a sticker or some washi tape.
Now, if you're like me and love to add a little extra flair to your crafts, you can get creative with decorating your envelopes! Add some stickers, or washi tape, or even draw some designs to make them uniquely yours.