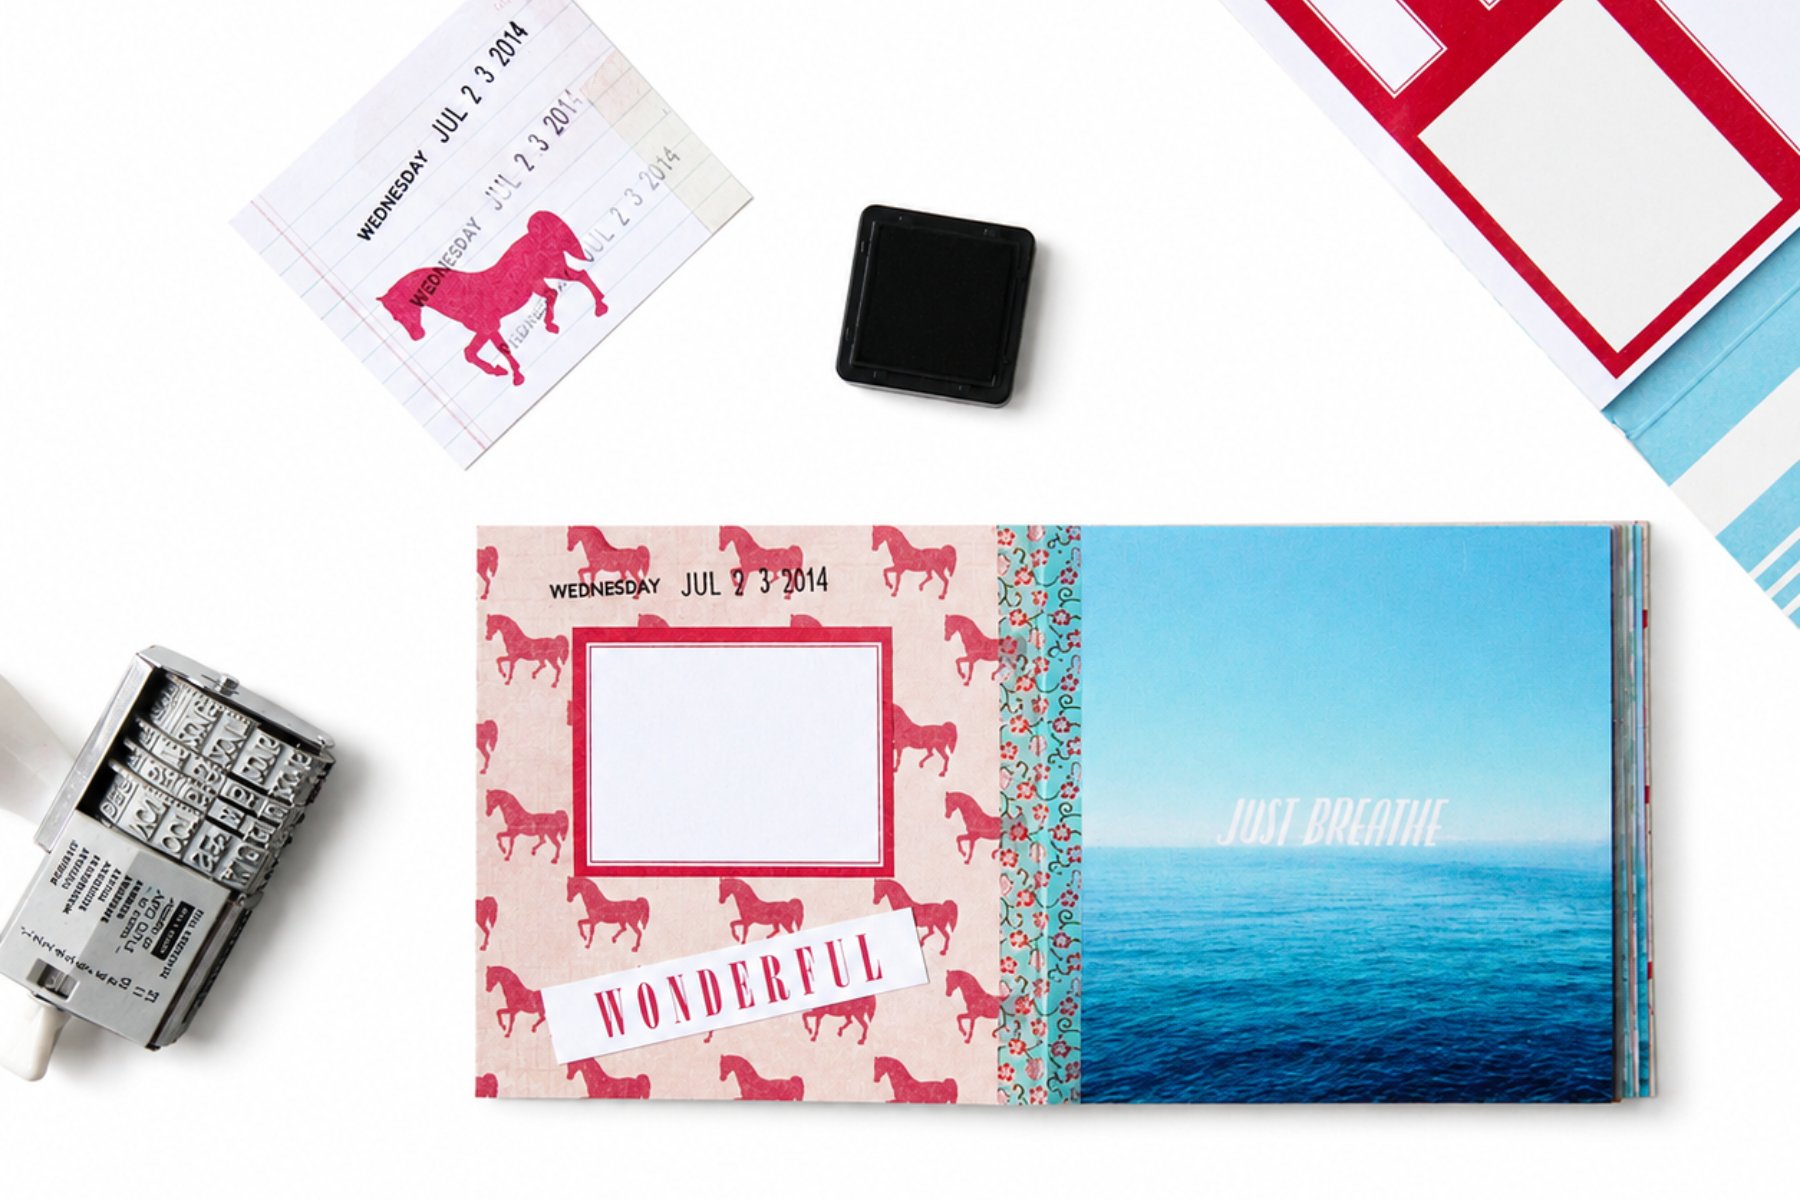
DIY Instagram Mini Photo Album
/Turn your favourite Instagram photos into a beautiful handmade keepsake! This DIY Instagram Mini Album is an easy scrapbook project using cardstock, patterned paper, and washi tape. Perfect for preserving holiday memories, family adventures, and everyday moments.

This page contains affiliate links. This means that if you make a purchase after clicking a link I earn a small commission but it doesn’t cost you a penny extra!
DIY Instagram Mini Album.
If you're anything like me, your phone is probably overflowing with hundreds (or maybe thousands!) of photos. We snap pictures every day, share our favourites on Instagram, and then... they stay hidden away in our camera roll.
One of my favourite ways to actually enjoy those memories is by turning them into something I can hold in my hands. This easy DIY mini album is a fun afternoon craft that's perfect for preserving holidays, birthdays, family adventures, or even everyday moments.
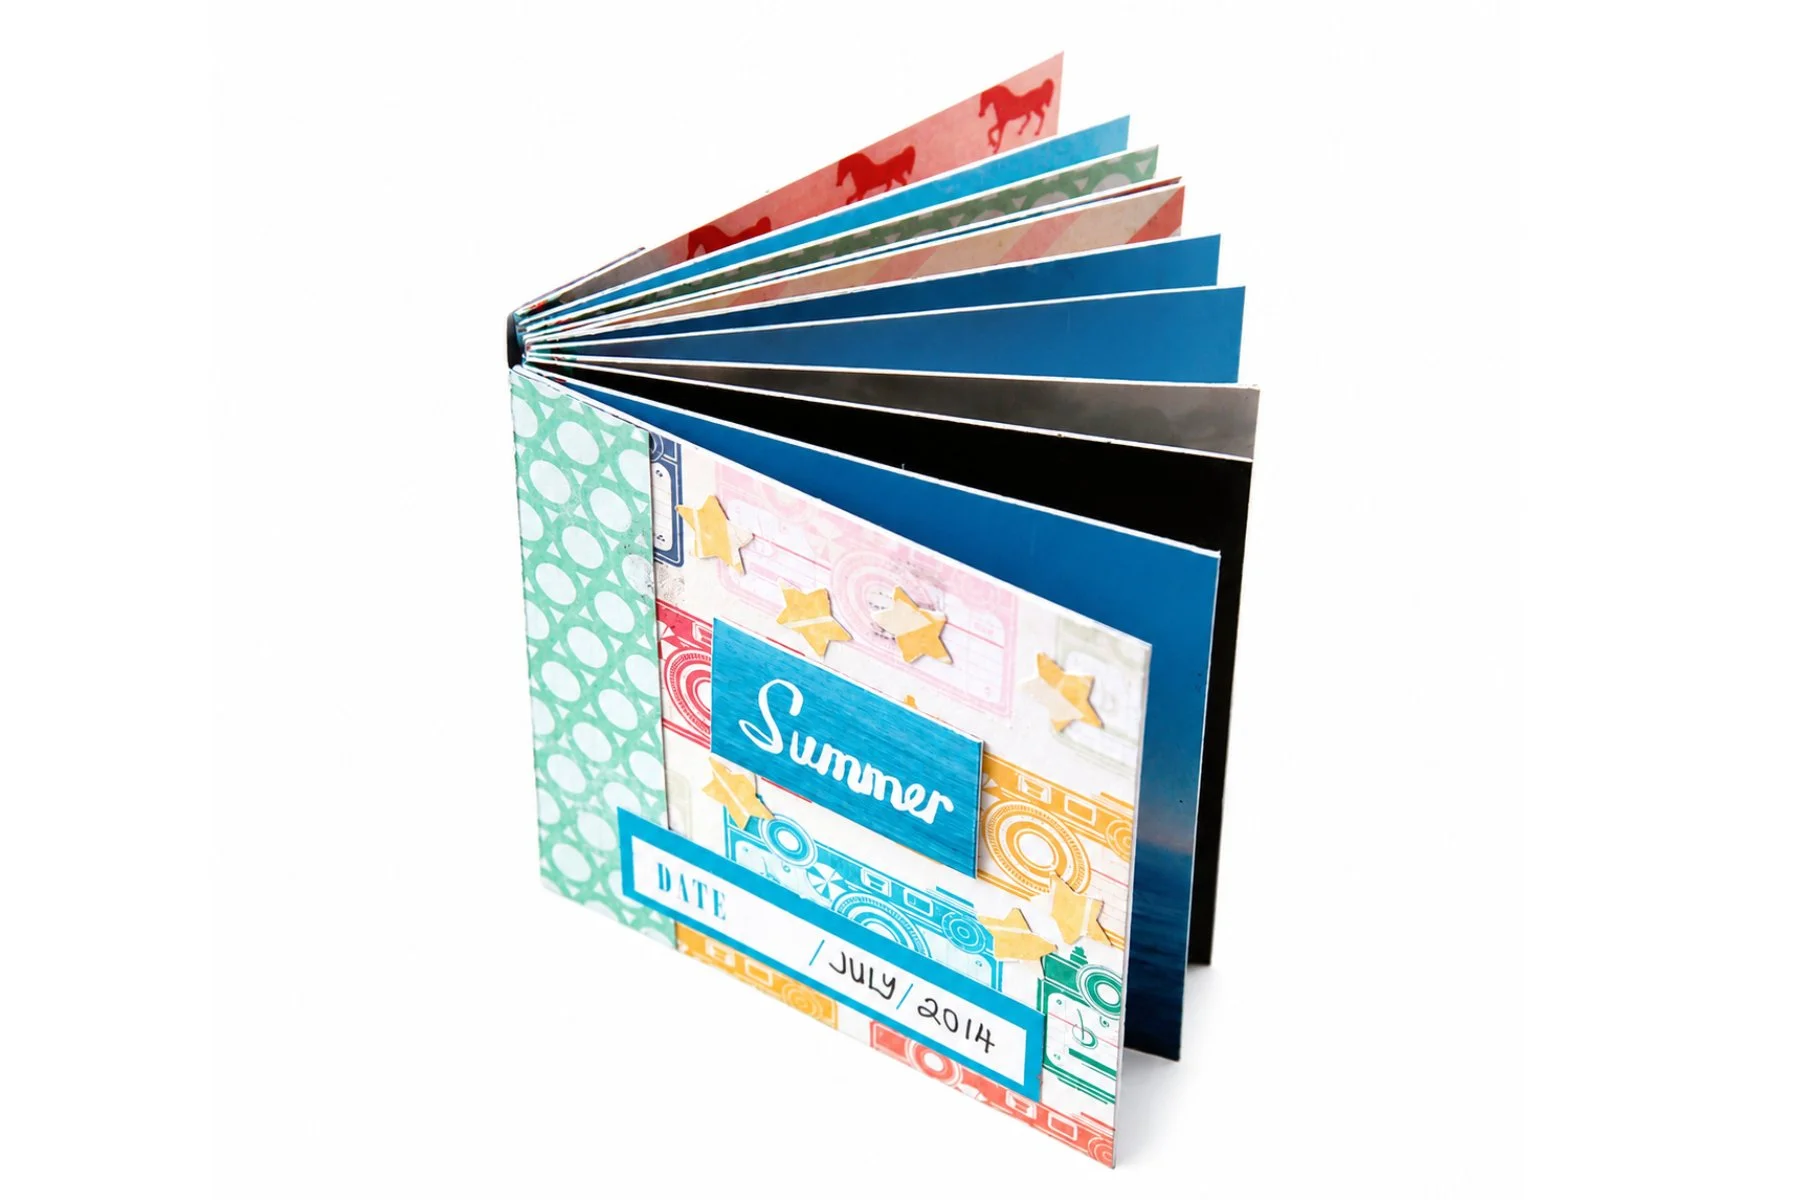
The best part? You don't need any fancy bookbinding skills. This little album comes together using cardstock and washi tape to create a quick and easy flexible spine.
It's quick to make, completely customisable, and a lovely way to display your favourite photos.
Whether you're making one for yourself or as a thoughtful handmade gift, this mini scrapbook is a project you'll want to make again and again.
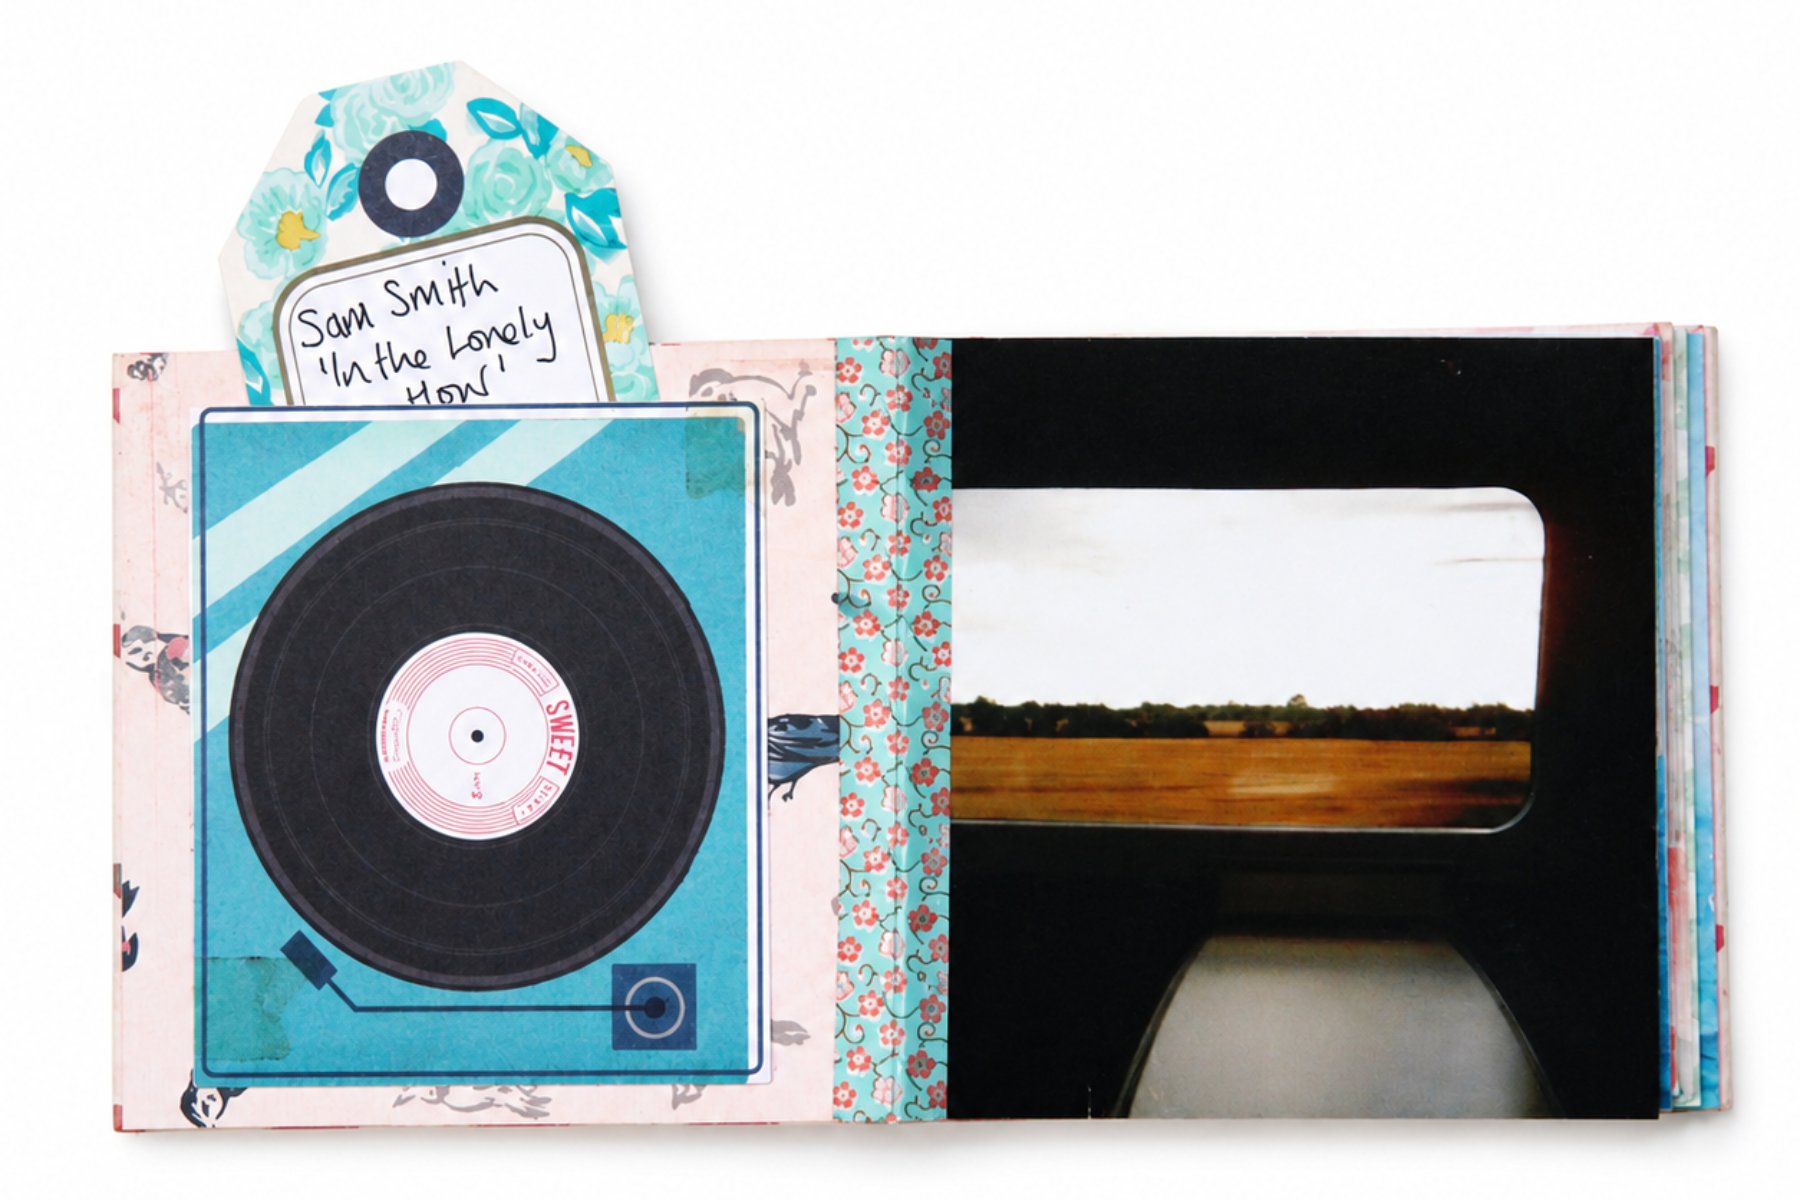
Supplies:
Printed Instagram Photos
Scissors
Glue
Double-sided tape
Washi tape and other craft supplies to decorate your album.

1. Print out your photos.
2. Glue your photos down onto your card stock or chipboard.
3. Leave to dry and then cut to size.

4. To back your photos, glue them down onto some scrapbook paper and trim away any excess paper.
If you want, you could skip this step and leave the back of your pages blank for journaling, or even glue your photos back-to-back.

5. Lay out your photos in the order you want them.
Think about what you'll see on the back of each page. Do you want to alternate between a photo and a journalling page? Back-to-back photos? Or a double journalling page?

6. When you're happy with your arrangement, start joining your pages together with washi tape.
Remember: Make sure to leave a small gap in between each of your photo pages as you stick them together. This will mean your pages can open and close easily.

7. Carry on attaching your pages one at a time.
As your stack of pages starts to grow, you might find it easier to stick your washi tape down to one page only, fold it over to form a hinge and then carefully press the next page down on top.
The great thing about washi tape is you can peel it off and start again as many times as you like, so don't worry about making mistakes.

8. You should now have a neat stack of photo pages secured together with a washi tape spine.
9. To make the cover, cut some card stock or chipboard to size and cover in some more scrapbook paper. I really love this camera design scrapbook paper from the Maggie Holmes range.
Attach the cover with washi tape in the same way as you did the rest of the pages.
10. To finish off your cover, cut some scrapbook paper to size and fold it around your spine.

11. Stick it down using a couple of strips of double-sided tape to the front and back cover.
Remember: Your spine needs to be flexible so make sure you don't glue or stick your paper to the spine of your book. Only where it touches your cover.
12. Decorate your cover and pages.