
Wooden Bead Star Ornament
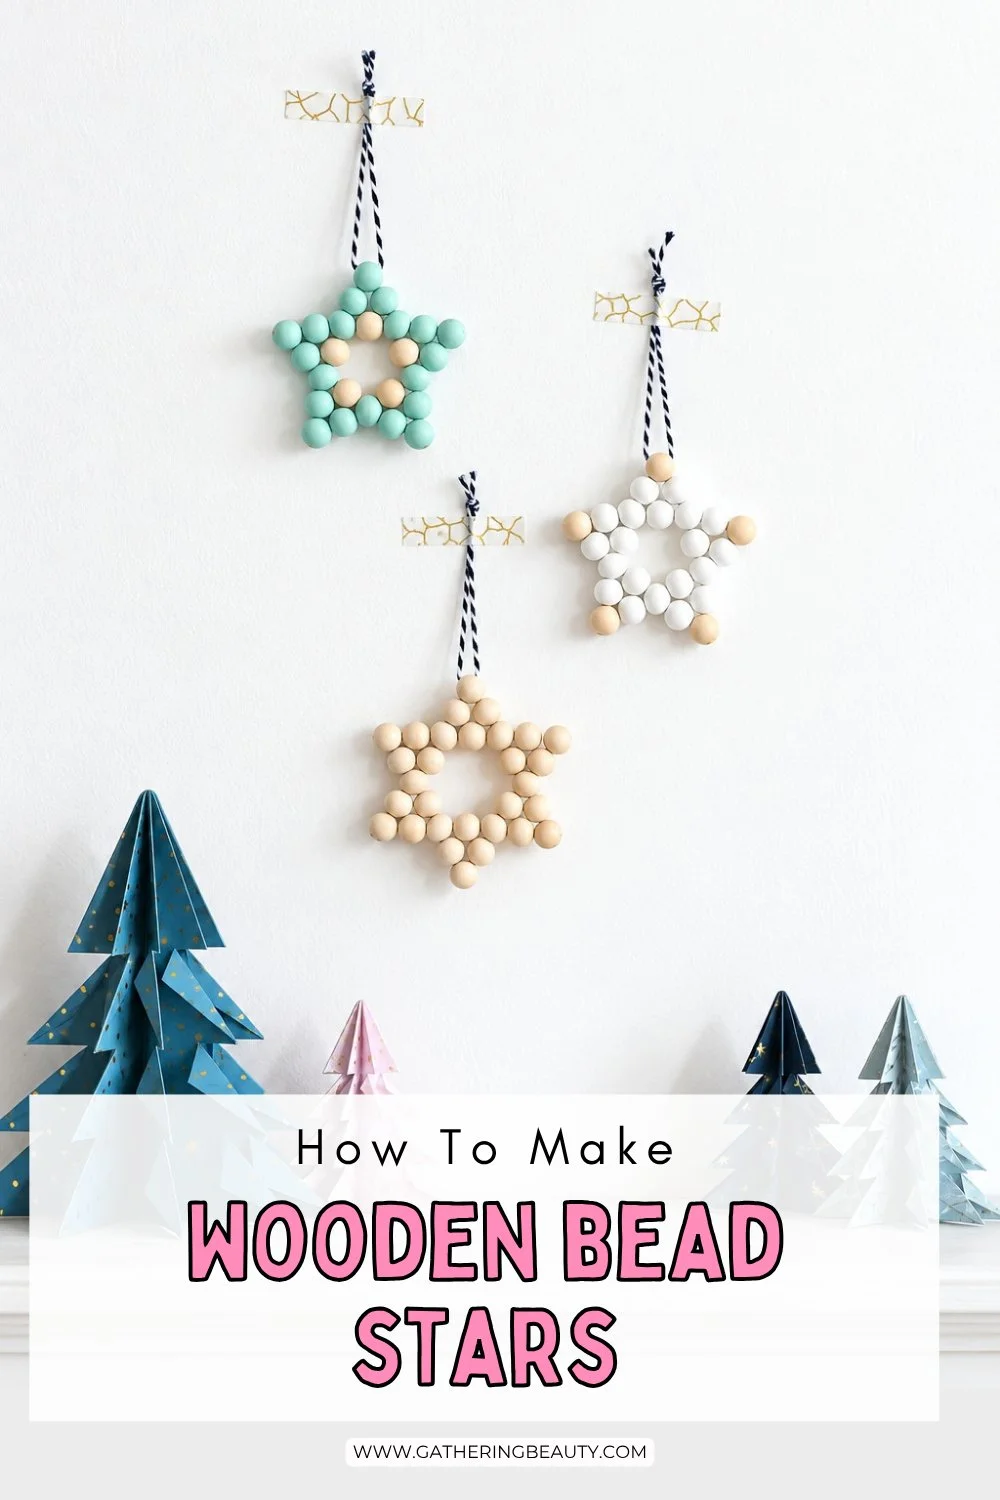
/Learn how to make Wooden Bead Star Ornaments with this easy step-by-step tutorial. These Scandinavian-inspired DIY Christmas decorations are perfect for your tree or handmade gifts.
This page contains affiliate links. This means that if you make a purchase after clicking a link I earn a small commission but it doesn’t cost you a penny extra!
Wooden Bead Star Ornaments.
Handmade Christmas decorations are a big deal around here. Every year, I like to make something new to hang on the tree, and these DIY wooden bead stars are one of my favourite projects.
I love their simple, minimalist look. The natural wooden beads give them a lovely Scandinavian-inspired feel, making them perfect for anyone who prefers understated Christmas decorations.

Of course, there's always the problem of finding room for everything on the tree! If yours is already looking a little crowded, these beaded stars make lovely gift toppers, too. Simply tie one around a present or gift bag for an extra-special finishing touch.
Ready to make your own? Here's everything you'll need.

SUPPLIES:
Wooden Beads: I used 10 mm wooden beads.
Clear Elastic Stretch Thread: the type used for jewellery making.
Needle
Scissors
Baker’s Twine or String
To make a 6-pointed star, you’ll need 30 beads. To make a 5-pointed star, you’ll need 25 beads.
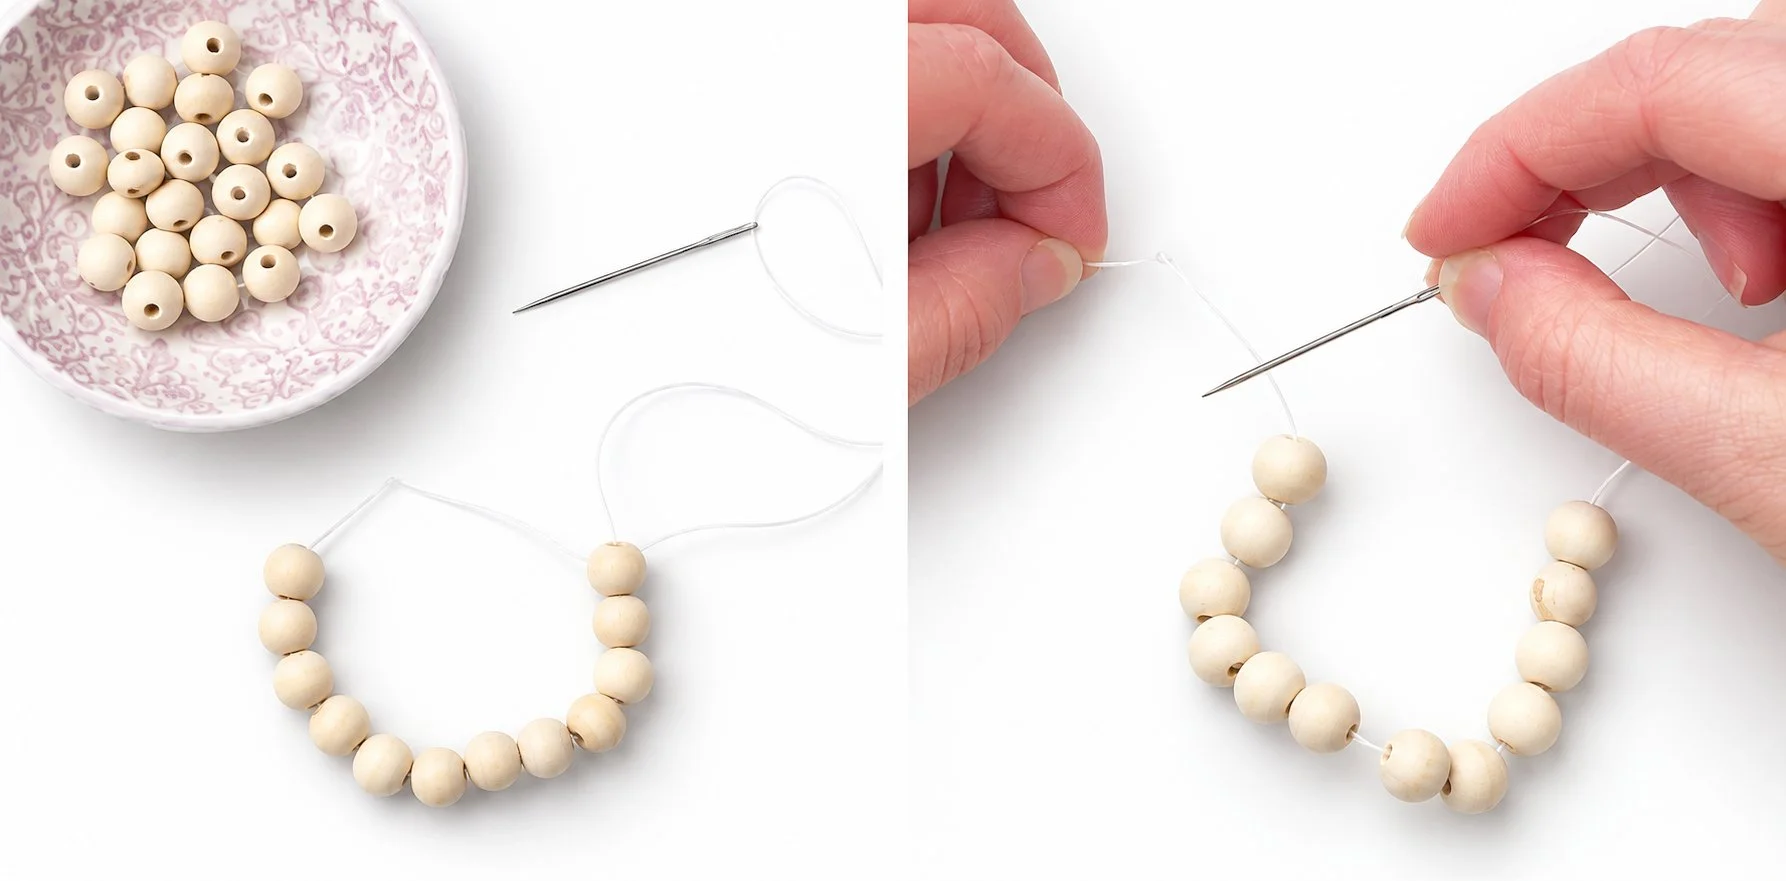
How To Make A Star Out Of Beads.
1. Cut a long piece of clear elastic stretch thread. You'll need enough to thread through all the beads, form the star and tie everything securely at the end.
Around 2 metres or 2 and a half feet if you’re using 10 mm wooden beads, as I did. The larger the beads, the more elastic you’ll need.
2. Thread the elastic through your needle and tie the two ends together to create a double strand.
3. For a six-pointed star, thread 12 wooden beads onto the elastic. If you're making a five-pointed star, thread on 10 beads instead.

4. Pass the needle through the knotted end of the elastic to join the beads into a closed loop.
Gently pull the thread so the beads sit together in a circle.
5. Thread two more wooden beads onto the needle and slide them down towards the loop.
These beads will begin to form the first point of your star.

6. Skip the next bead in the original loop and thread the needle through the next bead along.
Pull the elastic gently to bring the two new beads into position.

7. Repeat this process around the loop to create the remaining points.
For a six-pointed star, repeat the pattern another five times. For a five-pointed star, repeat it another four times.

8. When you reach the starting point again, carefully thread the needle through the first two beads (see pic above).
9. Thread an additional wooden bead onto the needle.

10. Pass the needle through the next three beads in the pattern.
In the photo above, I’ve pushed the needle through all 3 beads at once so you can clearly see what to do, but depending on what elastic or twine you’ve used, it might be easier to go through each bead individually.

11. To form the tip of each star point, thread one additional wooden bead onto the needle, then pass the needle through the next three beads in the pattern.
Repeat this process for the remaining points.
12. Once all the points are complete, thread the elastic through the final bead and tie a secure knot.
Gently adjust the beads so the star looks even and the points are neatly formed.
You can use the remaining elastic to hang your ornament, or trim away the excess and attach a piece of baker's twine, string or ribbon instead.
And that's it! Your handmade wooden bead star is ready to hang.

This was such a simple yet satisfying craft project to make. They might seem a little fiddly when you first start, but once you get going, you'll soon get into the rhythm of threading the beads.
Make a few for your Christmas tree, tie one onto a present or create a little collection to give as gifts. However you use them, these DIY wooden bead stars are a lovely addition to your handmade Christmas decorations.


