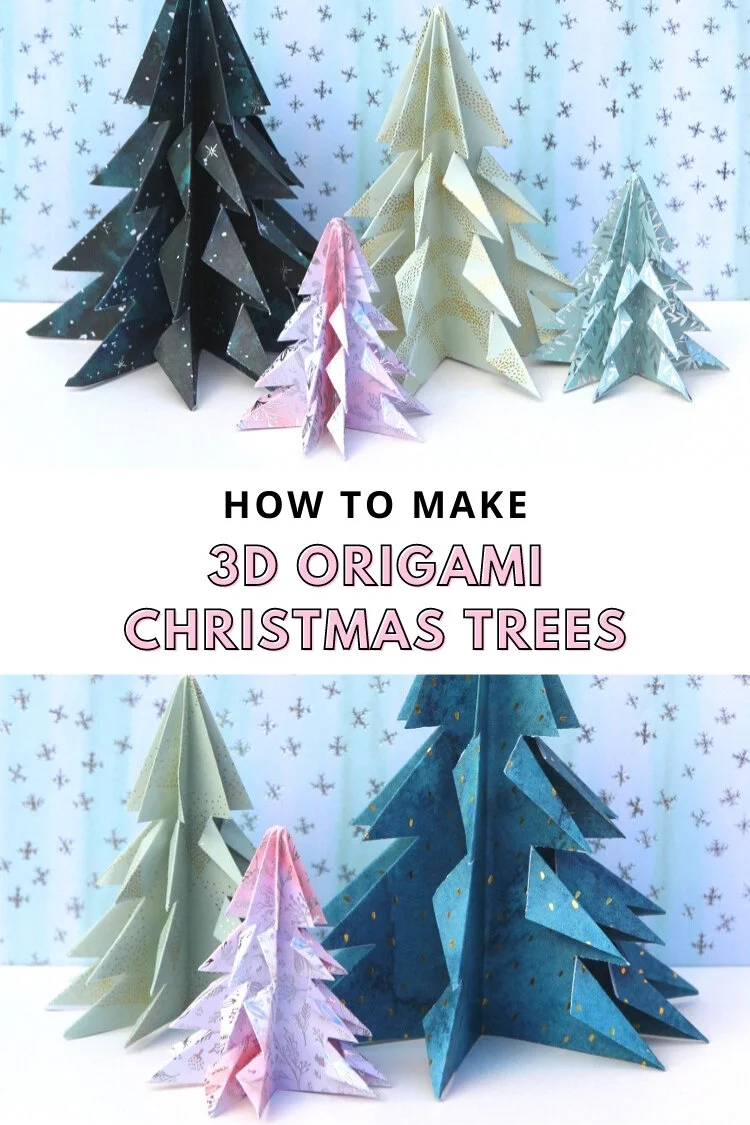
Easy Origami Christmas Trees
/These magical 3D Origami Christmas Trees are so simple to make - a couple of folds and a few snips and you’re ready to go.
Instead of spending yet more money on last-minute decorations why not try making these cute little paper Christmas trees?
A pretty last-minute paper decoration for your holiday table that means you’ll make a whole forest in minutes.
This page contains affiliate links. This means that if you make a purchase after clicking a link I earn a small commission but it doesn’t cost you a penny extra!
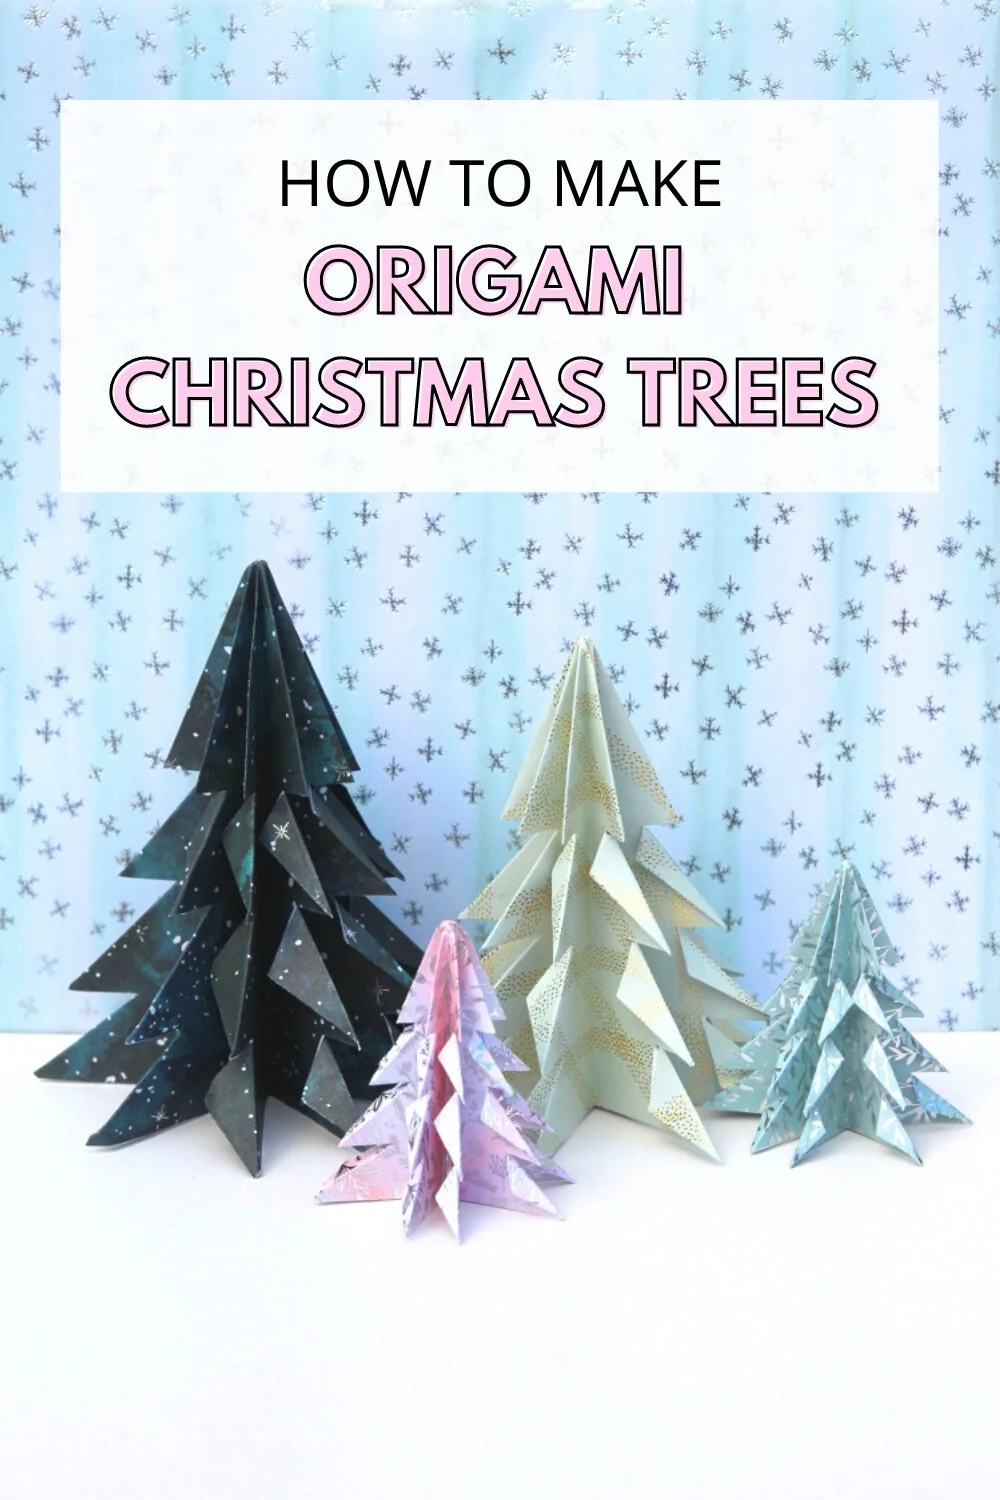
3D Origami Christmas Tree.
What’s everyone making this weekend? If you’re looking for a last-minute holiday craft to decorate your home, here’s a quick and easy one. Christmas origami trees.
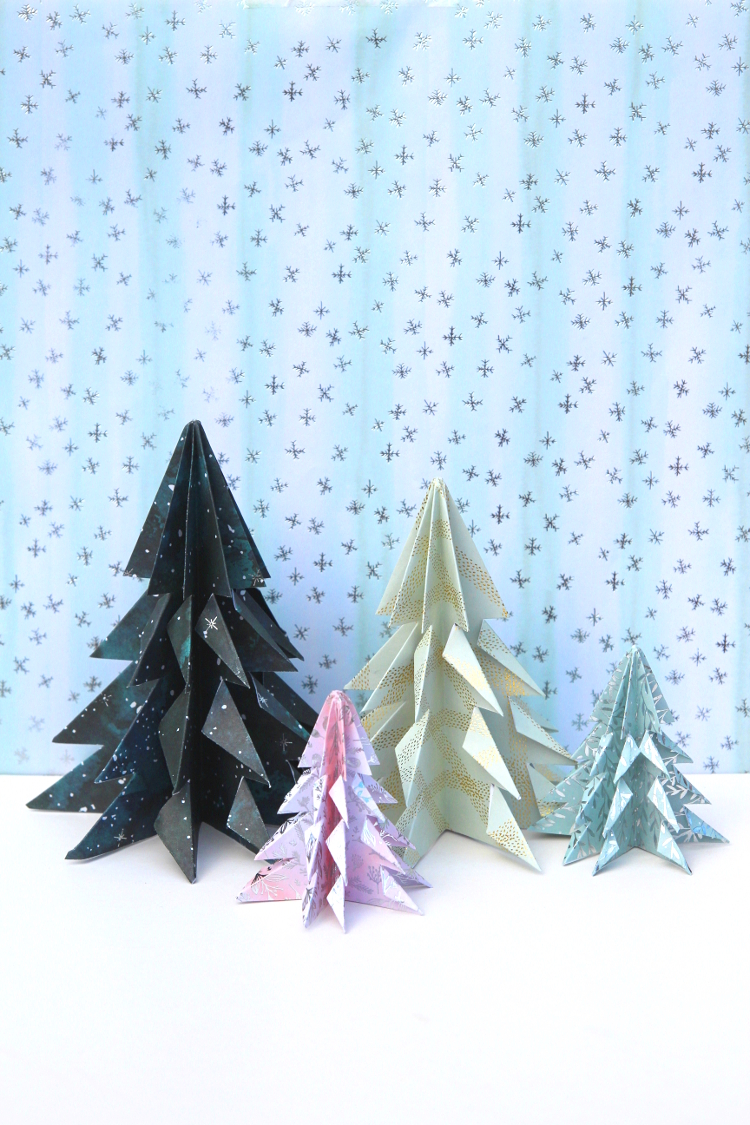
I used a mix of pale pink, mint green and blue patterned paper to make my collection of trees but feel free to get creative with your colours and patterns to match your own colour scheme.
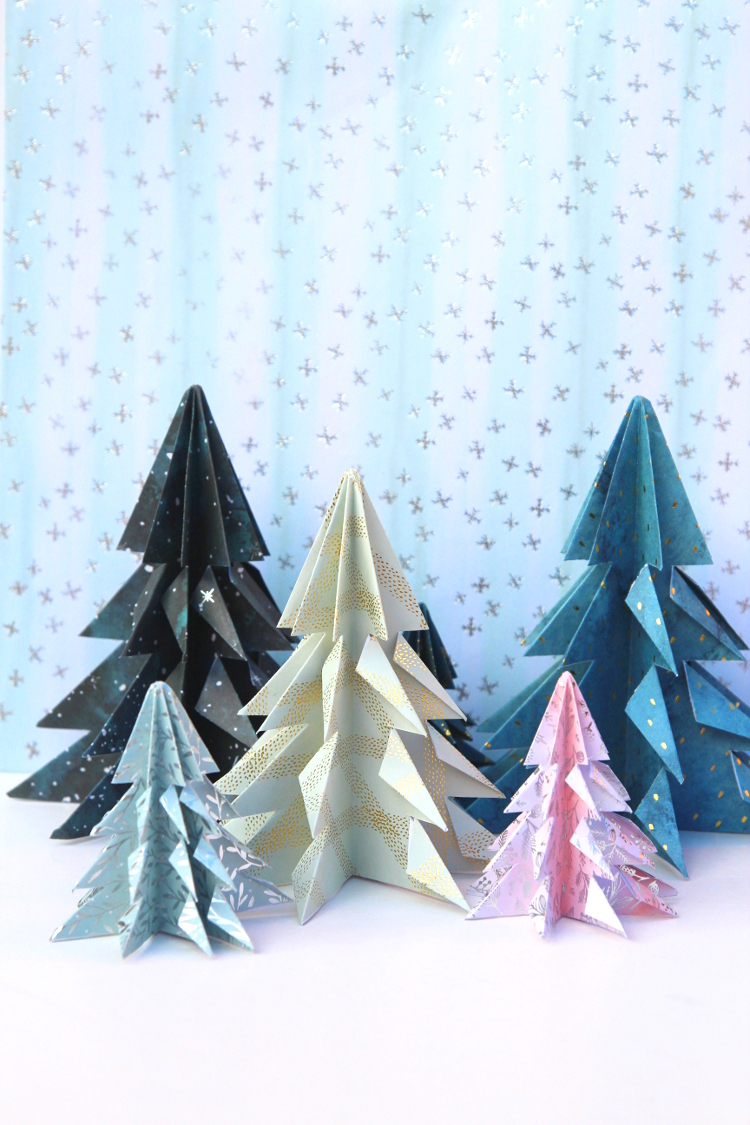
By using different sizes of paper squares you can make them all different heights and sizes. They make such a lovely addition to your holiday decor.
I loved how they turned out so much that I’ve already made a second batch so I can use them to decorate other rooms. I’ve made a couple of larger ones using gift wrap to use as a table centrepiece. And I’ve got the ones in these pictures displayed on the fireplace mantel.
They're such a quick and easy project, cost practically nothing and take no time at all. All you need is some leftover gift wrap and a pair of scissors and you’ve got some beautiful decorations.

Kirigami Christmas Tree.
I’m a big fan of origami (I did write a whole ebook about it after all) and even though I've called these origami Christmas trees they're actually Kirigami.
What is Kirigami?
Kirigami is similar to traditional origami except instead of just folding the paper to make your design you cut it as well. It's usually made from a single sheet of paper and as folds are a part of the finished piece it can be three-dimensional like these trees.
My origami stars are another example of kirigami except for this time the finished model can be flattened or folded to make a 3D shape.
Making your Paper Christmas Trees.
Although I’ve called this project easy they can be a little bit tricky at first (around step 7&8) but once you get the hang of it they are super quick and simple to make.
Gather your craft supplies and select your chosen paper. If you’re using origami paper, you’re all set but if you’re using something else like gift wrap you’ll need to cut a piece of square paper before you start.
Fold your paper following the step-by-step instructions below and then get ready to start snipping. You’ll need to make at least seven cuts. One to make the base flat and the rest to make the branches.
The more cuts you make the more branches. Fold back the branches and open your origami tree out.
When you’ve finished your Christmas trees set them out on your table as a centrepiece, on the fireplace or shelves as a mini Christmas scene or wherever else you need a quick holiday decoration fix. You could even add some ribbon and hang them from your Christmas tree or gift box.

Supplies:
Thin Decorative Paper
Pencil
Ruler
Scissors
Although I recommend using origami paper for any paper folding project, the paper I used for these trees was thin scrapbook paper (not the lightweight cardstock kind) as standard origami paper only makes a small tree.
I used 12x12-inch paper for the large trees, 10x10-inch for the middle-size trees and 6x6-inch for the small ones.
If you don’t have any thin scrapbook paper here are a few alternatives you probably already have on hand.
Gift Wrap / Wrapping Paper
Magazines
Maps
And a couple of larger origami papers:
Keep scrolling to see how easy these simple origami trees are to make.
Want to make it even easier? You can download and keep this project in a handy PDF tutorial here.
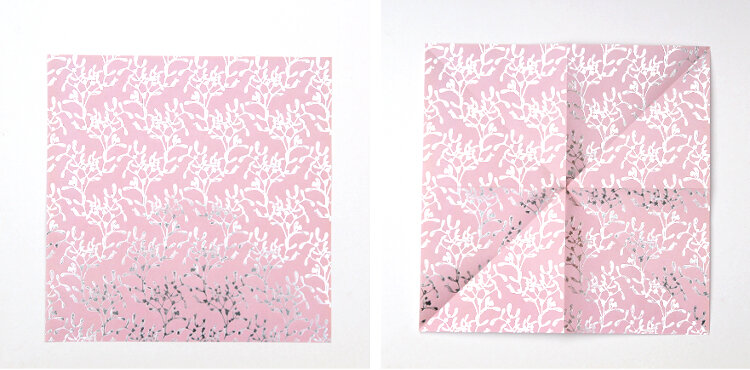
1. Start by laying your square sheet of paper down with the white side facing up.
2. Fold it in half edge to edge. Open your piece of paper back out and fold it in half again this time in the other direction.
3. Open back out and fold in half again this time across both the diagonals.

4. Open out and lay flat with the white side facing up. Using the creases you have previously made bring the top 3 corners down to meet at the bottom corner. Press flat. You should now have a diamond shape.
5. Fold the sides in to meet at the centre crease.
6. Flip over and repeat on the other side. You should now have an upside-down kite shape.

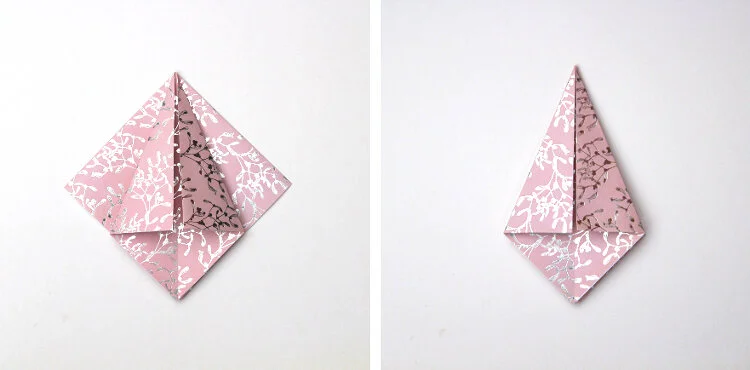
7. Open one of the flaps back out and flatten. Take the outer edge and collapse it by folding it into the centre.
8. Repeat for the other side.

9. Flip it over and repeat steps 8 and 9.

10. Now take a pair of scissors and cut the bottom point off your kite. To make it easier fold the top layer back to make a triangle and use this as a guide.

11. Using a pair of scissors cut 3 horizontal lines on each side of the triangle. These will make your branches.
12. Starting from the right fold each cut line down to make a small triangle. Fold to the left like a page and repeat by folding down each cut line on the right.

13. Keep folding and turning until all the branches have been folded. When you reach the end flip it over and repeat on the other side.
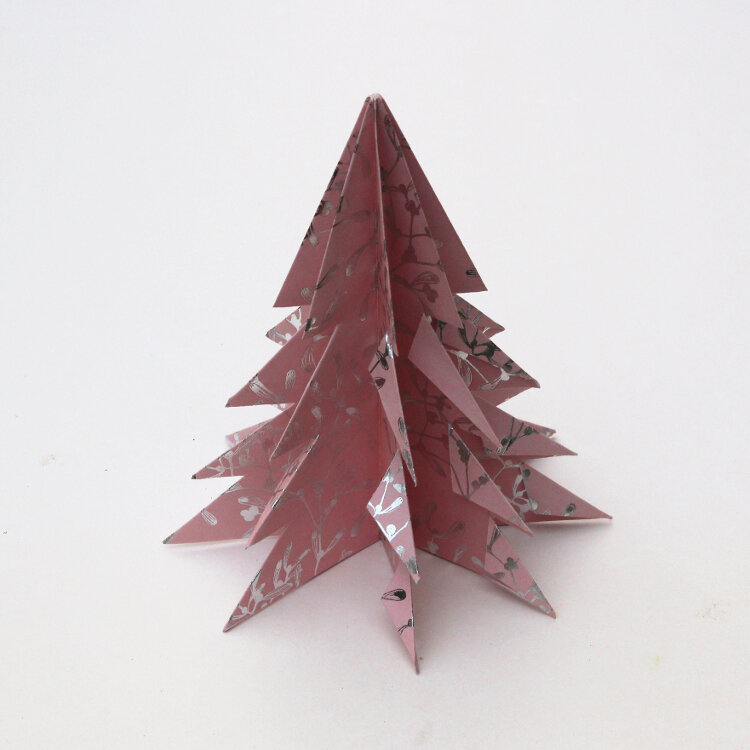
14. Open out your origami tree and stand.
And the best thing about these trees? You can fold them back and tuck them away when Christmas is over. Store them flat (inside an old book) and bring them back out the following year.
What do you think? Will you be making any of these paper trees this Holiday season?
If you want some more origami trees to make this Holiday season I’ve got 25 more of them for you here.