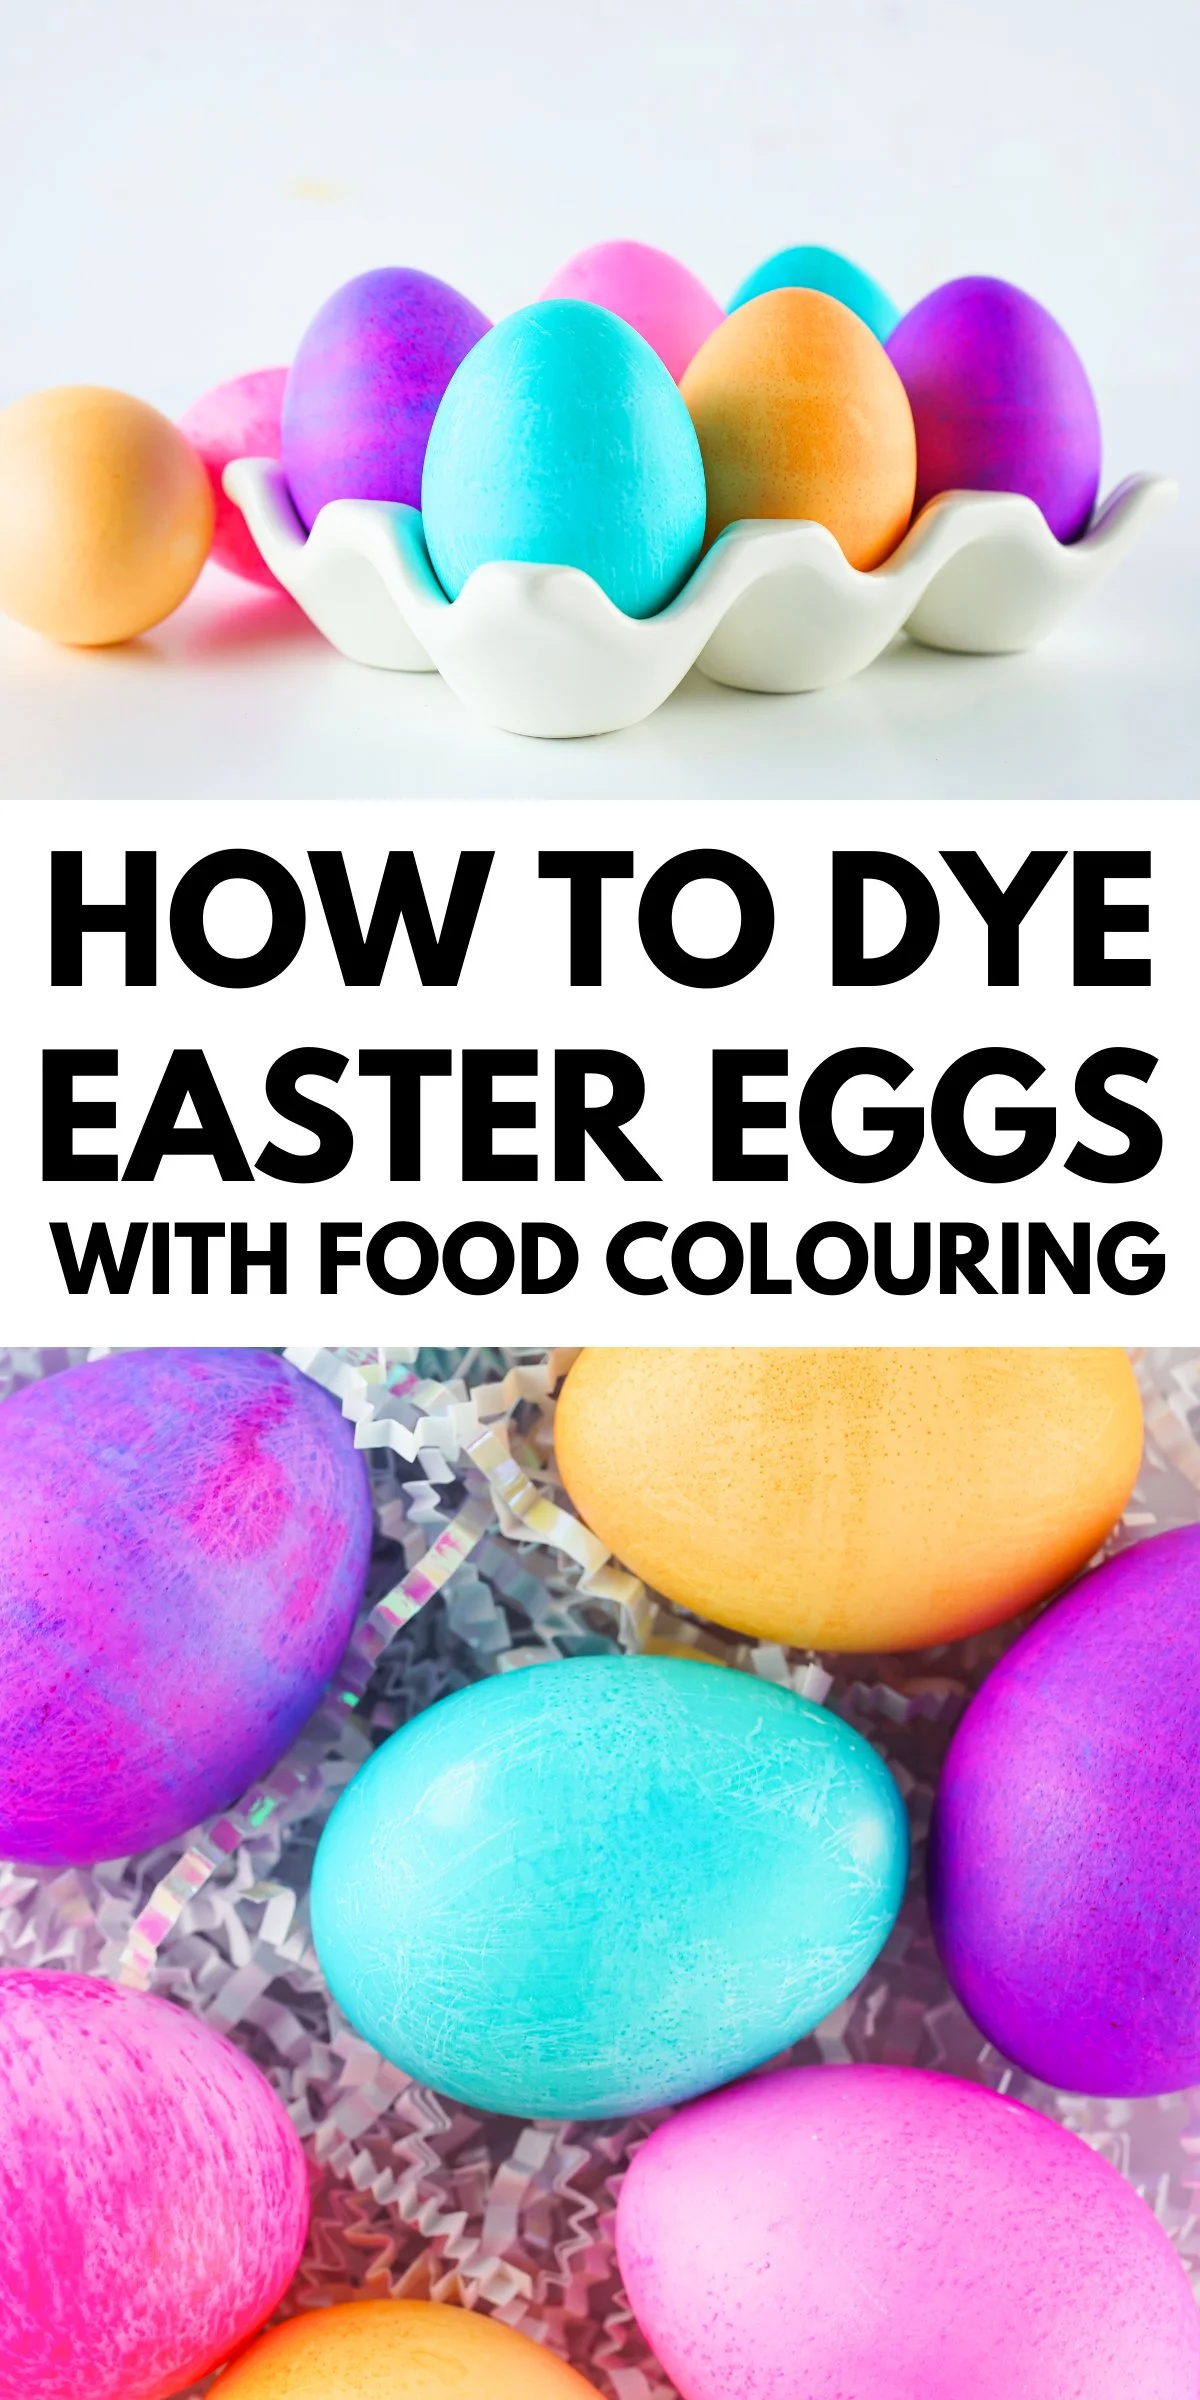
DIY Easter Egg Dye Using Food Colouring
/Skip the store-bought kits and make bright and colourful eggs using DIY Easter egg dye. Learn how to make your own dye using a few simple household ingredients.
For more egg decorating ideas, check out this post on Natural Easter Egg Dyes.

This page contains affiliate links. This means that if you make a purchase after clicking a link I earn a small commission but it doesn’t cost you a penny extra!
Easter Egg Dye With Food Colouring.
Making your own your own Easter egg dye is such a creative and fun activity for the whole family. It's an Easter tradition going back hundreds of years that people still love today.
Last year I showed you how to colour eggs using homemade natural dyes. This year I wanted to show you how you can make your own dyes at home using only food colouring and vinegar.
No need to run out and buy an expensive egg dyeing kit as you probably already have these items on hand.
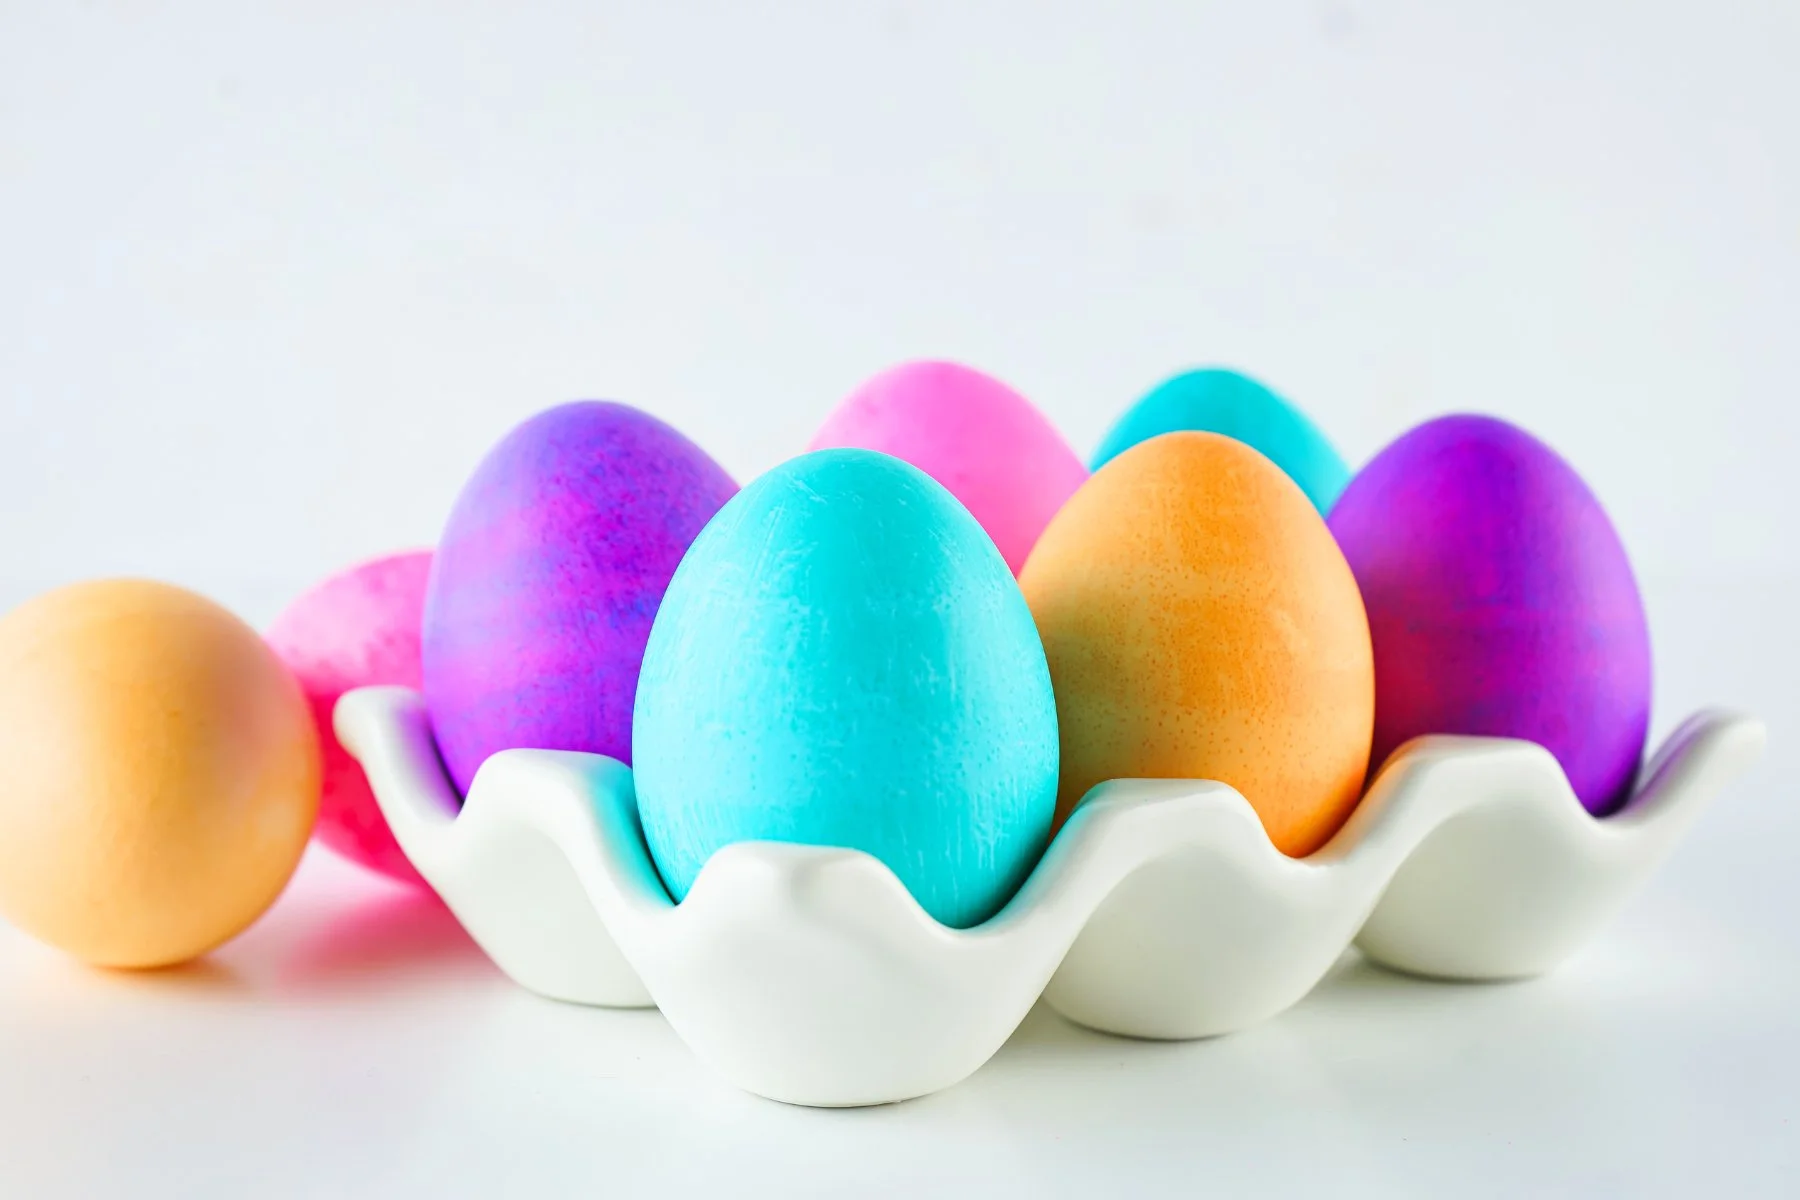
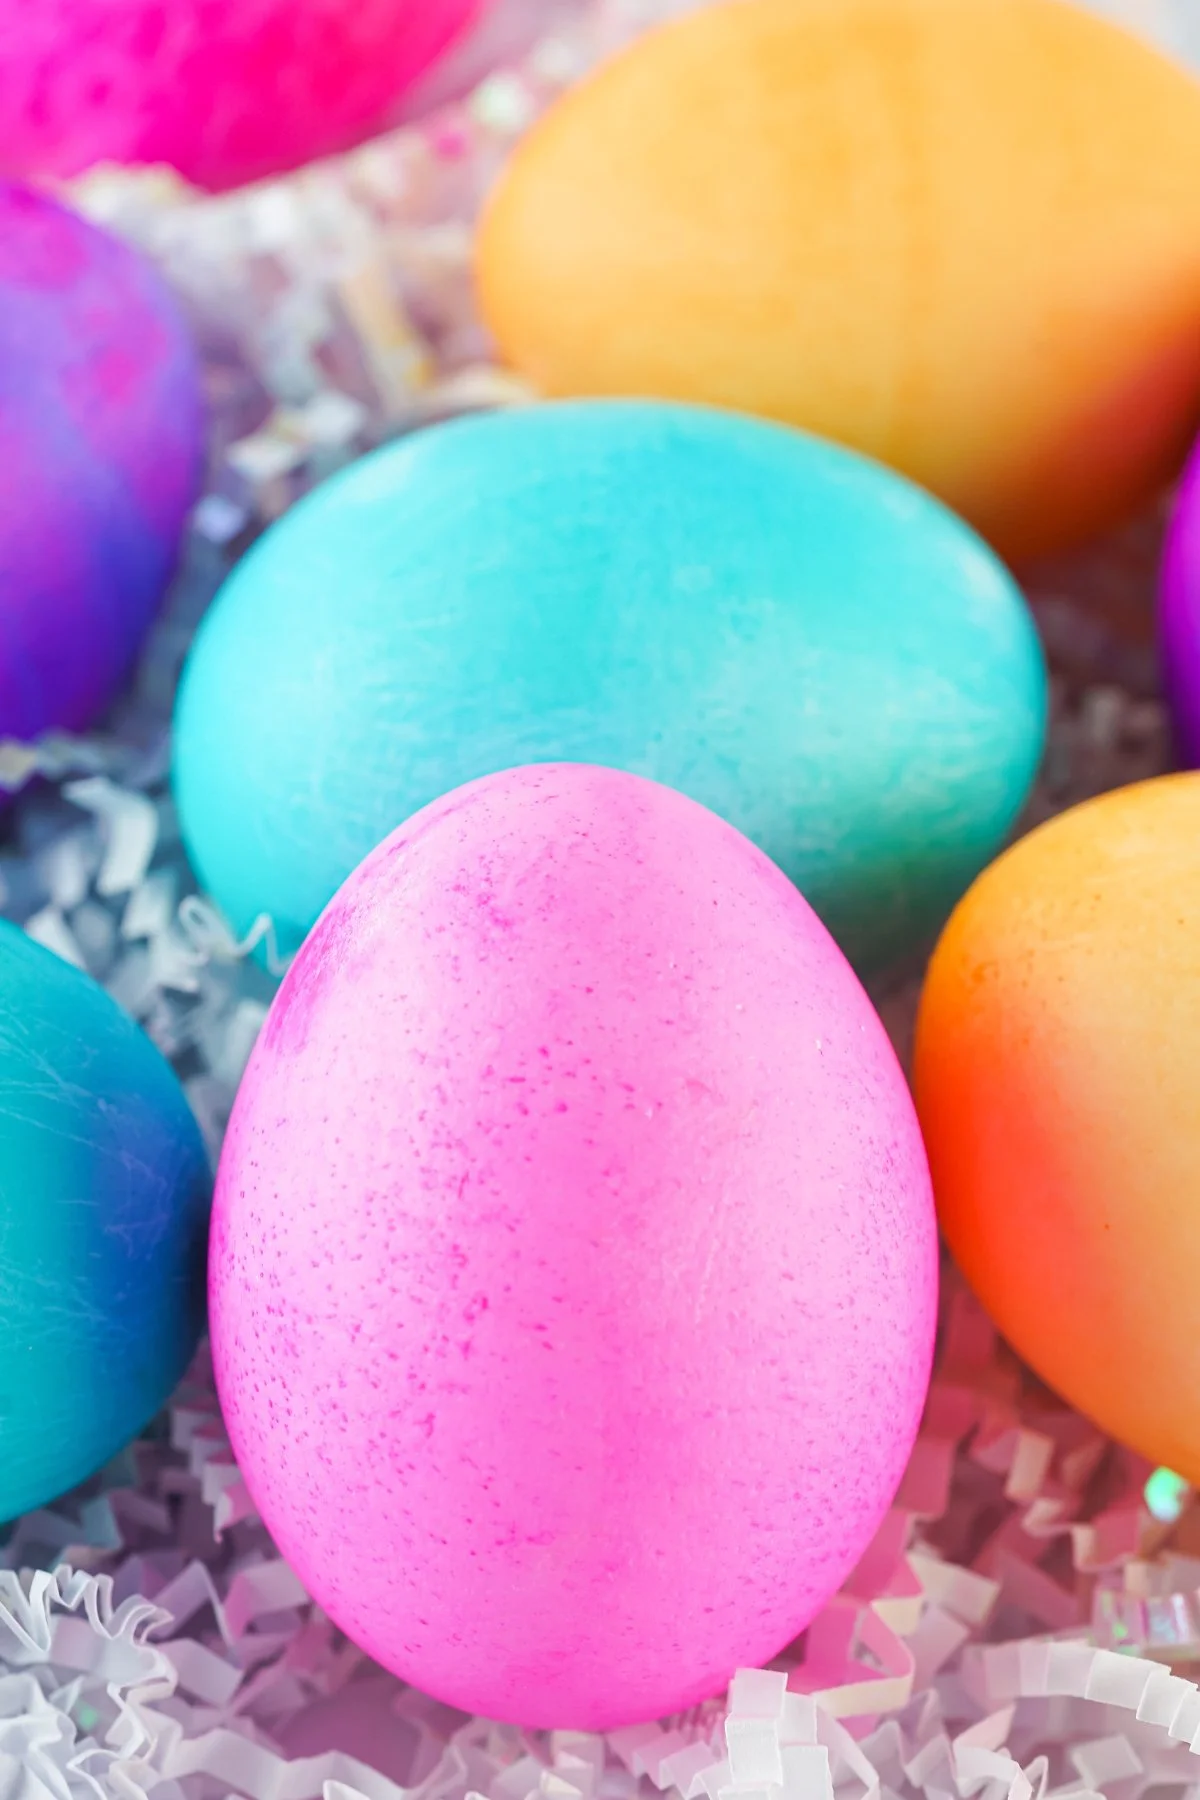
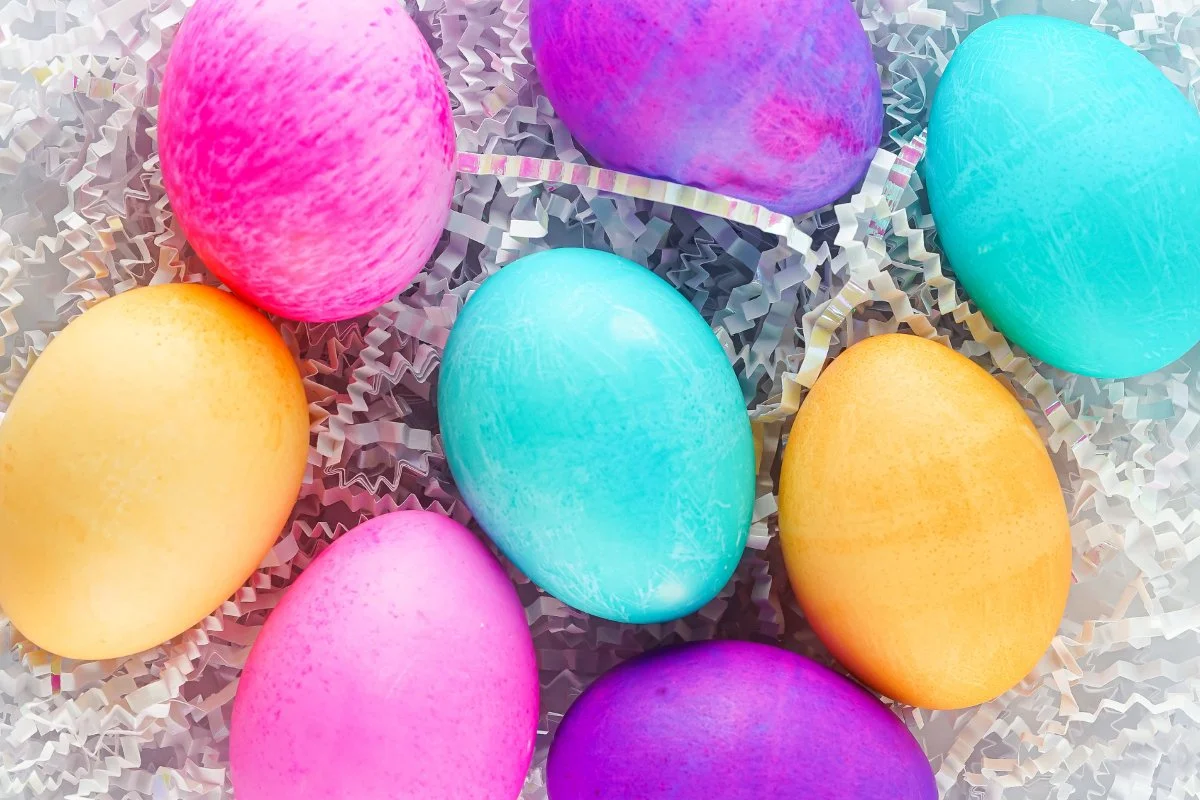
DIY Rainbow Easter Eggs.
I love seeing all the new and unique ways people decorate eggs but I always come back to the classic rainbow-coloured dyed eggs. You can use Jello, Kool-Aid, tissue paper, shaving cream and even rice.
My favourite way so far is food colouring. The process is surprisingly easy and they make lovely Easter decorations.
It allows you to make as many different colours as you want. You can mix colours and change up the intensity by adding more drops.
You can literally create gorgeous vibrant eggs in minutes with this super easy method.

Decorated Dyed Eggs.
Want to add a fancy pattern or design to your dyed eggs? Here are a few options:
Place rubber bands around the egg before dyeing to add stripes, lines and criss-cross patterns.
Use a white crayon to draw on a wax-resist design. The dye won't be able to stick to the crayon and will create wonderful patterns.
This one is especially great for kids although if you're using blown eggs try to make sure they don't press too hard!
Adding stickers or tape to your egg before dyeing means you can make all kinds of patterns. Peel the sticker away after dyeing to reveal the shape that's been left behind.
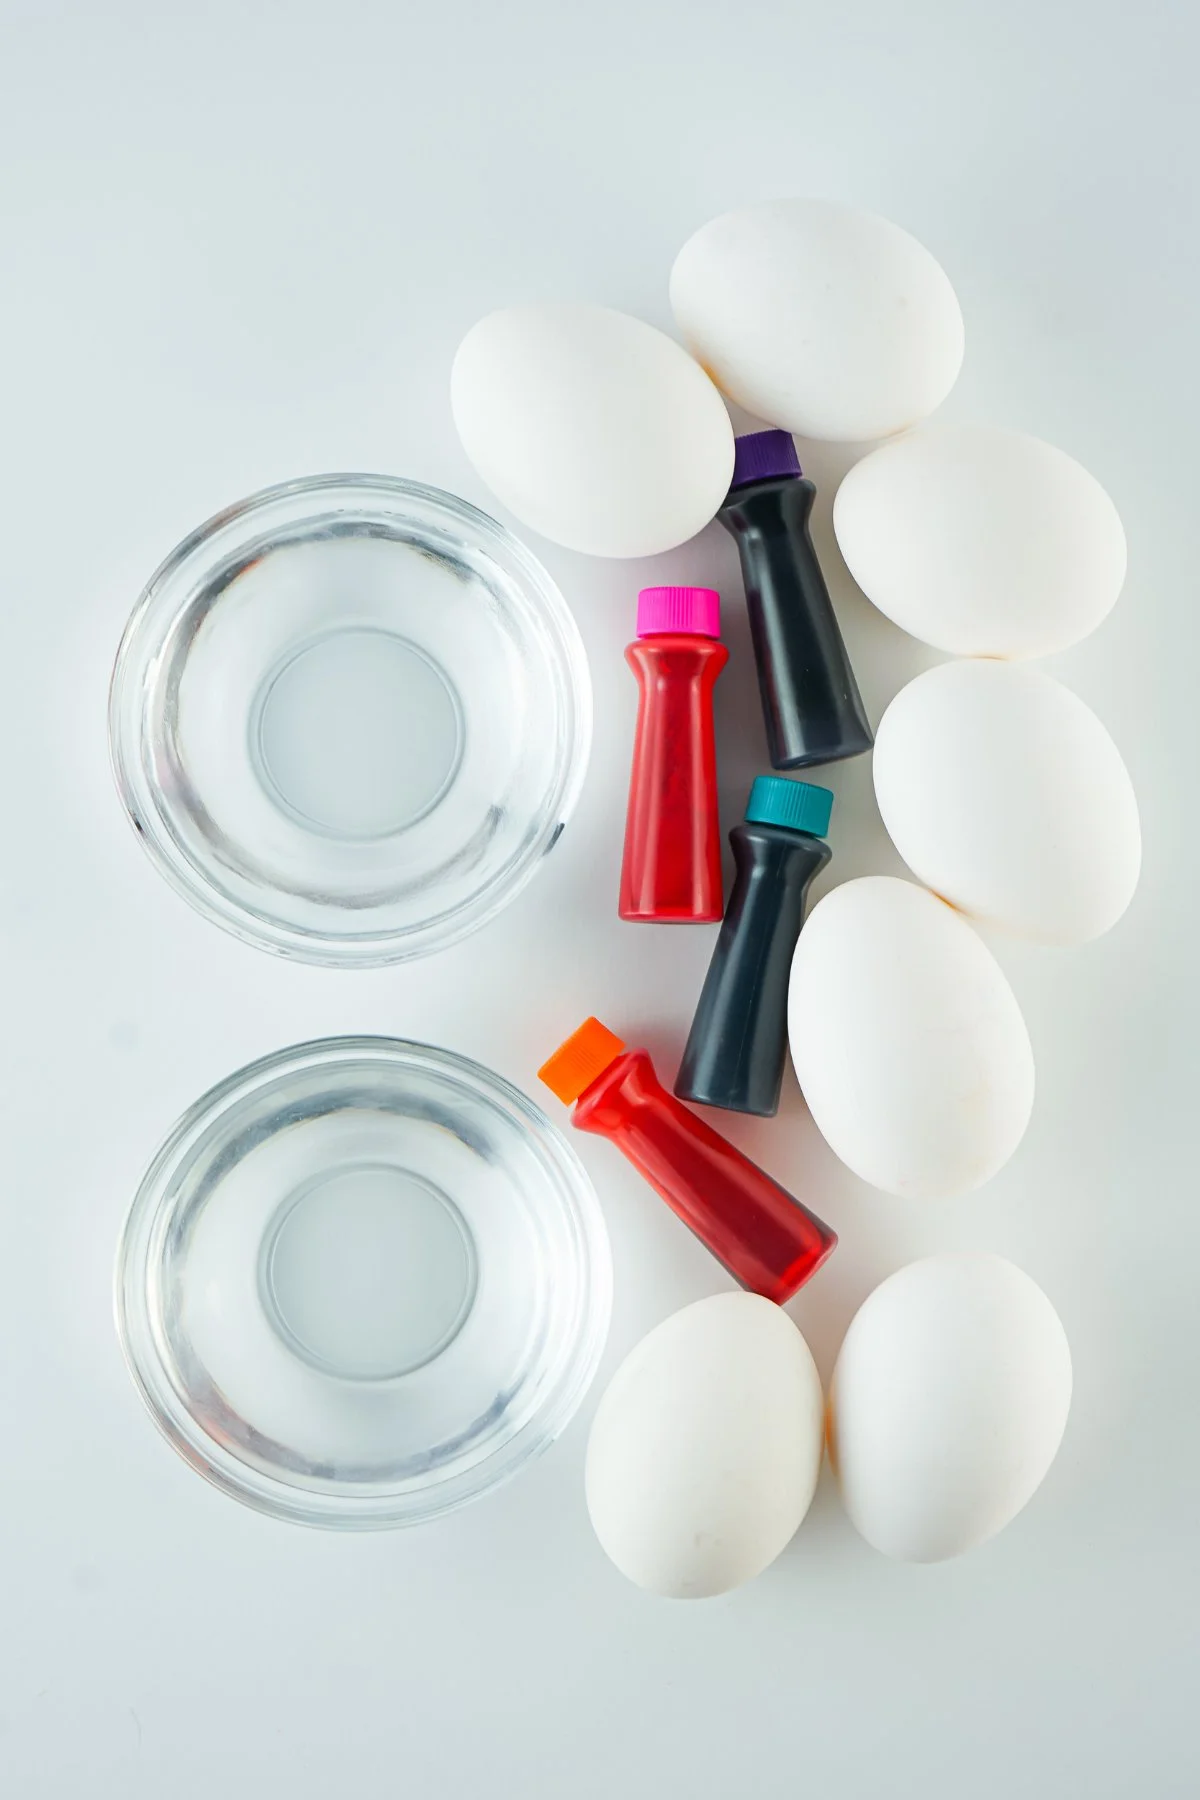
Supplies:
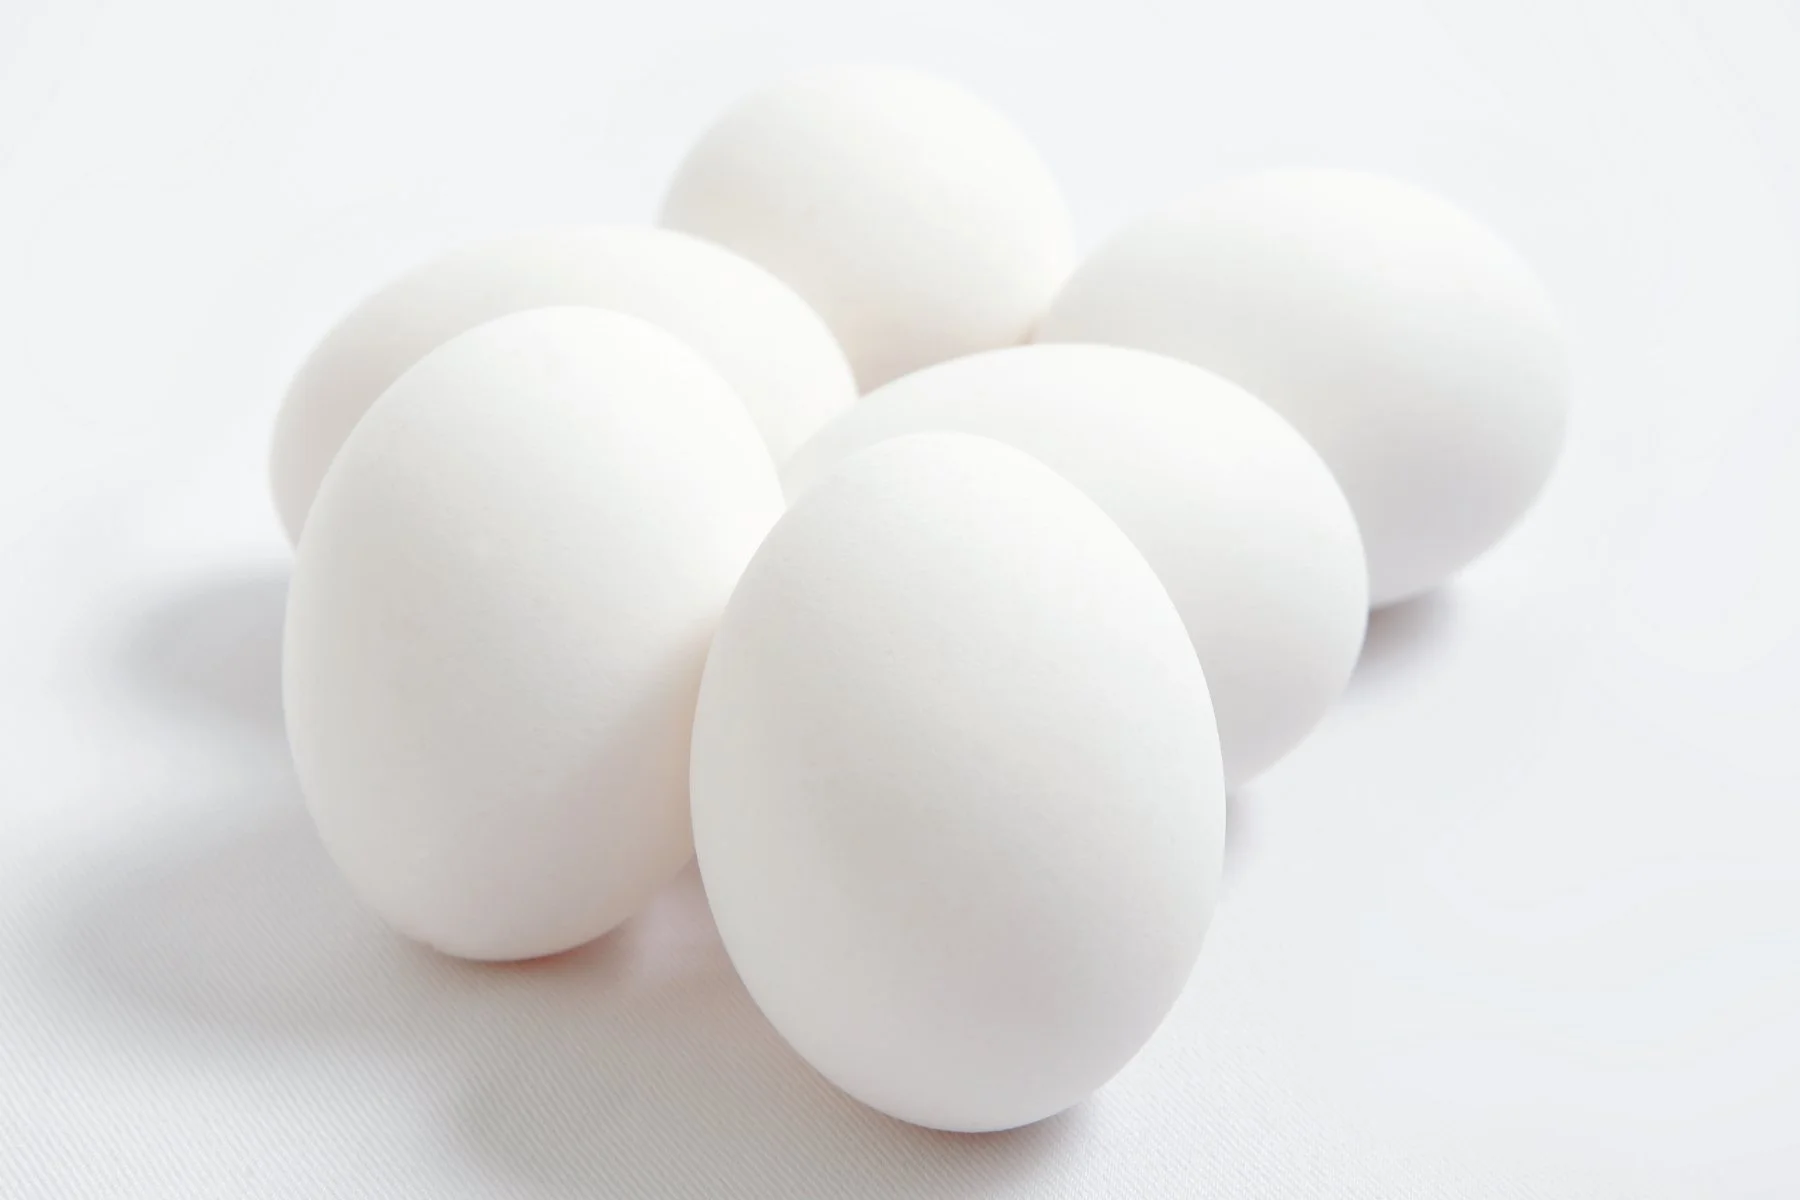
Hard-Boiled Eggs - I used white eggs here but brown eggs would also work although the coloured would be not so bright.
½ Teaspoon Gel Food Colouring/Dye (one per colour) or 10 drops of Liquid Food Colouring
1 Cup Water (one per colour) - Using hot water will result in a richer more vibrant colour but it still works well using room temperature water.
1 Tablespoon Vinegar (per colour) - Standard white vinegar from the pantry will work!
10-Ounce Minimum Cup or Glass Bowl (one per colour)
Spoon/Slotted Spoon or Balloon Whisk - For placing and removing your eggs from the dye.
Large Saucepan
Paper Towels/Newspaper or a Tablecloth to protect your work surface.
How to make Hard-Boiled Eggs.
To boil your eggs place them in the bottom of a large pot of water. You don't want more than a single layer of eggs.
Add enough water to cover the eggs. You want it about an inch higher than the eggs.
Bring to a boil.
Once the water has reached boiling point remove it from the heat and cover it with a lid.
Let it sit for around 12-15 minutes.
Remove the eggs from the pan and soak them in cool water.
How to make Homemade Easter Egg Dye.
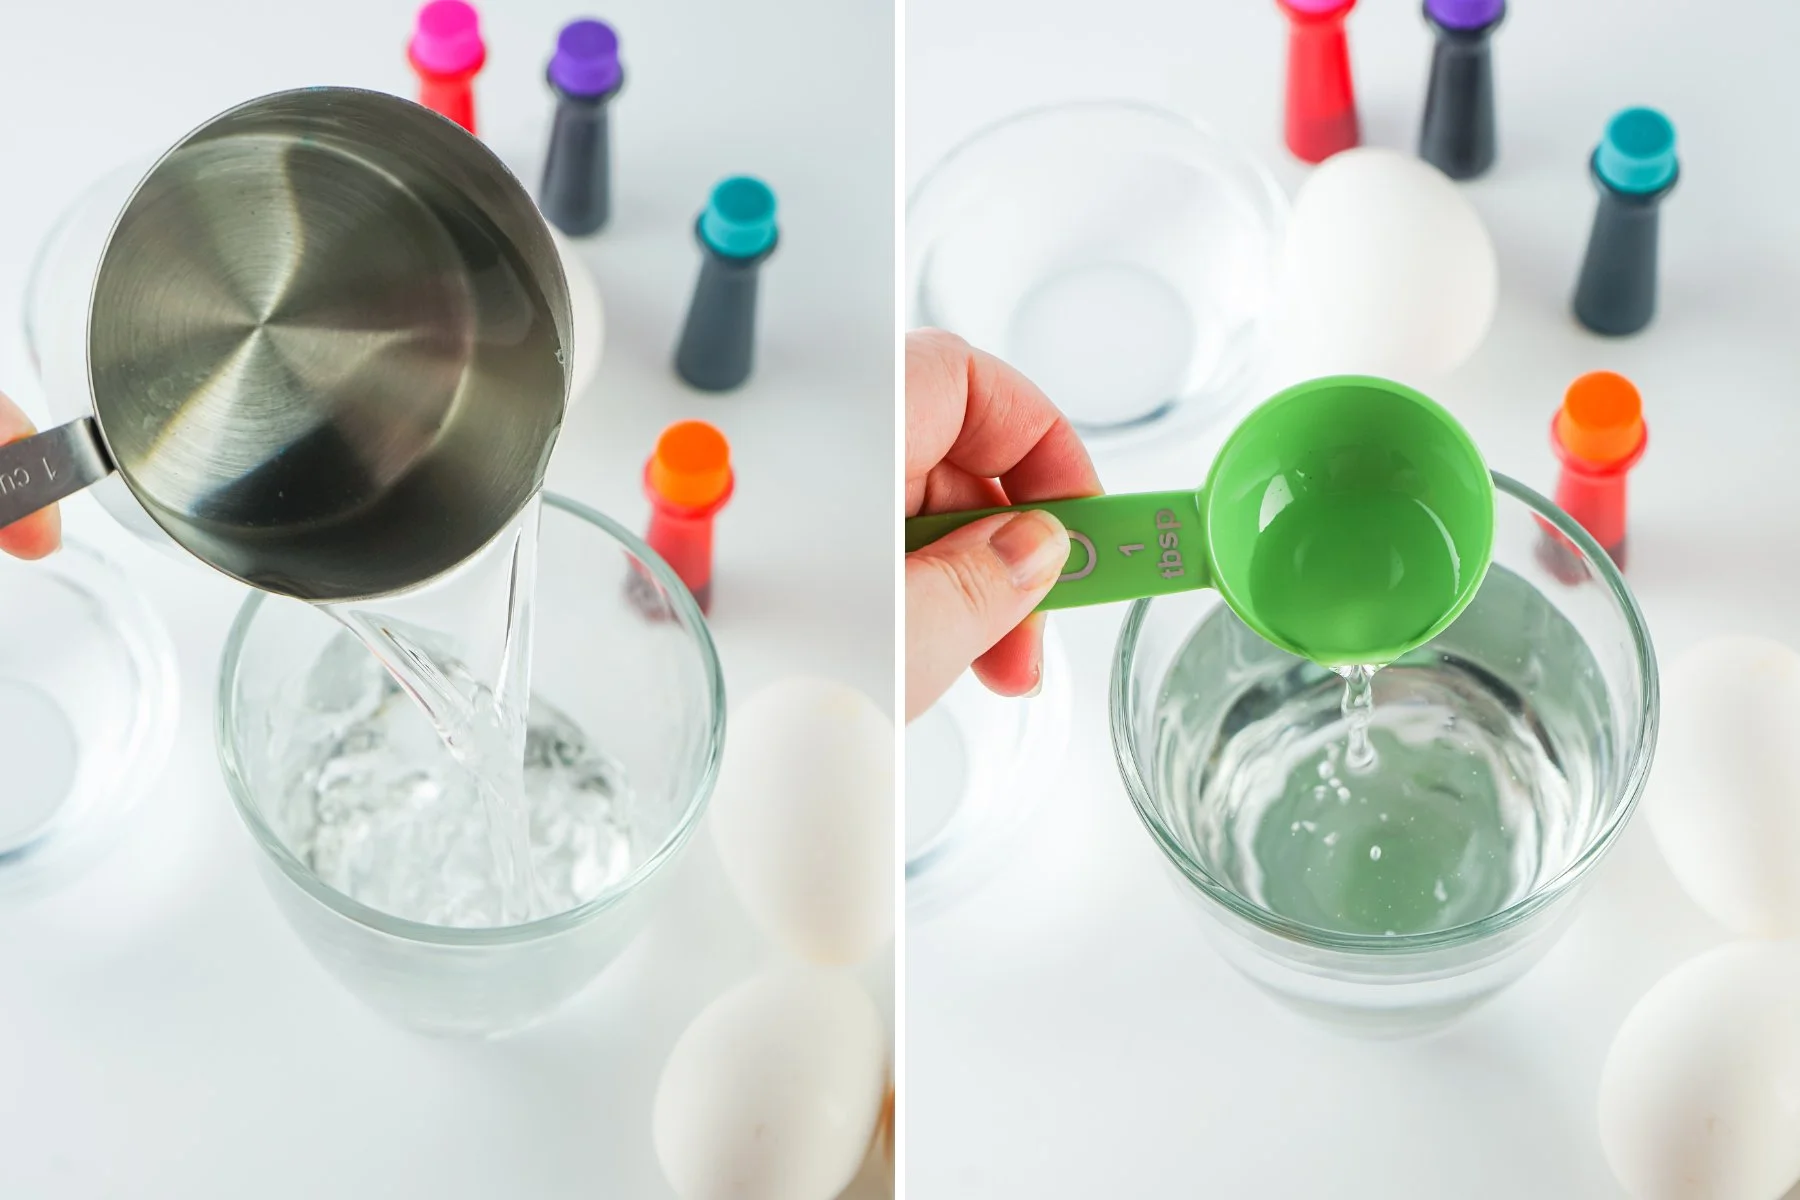
1. Before you begin, cover your work area with newspaper or a plastic tablecloth to protect it from the dye.
2. Fill each plastic cup/glass 1/2 full with hot water.
If you’re working with small kids make sure to allow the dye to cool before you start dipping your eggs.
3. Add 1 tablespoon of vinegar to each cup of water. The acidic vinegar helps the dye bond to the egg.

4. Add 1/2 teaspoon of your chosen gel food colouring or 10 drops of Liquid Food Colouring to each cup.
5. Mix your food dye and vinegar mixture well.
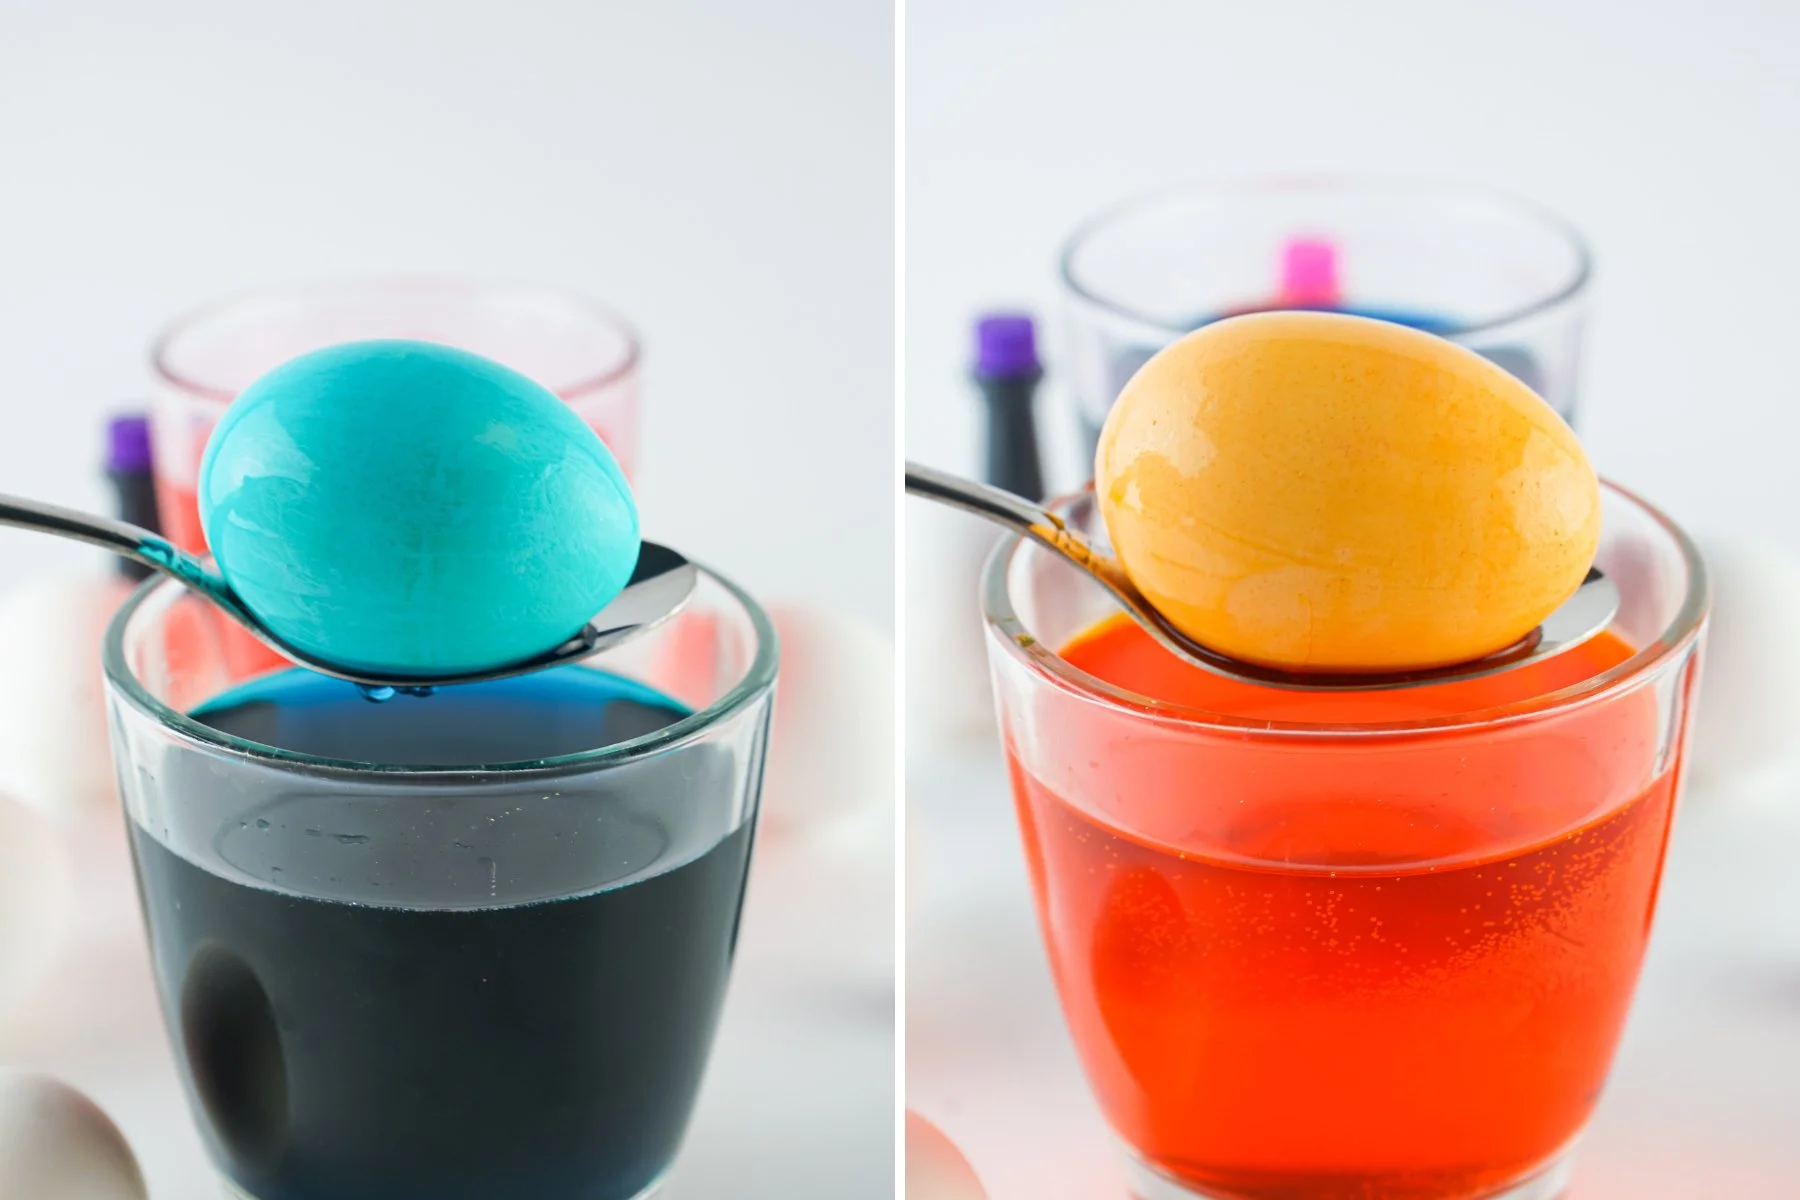
6. And now here comes the fun part. Lower the egg into the dye bath using a slotted spoon or whisk.

For best results let your eggs soak in the homemade dye for at least a minute. The longer you leave the egg, the darker it will get.
Some colours like yellow and orange will need longer than red or blue so it's always a good idea to experiment and do a test egg first. For richer, jewel-like colours use brown eggs.
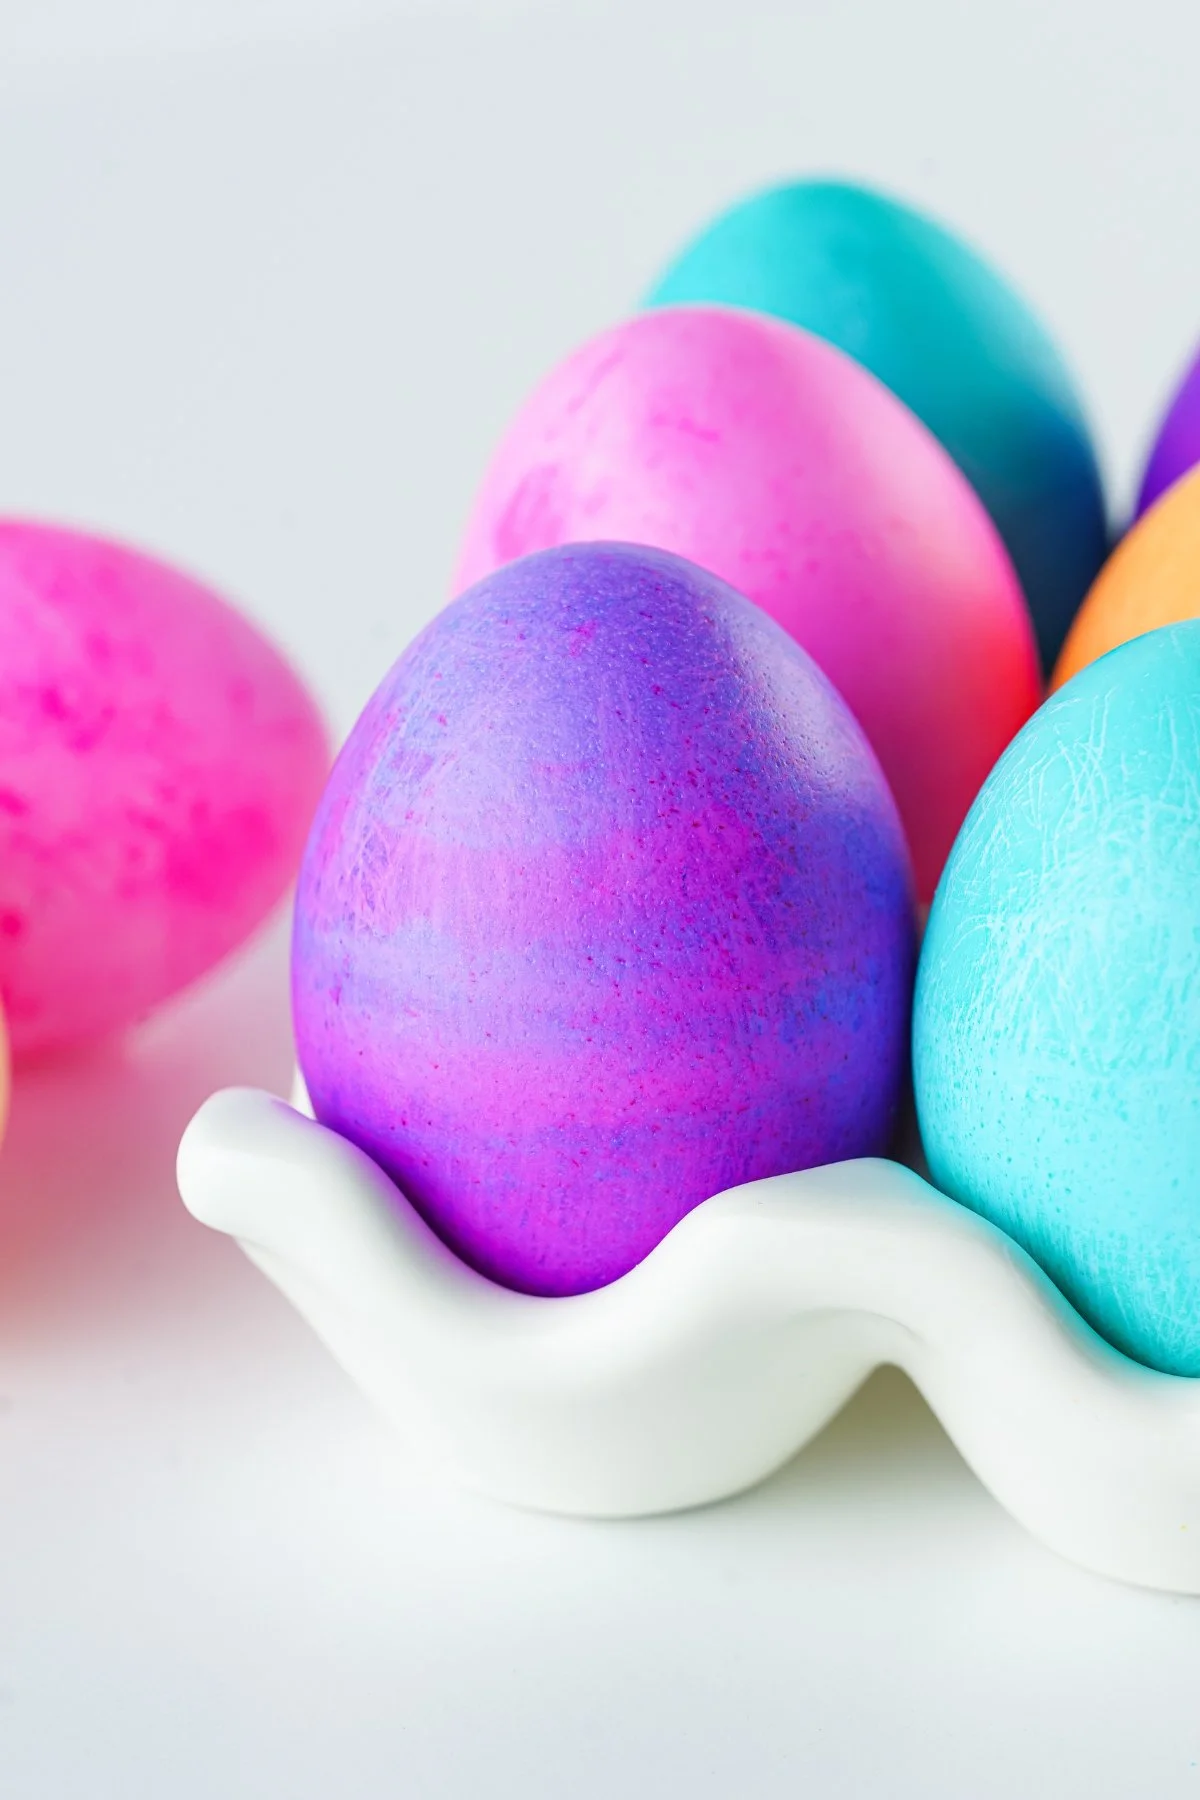
7. Remove your beautiful eggs and place them on a paper towel to dry for at least 5 minutes.
Make sure to roll them over halfway to dry on both sides.
The finished eggs can be stored in the fridge until needed. Although I do recommend making them as close to the time you need them as possible as the moisture from the fridge can leave white spots on your eggs.
Use your finished eggs to create a cute Easter display, on an Easter egg hunt or as decoration in an Easter basket.
Top tip: If you do use your eggs for an Easter egg hunt make sure to mark down each one's hiding place on a map. You don't want to find a stinky, old egg hidden in the grass weeks later.
Looking for more homemade egg dye recipes? Make sure to check out my Natural Egg Dyes post using all-natural ingredients.