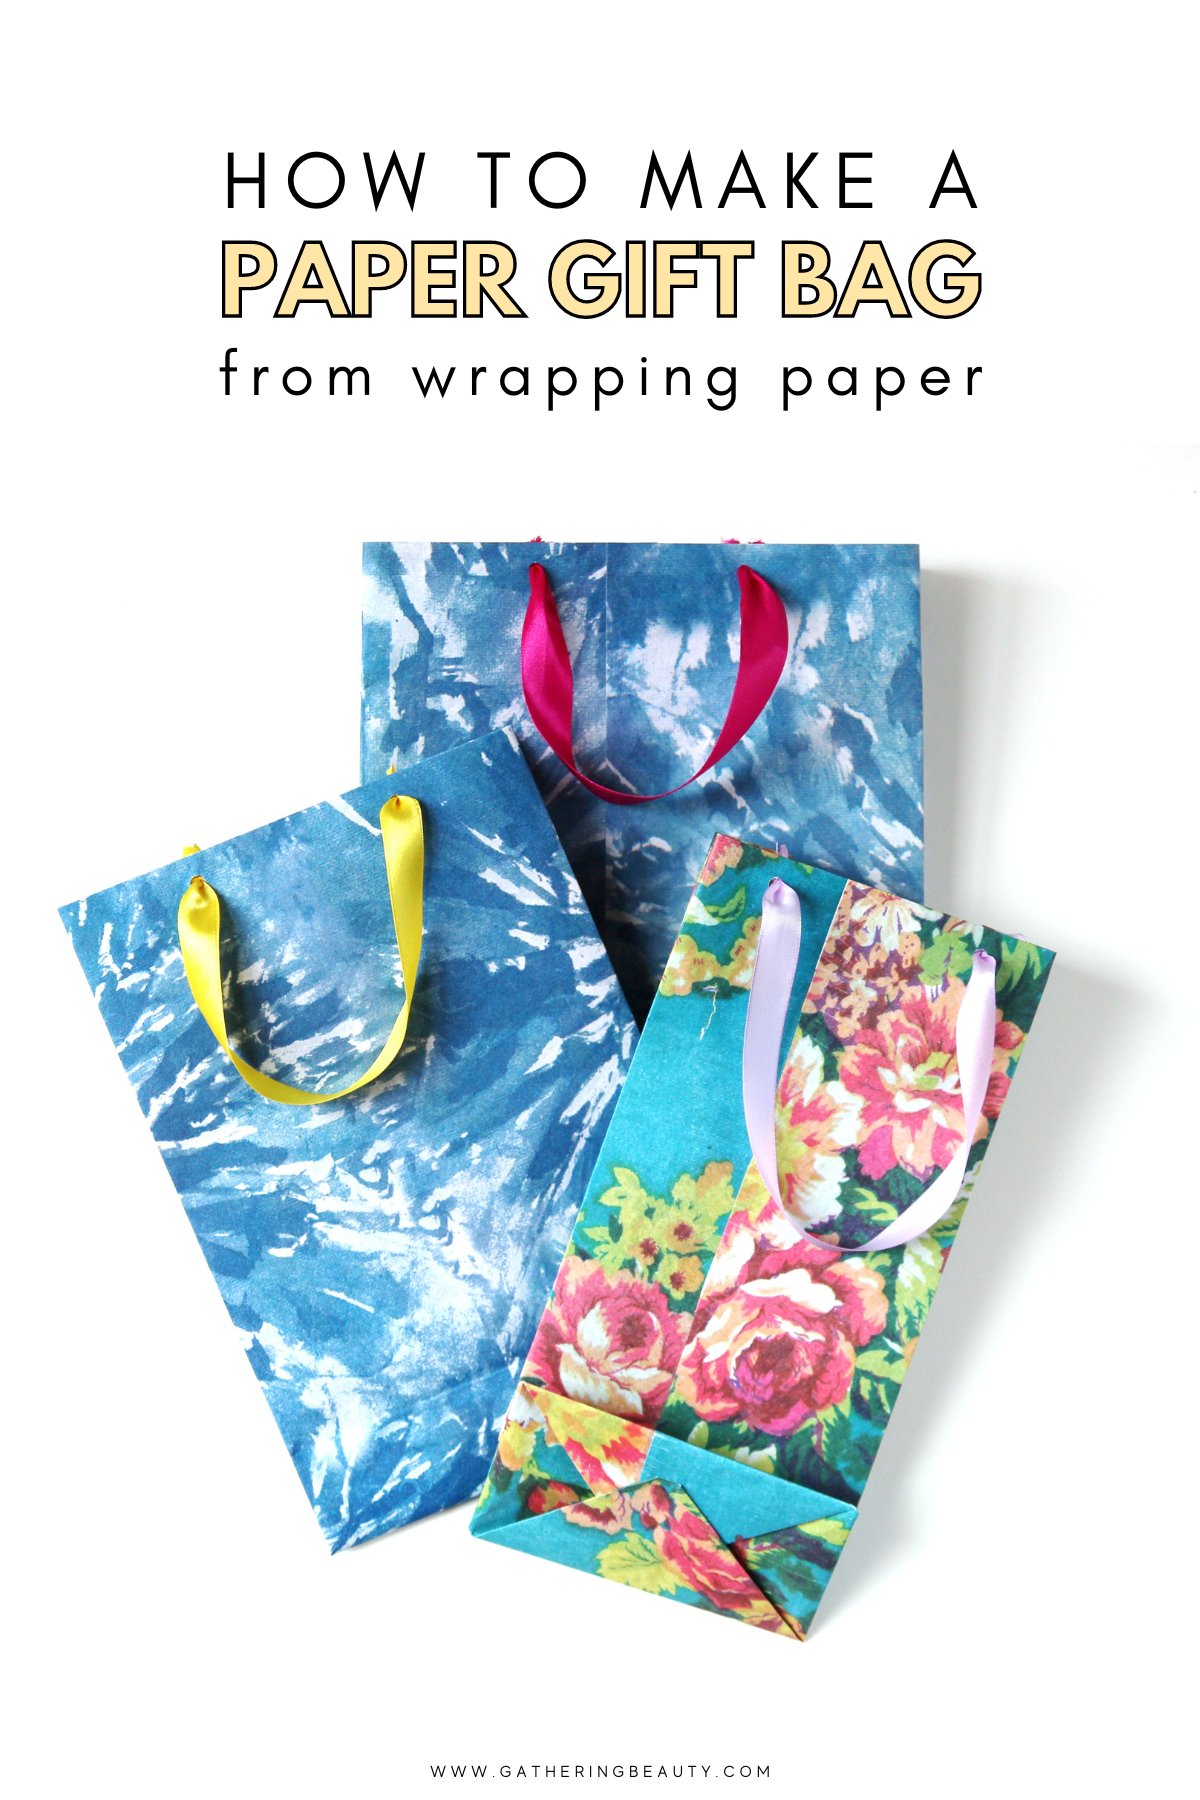
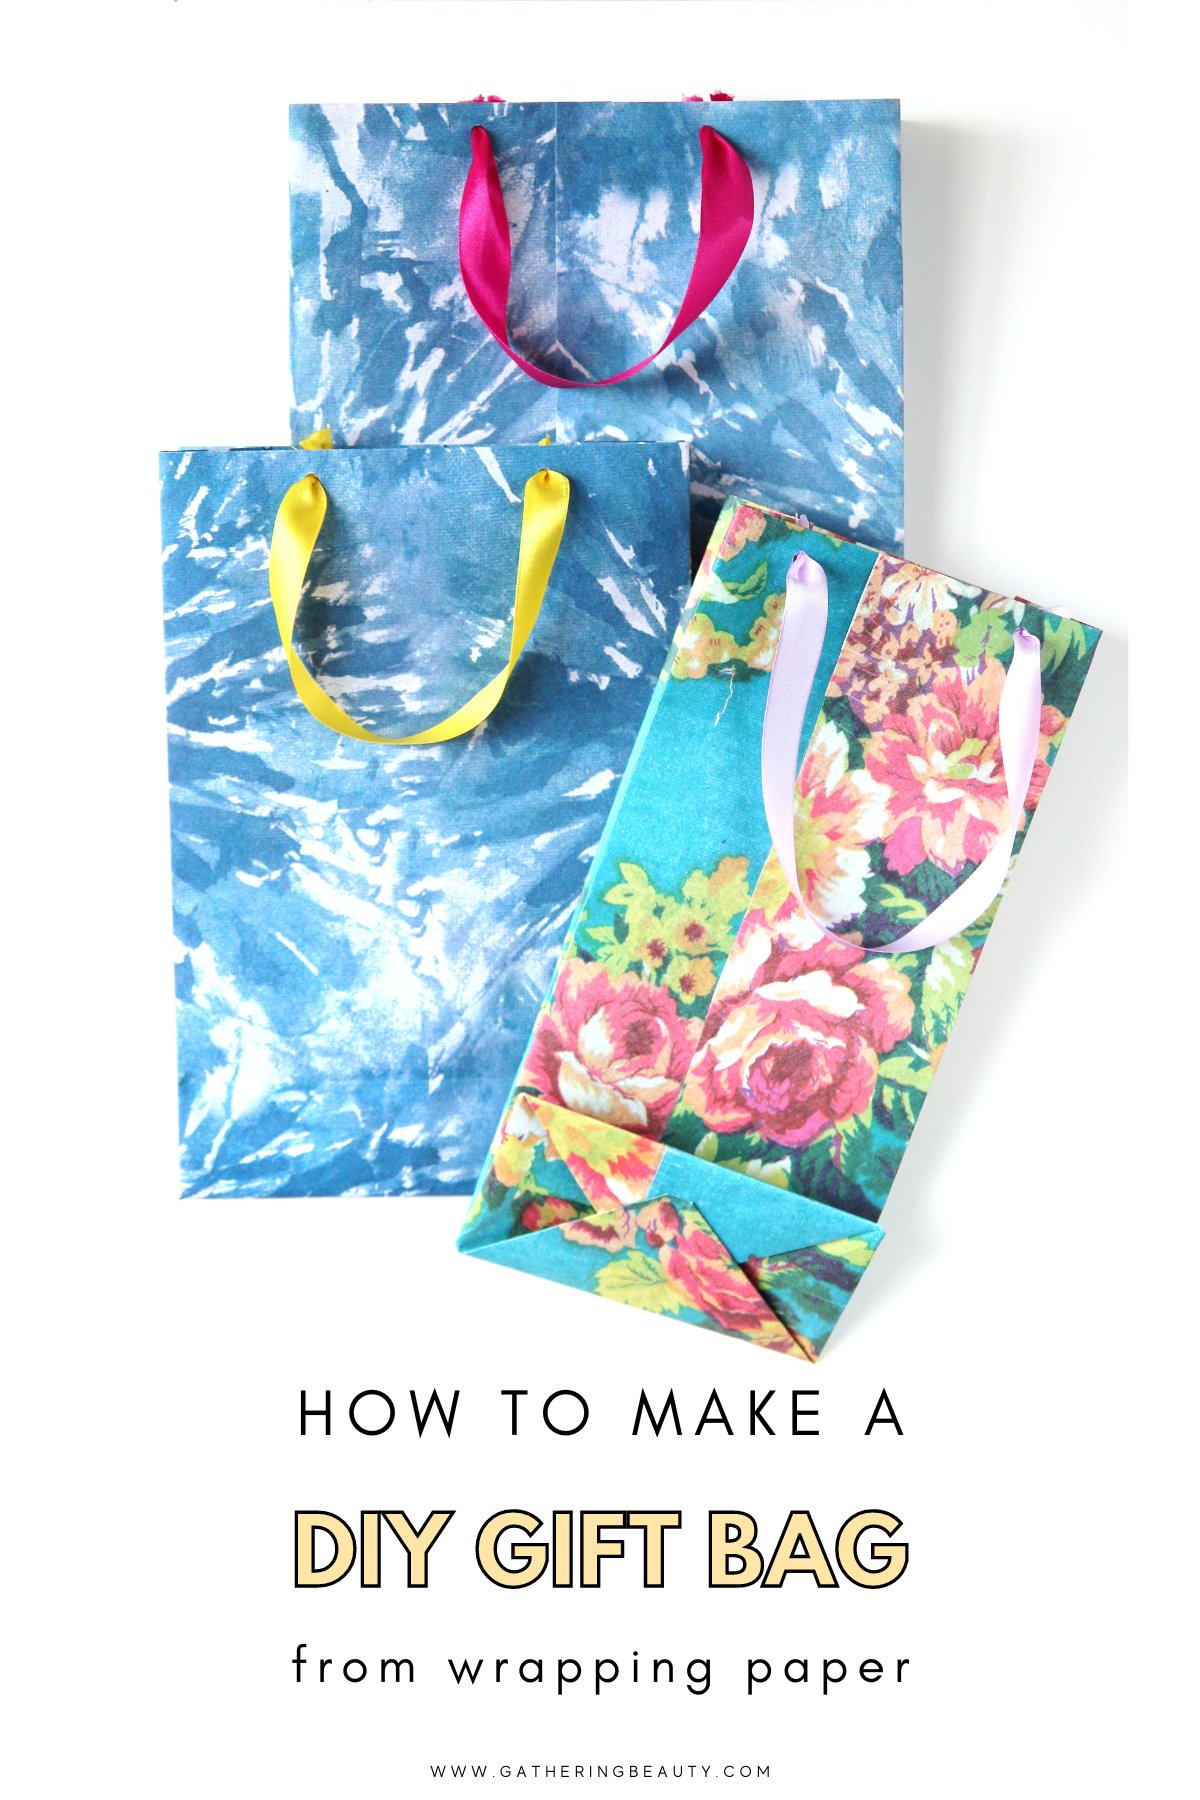
How To Make DIY Gift Bags From Wrapping Paper
/Say goodbye to store-bought gift bags and hello to handmade DIY Gift Bags made using your favourite wrapping paper. Perfect for wrapping small gifts this holiday season. They're a great way to show friends and family that you care.
This page contains affiliate links. This means that if you make a purchase after clicking a link I earn a small commission but it doesn’t cost you a penny extra!
DIY Paper Gift Bags.
I'm always looking for ways to add that personal handmade touch to my gifts and gift wrapping. As much as I like cute store-bought gift bags they can be a bit pricey especially when you're trying to wrap a large gift.
These handmade gift bags are not only easy to make, but they're also super budget-friendly as they're made using handmade paper or gift wrap.
You can use fancy handmade paper like I did, scrapbook paper, wrapping paper or even simple plain brown paper. The great thing about making your own gift bags is that you can make them any size you want and for a fraction of the cost. Ideal for when you have an odd-shaped gift to wrap.

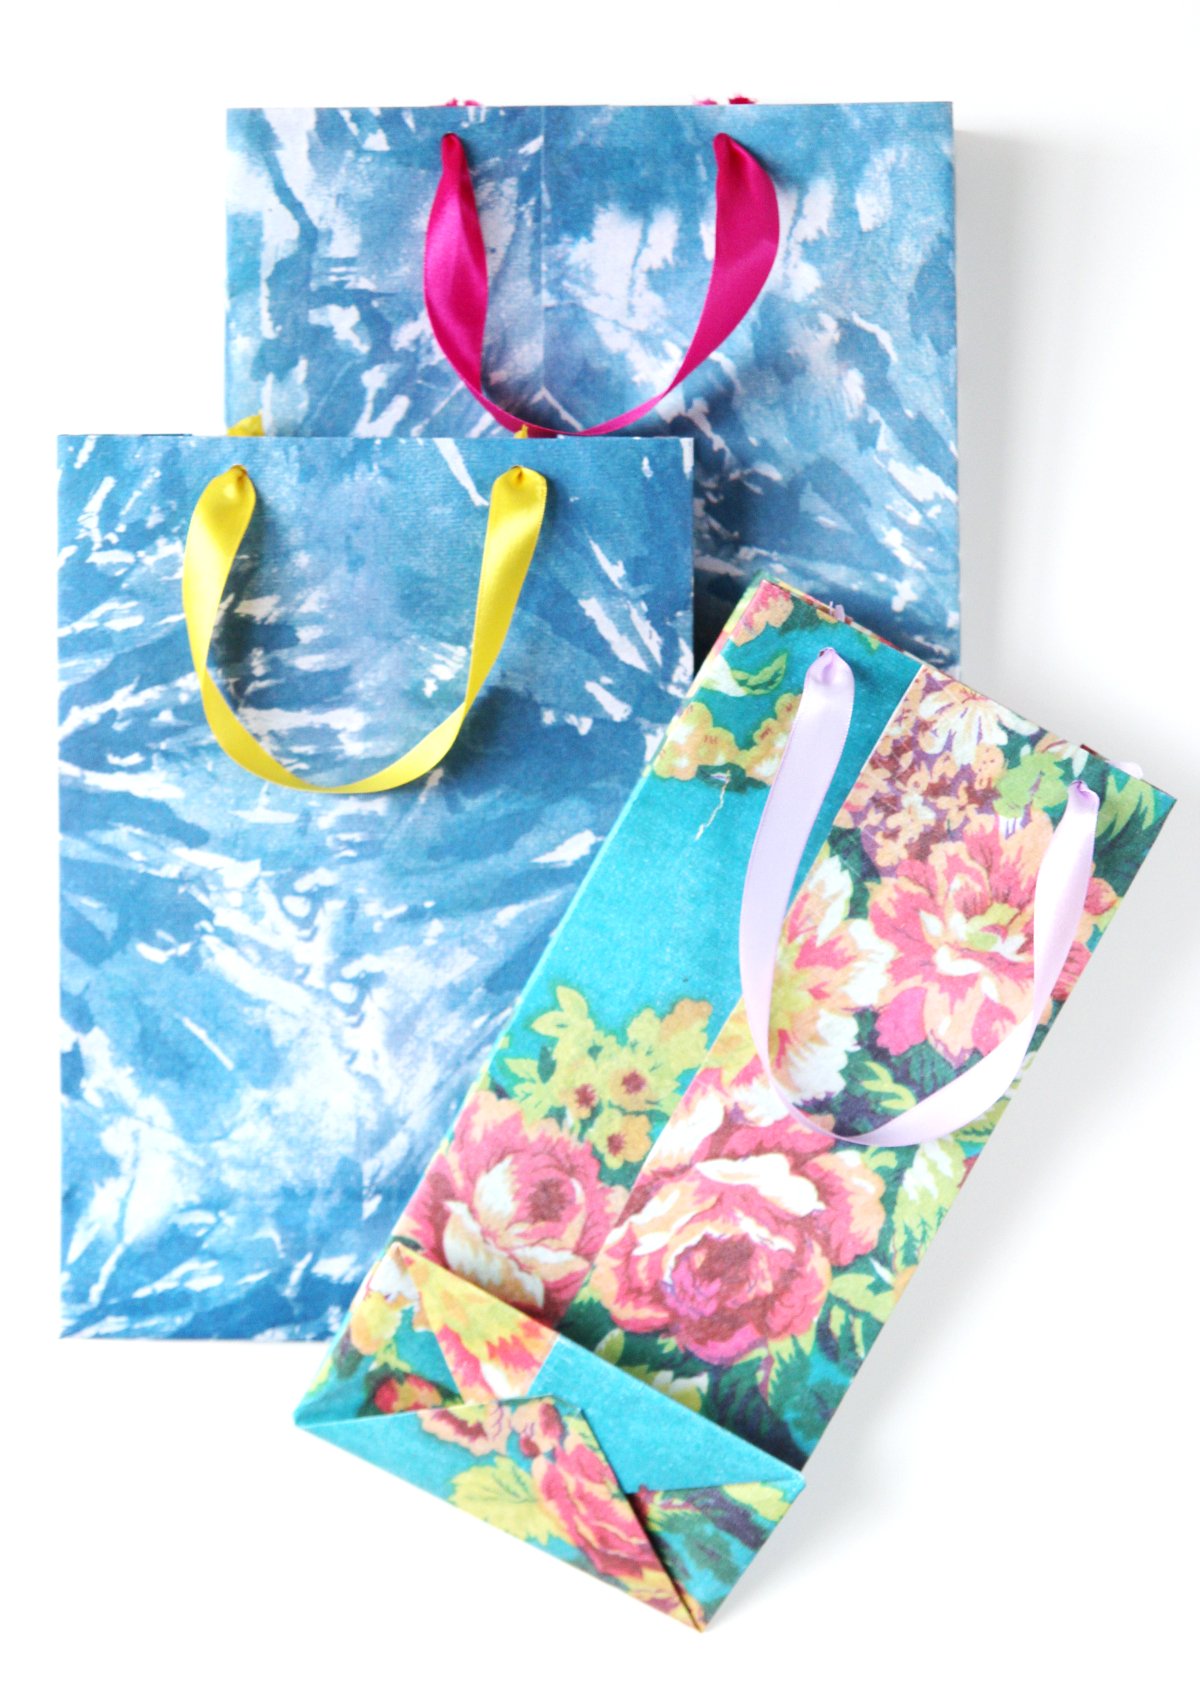
Cute DIY Gift Bag.
If you've never made your own gift bag before, don't panic, I promise this is a really easy way of putting them together. All you need is some wrapping paper (it's a perfect way to use up leftover wrapping paper), scissors, and a bit of tape or glue.
They can easily be made in any size. I made the tall floral gift bag to hold a bottle of wine and the one shown in the step-by-step tutorial below is going to be used to hold a book.

Wrapping Paper Gift Bags.
You can make them in your friend's or family's favourite colour or you can choose a wrapping paper pattern that reflects their hobbies or a special occasion. The beauty of DIY gift bags is that you can make each bag as unique as the person you're giving it to.
I love whipping these up for last-minute gifts or when I want to add a personal touch to a present. You can even make them in advance and keep them folded flat in a drawer for any last-minute gift-giving emergencies.
Use them as party bags for a birthday party, to wrap a sweet gift for Mother's Day or Valentine's Day or as an extra special touch for your holiday gifts.
Feeling extra fancy? Consider adding a finishing touch like an origami bow, paper flowers or even a cute gift tag. These little details can really take your DIY gift bag to the next level.

Supplies:
Gift Wrapping Paper/Handmade Paper - handmade paper is perfect for this because it's stronger than regular paper and doesn't tear as easily but you could also use a good quality gift wrap, wallpaper or even scrapbook paper for smaller bags.
Scissors
Double-Sided Tape or Glue Stick
Hole Punch
Ribbon
Bone Folder
And some card.


How To Make Christmas Gift Bags.
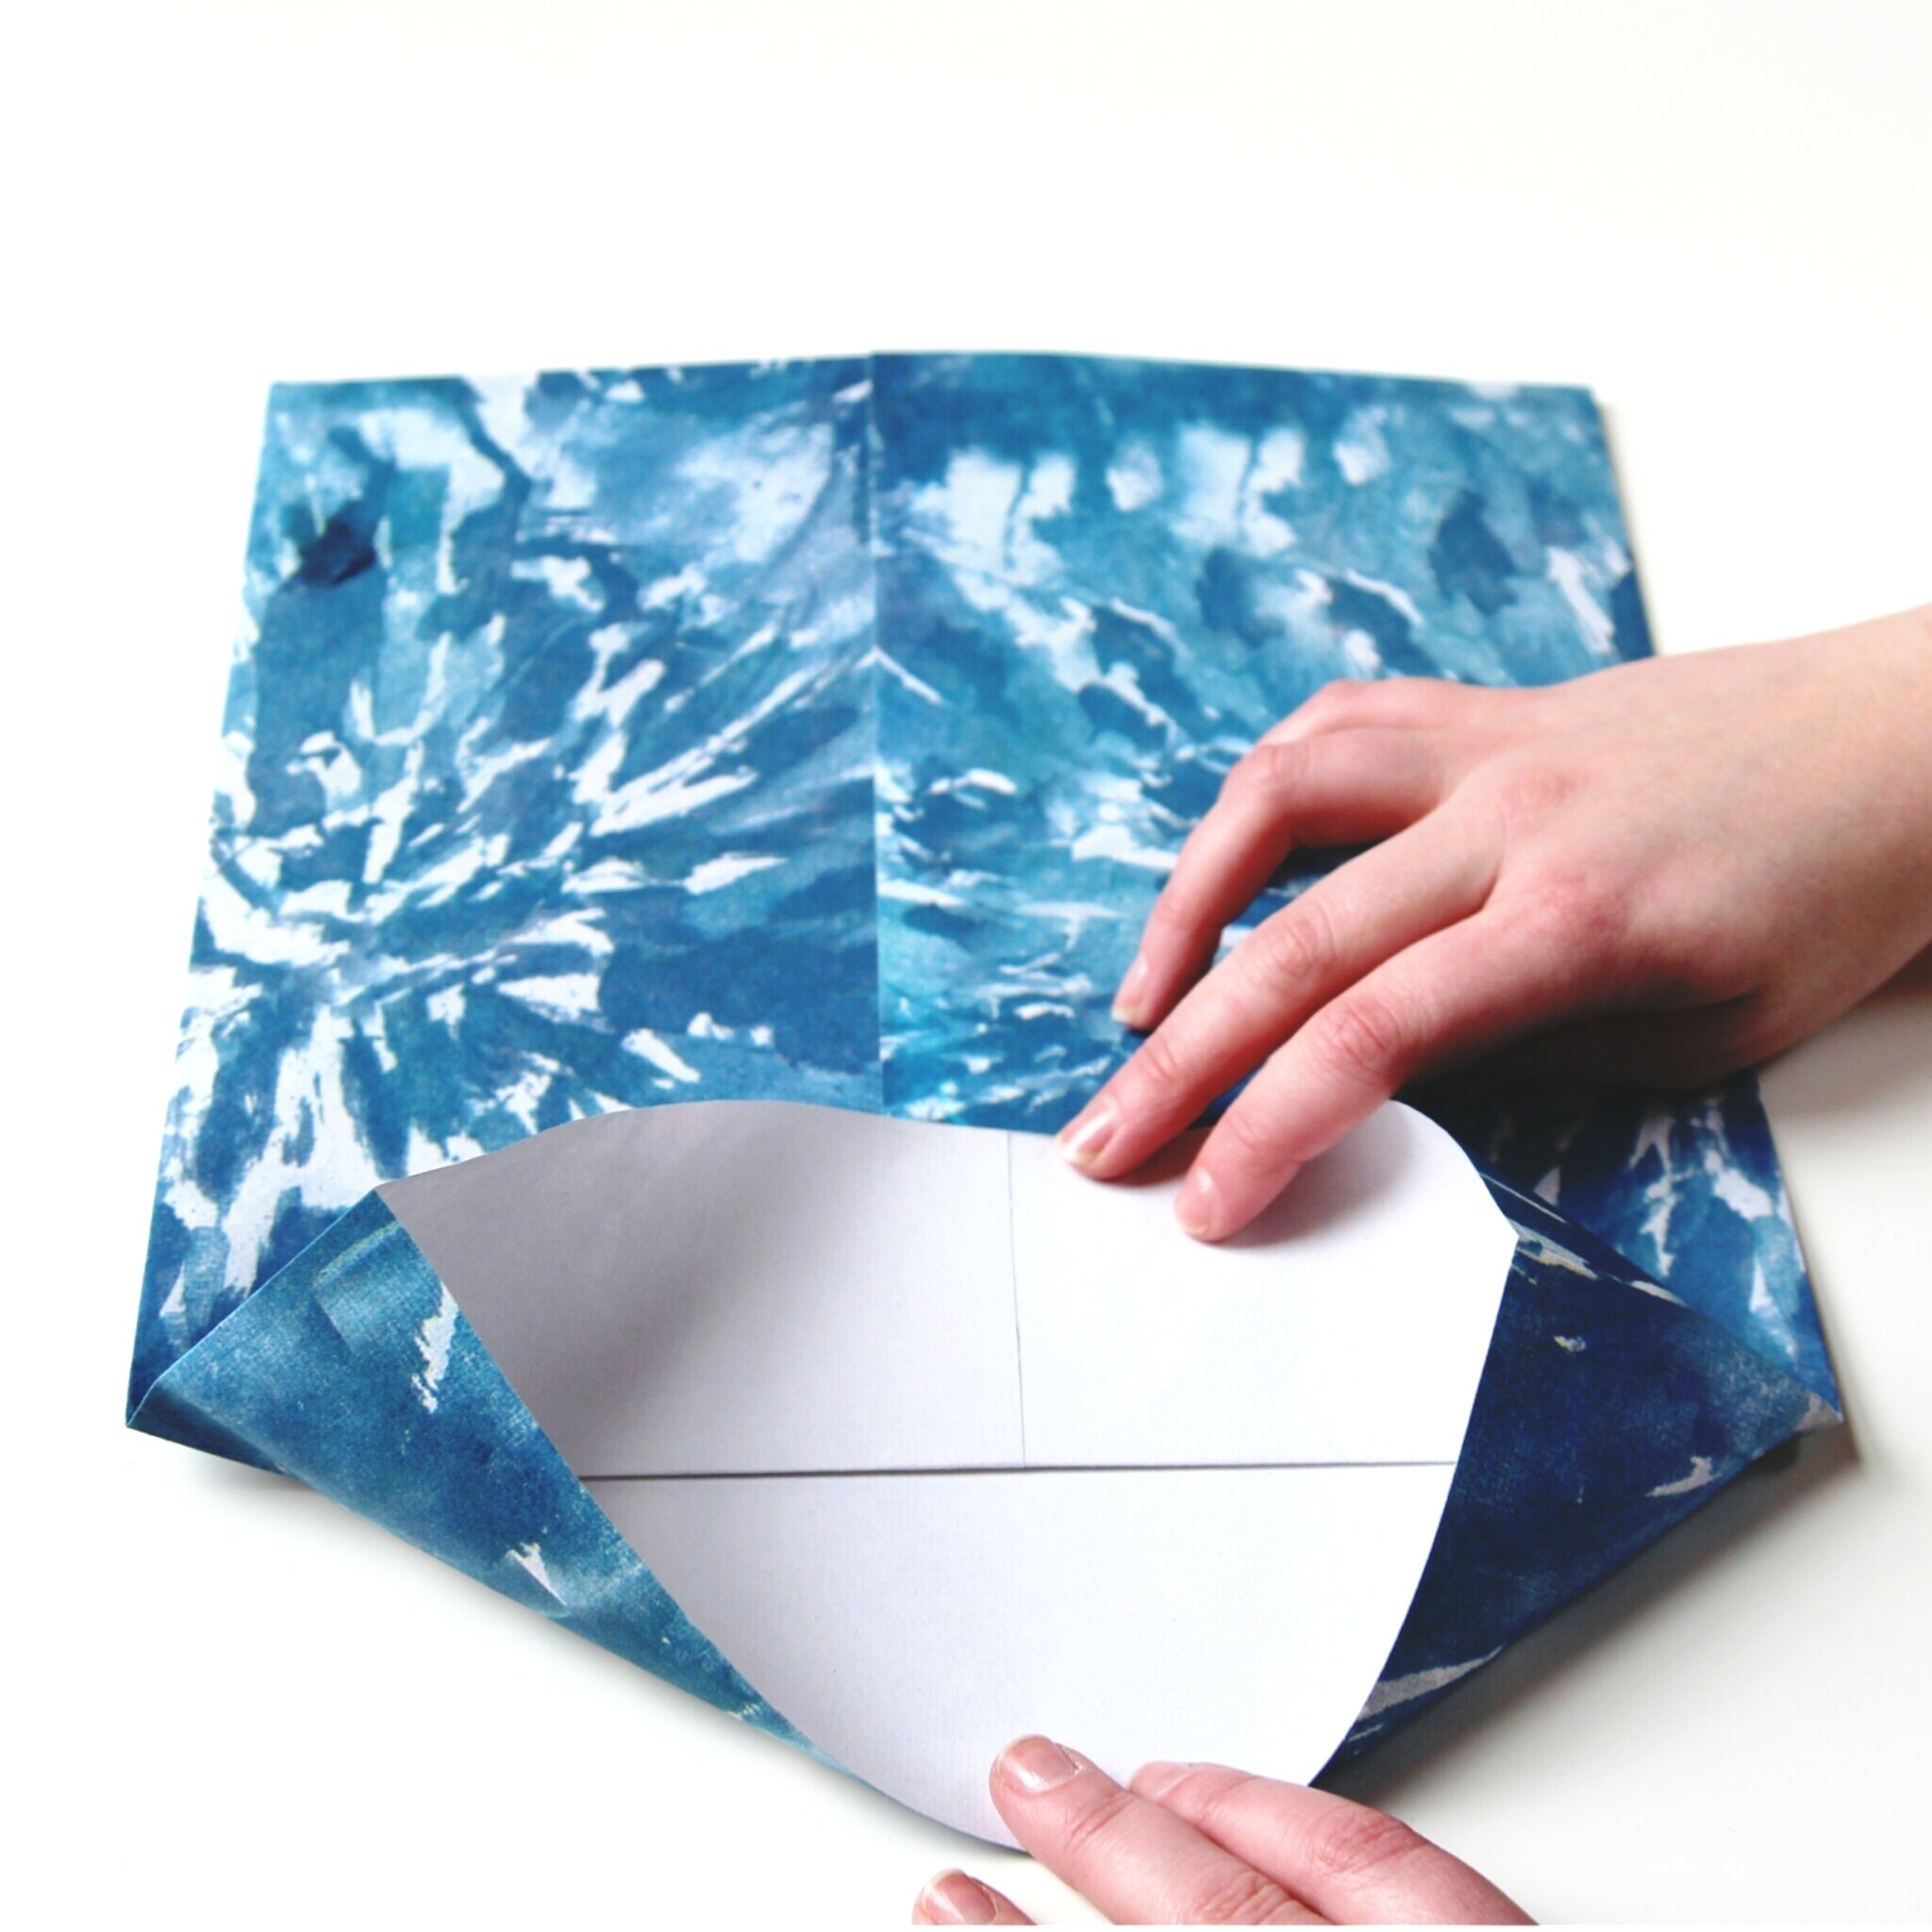
1. Start by laying your piece of wrapping paper flat with the pattern side down.
It needs to be approximately twice the width of the item you want to wrap and around 1 1/2 times as tall.
2. Fold the bottom edge up 1 or 2 inches. This will form the top of your bag.
Folding it over like this reinforces the top of your gift bag and helps make it stronger.
3. Turn your paper 180 degrees so the fold you've just made is now at the top.
4. Mark the halfway point on your paper and fold the left side to meet it.


5. Apply some glue or double-sided tape to the edge.
Lift and fold the right side down so the two sides overlap, press and stick down.
If you're using a thicker paper like I did you might need to go over and crease these folds with a bone folder.

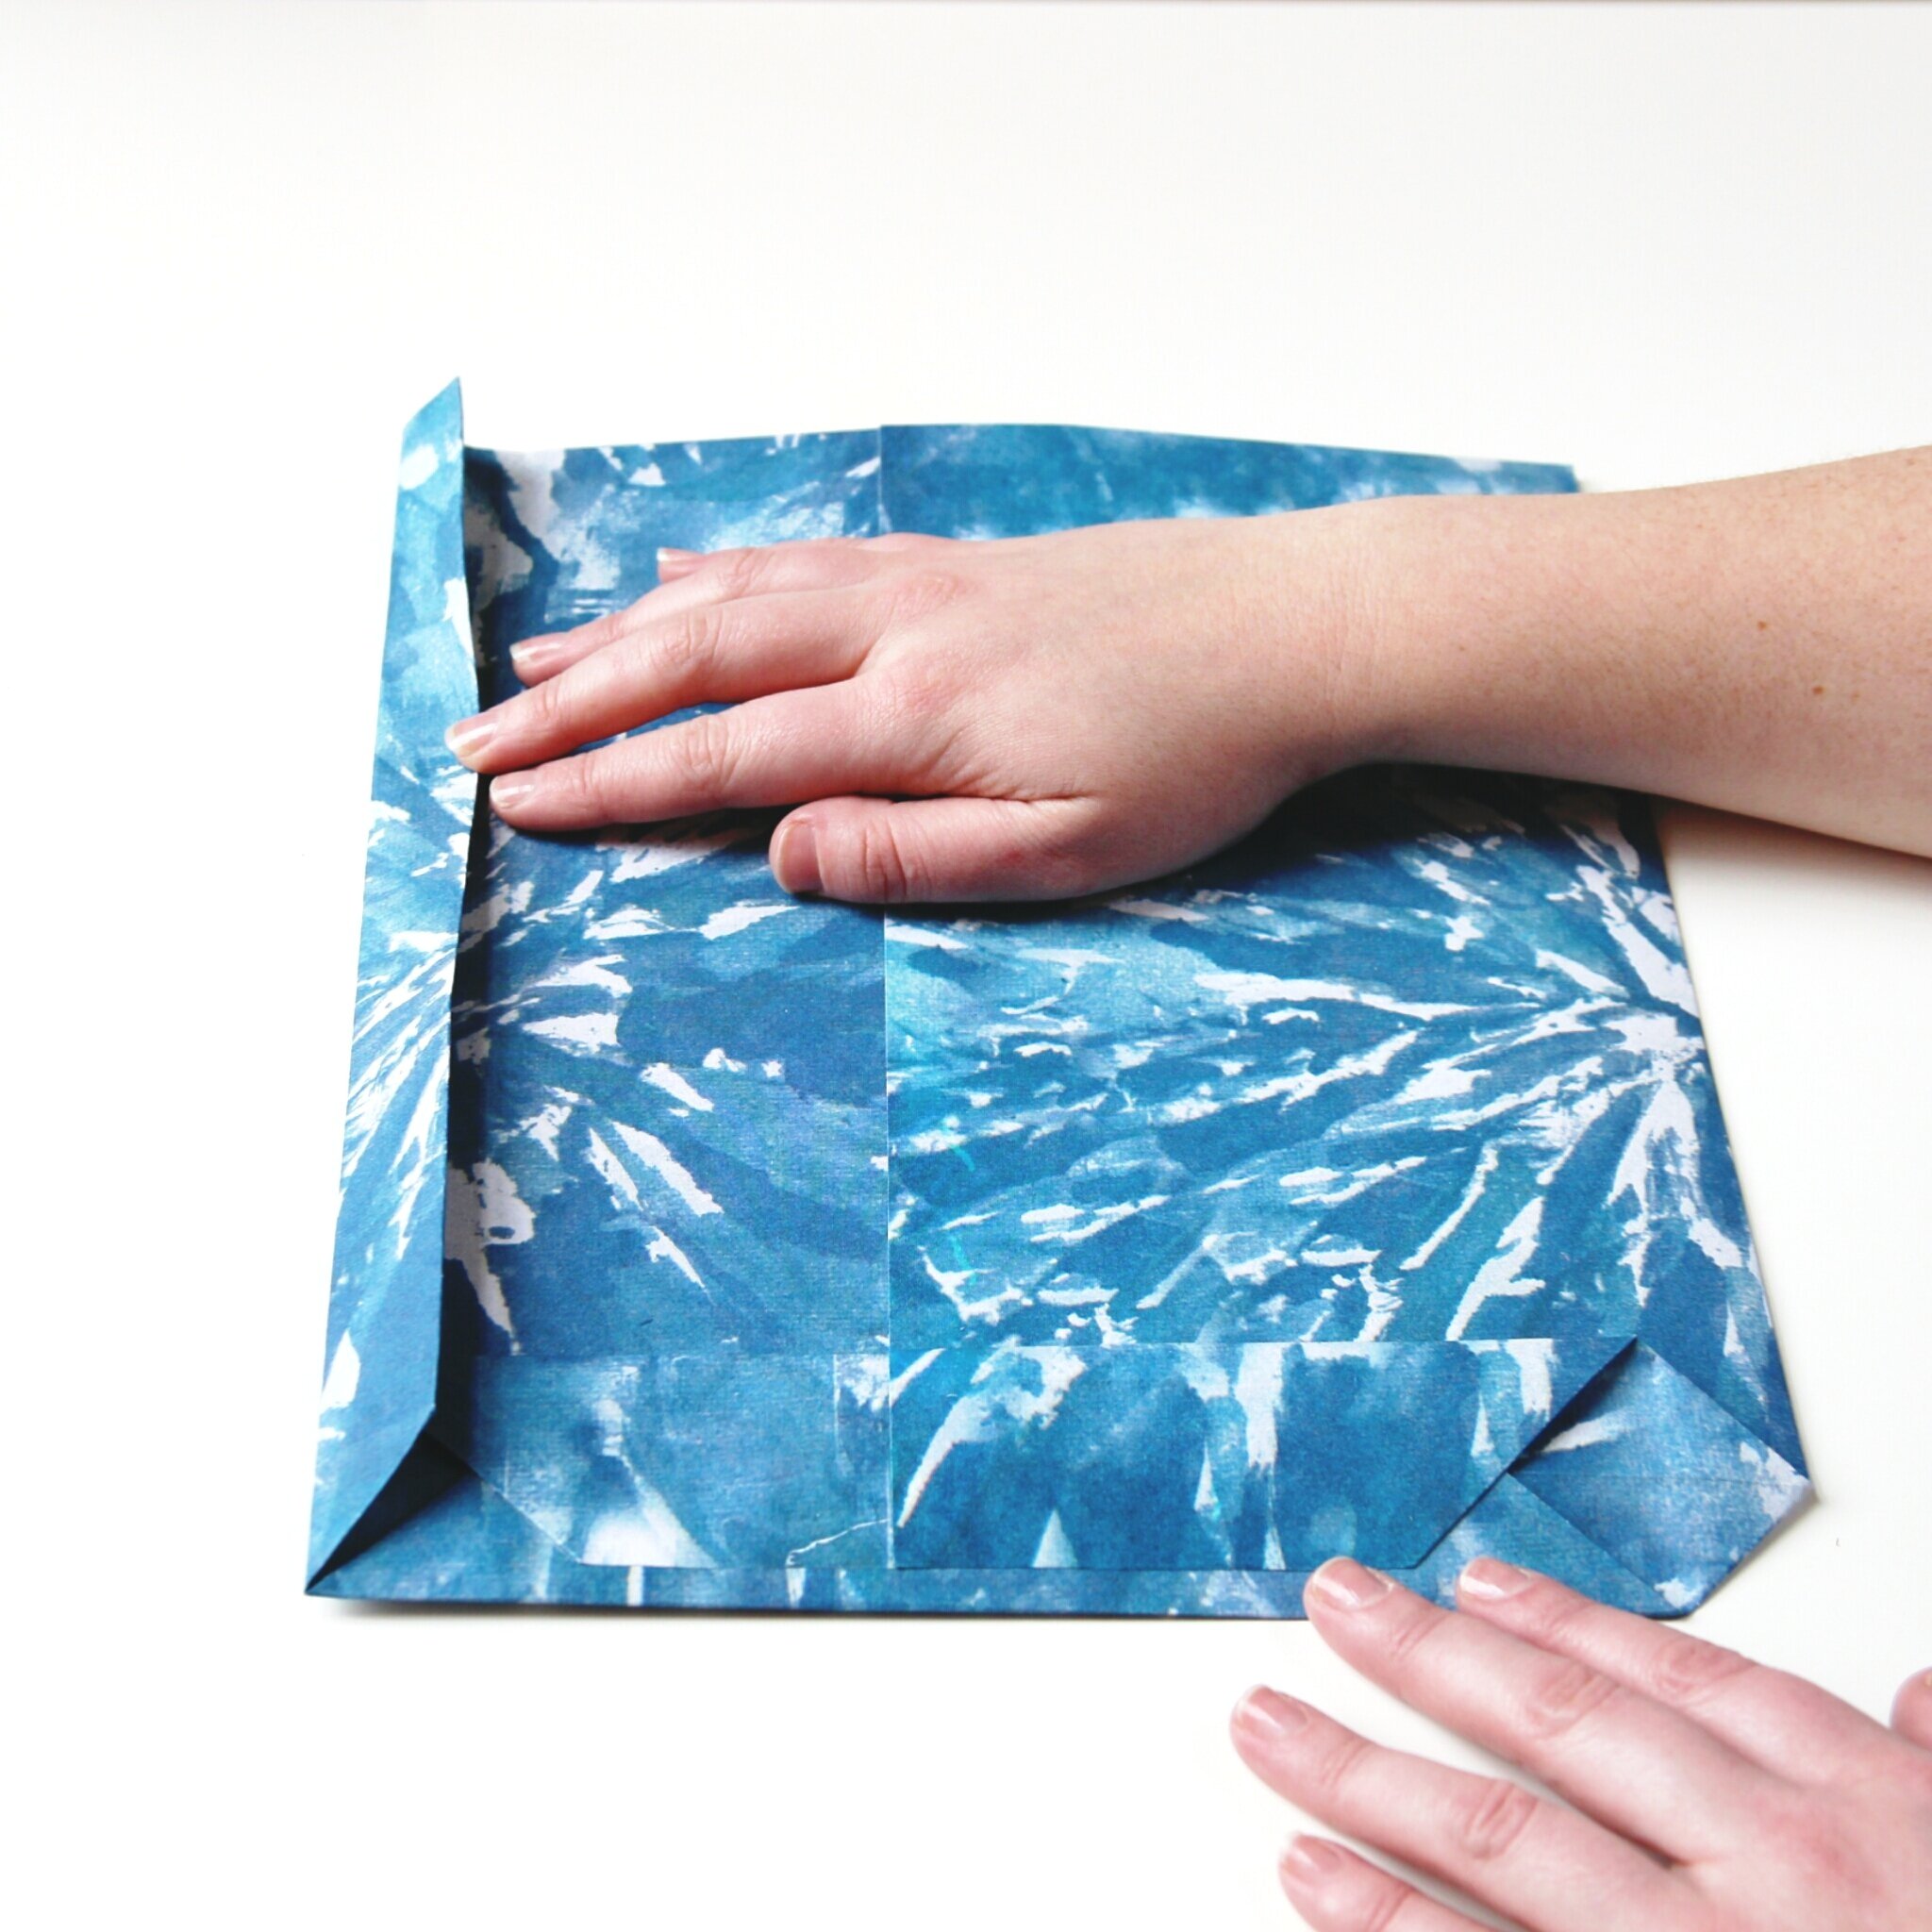
6. Fold the bottom of the bag up to form the base. The bigger you want the base of your bag to be the deeper you need to make this fold.
7. Open the bottom of your bag.


8. You should have two triangles on either side of a rectangle with a central line down the middle.


9. Fold the bottom flap up. Make sure it overlaps the central line.
10. Apply some glue or tape to the bottom flap.
11. Fold down the top flap, making sure it overlaps.

You should now have a diamond shape on either side of the base.

12. Next, we're going to make the concertina sides of the bag.
13. Fold in each side of the bag so the points of the diamonds meet.
Press down and crease with your bone folder.
14. Open these folds back out, flip your bag over and repeat on the other side.
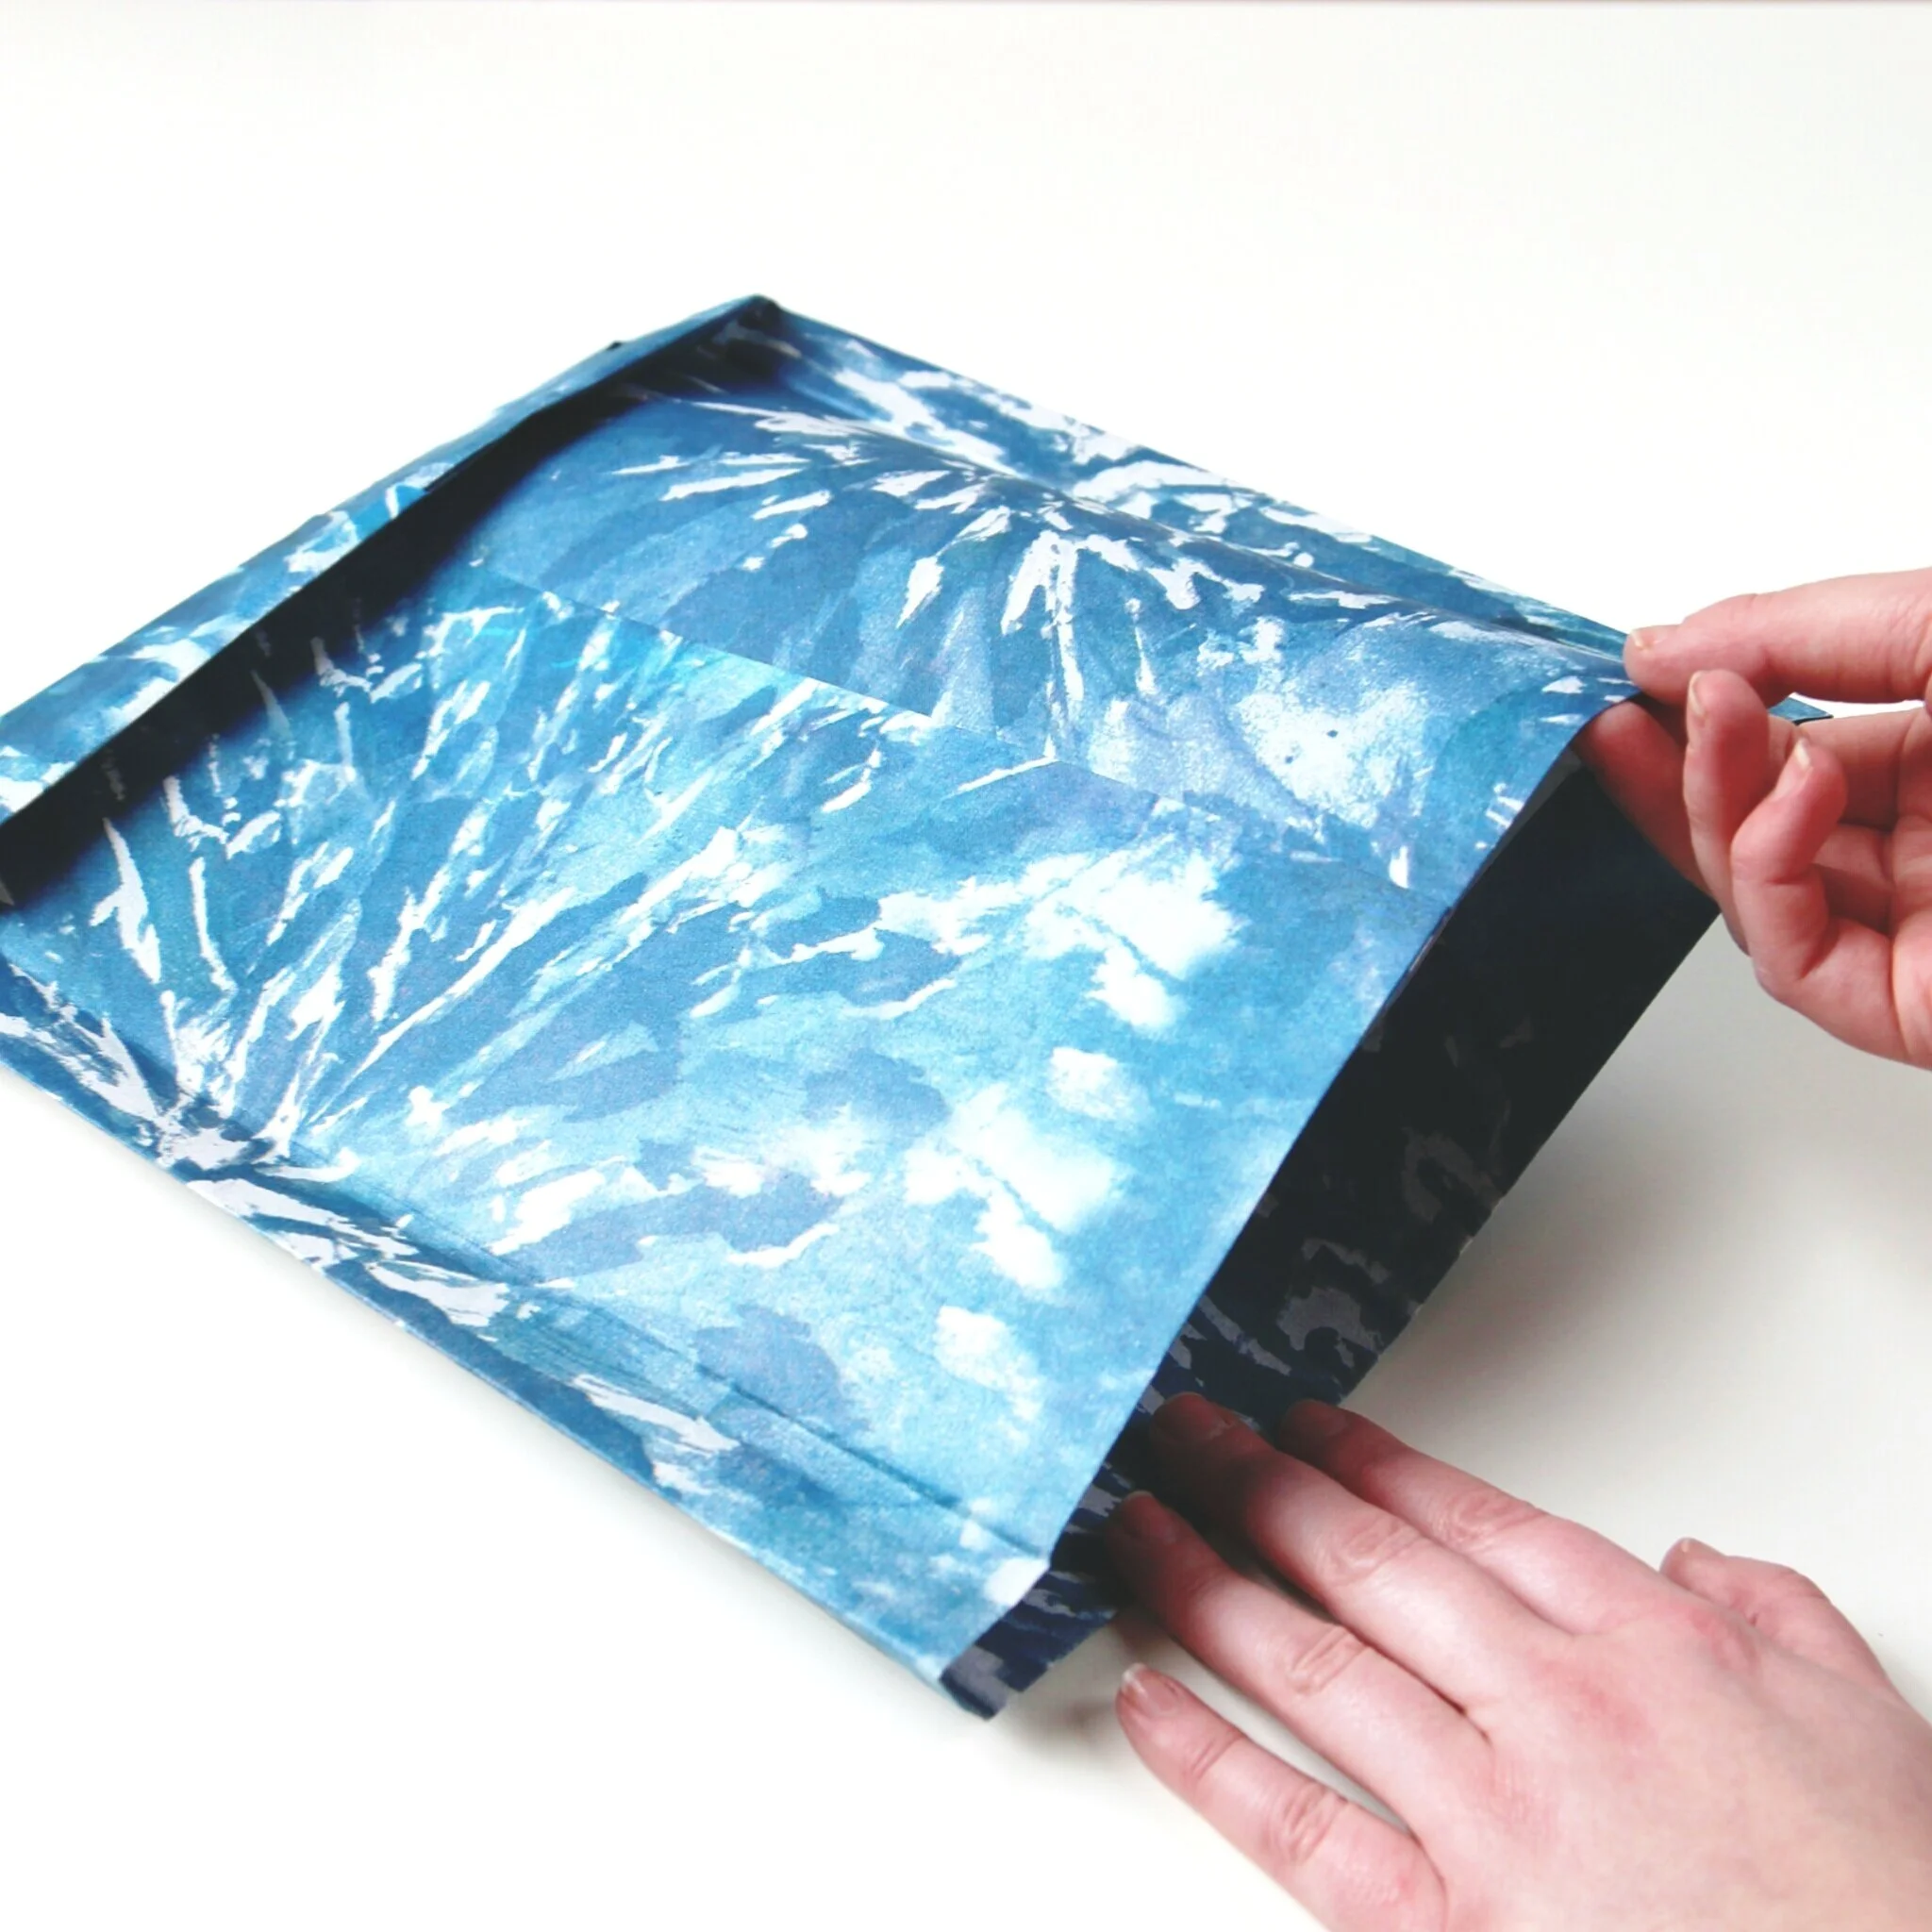

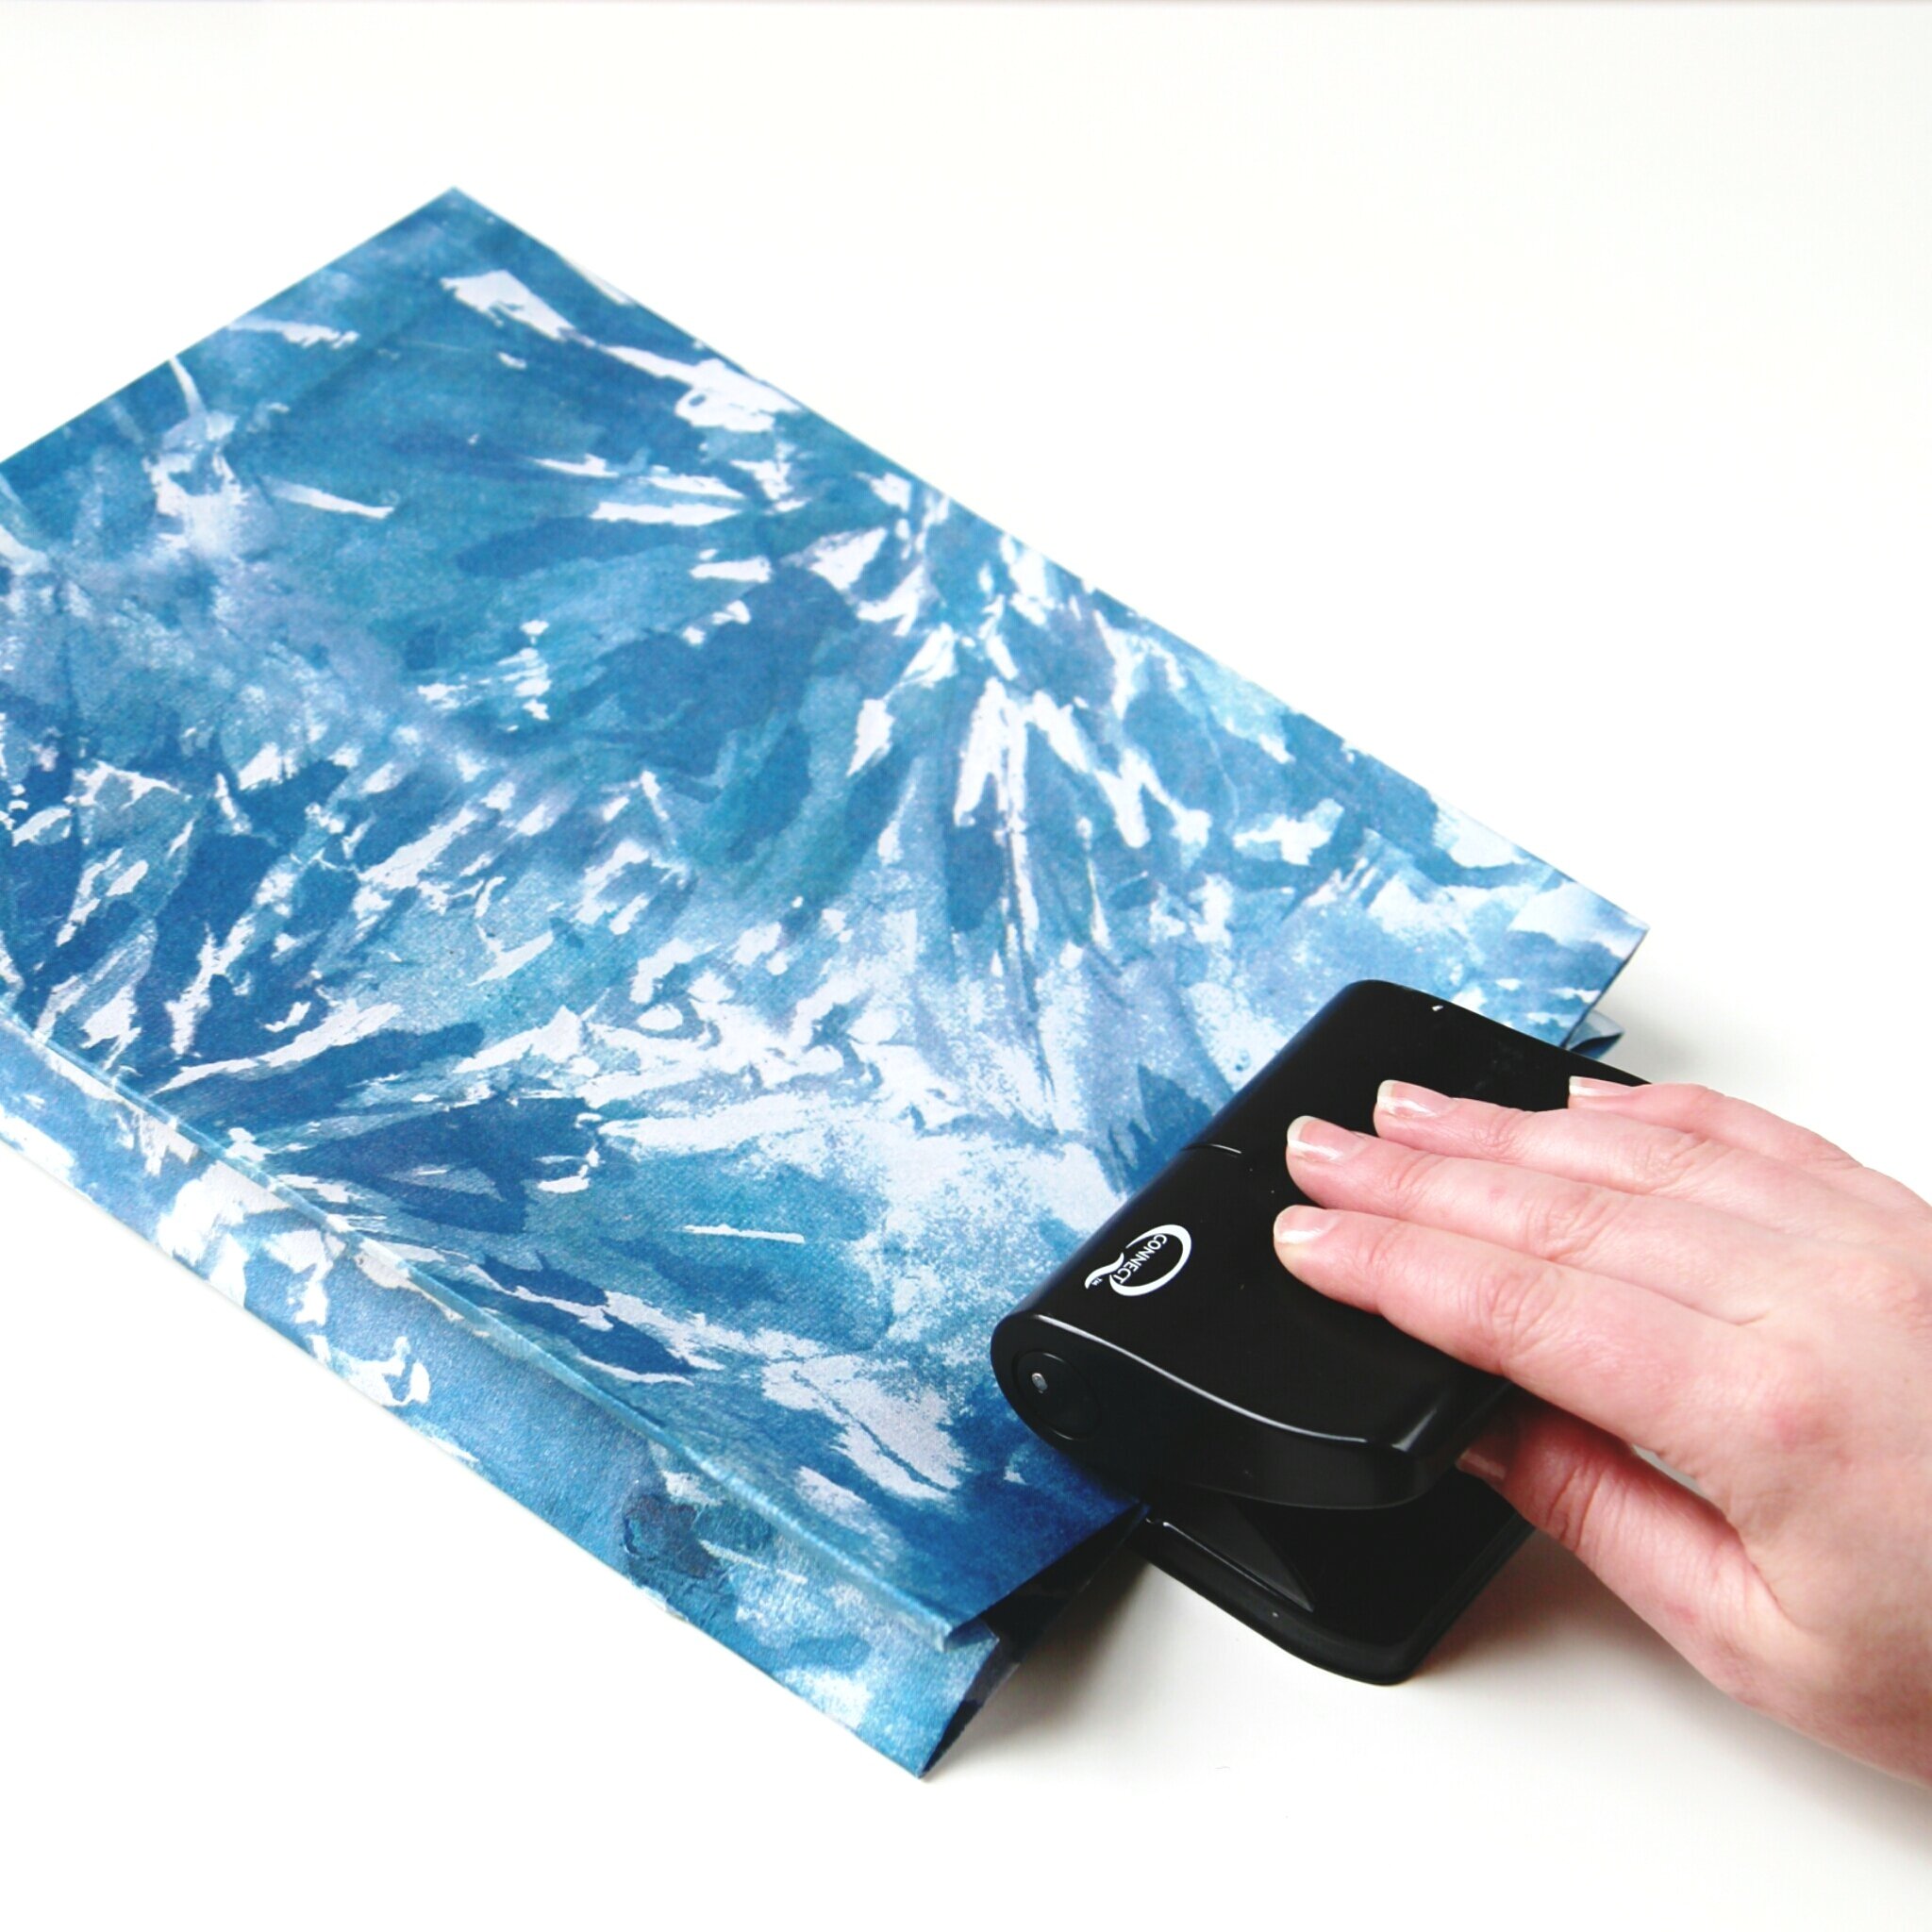
15. Pop open your bag and push the sides into place.
16. Depending on what you're putting in your gift bags you may need to reinforce the bottom.
To do this trace around the bottom of your gift bag onto a piece of cardstock, cut it out and trim (you need to make it slightly smaller than the base so it fits easily inside) apply some glue and press down to the bottom of your bag.

17. To finish off your gift bags punch holes in the top of the bag using a hole punch or a crocodile punch, thread through some satin ribbon and knot it on each side.
18. Stuff your homemade gift bags with tissue paper and pop in your present for a beautifully wrapped gift.