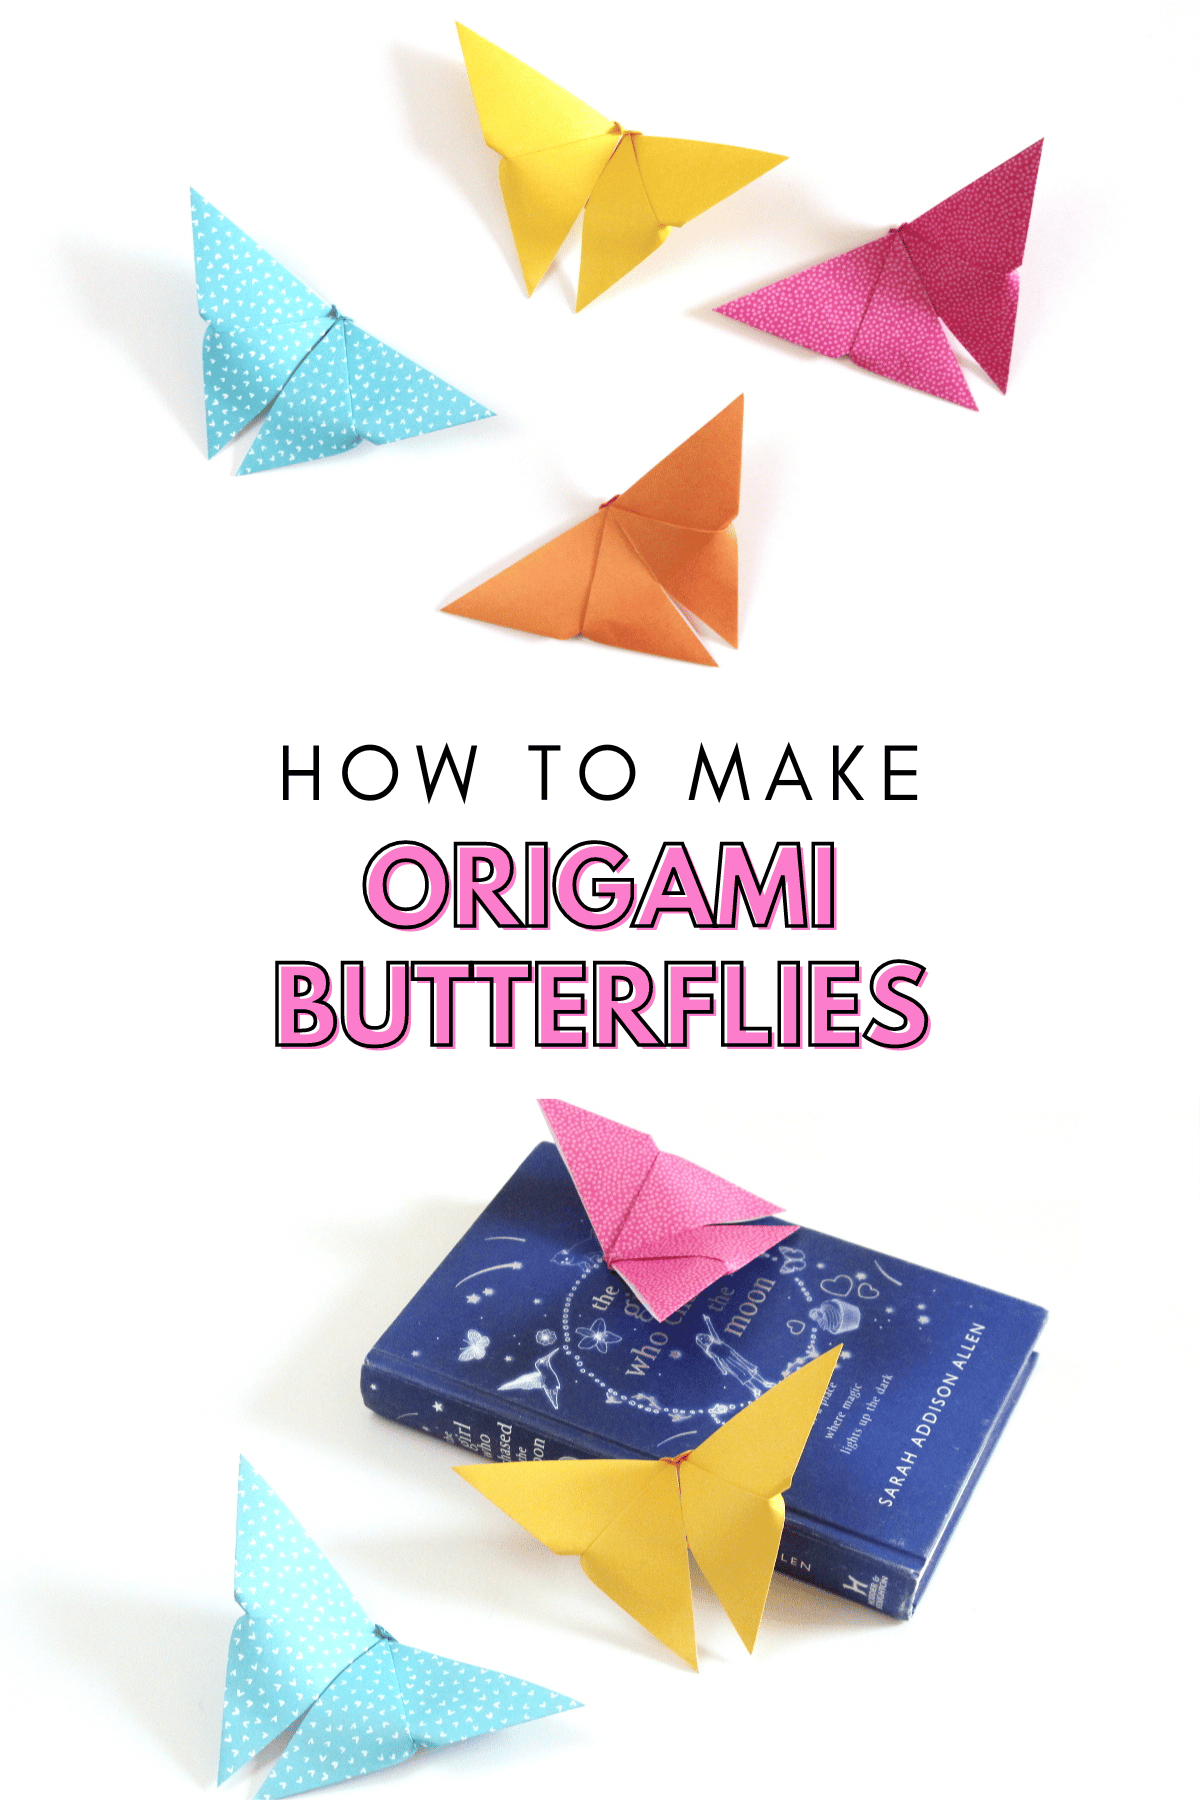
How To Make An Easy Origami Butterfly
/Want to know how to make an easy origami butterfly? These simple paper butterflies are the perfect fun activity for both kids and adults alike.
They're easy to make, quick to fold and can be made in any size that you like.
This post contains some affiliate links for your convenience (which means if you make a purchase after clicking a link I will earn a small commission but it won’t cost you a penny extra)!
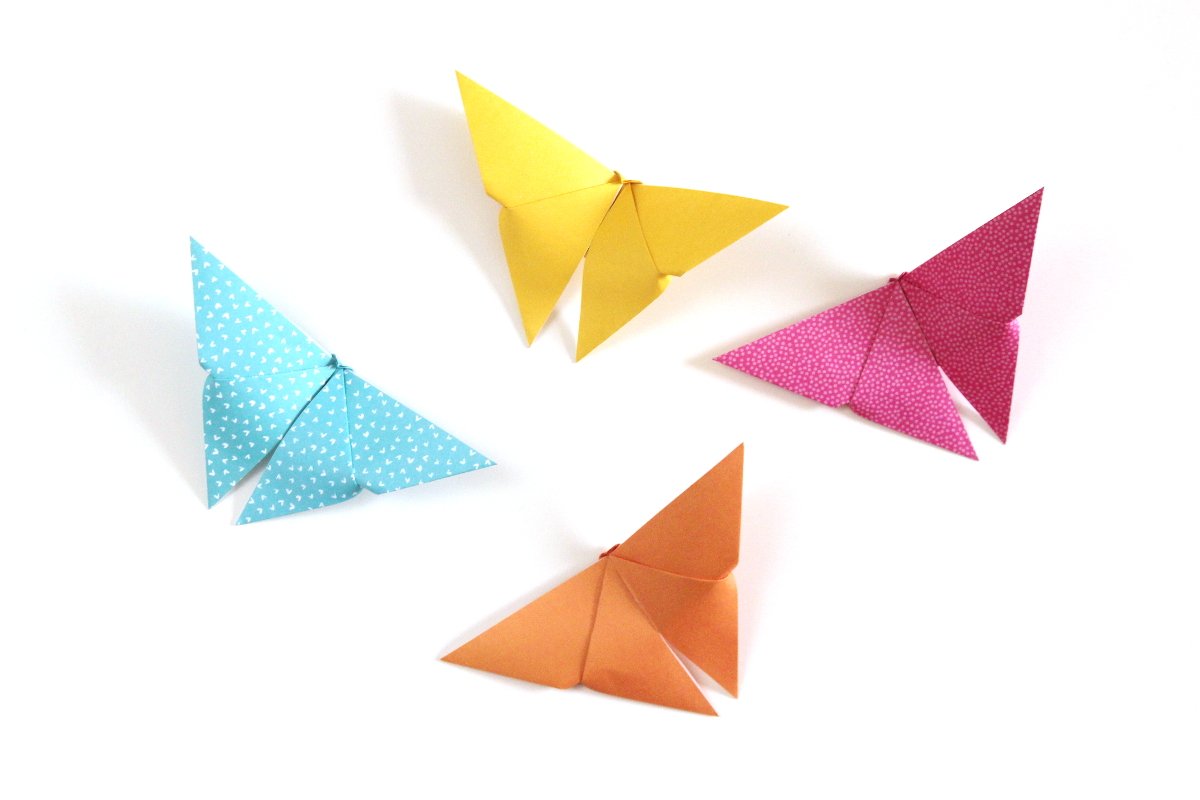
Easy Origami Butterflies.
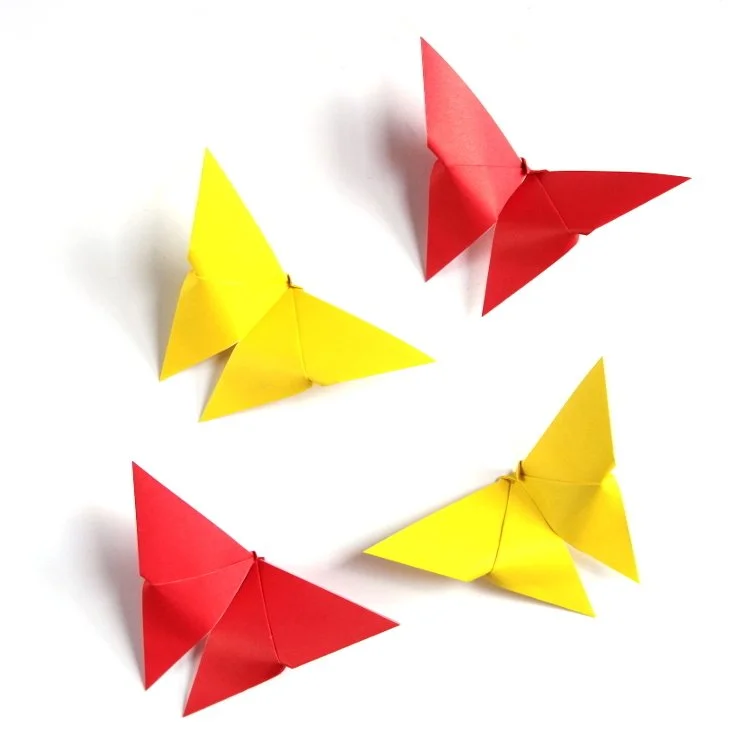
These origami butterflies are one of my favourite paper crafts to make in the spring and summer. I love how you can turn a simple square piece of paper into a beautiful paper butterfly with only a few folds.
There are a couple of different ways to make origami butterflies (check out my origami butterfly bookmark here) but today I thought I'd show you how to make a traditional origami butterfly.
Even if you've never made an origami model before it's the perfect place to start as it uses some of the basic origami folds that are used in nearly all origami crafts.
They're a great project to get the older kids involved with and help improve those fine motor skills. But please keep in mind younger kids may need a little help with some of the folds from a grown-up.
Butterfly Origami Crafts.
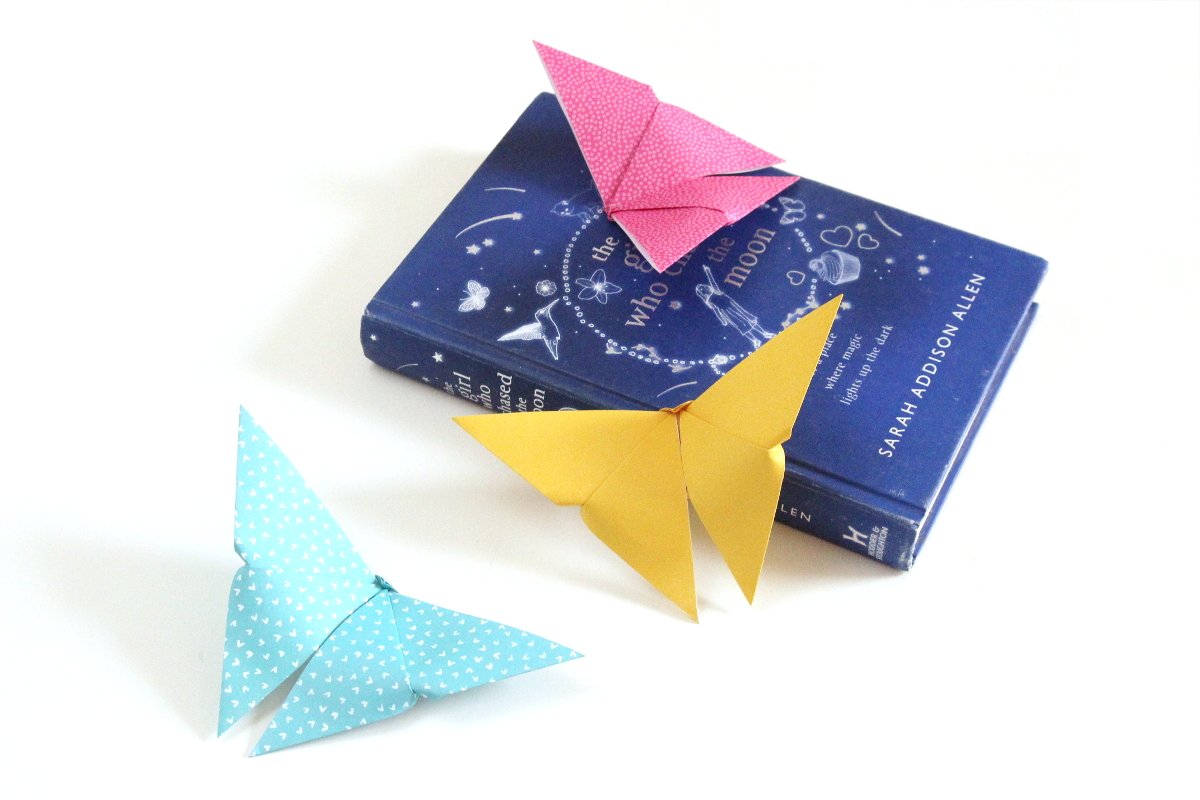
You can use your finished butterflies to decorate handmade cards and gifts, as table decor, as mobile when hung from the ceiling or even displayed as wall art.
They make fantastic decorations for your room or a party. I love the idea of combining them with a bouquet of flowers for a special gift or maybe even a wedding.
My personal favourite is to glue small magnets to the back of each butterfly and use them on my magnetic noticeboard that hangs above my desk.
Origami Paper Butterflies.
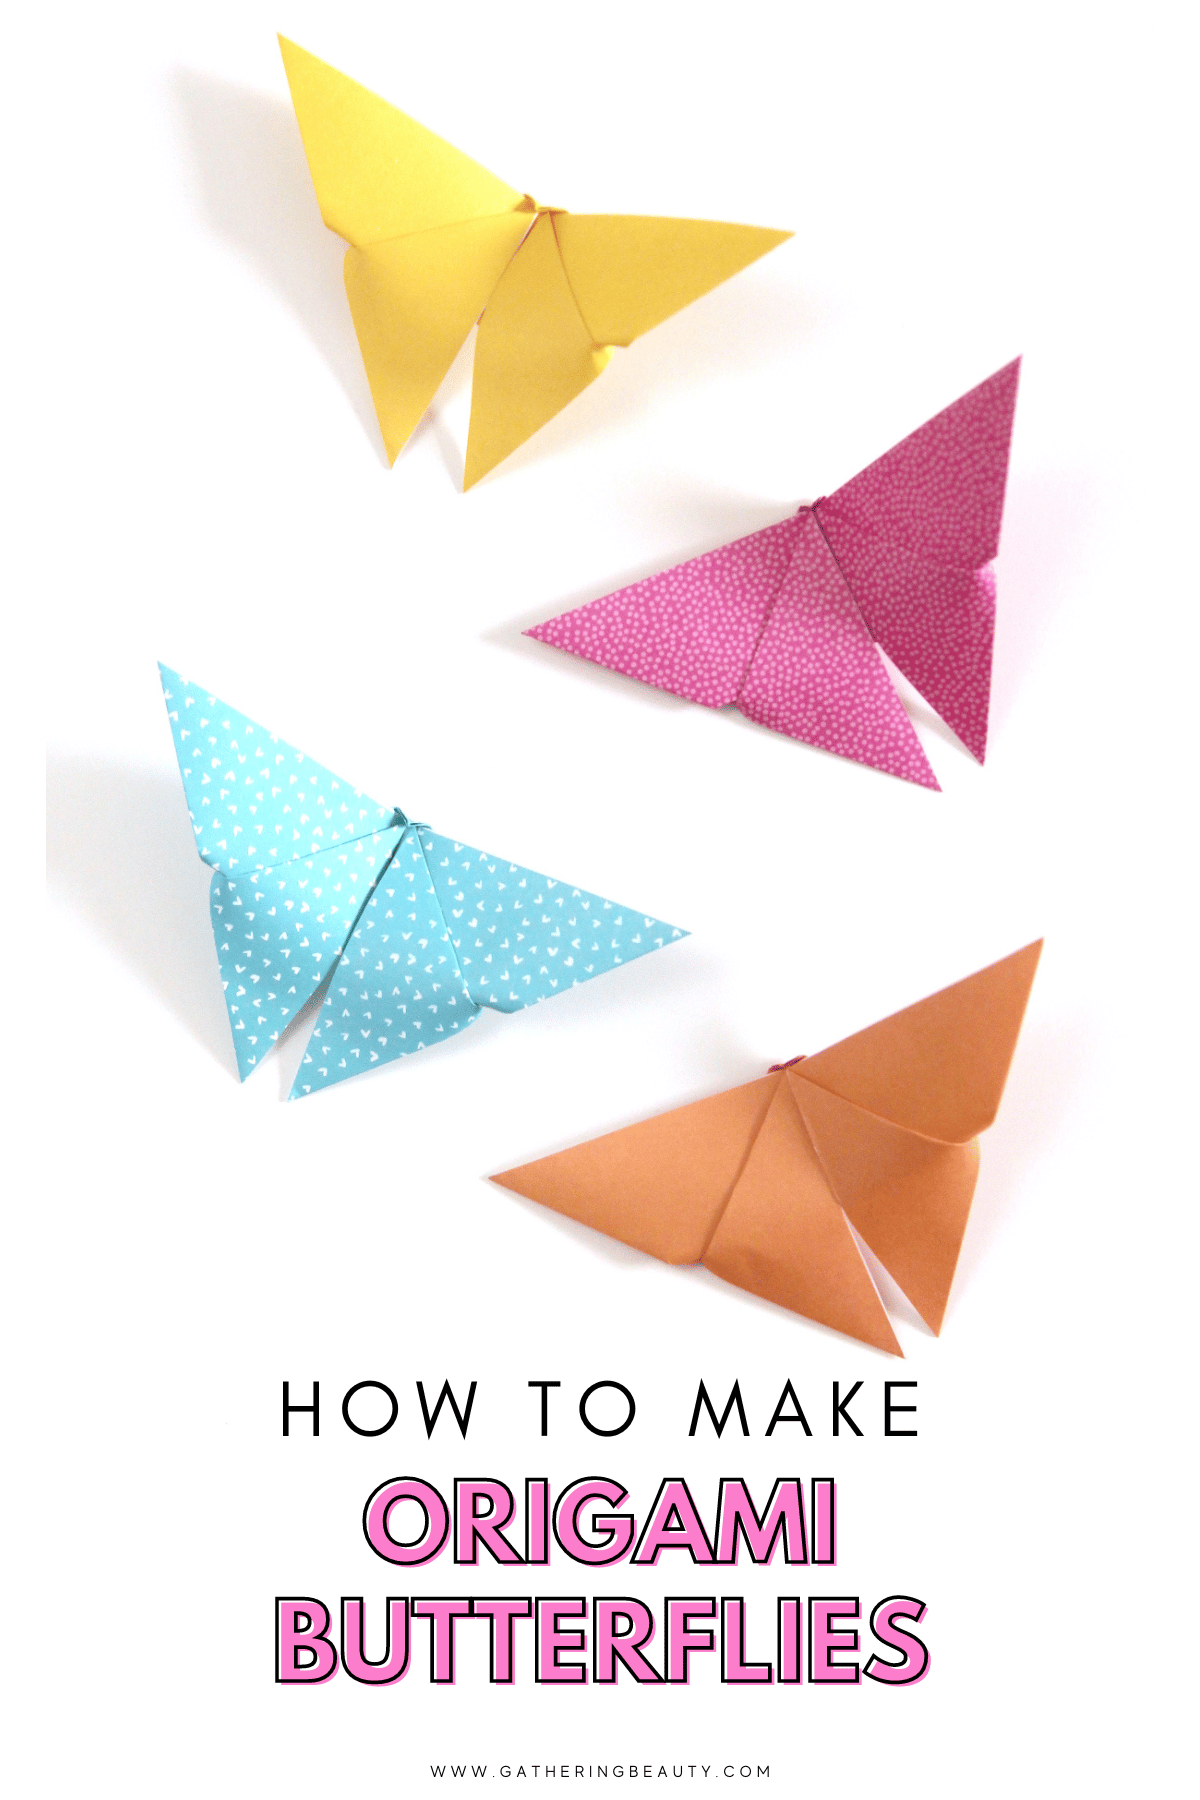
Mix and match different coloured or patterned origami paper or scrapbook paper to make your own beautiful butterfly.
Don't have any nice origami paper to hand? You can use gift wrap (ideal for making a large butterfly), old book pages, magazines or even maps.
And remember, the key to origami is patience and practice. Your first butterfly might not be perfect, and that's totally okay. Each one will be a little bit better than the last.
Simply follow the step-by-step origami butterfly instructions below and you'll be folding your own gorgeous origami butterfly in no time.
Supplies:
Origami Paper (I used standard origami paper that is coloured on one side and plain white on the reverse but double-sided coloured paper like this one or patterned paper like this one would look fantastic as well.)
** You can purchase an INEXPENSIVE AD-FREE PDF of this craft on Etsy. This beautifully formatted PDF includes ALL the step-by-step pictures and instructions. **
And a little patience (remember, origami gets easier with practice).
You can use any paper to make your butterflies. I've used origami paper, old book pages, magazines, and scrapbook paper, simple copier works well too.
I even have some printable origami paper you can download and use for FREE. Simply download, print and cut into 7x7-inch squares.

How to make an Easy Origami Butterfly.
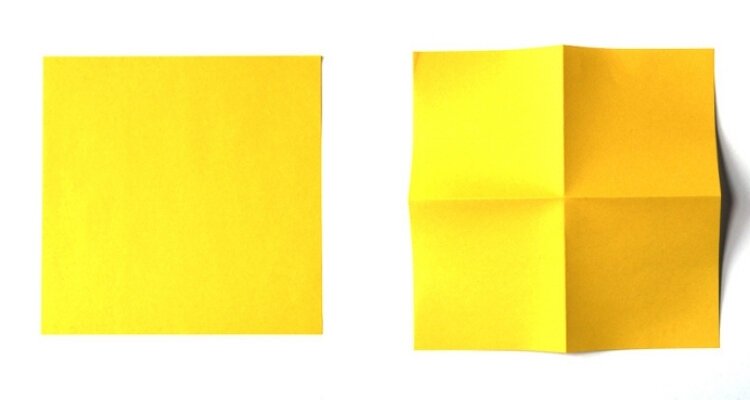
1. Take your square piece of paper of paper and fold it in half (white side on the inside) to create a mountain fold.
2. Open out and fold in half again this time the opposite way.
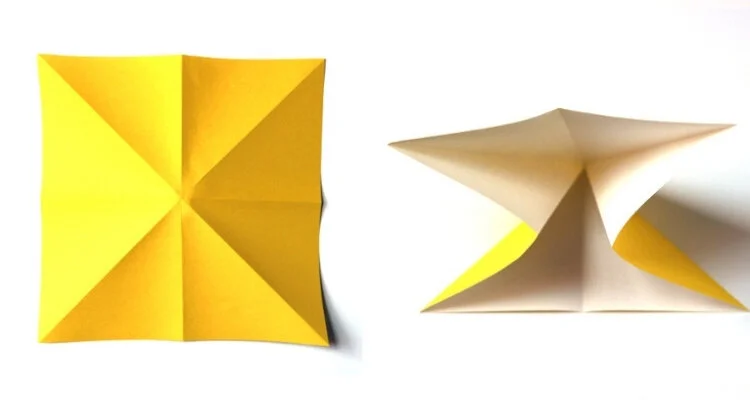
3. Open back out and fold along both diagonals making two more mountain folds.
4. Flip it over so the coloured side is facing down.
5. Bring the sides in to meet at the centre.

6. Fold the centre folds in and collapse down to make a triangle. This is called a waterbomb base.

7. Fold the left side corner up to meet the centre crease of the triangle.
8. Repeat and fold the corner on the right side up to meet the centre crease.
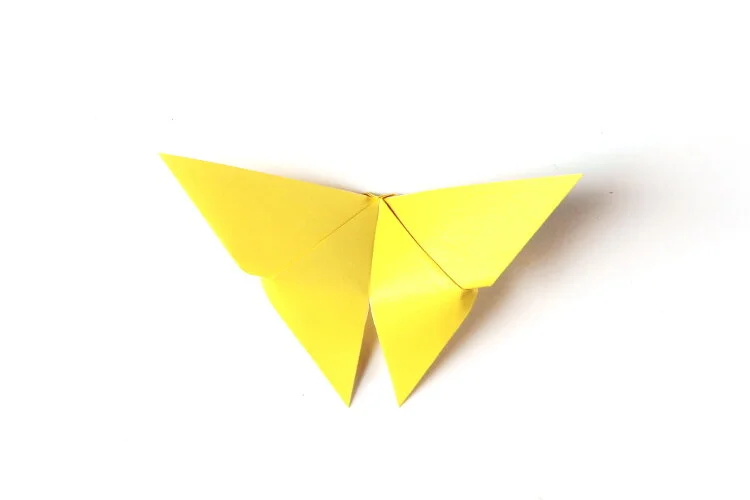
9. Flip it over and lift the bottom corner up.
You want to fold it past the top edge so the tip of the triangle extends over the top.
10. Flatten the centre but not the edges of the crease.

11. Fold the top point of the triangle over and crease.
If you're using thicker paper you may need to use a little glue to hold this flap down.
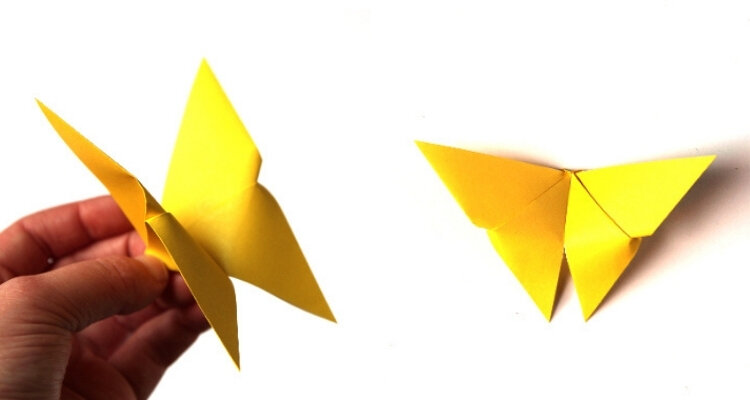
12. To finish fold the butterfly in half to shape it.
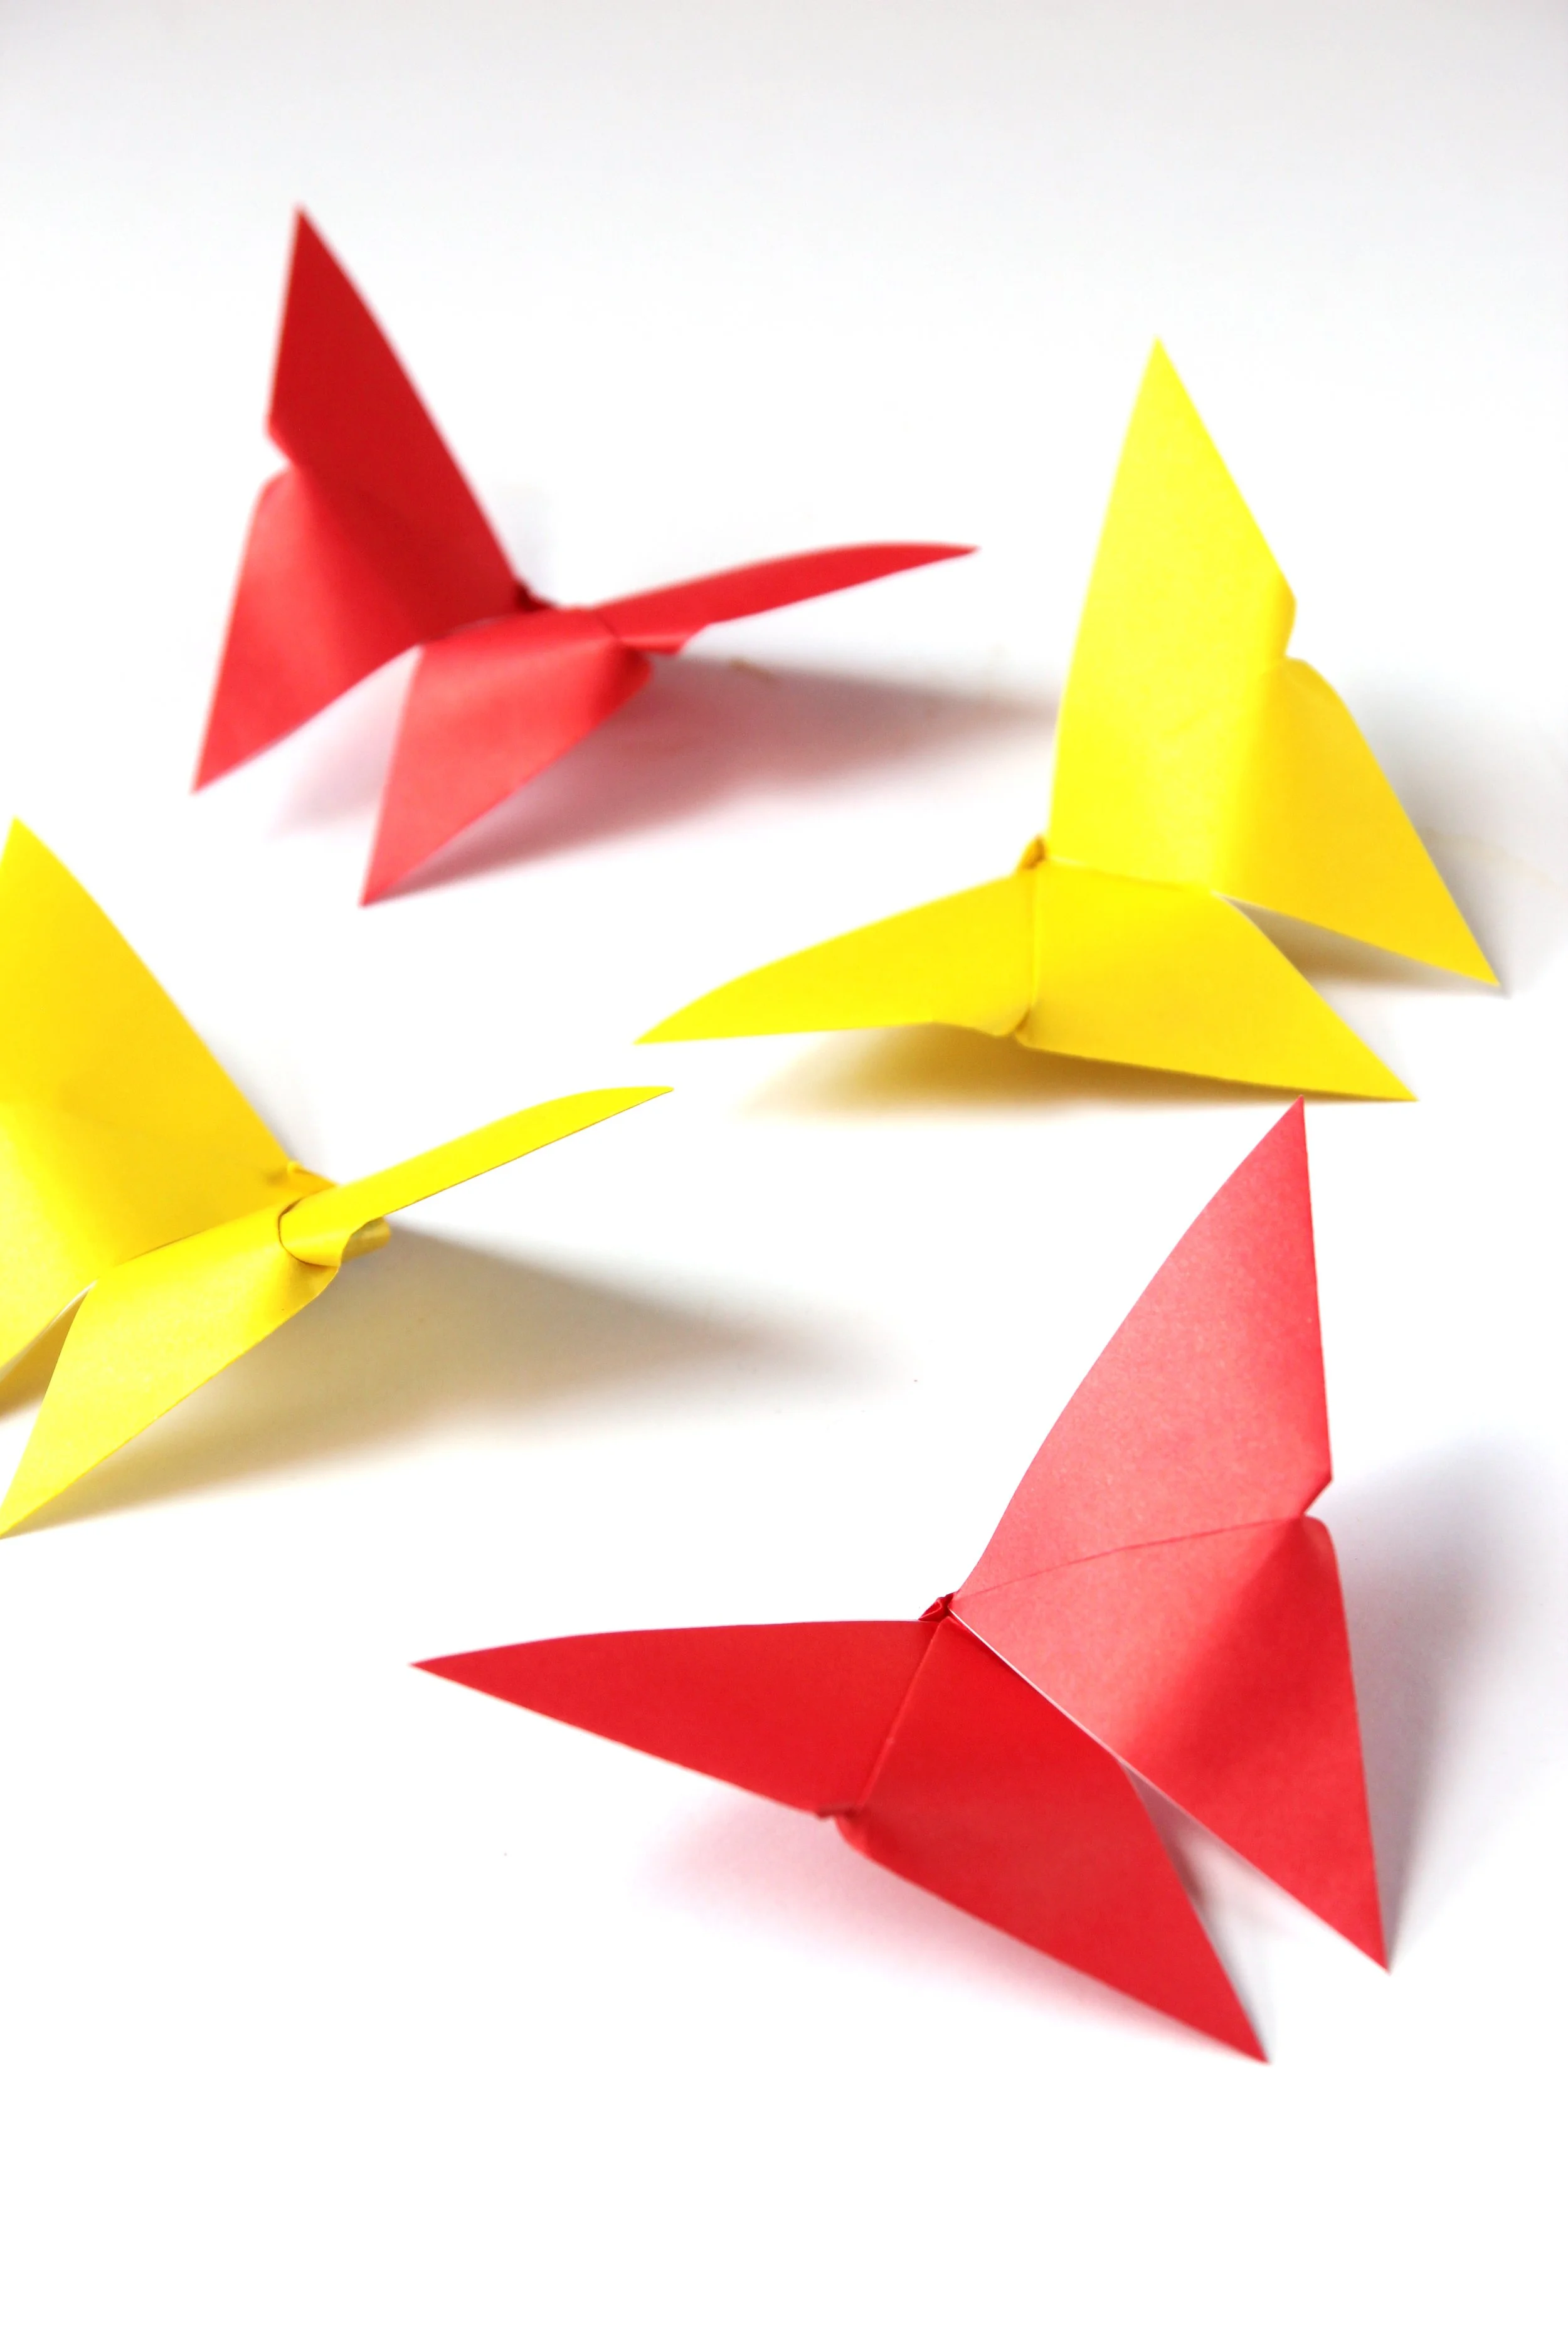
13. All you have to do now is find a place to display your paper butterfly.

Make these Origami Butterflies again and again. Grab the PDF eBook here!