DIY 3D Christmas Star
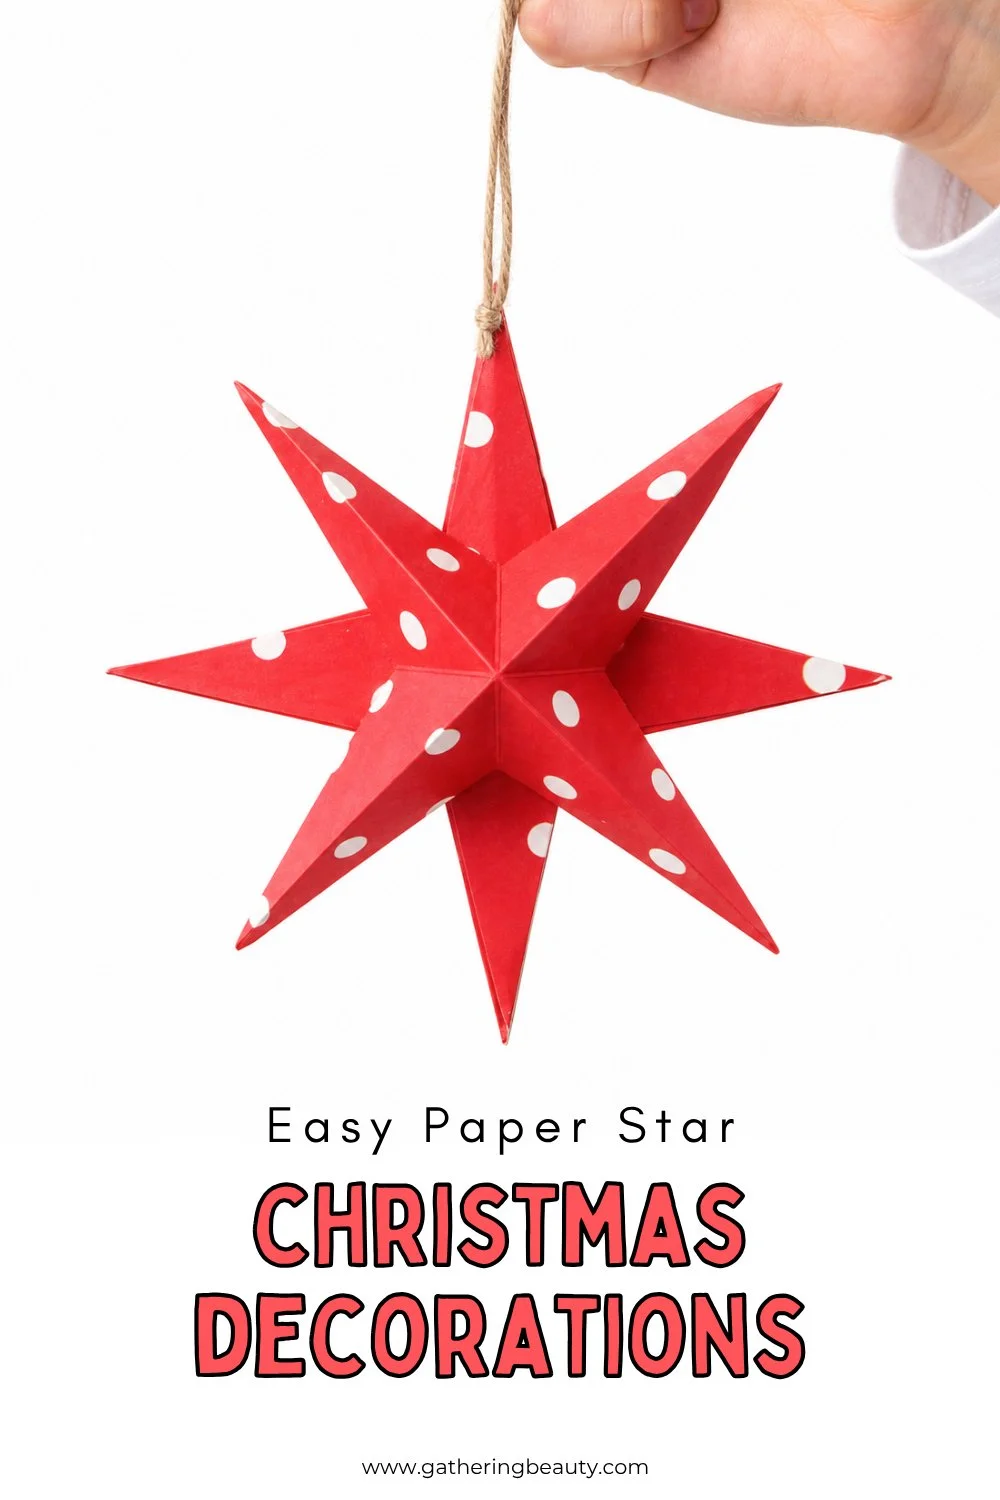
/Learn how to make beautiful 3D Paper Stars with this easy step-by-step tutorial. These handmade Christmas paper decorations are simple to make with paper, scissors, and glue, and are perfect for hanging on your Christmas tree, in windows, or around your home.
This page contains affiliate links. This means that if you make a purchase after clicking a link I earn a small commission but it doesn’t cost you a penny extra!
3D Paper Stars
One of my favourite Christmas traditions is making a few new decorations each year, and these 3D paper stars are one of my favourites.
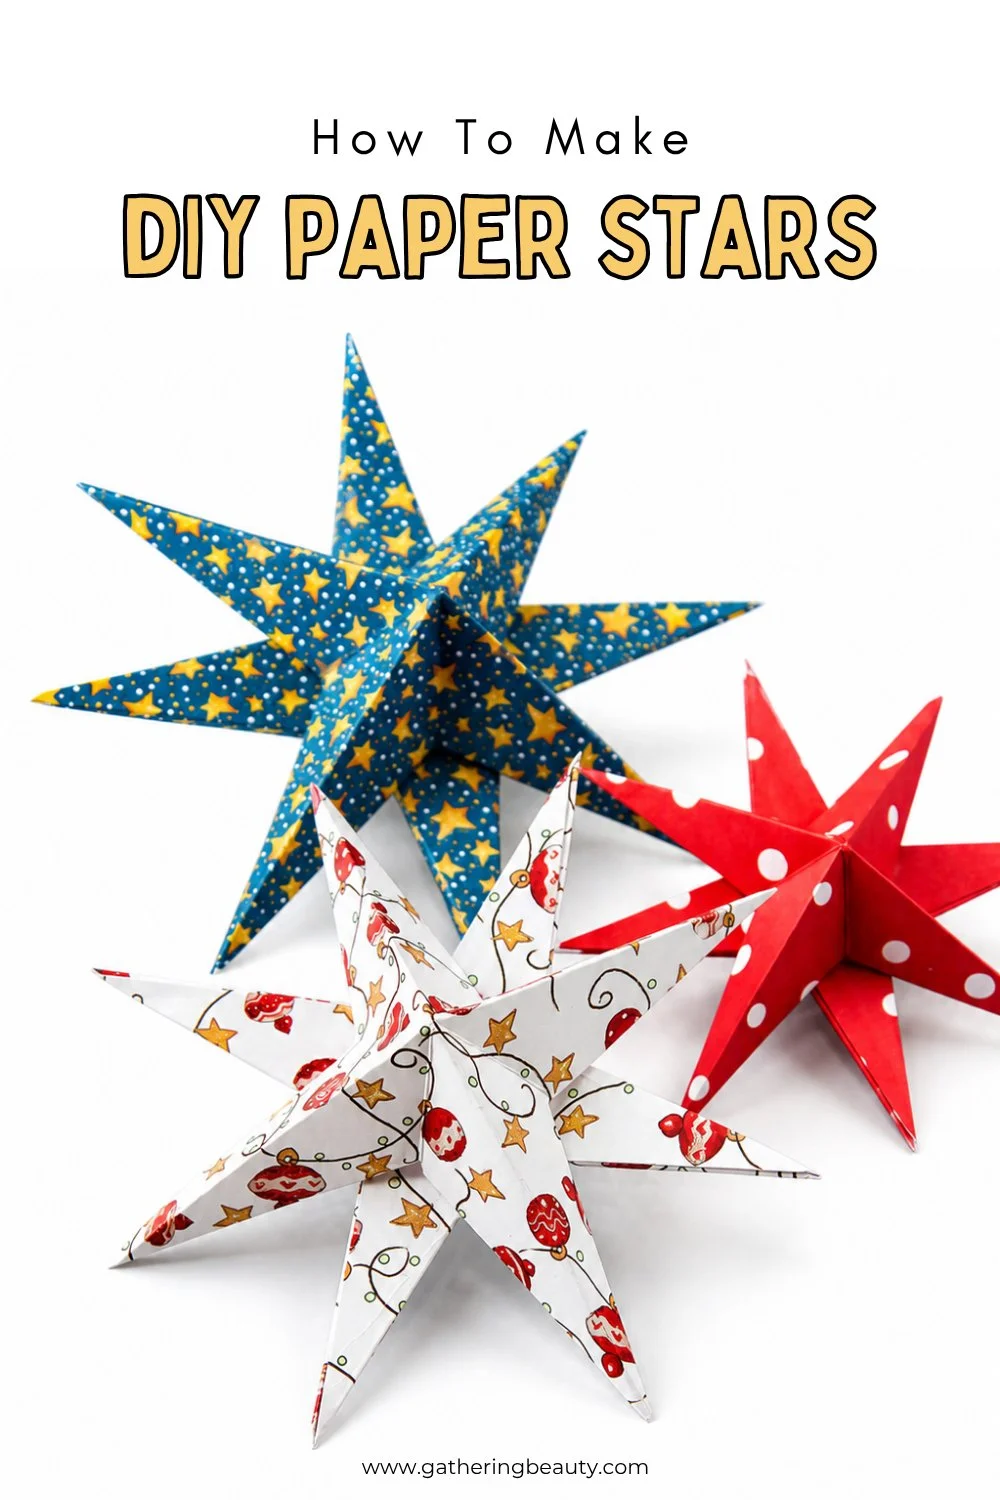
The finished stars look much more complicated than they actually are. Each one is made from two simple four-pointed paper stars that are glued together to create the dimensional shape.
They’re inexpensive, don't take long to make and are a great way to use up some of your favourite patterned paper.

Hang them from your Christmas tree, display them in a window, add them to a mantel or make a whole collection of different sizes for a festive display. They’re also a fun paper craft to make with kids, older children or friends during the holiday season.
And the best part? You can make them in almost any colour or pattern, so they’re easy to customise for Christmas, New Year’s, birthdays and other celebrations.
What Paper Should I Use?
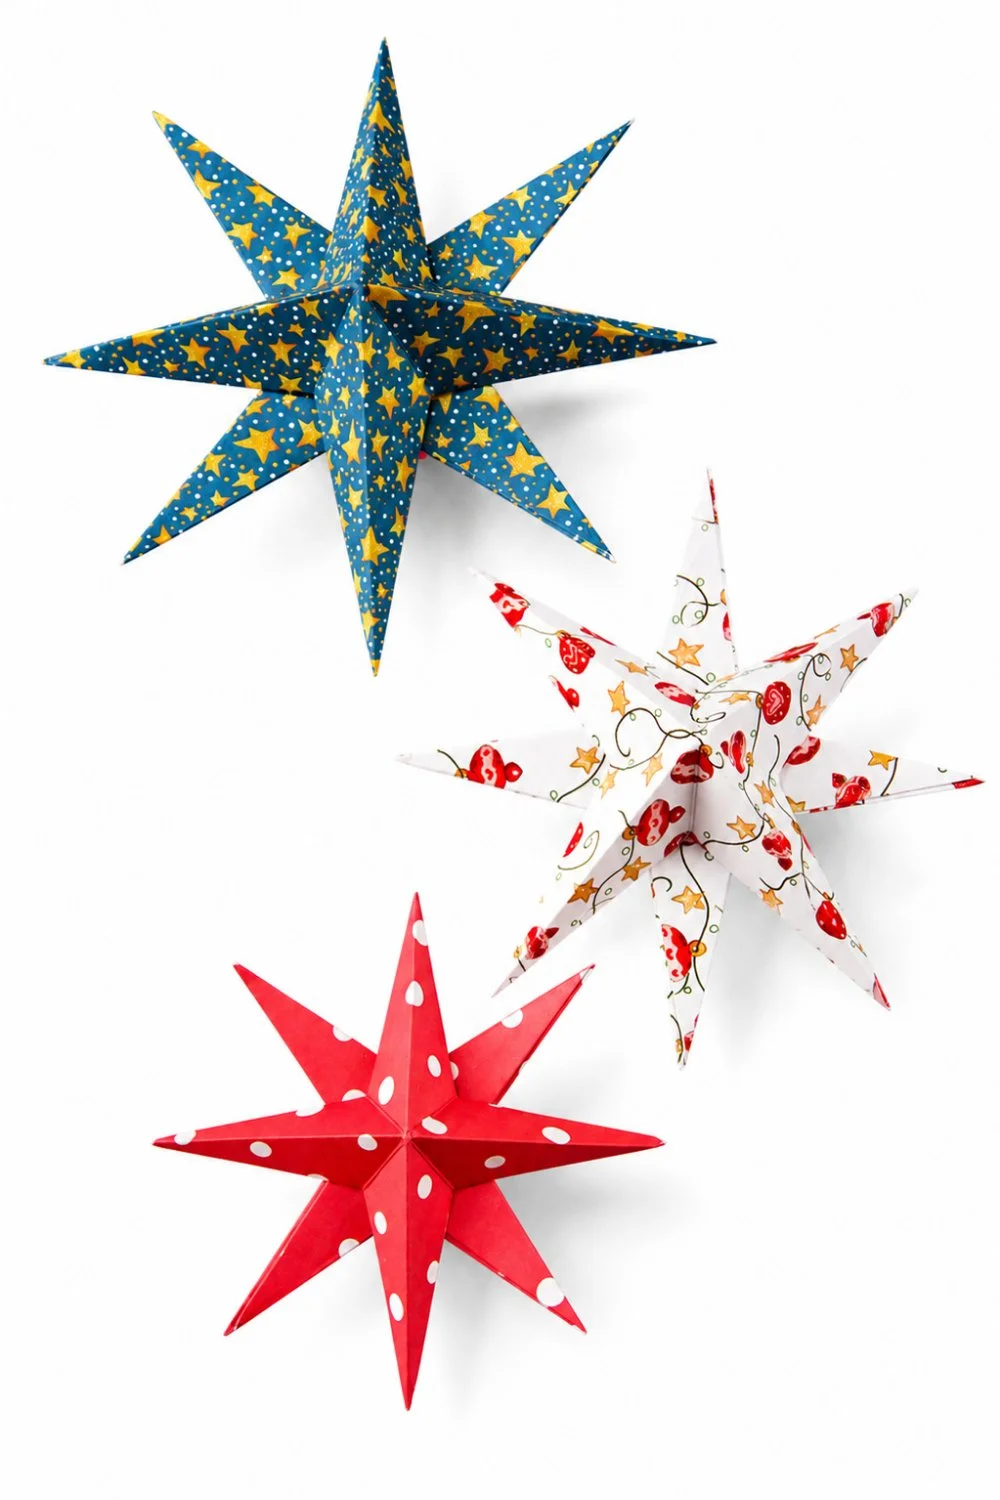
You can make these stars using scrapbook paper, patterned paper or coloured cardstock.
For a large star, I used a 12 x 12 inch sheet of Christmas scrapbook paper. You can easily make smaller or larger stars by changing the size of your paper squares.
I like using patterned paper because it gives the finished stars lots of personality, but plain cardstock works beautifully too.
Try red and green for Christmas, blue and white for a winter display, metallic papers for New Year’s or bright colours for a birthday party.

Supplies.
For each 3D paper star you'll need:
Two matching squares of scrapbook paper or cardstock
Pencil
Paper trimmer, optional
Glue Runner, Double-sided tape or paper glue
Hot glue gun, optional
Fishing line, cotton thread or ribbon if you want to hang your star
Want to make it even easier? You can also get my 3D Paper Star Printable Templates, which include templates for making large, medium and small stars without having to measure everything yourself.

How to make 3D Paper Stars for Christmas.
1. Take one square of paper and fold it in half.
2. Crease the fold firmly, then open the paper back out.
3. Rotate 90 degrees and fold it in half again.
4. Open it back out. You should now have a cross of four equal sections running through the centre of your paper.

5. Open the paper and fold it in half diagonally from corner to corner.
6. Open it out and repeat on the opposite diagonal.
7. Flip the paper over.
8. Using a pencil, mark a point a little less than halfway down each of the horizontal and vertical crease lines.
9. Using your scissors, carefully cut from each of the four outside edges towards the pencil marks.
Don't cut all the way to the centre.
You should now have four sections that can be folded into points.
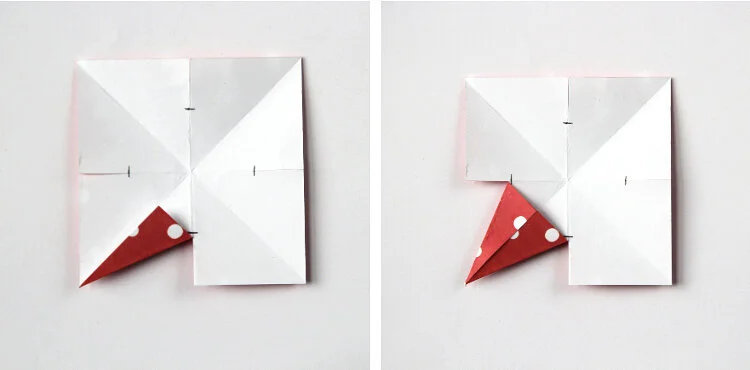
10. Take one of the cut sections and fold each side in towards the centre to create a pointed shape.
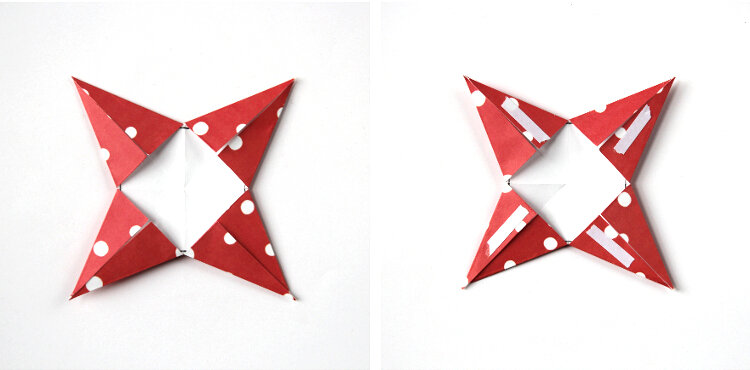
11. Repeat the same process on all four sides of the paper.
You should now have the basic shape of a four-pointed star.
12. Apply a strip of double-sided tape or a small amount of glue to one side of each point.
I actually prefer using double-sided tape or a tape runner for this part. Runny glue can make the paper buckle, while a hot glue gun can be a little messy when you're working with such small areas.

13. Peel back the tape, or carefully press the glued sections together.
14. Fold one side of each point over the other and press firmly to secure it.

15. Repeat on all four points until you've created a complete four-pointed star shape.
This is one half of your finished 3D paper star.
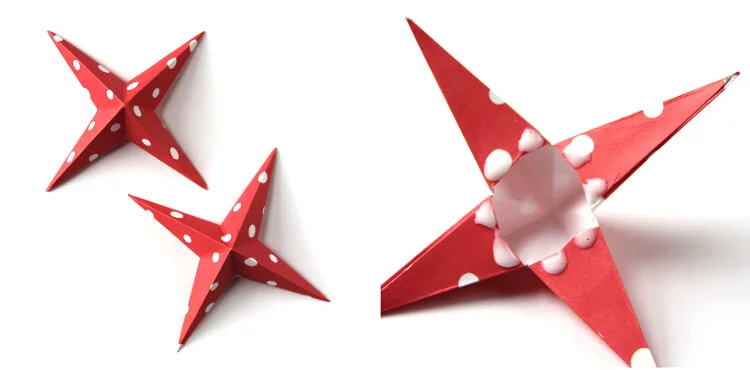
16. Repeat with your second square of paper.
You should now have two matching four-pointed paper stars.
17. Add a small amount of glue to the centre corners of each point.
You can use paper glue or a hot glue gun for this part.
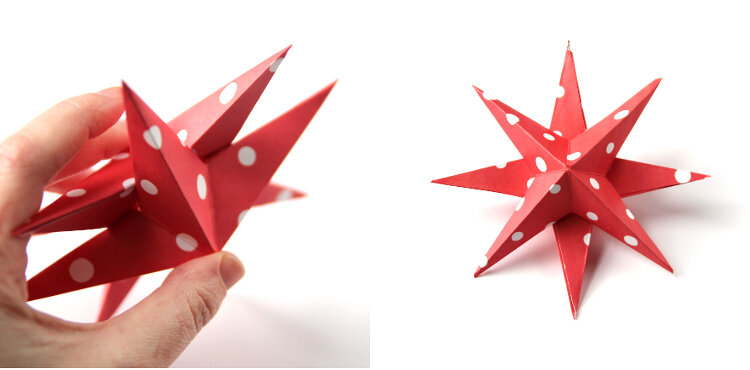
18. Carefully place the two star halves together.
Turn one half slightly so that the points sit at roughly 45-degree angles from the points on the other half.
19. Press the glued sections together and hold them in place until secure.

14. Leave to dry and hang.
Top Tip: There are a couple of ways you could hang your beautiful stars. The 1st is to sandwich some fishing line or cotton thread between the two halves as you glue them together.
The 2nd would be to use a needle and thread your fishing line or string through the top of one of the points.
More Paper Star Crafts.
If you enjoyed making these 3D paper stars, here are a few more star crafts you might like: