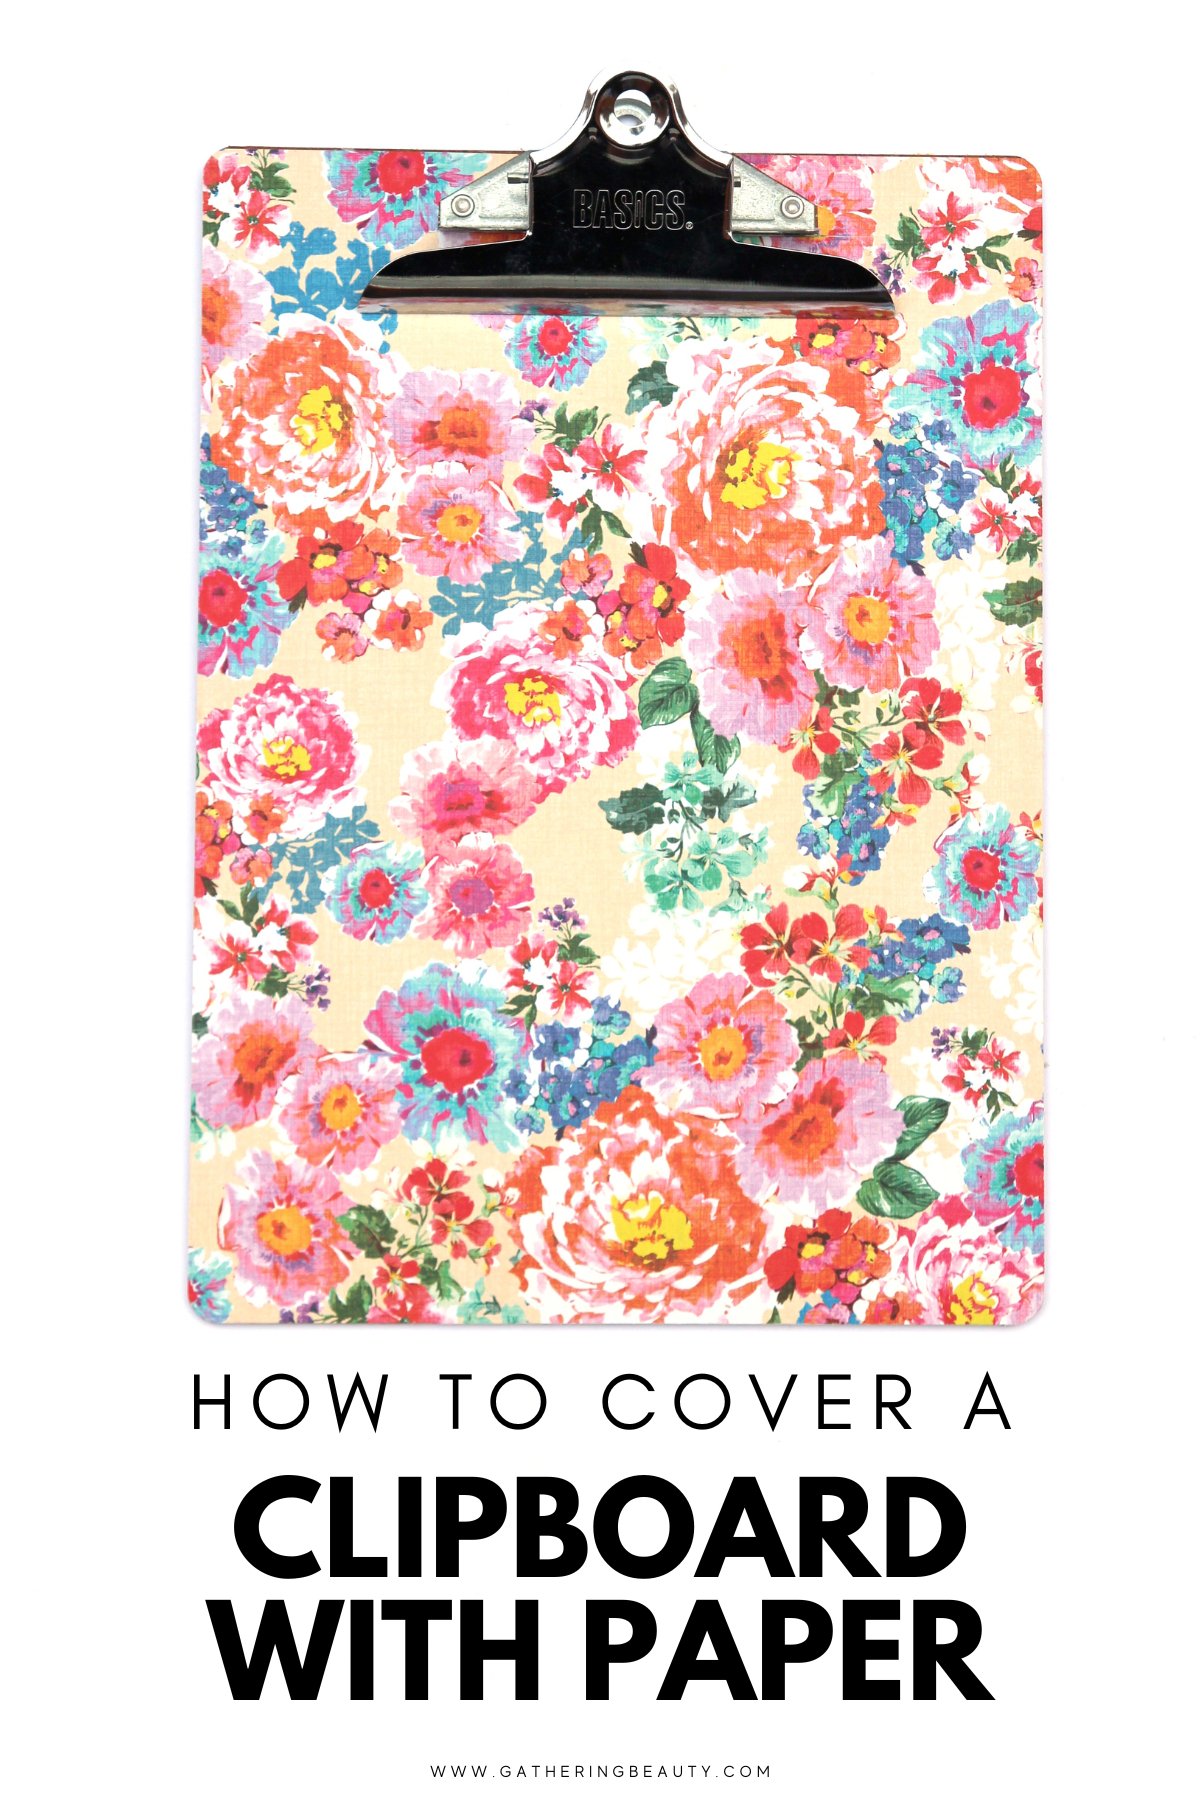
How To Decorate a Clipboard
/Transform a plain old clipboard using your favourite gift wrap. This inexpensive DIY is the perfect way to personalise your workspace and such a cute project.
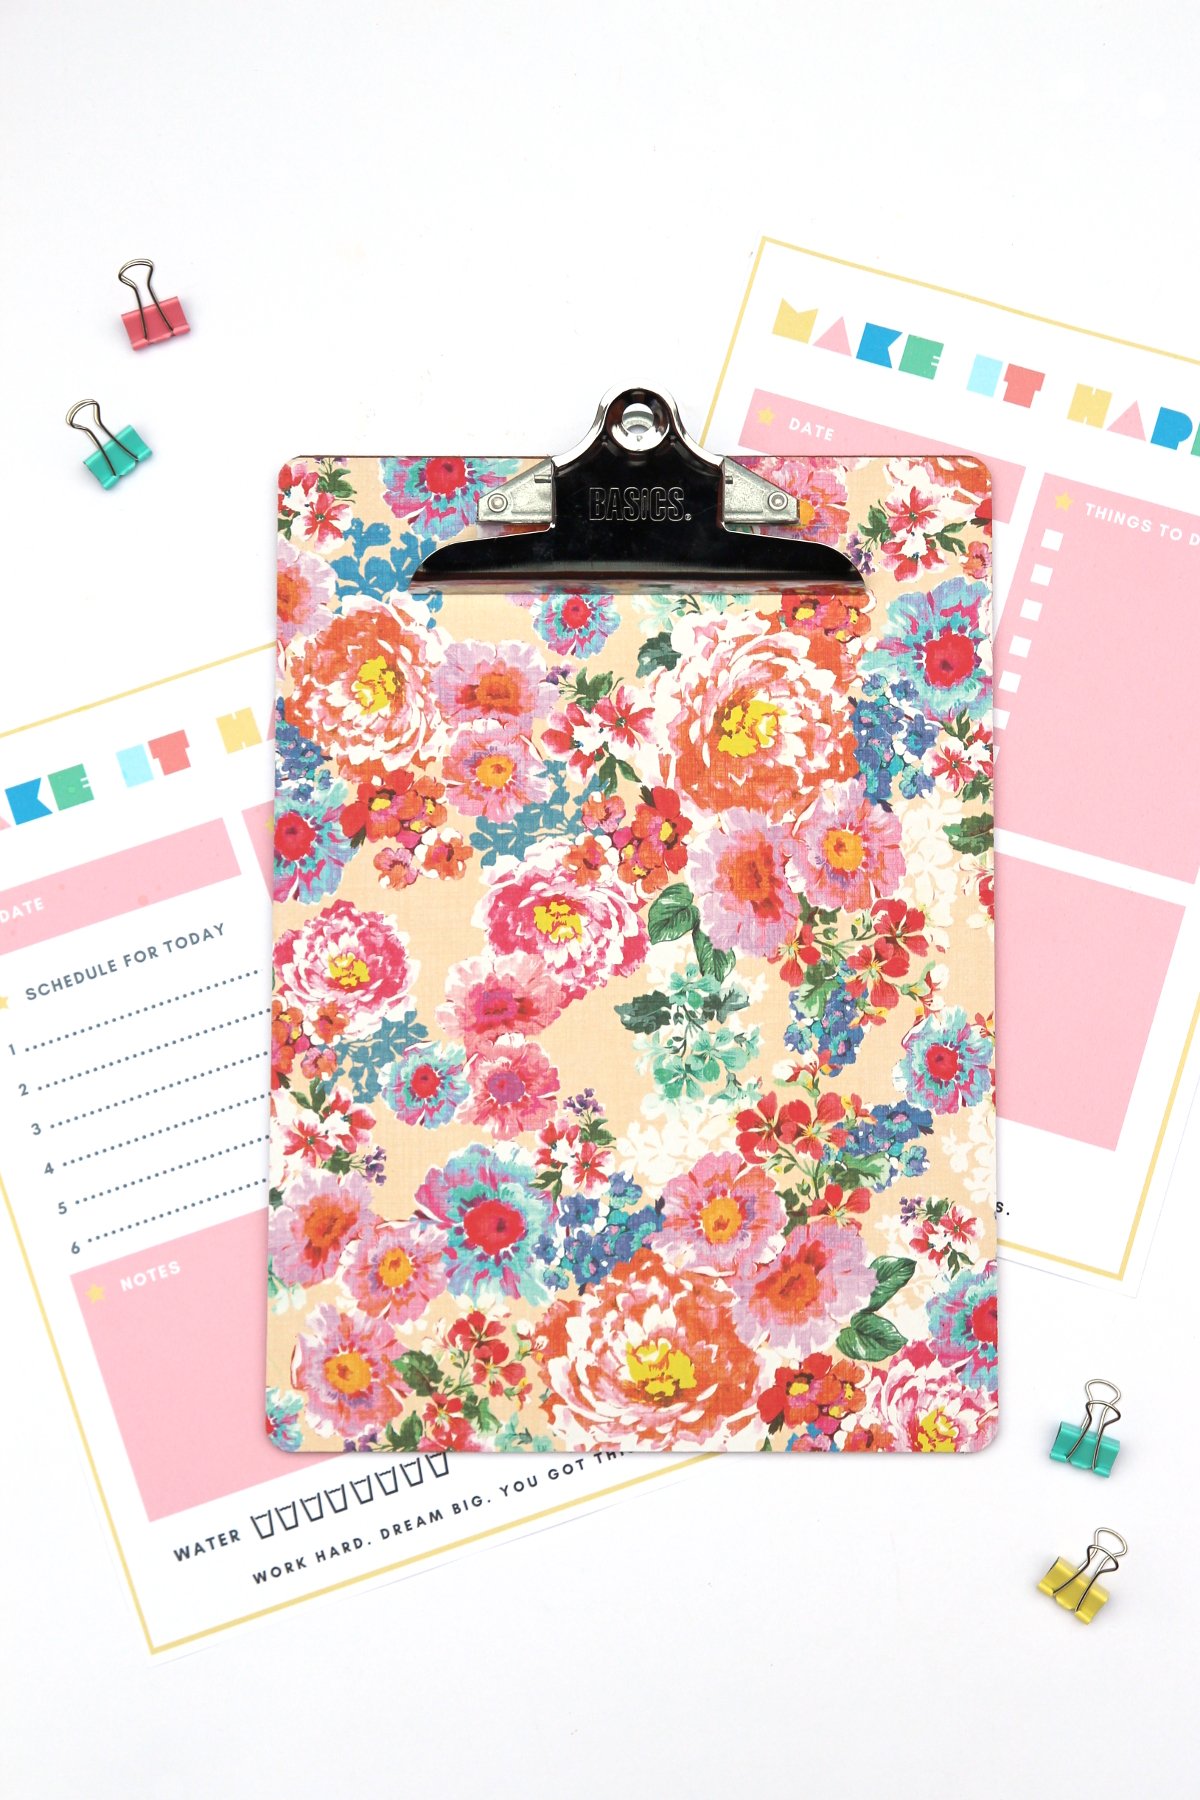
Use it to hold important notes, to-do lists, display inspiring quotes or simply add a touch of personality to your workspace.

This page contains affiliate links. This means that if you make a purchase after clicking a link I earn a small commission but it doesn’t cost you a penny extra!
DIY Cute Clipboards.
Clipboards are a great way to keep organised. But as much as I love them I don't always love the way they look.
Today I'm going to show you a fun way to give a stylish makeover to plain clipboards by decorating it with gift wrap paper. You can use them to hold shopping lists, bills, collect inspiration, display artwork or even hold my free motivational printable.
There are a few different methods of covering a clipboard but this is the one I've found to be the easiest. If you're not lucky enough to have a clipboard with removable hardware this is a great solution.

DIY Decorative Clipboards.
Clipboards are so versatile. They can be used in various practical and creative ways beyond just holding papers. Here are a few of my favourites:
Organisational Command Center: Create an organisational command centre in your home or office by hanging multiple clipboards on a wall. Use each clipboard to store important documents, to-do lists, family schedules, and even inspirational quotes or artwork.
Art Display: Turn a clipboard into a mini art gallery by clipping artwork, photos, or prints onto it. You can easily switch out the displays whenever you feel like a change for a cute home decor piece.
Recipe Holder: When cooking or baking in the kitchen, use a clipboard to hold up your recipe cards or printed recipes. This way, you can keep the recipe at eye level and protect it from spills or stains.
Menu Board: In a cafe, restaurant or at a party, use a clipboard to display the day's menu or a list of available dishes. It's an inexpensive way to add some rustic charm.
Creative Vision Board: Use a clipboard as a base for your vision board. Pin or clip images, quotes, and goals that inspire you, whether it's for personal growth, travel dreams, or professional goals.
Clipboard Calendar: Designate a clipboard to serve as a monthly or weekly calendar. Attach a printed calendar or planner to it, and use it to jot down appointments, events, and reminders with ease.
Personalised Gift: Decorate a clipboard with scrapbook paper, washi tape or paint. Fill it with thoughtful notes or letters to make it a heartwarming gift. They also make a great gift for teachers.
Supplies:
A clipboard - You can find these at any office supply store or upcycle an old one you have lying around.
Some gift wrap or other decorative paper - you can use scrapbook paper but you'll need 2 pieces to cover a standard-size clipboard using this method.
A craft knife,
A pair of scissors
A Glue Stick / Mod Podge or any other decoupage glue - This will help adhere the paper to the clipboard and give it a nice finish.
Foam brush - Perfect for spreading the glue evenly.

How to Cover A Clipboard.
1. Measure your clipboard and cut your paper to size.
You need to make sure your paper is about an inch larger than your clipboard.
If you're worried about your clipboard holding up to daily wear and tear you could cover your paper in clear sticky back plastic first.
2. Tuck your paper under the clip at the top of the clipboard.
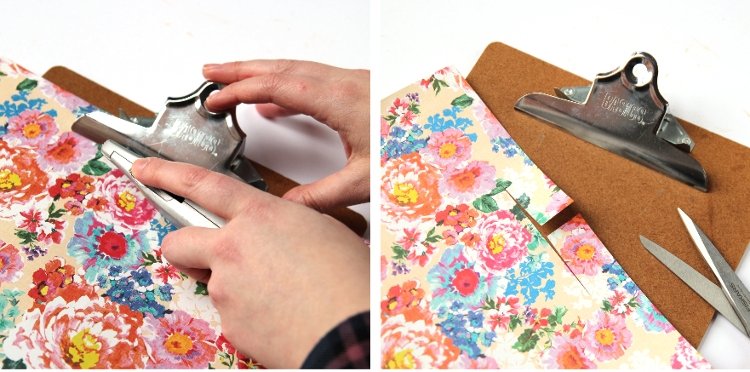
3. Using the clip as a guide cut a straight line. You want it to be slightly longer than the back (the smaller) section of the clip.
4. Remove the paper and cut it down from the top to form an upside-down 'T' shape.

5. Apply a thin layer of glue to your clipboard and slide the paper back under the clip.
This might take a little manoeuvring because of the glue so take your time.
You should be left with 2 flaps, one on each side of the clip.
6. Press around the edge of the clip using your fingernail or an embossing tool to leave a scored outline. This will help make the next step easier.

7. Use a craft knife to cut around the outline of the metal clip. Remove the excess paper to reveal a neat edge around the clip.
8. Flip the clipboard over and using either a pair of scissors or a craft knife trim away any excess paper.

9. Voila! You've just transformed a plain clipboard into a personalised work of art!
You can use your DIY Clipboard to hold important papers, display photos, or simply add a touch of pizzazz to your workspace.
Don't be afraid to experiment with different paper patterns and colours, or add some extra flair with washi tape, stickers, gold leafing, or even a coat of glitter!