DIY Clay Ornaments
/Make your own Air Dry Clay Christmas Ornaments with this step-by-step guide! These homemade air dry clay decorations are budget-friendly, easy to customise, and a great way to create meaningful Christmas gifts. Perfect for beginners, kids, and anyone who loves simple holiday DIYs.
This page contains affiliate links. This means that if you make a purchase after clicking a link I earn a small commission but it doesn’t cost you a penny extra!
DIY Clay Christmas Ornaments.
If you’re looking for a great way to kick off the holiday season, making your own air dry clay Christmas ornaments is the perfect way to spend an afternoon.
This Christmas craft is simple, inexpensive, and a fun way to create beautiful decorations for your tree, gifts, or festive garlands around your home. Even little fingers can help, making this one of those great projects the whole family will enjoy!

DIY Clay Ornaments.
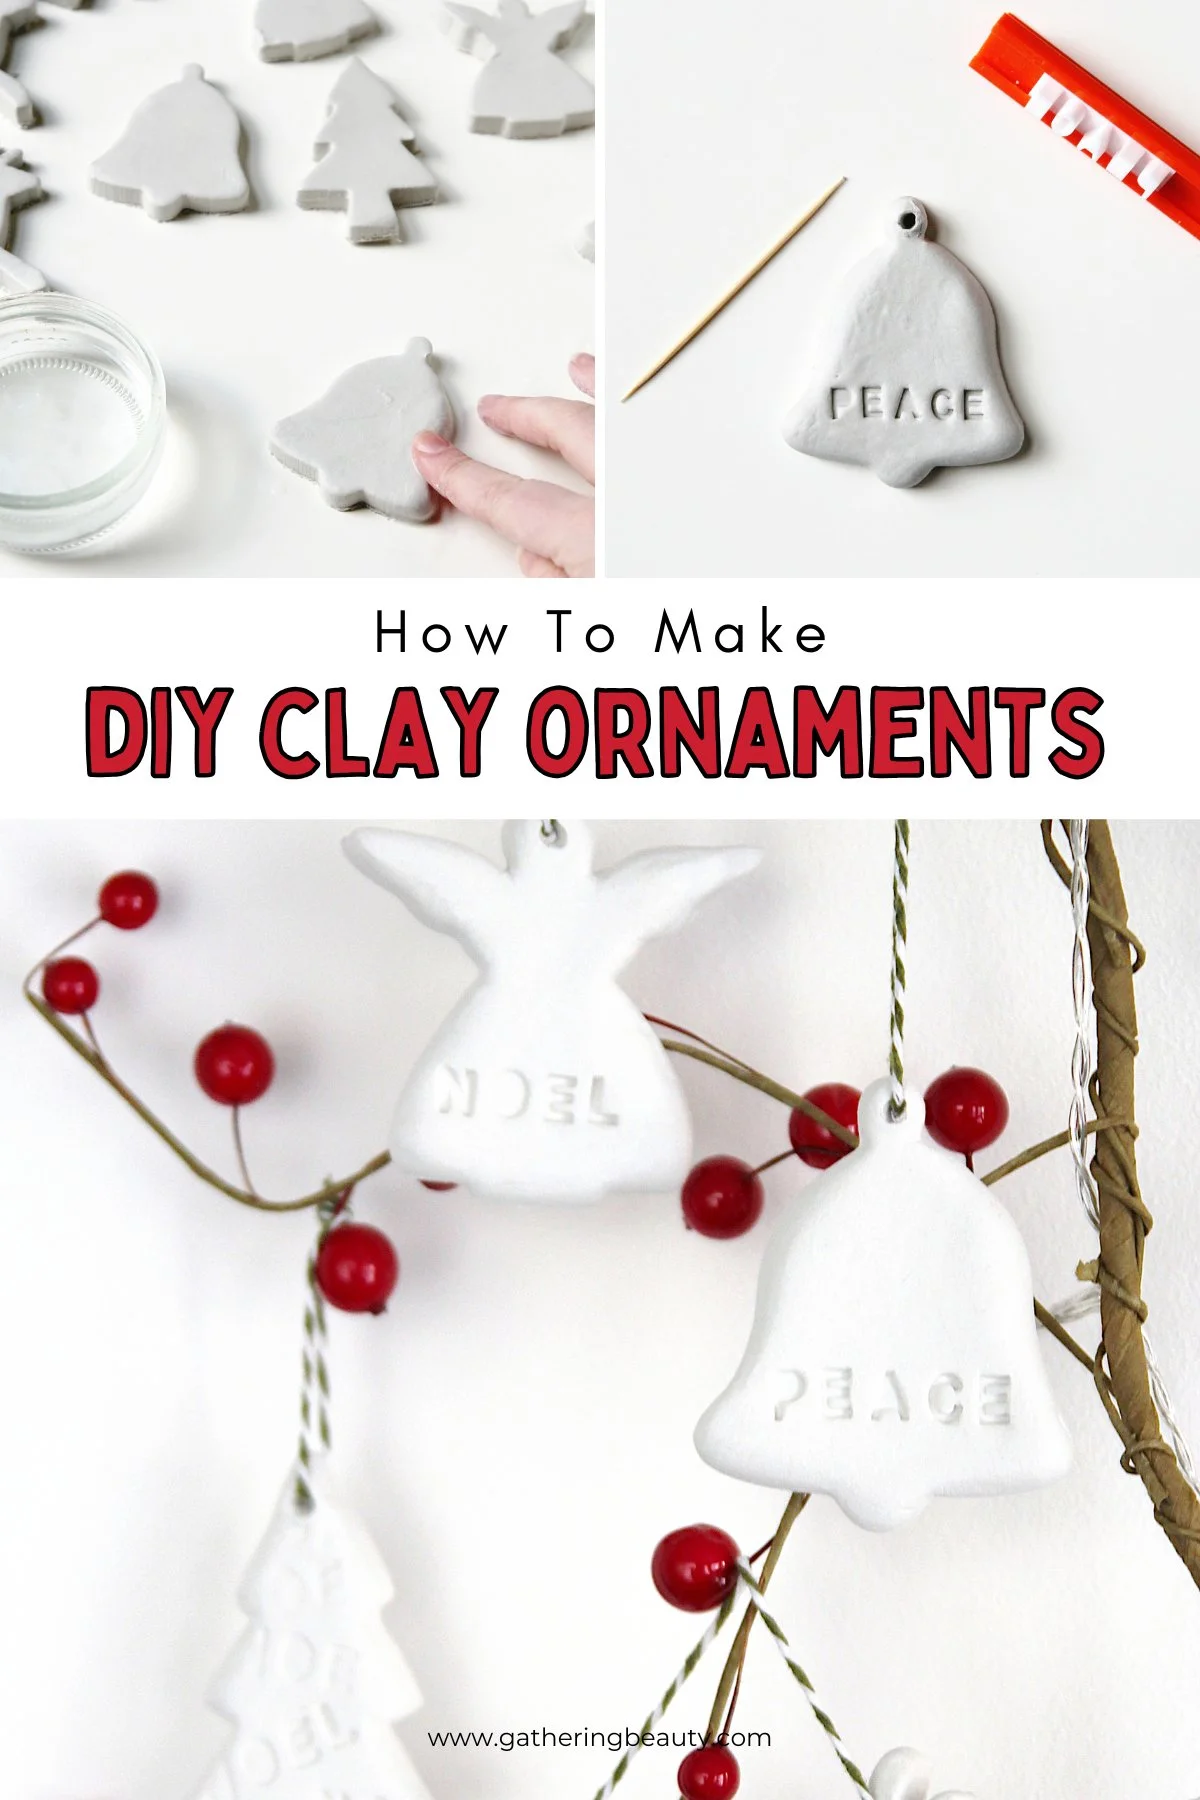
I'm a big fan of air dry clay. I love making things with it. There's no baking or kiln needed, all you need to do is roll, cut and stamp and leave to dry.
When I've used this clay in the past, I normally roll it quite thin (you can find my other clay crafts here) but this time I left it nice and thick to make a chunkier, almost 3D decoration.
In this step-by-step tutorial, I’ll show you the best way to create handmade clay ornaments using air-dry clay and a few basic tools. Whether you make them as gift tags, Christmas presents, or new ornaments for your own tree.

Supplies:
Cocktail Sticks or a Straw

1. Knead the air dry clay until it is soft and pliable.
Don't worry about the clay looking grey when you get it out of the packet, it turns a lovely matt white as it dries.
2. Roll out the clay. To make chunky decorations, you need to roll the clay out to about 1/2 inch thick.
If you have any problems with the clay sticking to your work surface, you can roll it out onto wax or parchment paper.
Remember, the thicker the clay, the longer it will take to dry.
3. Use a cookie cutter and cut out your shapes.
4. Smooth out any rough edges with your fingertips and a little water.

5. Stamp your message into the clay.
6. Use a cocktail stick or a small straw to make a hole in the top of your decoration.

7. Leave to dry for 48-72 hours.
I've found the air dry clay can take several days to dry when it's thick, so make sure to allow for plenty of drying time.
You can get more information here in my How Long Does Air Dry Clay Take To Dry? post.
8. When dry, sand away any rough edges with some fine sandpaper.
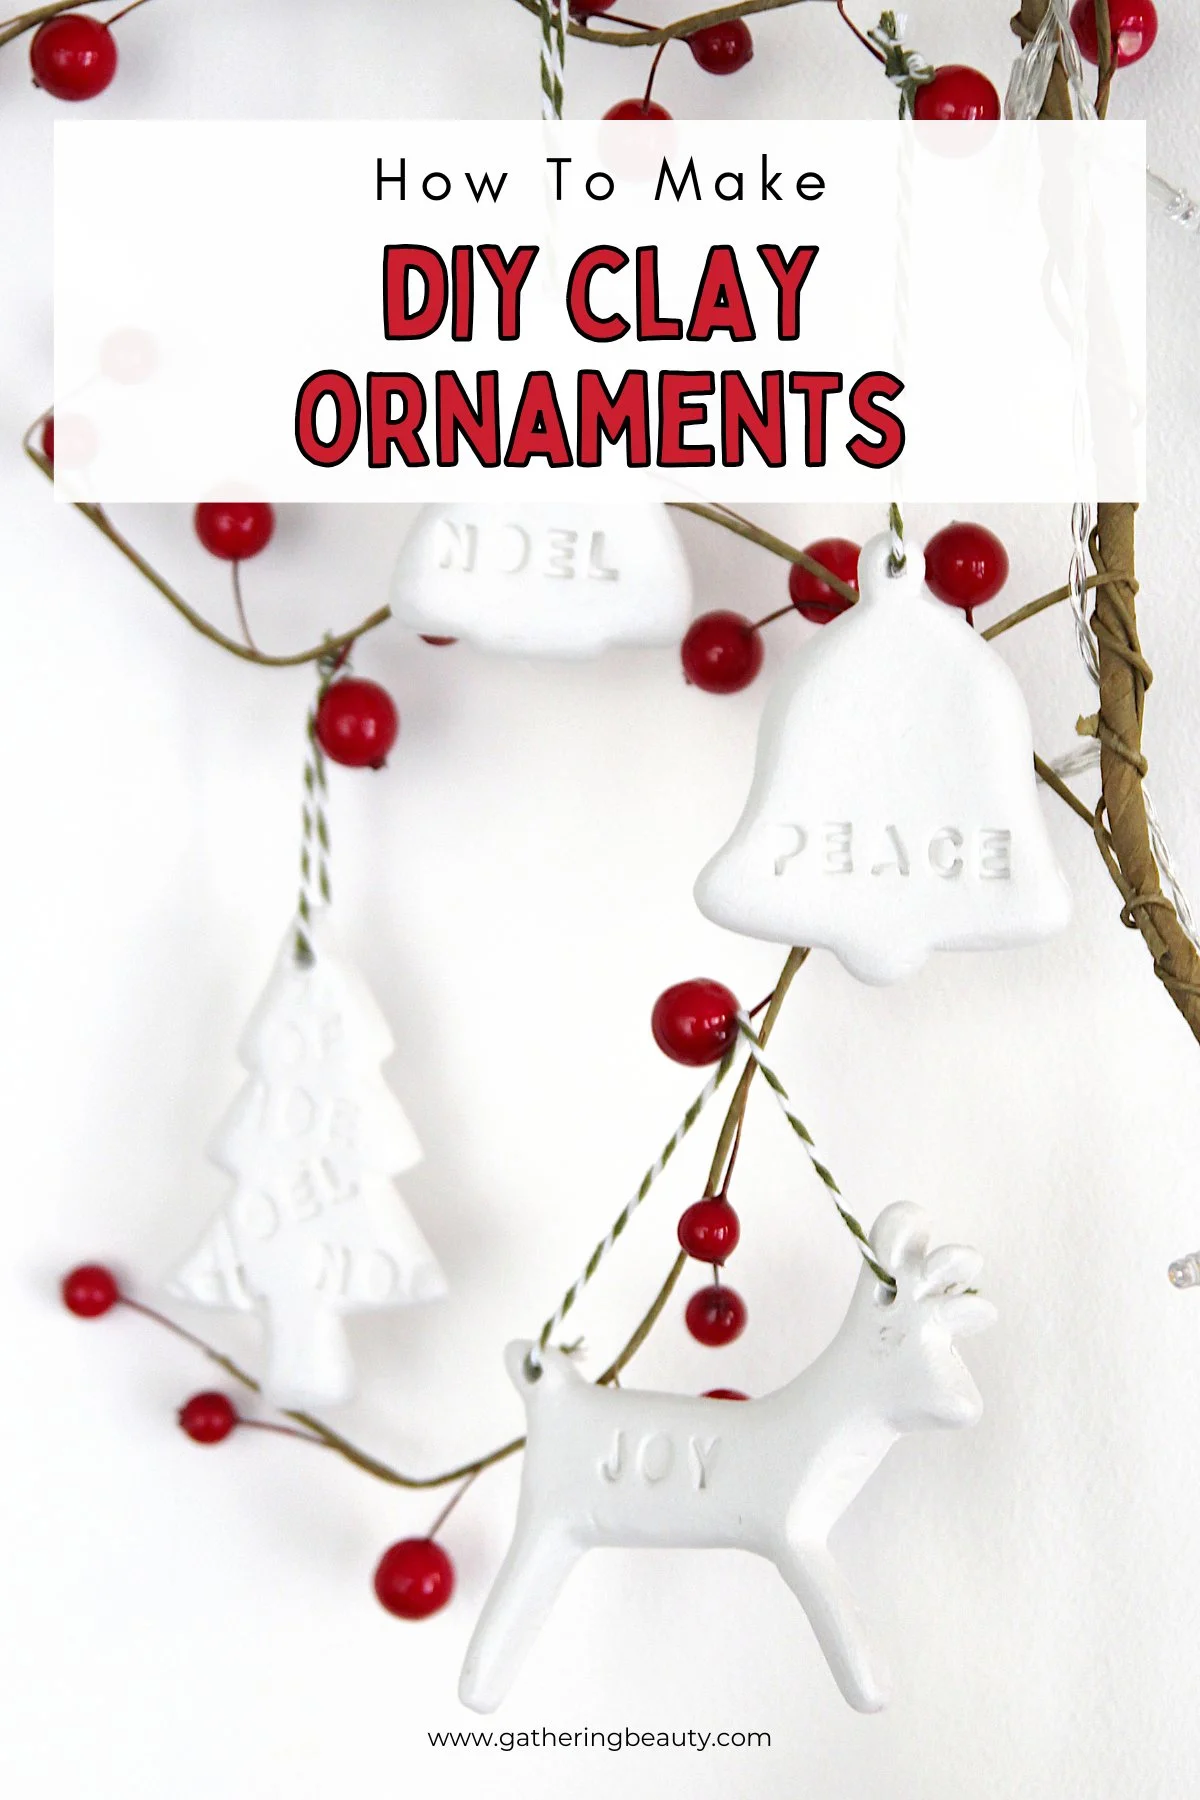
9. Thread on some baker’s twine and hang.

I really like the matte white finish you get with this clay, so I decided to leave mine as they were but you could paint them or varnish them any way you like.
For more tips and tricks on varnishing air dry clay, read this post: How To Glaze Air Dry Clay.