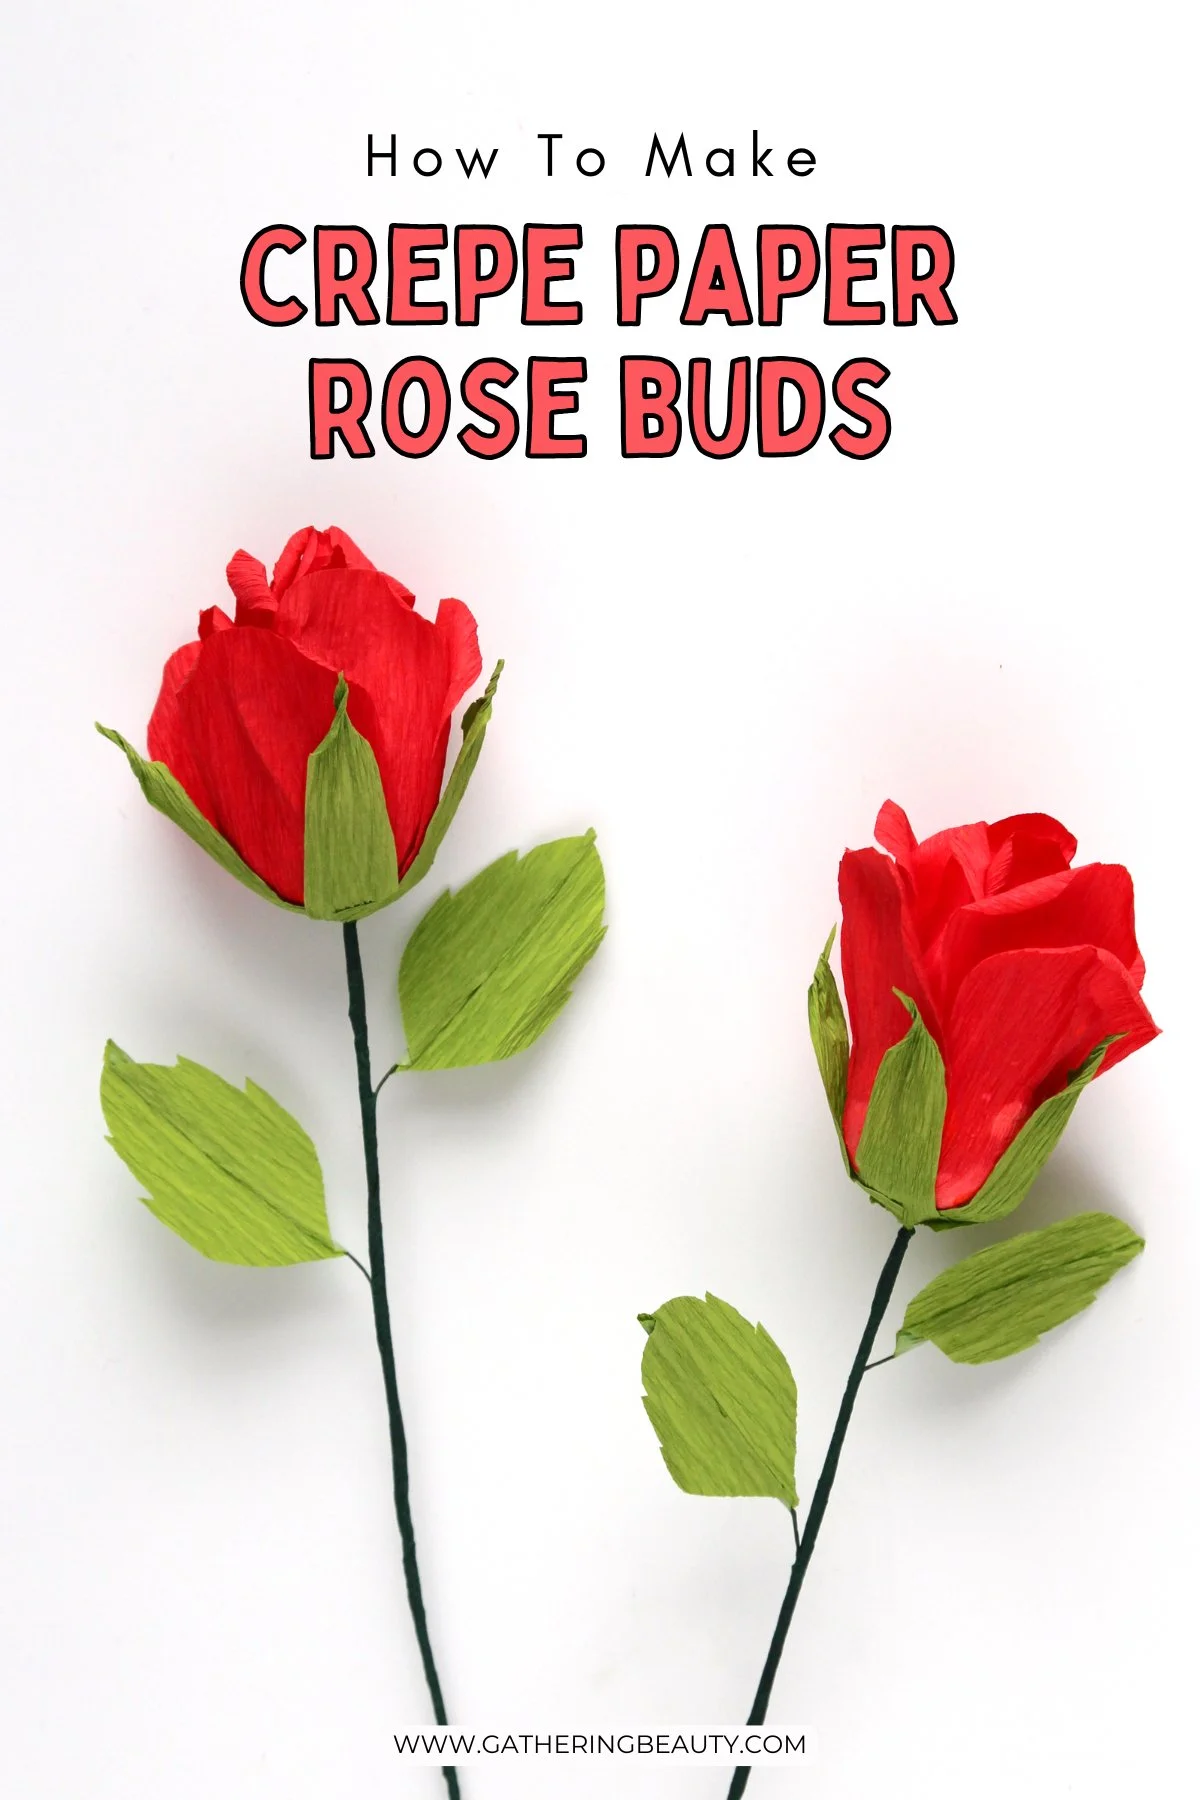
DIY Crepe Paper Rose Buds
/Learn how to make gorgeous Crepe Paper Roses that look almost real! These DIY paper flowers are perfect for weddings, Valentine’s Day, home décor, and handmade gifts. A beautiful beginner-to-intermediate paper flower craft tutorial you’ll want to make again and again.
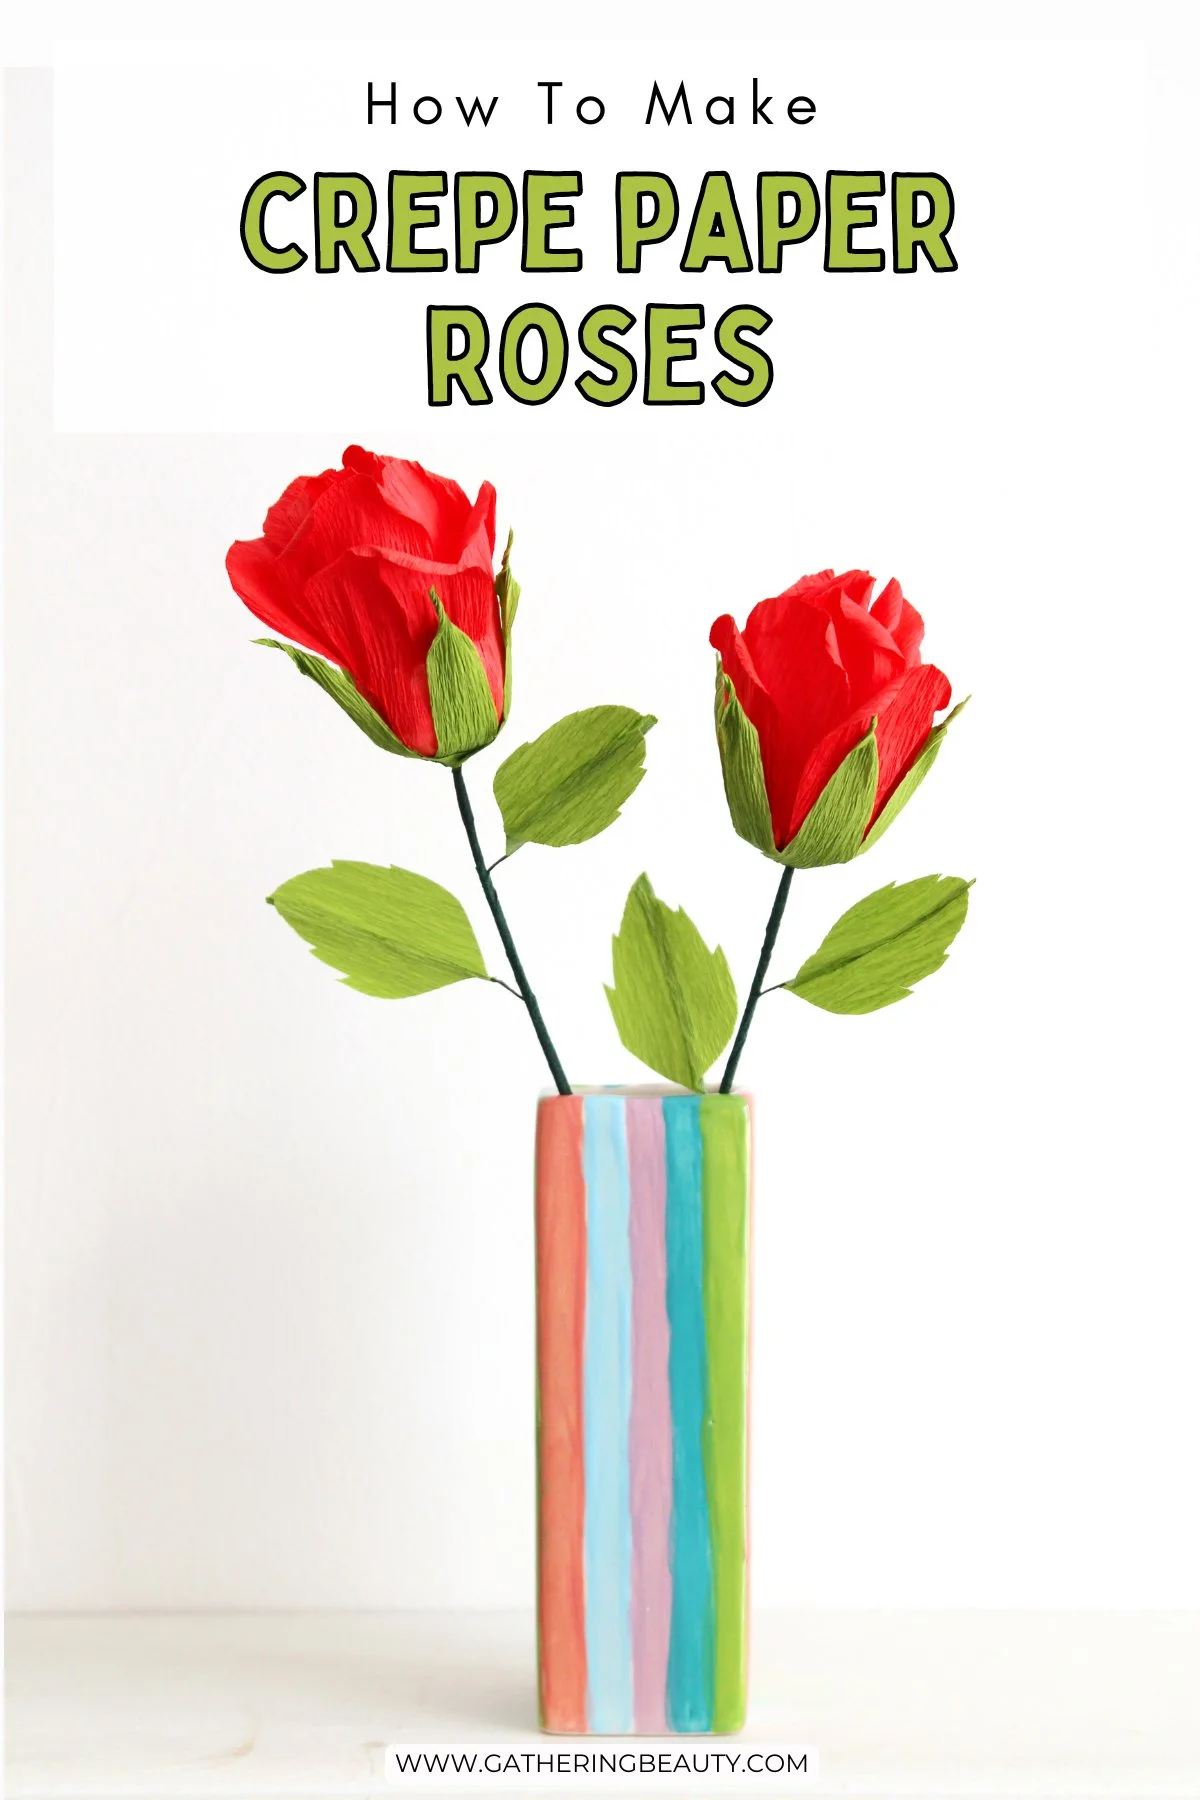
Beautiful Crepe Paper Roses.
Fresh roses are undeniably beautiful, but sadly, they only last for a short time before they begin to wilt. That’s one of the reasons I love making crepe paper flowers instead.
Rather than buying a bouquet of roses that will fade within a week or two, you can craft a gorgeous, handmade bouquet that lasts for years to come.

These paper rose buds are a wonderful beginner-to-intermediate level craft project. At first glance, the intricate petals and layered design may seem intimidating, but once you begin shaping the flower step by step, the process is surprisingly simple.
One of my favourite things about working with crepe paper is how realistic it looks once shaped. The paper stretches beautifully to form curved petals, soft folds, and naturally ruffled edges.
After assembling the petals, I curled the edges to make the soft curl you see on fresh roses.

Supplies:
Rose Petal Template - Sign up using your email below
Cardstock
Pencil
Scissors

How To Make Crepe Paper Roses.
1. Print and cut out the template and trace around it to make 3 each of the petals, 5 of the long rectangle sepal pieces and 2 of the leaves.
Make sure the grain of the crepe paper is running vertically as this will help when it comes to shaping the petals.
2. Cut out all your petal pieces.
3. Take your petals and, using your thumbs, push away from the centre to shape each one into a cup shape.
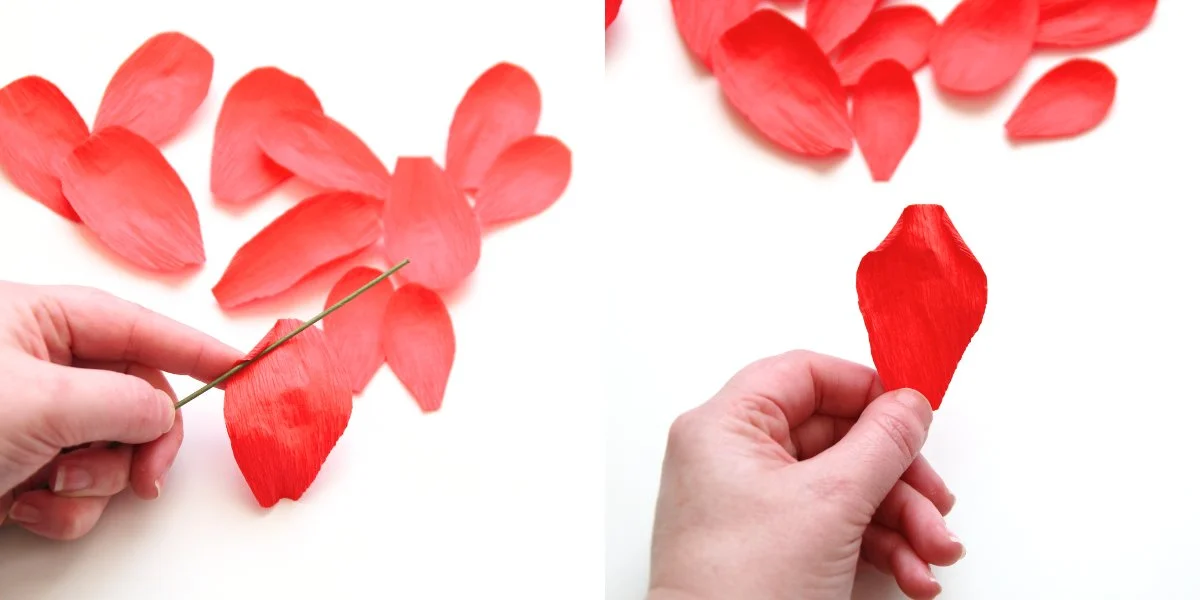
4. Flip the petals over and, using one of the floral wires, curl both top corners of the petals into the centre.

5. Add some glue to the end of the 18-gauge (thicker) floral wire and insert it into the bottom of the foam egg.
6. Take the 3 smallest petals and start by glueing one about halfway up the foam egg.

7. Glue on the other 2 petals to make a triangle shape and the centre of the rose.

8. Take the next 3 smallest petals and glue them onto the foam egg making sure to overlap with the previous petals.

9. Keep adding the petals in size order so the largest are on the outside.
10. When dry you may find some of the petals stick out at funny angles. If this happens use a bit more glue or double-sided tape at the base of each petal to give it a nice ‘bud’ shape.

11. Apply a thin line of glue to the centre of each crepe paper leaf. Take 2 pieces of the 18-gauge (thinner) floral wire and lay them on top of the glue.
12. Press your leaf in half with the floral wire on the inside and leave to dry.

13. When dry open out the leaves and flatten.

14. Take your 5 green sepal pieces and twist the ends to shape.
15. Glue each piece to the base of your rose.
I used double-sided tape for this part as the glue can bleed through the crepe paper and look messy.

16. Keep adding the sepals, making sure to overlap them as you go.
17. Take your floral tape and start by wrapping it around the wire stem from the base of the rose.
Floral tape does not have an adhesive surface, but when you stretch it the wax-coated paper tape becomes slightly sticky and forms a tight seal around the stem.

18. Add one of the crepe paper leaf stems and keep wrapping the floral tape to secure it against the stem.
19. Add the second leaf and keep wrapping the tape until you reach the end of the stem.
20. Display your crepe paper roses in a vase or use them as eye-catching gift toppers.