6 FAVOURITE HALLOWEEN DIY PUMPKINS.

6 Favourite Halloween Diy Pumpkins

There are so many fantastically creative pumpkin diy's out there that it's hard to pick a favourite so I chose 6 instead.

Here are 6 of my favourite Halloween diy pumpkins.

DIY Pun-Kins

The fact that the word pumpkin has a practically BUILT IN pun in it occurred to me this year and we just HAD to make some DIY pun-kins. PUNKINS! Oh man, it’s like all my dreams came true.

Sequin Polka Dot Halloween Pumpkin

DIY Pumpkin Decoration — These super simple DIY sequin polka dot pumpkins are one of our most popular Halloween decorations of all time and for good reason!

DIY Marbled Pumpkins

What do you do when you can’t stop marbling? I feel like we’re close enough to tell you that I have an addiction. Like I said before, I’m ready to usher in the fall decor, but in a pastel fashion. And these marbled pumpkins are just the ticket, I tell you!

DIY Gold Confetti Pumpkins

I generally don’t prefer craft pumpkins over real pumpkins unless they’re white, because I’ve found it pretty hard to find bigger white pumpkins that aren’t awful.  So for how much I love the way white looks with gold, bring on the craft pumpkins.

DIY Funny Pumpkin Messages

These tiny, funny pumpkin messages are a cute take on fall pumpkin decorations! Follow our easy and quick tutorial to make this adorable autumn decor.

What are your favourites?

Make sure to check my other halloween crafts and recipes for more spooktacular diys.

Comment

Emma

Hi, I'm Emma.

I'm a crafter, blogger and paper enthusiast living in the North West of England.

Gathering Beauty is the place where I share craft tutorials and diy inspiration. I started this blog back in 2013 as a way of sharing all the things I love and make. I share paper crafts, clay crafts, origami, printables and desktop wallpapers as well as the odd crochet and weaving project. I hope you find something here that inspires you.

HALLOWEEN PLAYLIST.

Halloween Playlist

Planning a Halloween party? Put a spell on your guests with this spooky soundtrack.

Make sure to check my other halloween crafts and recipes for more spooktacular diys.

Comment

Emma

Hi, I'm Emma.

I'm a crafter, blogger and paper enthusiast living in the North West of England.

Gathering Beauty is the place where I share craft tutorials and diy inspiration. I started this blog back in 2013 as a way of sharing all the things I love and make. I share paper crafts, clay crafts, origami, printables and desktop wallpapers as well as the odd crochet and weaving project. I hope you find something here that inspires you.

THESE ARE A FEW OF MY FAVOURITE THINGS.

These Are A Few Of My Favourite Things

Maggie Holmes and Amy Tangerine Scrapbook Paper.

I love the craft/book section in TK Maxx. They always have notebooks and stationary you can't get anywhere else. I picked up a couple of 12x12 scrapbook paper pads and I'm already dreaming up things I can make with them.

Steal Like An Artist, Austin Kleon.

10 things nobody told you about being creative. This one was a present and something I've wanted to read for a while so I'm excited to start it. The chapters that stand out at a glance: Don't Wait Until You Know Who You Are to Get Started. Side Projects and Hobbies Are Important. The Secret: Do Good Work and Share It With People. And Be Nice (the world is a small town).

Washi Tape.

You can never have too much or at least I can't anyway. This washi tape was another present. It's from Tiger. We don't have a Tiger store anywhere near us but I did get to visit one when we were in Brighton earlier in the year and loved it. They've got so much good stuff and it's all really cheap. You can get a Diy Stamp Kit including 3 ink pads as well as 2 blocks of rubber and a carving tool for £5. £5 people! It's well worth a trip if you have one nearby.

Paperchase Christmas Cards.

Every year Paperchase do a bumper pack of 40 Christmas cards for £6. I love that you get a random mix of cards in each box. I spent longer than I probably care to admit picking a box. I know it's only October but it's not too early to be thinking about Christmas is it? There's only 10 weeks to go after all.

Derwent Watercolour Pencils.

I was given these double-ended watercolour pencils as a present and have been experimenting with them over the weekend and I love them. They seem to have mixed reviews on Amazon but I haven't had any problems with the lead cracking on mine so far and I love the bright colours.

Secret Garden Colouring Book, Johanna Basford.

These colouring books for adults have been popping up everywhere. I bought this as a birthday present for a friend and I not so secretly want one for myself. Gorgeous.

Amy Tangerine Stitched Scrapbook Paper // Steal Like An Artist // Derwent Watercolour Pencils // Secret Garden Colouring Book.

Some of the above links are affiliate links. This means that if you purchase through them I receive a small commission.

Summary Block
This block has no content yet. Items you add to the page connected to this block will display here.
Comment

Emma

Hi, I'm Emma.

I'm a crafter, blogger and paper enthusiast living in the North West of England.

Gathering Beauty is the place where I share craft tutorials and diy inspiration. I started this blog back in 2013 as a way of sharing all the things I love and make. I share paper crafts, clay crafts, origami, printables and desktop wallpapers as well as the odd crochet and weaving project. I hope you find something here that inspires you.

DIY ENVELOPE LINERS.

Diy Envelope Liners

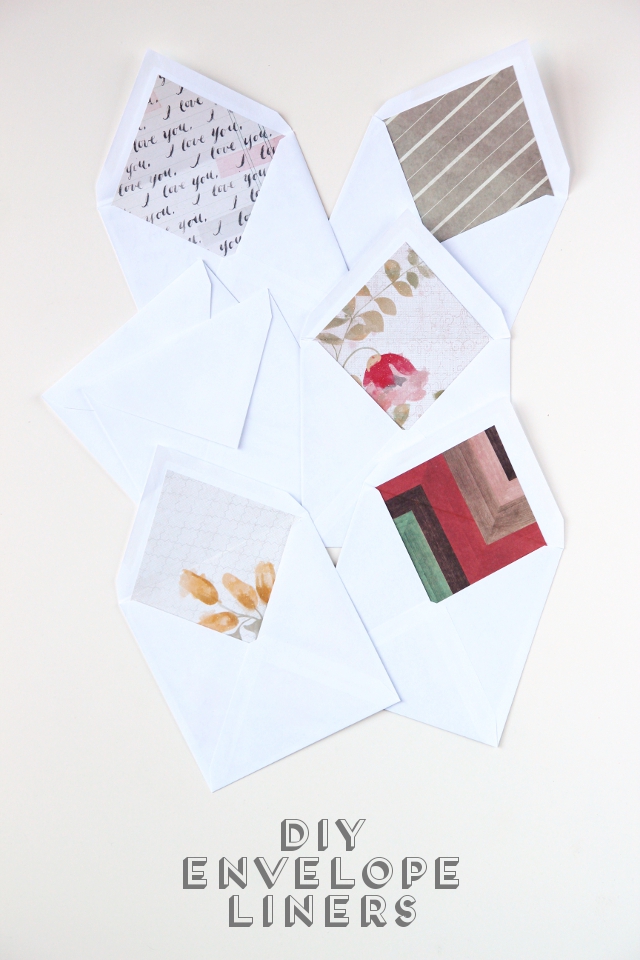
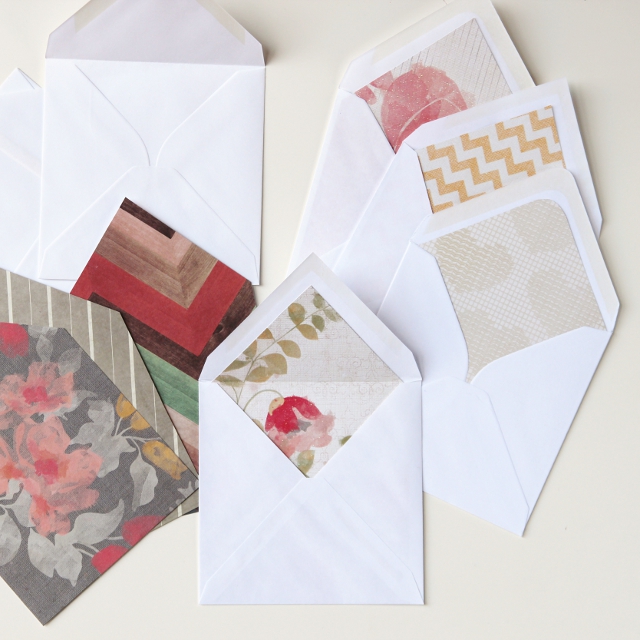
I've been making a lot of things with wool lately like these weavings and these crocheted hats which mean it's been a while since I made and shared a paper project. I made a couple of birthday cards earlier this week and was looking for a way to jazz up the plain envelopes. I decided to make my own diy envelope liners and thought I'd share them here as well.

Here's how I made them.

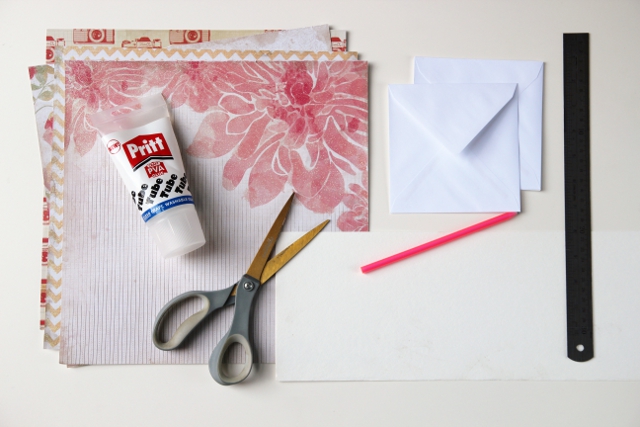
Materials needed to make Diy Envelope Liners

Supplies:

1. Lay your envelope flat and trace around it onto some card.

2. Cut out your envelope shape. Trim 3/4 inch off the bottom and a 1/4 inch off each side, this will ensure it fits easily into your envelope. You don't need to trim anything off the top.

3. Trace around your envelope liner template onto some decorative paper and cut it out. I like to use scrapbook paper but wallpaper would also work well.

4. Slide your liner into your envelope. Make sure to push the liner to the bottom of the envelope so it leaves the envelope glue clear. Fold the top of the envelope down including the liner and crease.

5. Open the envelope and glue the liner flap down using a glue stick or some double sided tape. Don't tape the bottom of the paper as it makes it harder to slide in.

6. To finish fold the envelope flap back down.

I love envelope liners. They're such a simple yet effective way to add personality to your cards or invitations and the best thing about them is they can be easily customised to fit any size envelope. Give it a go and let me know how you get on.

Diy Envelope Liners

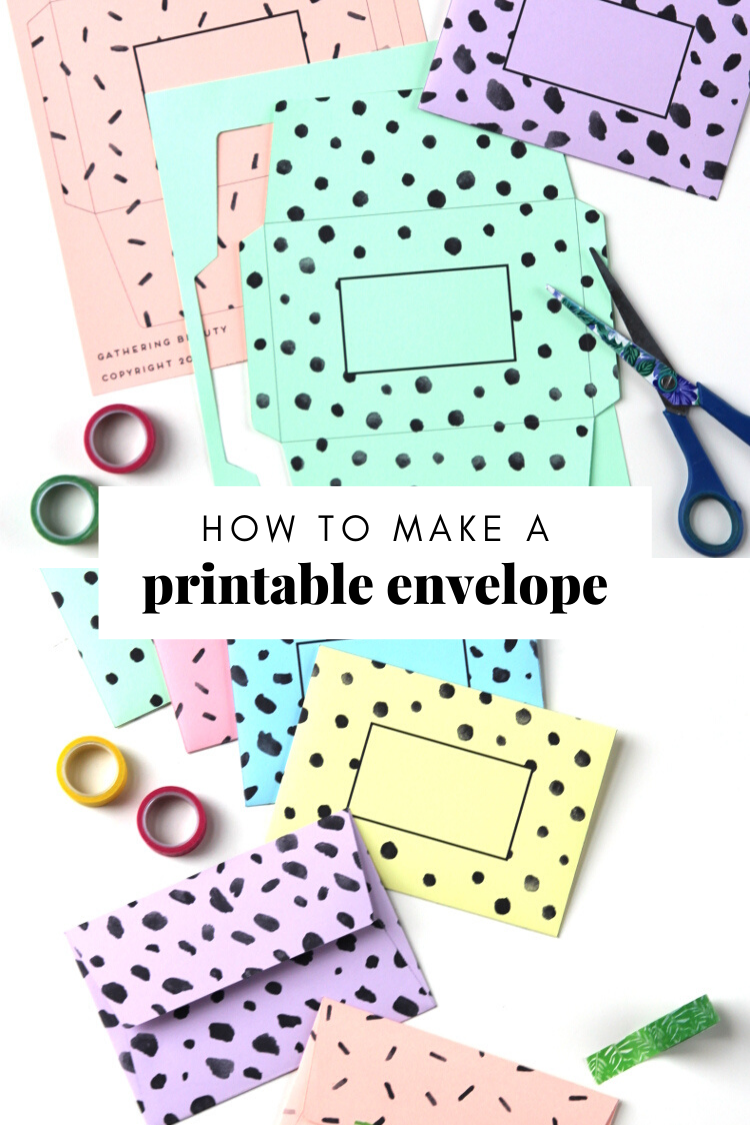
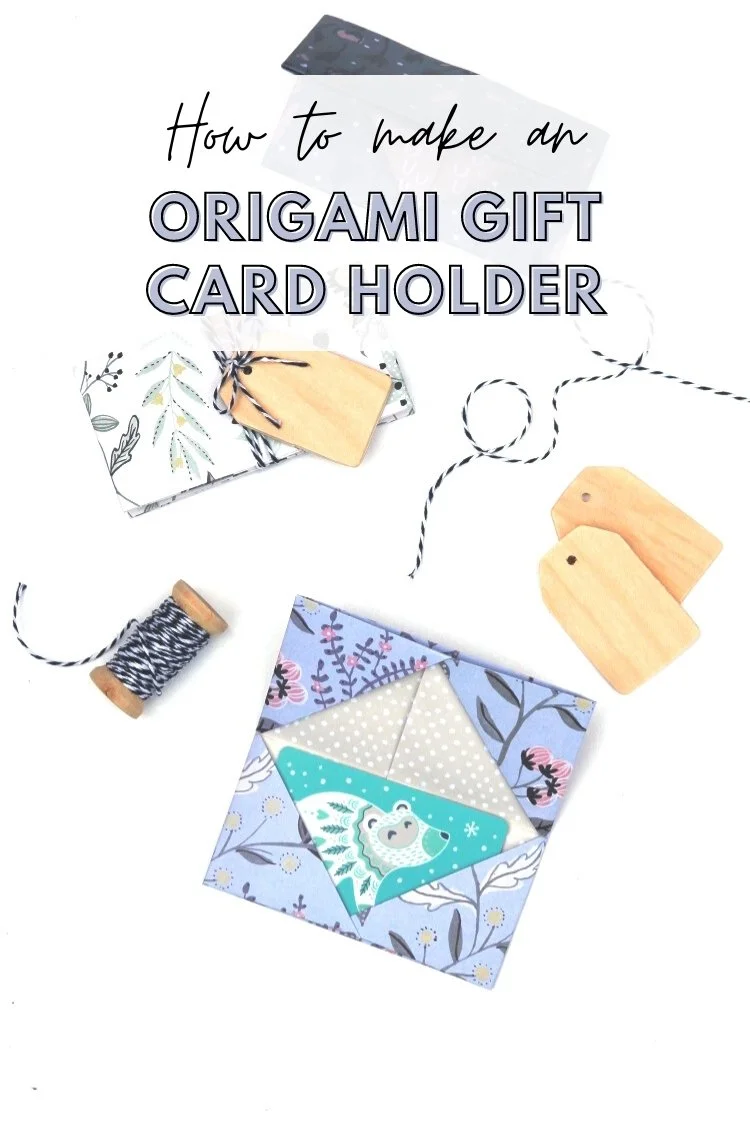
Like this? You might want to check out my other envelope tutorials below.

Comment

Emma

Hi, I'm Emma.

I'm a crafter, blogger and paper enthusiast living in the North West of England.

Gathering Beauty is the place where I share craft tutorials and diy inspiration. I started this blog back in 2013 as a way of sharing all the things I love and make. I share paper crafts, clay crafts, origami, printables and desktop wallpapers as well as the odd crochet and weaving project. I hope you find something here that inspires you.