

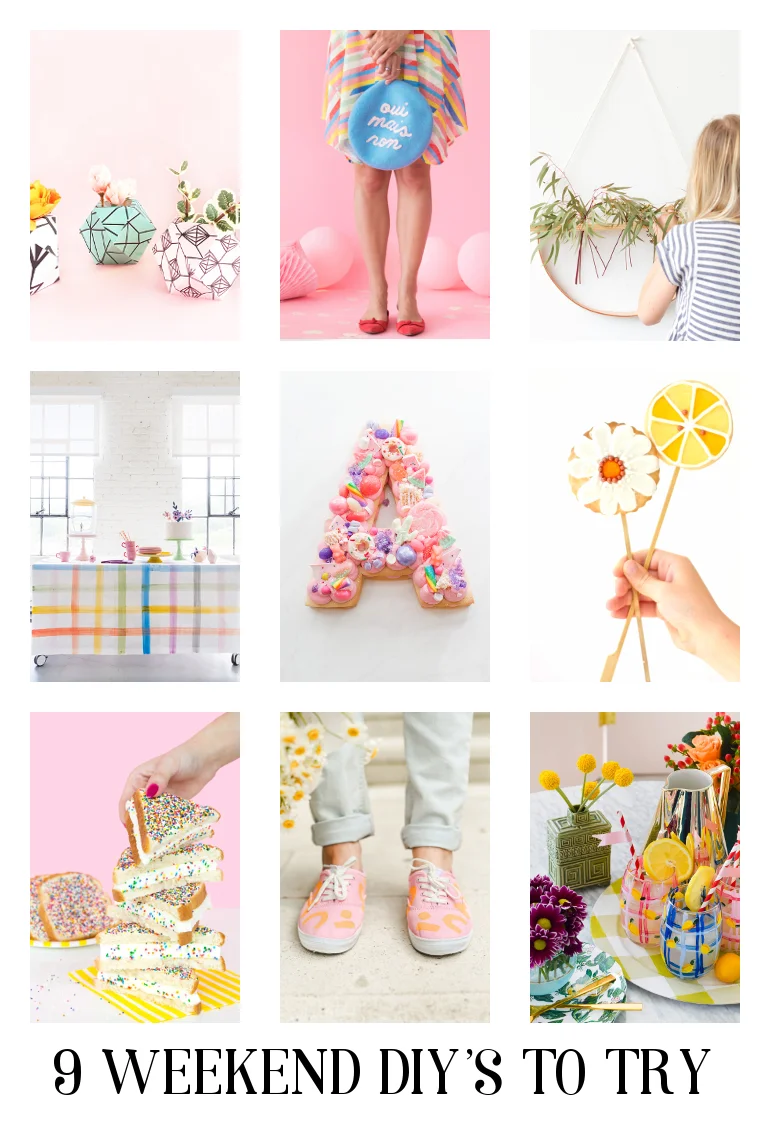
9 WEEKEND DIY'S TO TRY.
/
Get crafty this weekend. with one of these 9 fantastic diy's. Some of my favourites include the pair of gorgeous floral bunny ears and the photo transfer sunflower cushion although they're all so good it's hard to choose. What's your favourite?

Balloon Marquee
Today we have a really fun project to share. It’s a Balloon Marquee! This project would work well for someone’s birthday or wedding decor.

DIY Floral Bunny Ears
I think it would be ridiculously cute to get your bridesmaids or little flower girls wearing these beautiful DIY floral bunny ears!

DIY Inspiration Pegboard
In addition to it housing our inspiration, we decided to put a few words that Studio DIY lives by on there

Free Printable Tear-Off Weekly Planner
If you’re a fan of paper to-do lists too, you’re going to love this free printable weekly planner. It’s perfect for keeping track of your week and is the perfect size for your desk.

DIY Geometric Wall Decor
In the market for some high-impact, low-stress wall decor to make your party pop? Look no further than these geometric wall shapes that add some quick pizzazz to your wall!
5. Printable Lemonade Party Favors - Design Eat Repeat.

Weave Extra Texture with Roving Knots
The weaving craze continues! If you haven’t already joined the ranks of fibre-loving weavers, this project might be the one that gets you there.

DIY Photo Transfer Fabric Flower Pillows
I had to prove that a cynic like me could ring in spring with a photo transfer project that you’ll love. I was able to turn oversized prints into pillows!

How To Make Reusable Grocery Bags
Reusable grocery bags in 10 minutes, that won’t cost you a dime? I’m in! What about you?




DIY EMOJI SPARKLE HEART CAKE.
/
Argh, emojis! So cute, right? Anyone who knows me will tell you my two most used emojis are the winky face closely followed by the sparkle heart. With Valentine's Day less than a week away it seemed only fitting to use my 2nd favourite emoji as inspiration for a heart shaped baked treat.
I actually bought this mini heart shaped baking tin last year but failed to make anything with it. It's only 4 inches wide so perfect for making a small cake to split between two or maybe a single serving for those of us like Joey ;) This cake uses the all in one method so it's super quick to make and because it's small it bakes in no time. You can find the recipes for both the cake and the buttercream icing at the bottom of the post.

To ice the cake you will need an angled spatula and some buttercream icing.
1. Make sure the cake is totally cool before icing. Pop it in the fridge to chill for 10 minutes if you're not sure.
2. Use a serrated bread knife to trim the top to make it perfectly flat.
3. To seal all the crumbs in you need to create a crumb layer. Start at the top and use your angled spatula to create a smooth, thin layer of buttercream. Work around the sides and make sure the cake is covered entirely. Chill for a further 10 minutes.
4. To finish the cake add a second layer of buttercream. Smooth out the buttercream in the same way. Keep going over the icing until you're happy with the finished result. I like to leave a little texture in my buttercream icing but it's a personal preference and up to you how much time you spend smoothing it out.
Top tip: If you're struggling to spread the buttercream icing try adding a little more milk, I recommend a tablespoon at a time, to help create a looser mixture that will flow more easily.

5. To make your sparkle decorations you'll need to first dust your work surface with icing sugar and then roll out some yellow fondant icing.
6. Print out a sparkle heart emoji and use as a template to cut around. If you're feeling brave you could try cutting them out freehand. To finish use a little water on the back of each fondant sparkle to help them stick.

Classic Victoria Sponge (makes a small 4 inch cake).
1 free range egg,
56g/2 oz caster sugar,
56g/2 oz self-raising flour,
56g/2 oz of margarine or room temperature butter plus a little extra to grease the tin
A few drops of red food gel* to colour.
1. Preheat the oven to 180c/350f/Gas 4.
2. Grease the baking tin.
3. Add the eggs, sugar, flour, margarine and red food gel to a bowl.
4. Mix everything together until well combined.
5. Pour the mixture into your greased tin. Use a spatula to smooth the surface of the mixture.
6. Place the on the middle shelf of the oven and bake for 15-20 minutes. The cake will turn a darker red when baked and be springy to the touch.
7. Leave to cool for 10 minutes before running a butter knife around the edge of the tin and turning it out onto a cooling rack. Leave to cool completely before decorating.
*Make sure to use food gel as opposed to food colouring. Food colouring will fade as the cake bakes and in some cases can even make the cake taste bitter.
Buttercream Icing
(makes enough to ice one small cake).
140g/5oz softened butter,
280g/10oz icing sugar,
3-4 tbsp milk,
a few drops of food food gel.
1. Add the butter to a bowl and beat until soft.
2. Add half the icing sugar and beat until smooth.
3. Add the remaining of icing sugar and 1-2 tablespoon of milk and mix until smooth and creamy. Add more milk if necessary to help loosen up the mixture.
4. Stir in the food gel until fully combined.

What's your favourite emoji? I know a lot of people love the poo emoji and these chocolate caramel fudge 'love stinks' poo emojis look strangely delicious even if I'm not sure I could bring myself to eat one. How about you?
Make sure to check out my other valentines crafts and recipes for more love-filled diys.


I'M IN MOLLIE MAKES!
/
Yay! I'm absolutely thrilled to have one of my projects featured in my favourite magazine Mollie Makes. I've bought a few of their special issues in the past and I have to say they never disappoint. This one is no different and not just because I'm in it ;) It's packed full of all kinds of paper crafts, origami, papercutting, scrapbooking and some fantastic party decoration ideas.
My favourite thing about Mollie Makes are always the project kits you can use to create some of the projects for yourself. This one has a pack of free colouring pencils and six beautiful papercutting templates for you to cut out and make. There's two in particular I can't wait to start as well as some gorgeous patterned papers to pull out and use for the origami projects.

You can find me on page 10 of the bumper creativity special issue and if you want to have a go at making my origami project for yourself you can find the full tutorial for my easy origami wall art here.
If you're in the U.K. don't forget to pick up a copy in WHSmith or order online from here to have it delivered worldwide.
Summary Block


Rainbow crafts aren’t just for kids. Check out these bright and colourful DIY’s that are bound to make you smile.