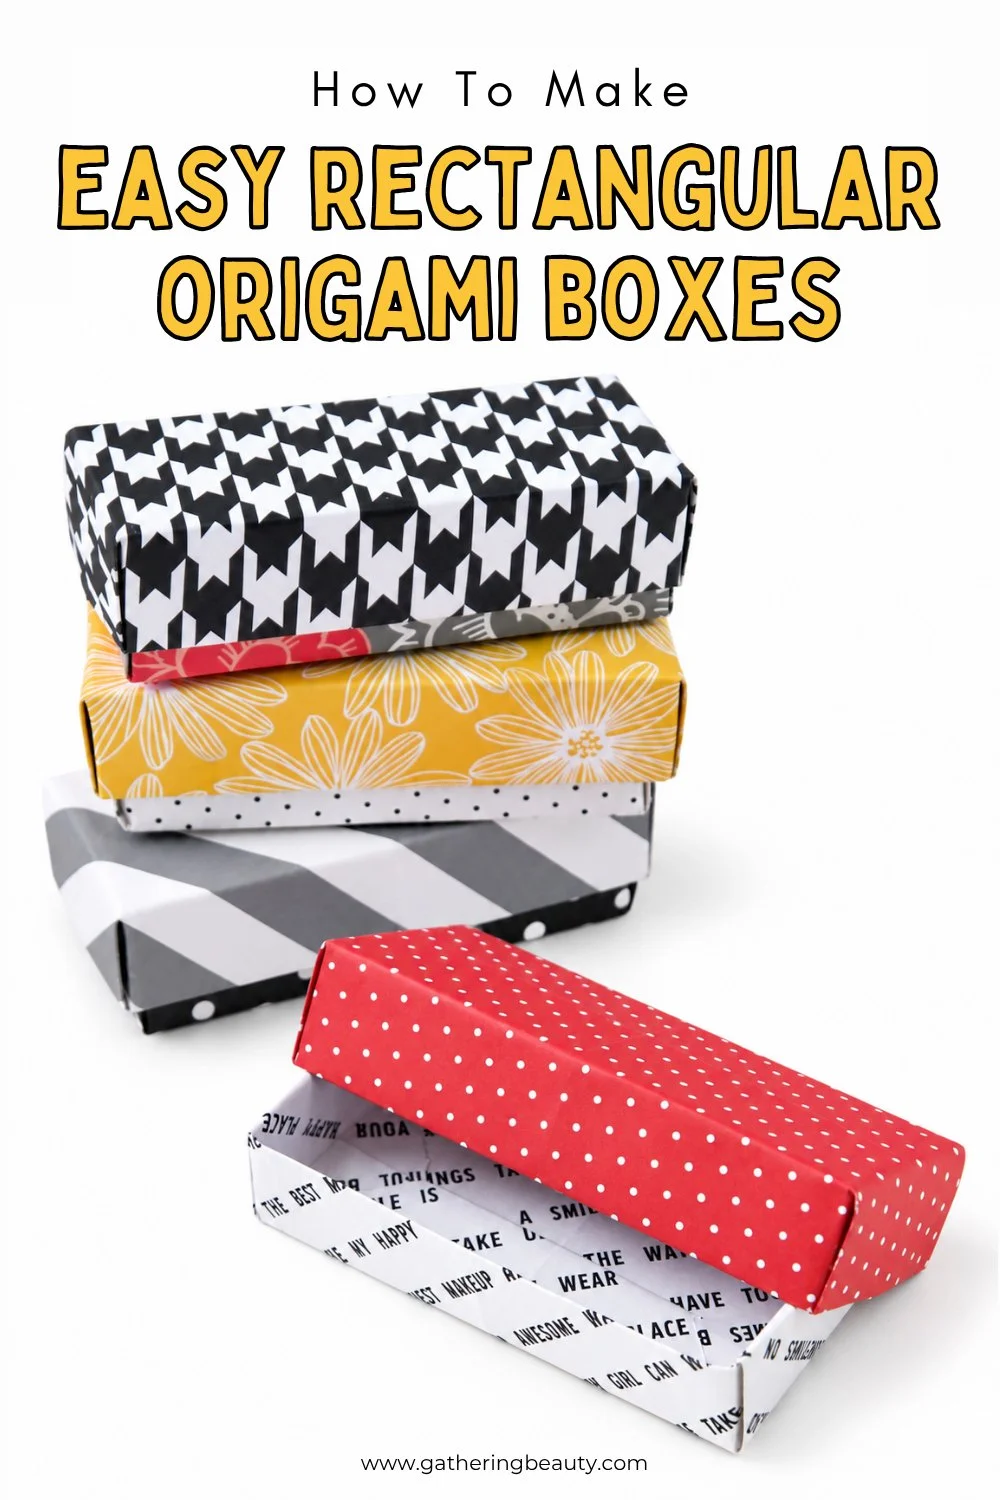
Easy Rectangular Origami Box
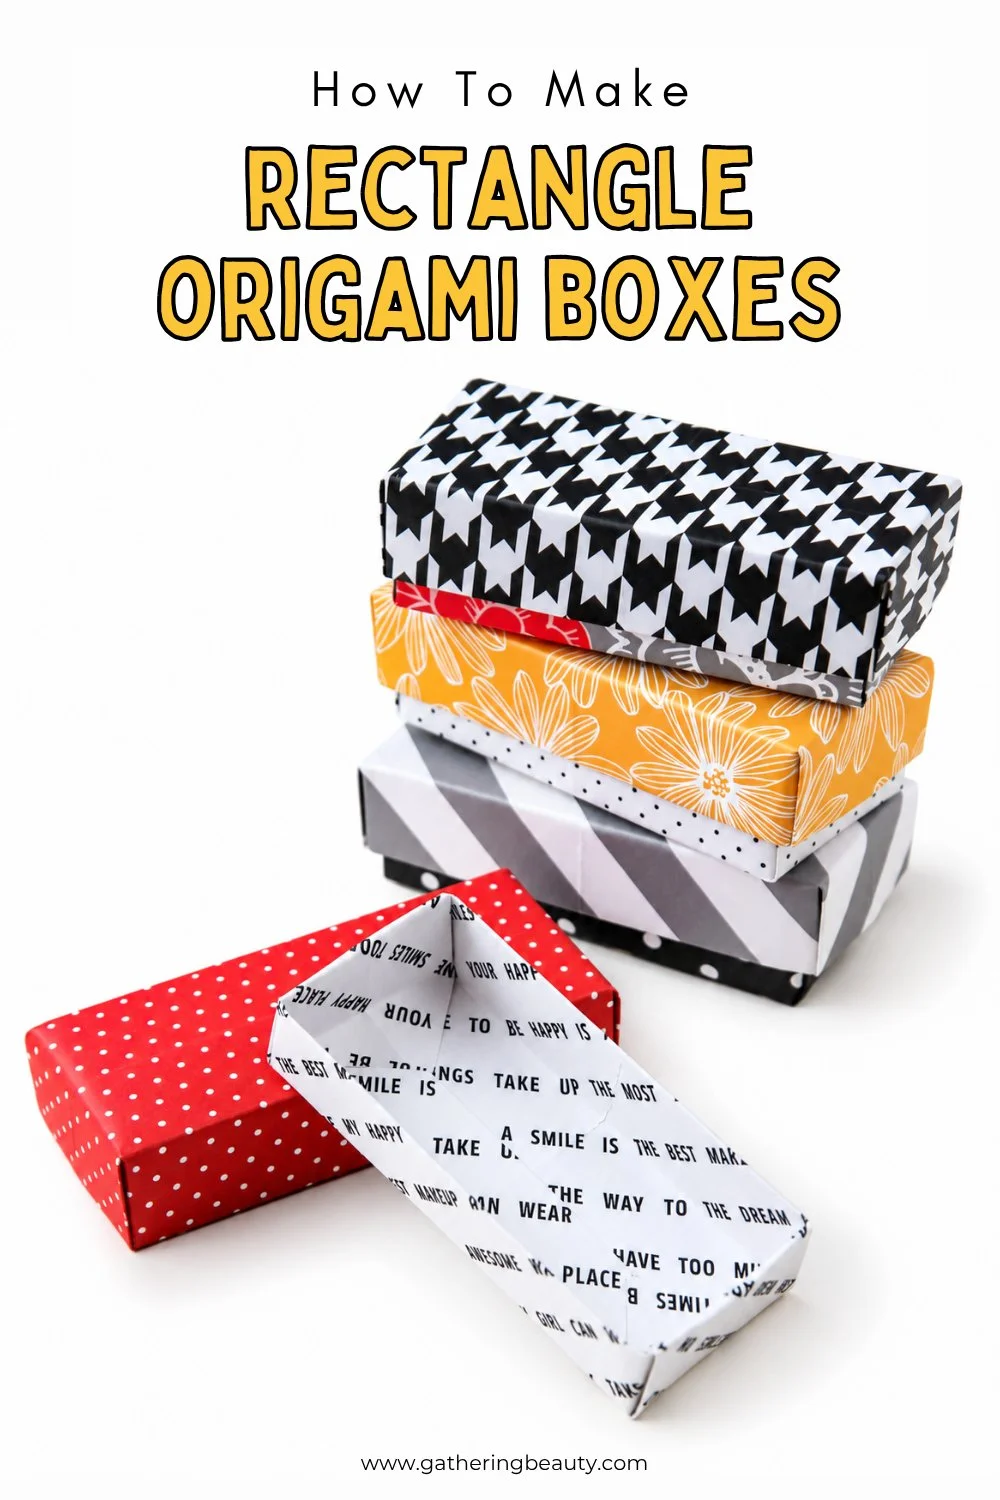
/Looking for an easy way to make a cute gift box without using glue or a complicated template? This Rectangular Origami Gift Box is surprisingly simple to fold and makes a lovely handmade way to package small gifts, treats and little treasures.
This page contains some affiliate links. This means that if you make a purchase after clicking a link I earn a small commission but it doesn’t cost you a penny extra!
Easy Rectangular Origami Box
I love making origami boxes because they're useful as well as pretty. I've made plenty of traditional square origami boxes over the years, but this rectangular version is just as easy to make and gives you a little more room for longer or flatter gifts.
They're perfect for birthdays, Christmas, Valentine's Day or whenever you want to add a handmade touch to a gift. You can use plain paper for a simple look or choose a pretty patterned scrapbook paper to make your boxes extra special.
And the best part? No glue is needed to make the box.

Supplies:
Paper Trimmer or Scissors
You'll need two pieces of square paper:
Lid: 8 x 8 inches
Base: 7.5 x 7.5 inches
The base needs to be slightly smaller so that the two pieces fit neatly together.
An 8 x 8 inch sheet makes a finished box approximately 5 x 2.25 x 1 inches.
For a sturdy box, I recommend using lightweight scrapbook paper rather than thin printer paper. It has enough weight to hold its shape while still being easy to fold.
How to make an Easy Origami Rectangular Box.
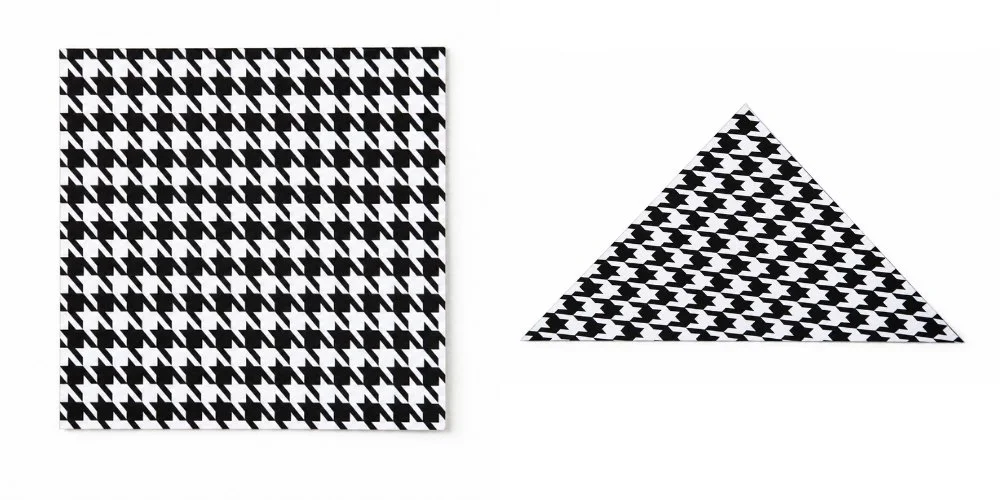
1. Trim your paper to size. For the lid, I used an 8 x 8 inch piece of paper and for the base, a piece measuring 7.5 x 7.5 inches.
2. Fold the paper in half diagonally, crease well and unfold.
3. Fold it diagonally in the opposite direction, crease and unfold again.
You should now have two diagonal creases crossing through the centre of your paper.

4. Bring the top and bottom corners into the centre of the paper.
5. Unfold.
6. Fold the same top and bottom corners in again, this time bringing them to the crease you just made.
7. Unfold.

8. Fold the top and bottom edges towards the centre.
Your paper should now have two diamond-shaped sections, one at each end.

9. Take the corners of each diamond and fold them inwards so that they meet where the previous folds touch.
This will turn the diamond shapes into triangles.
10. Rotate your paper 90 degrees.
11. Fold the bottom edge inwards so it meets the points of the triangle.

12. Repeat and fold the top edge in to meet the point of the triangle.
13. Unfold the previous folds so your paper returns to the shape from Step 8.

14. Now fold both the side edges in to meet at the centre.
15. Fold the bottom point in to meet the edges of the previous folds.
16. Open back out.
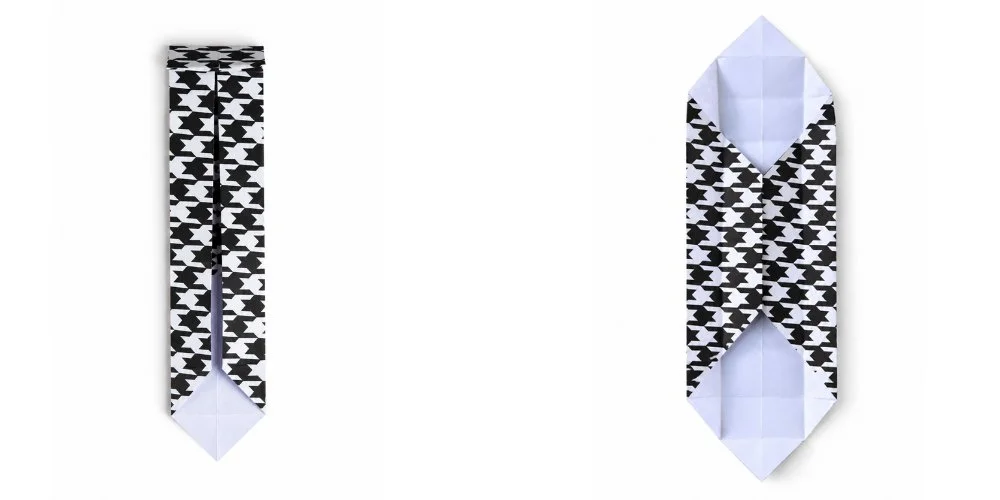
17. Repeat and fold the top point in.
18. Unfold and open the sides back out.
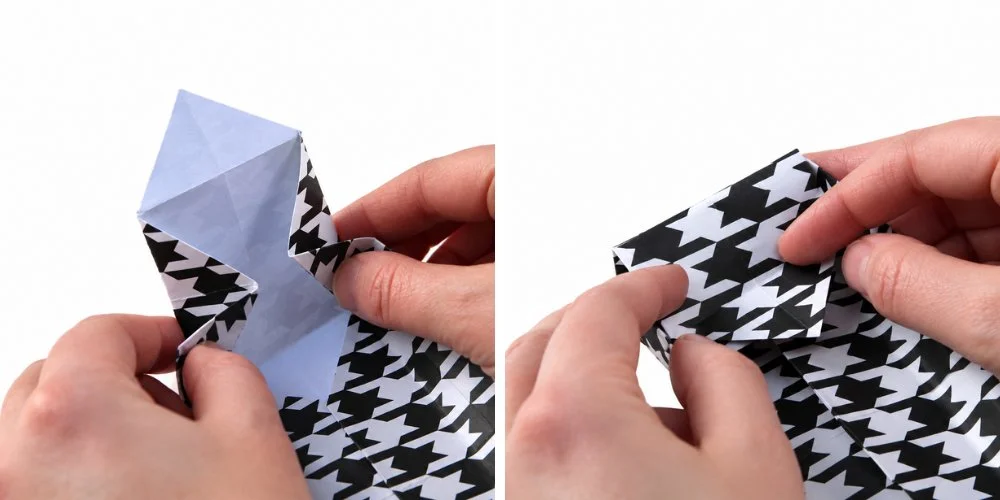
19. Lift up the sides and as the corners fold in, press and crease them to make small triangles.
20. Fold the top over and press down.
In most cases the base stays flat but if you have any trouble with the pointed flaps sticking up use a little glue or double-sided tape to secure them.
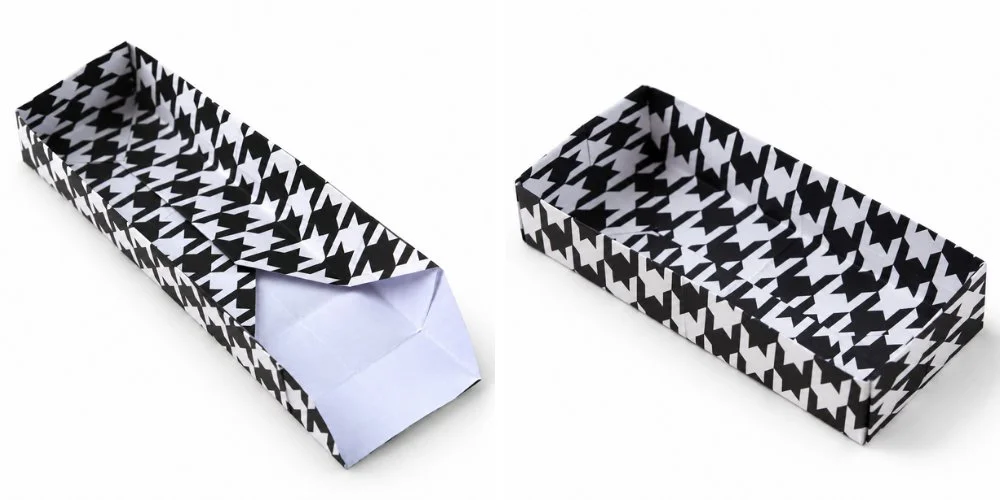
21. Repeat on the other side, and voila, you have half of a rectangular origami box.
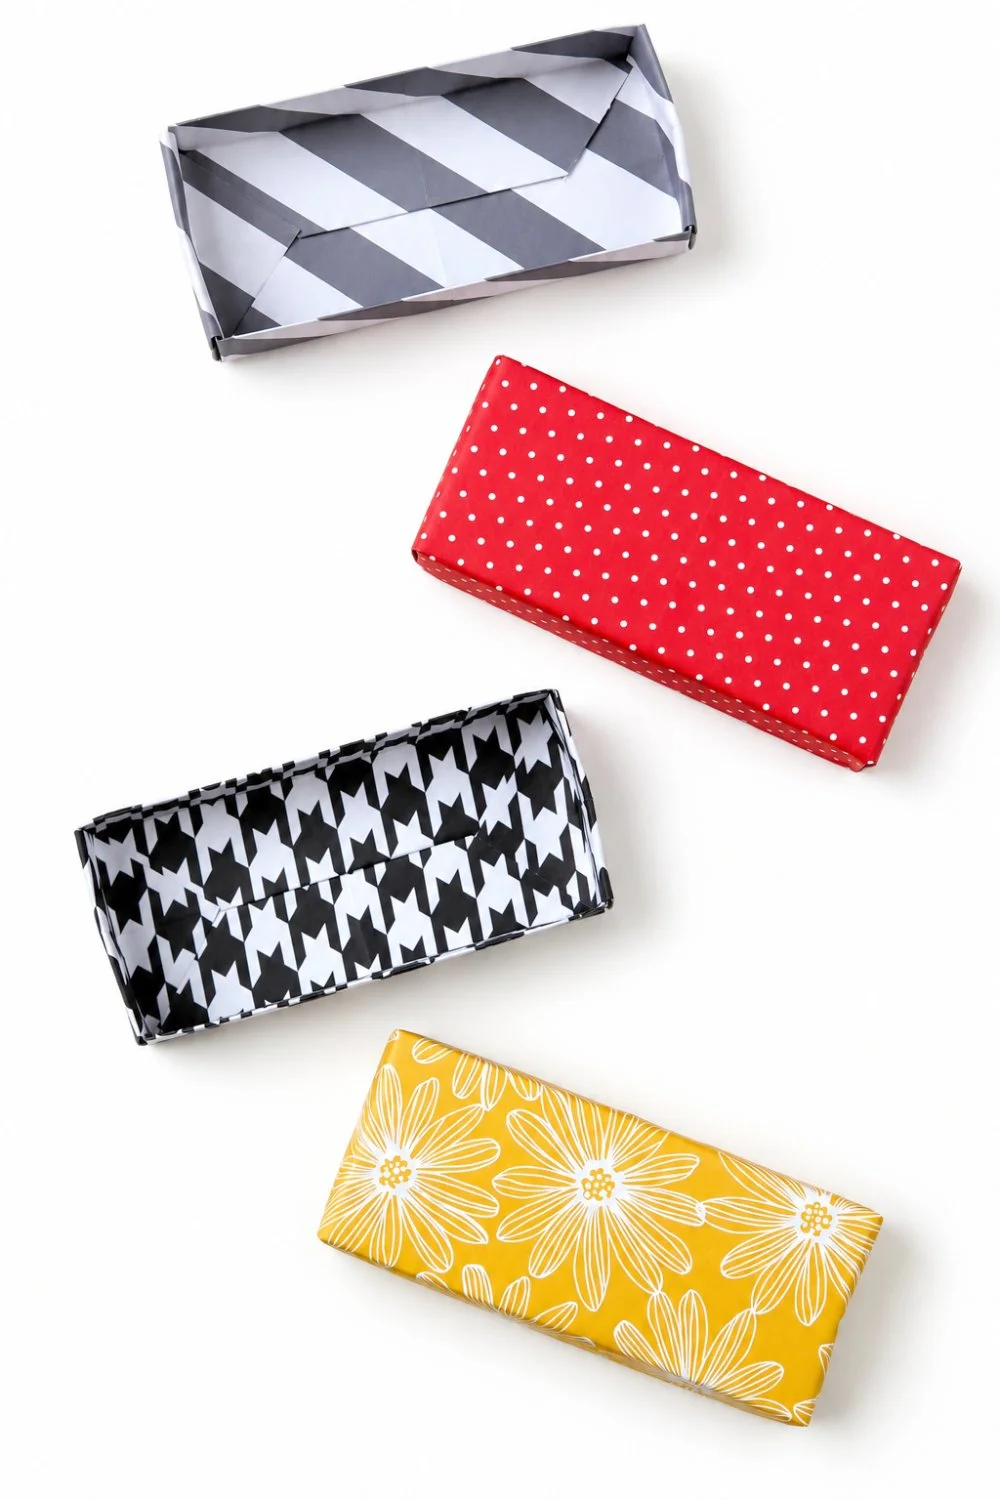
Make the Box Base.
To make the bottom of the box, repeat all the same steps using a piece of paper that's ½ inch smaller than the piece used for the lid.
For example:
Lid: 8 x 8 inches
Base: 7.5 x 7.5 inches
The smaller base should fit neatly inside the lid, creating a simple two-piece rectangular gift box.