
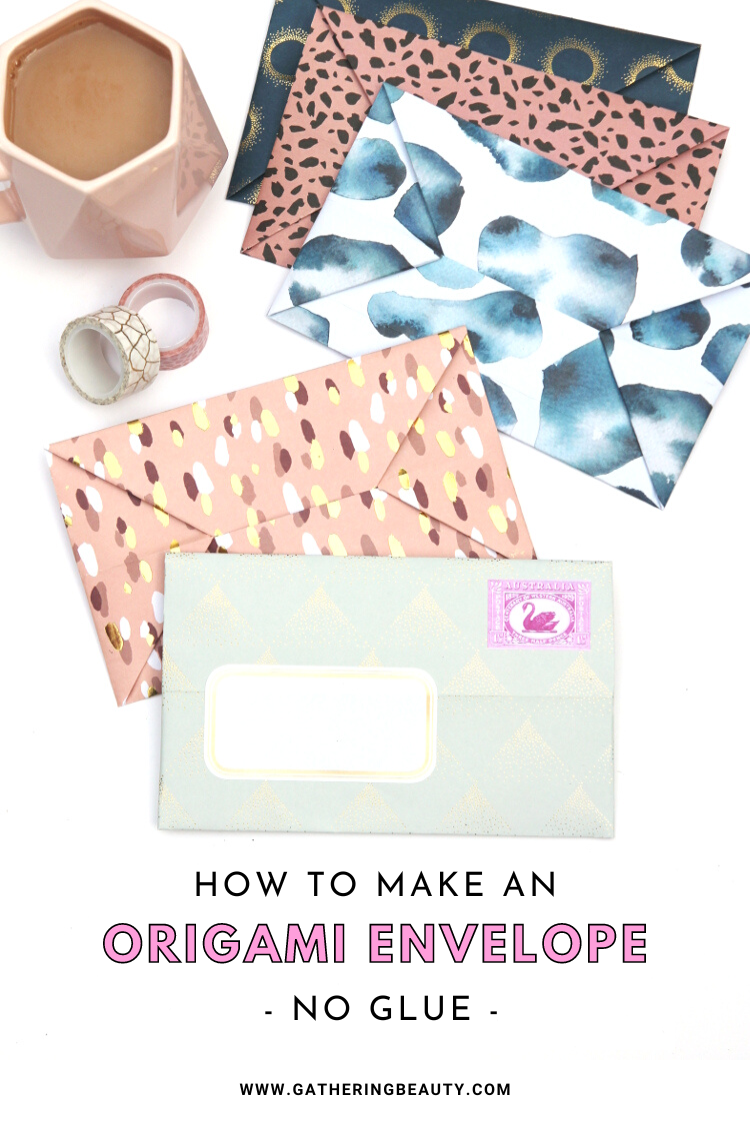
How To Make An Origami Envelope - No Glue
/Ever wondered how to make an origami envelope without any glue? Follow these step-by-step instructions to make your own cute origami envelopes using any paper.
This simple tutorial is an easy way to make an envelope without using any tape. They’re a creative way to fold a note or letter into its own envelope. No glue or complicated folds are required.
This page contains affiliate links. This means that if you make a purchase after clicking a link I earn a small commission but it doesn’t cost you a penny extra!
Origami Envelope.
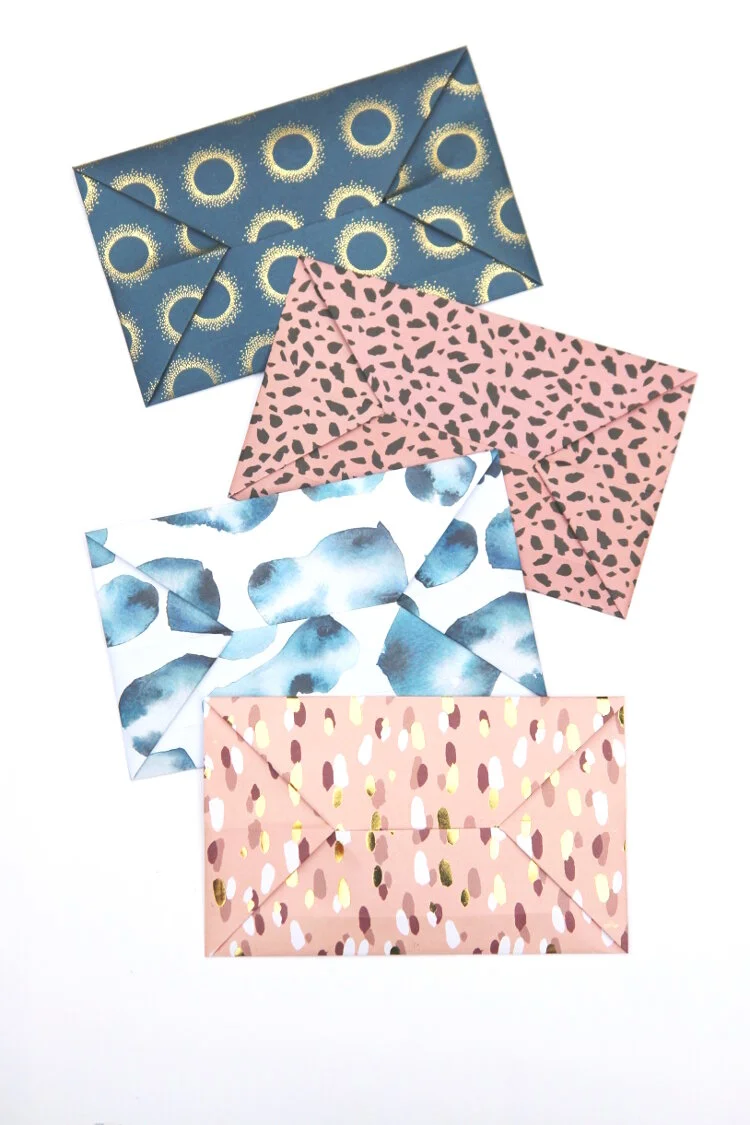
This quick origami envelope is a fantastic origami project for beginners to learn. All you need is a single sheet of paper (handmade decorative paper, pretty patterned origami paper, gift wrap or even magazines or newspapers), write your note on the inside and then follow the steps below and fold it up.
Got a note you want to send? Or is a party coming up? Your invitations don’t have to be boring. This easy tutorial means you can now create your own custom origami envelopes using your favourite paper.
I’m always looking to add a little DIY touch to special cards or invitations and these pretty envelopes are just the thing. You don’t have to be an origami expert to make your own envelopes either. They’re a really simple origami model so perfect to get started with if you’re a beginner.
DIY Envelopes.
You can make these envelopes in any size or kind of paper that you like. I’ve used thin decorative paper, copier paper and even scrapbook paper (it’s a great lightweight card that comes in a wide range of colours and patterns).
In school, we used to take our square of paper, jot down a note on one side and fold it into a quick all-in-one envelope and letter. Anytime you don’t have an envelope handy, why not make one of these instead?
Origami Envelope No Glue.
Once you’ve made a couple I think you'll find it hard to stop. You can leave them blank for now and pop them in my desk drawer for later. Whenever you need to write a quick note you’ll have some folded and ready to go. All I need to do is unfold them and jot down your message.
And added bonus, you don’t need any glue to seal them as it’s the folds that keep the envelope closed and secure. Although I do recommend sealing them with tape or stickers if you’re going to send them through the post.

Supplies:
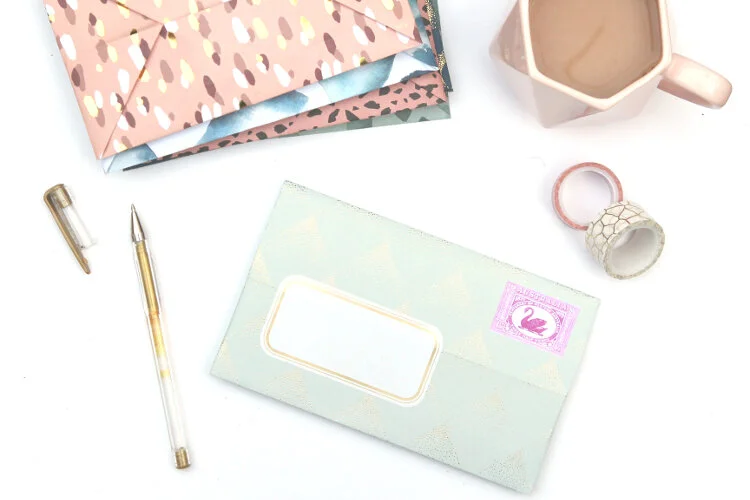
This tutorial uses a piece of 12 x 12-inch designer paper that makes a finished envelope measuring 7 3/8 inches (19cm) wide and 4 3/8 inches (11 cm) tall.
12 x 12-inch Designer Paper or any other decorative paper you have on hand.
Scissors or Paper Trimmer if your paper isn’t square.
Tips And Tricks.
You can use any kind of paper to make your handmade envelope. Think coloured or patterned paper, old magazines, brown kraft paper or even simple printer paper.
I used 12 x 12-inch decorative paper. It’s thinner than standard scrapbook paper which is more like a lightweight cardstock than paper and easier to fold.
I got this particular paper from a recent trip to Sostrene Grene. If you don't have any lightweight paper wrapping paper or gift wrap is a good alternative. This set is cute as is this reversible set.
And don’t forget if you need an envelope for a birthday card why not make a matching envelope by using the same wrapping paper as you used to wrap the gift.
To make your origami envelopes go ahead and follow the simple step-by-step instructions below. It’s an easy process but as always with origami, a little accuracy is needed so try to take your time making the folds as precise as possible.

How To Make An Envelope Without Glue.
1. Take your paper and trim it to size if it isn’t already a square.
2. Write out your note on your chosen paper.
Alternatively, you could write a separate note or card and fold it up to place inside your finished envelope.
3. Fold your paper in half.
If you want your pattern to be on the outside fold your paper in half with the pattern on the outside.
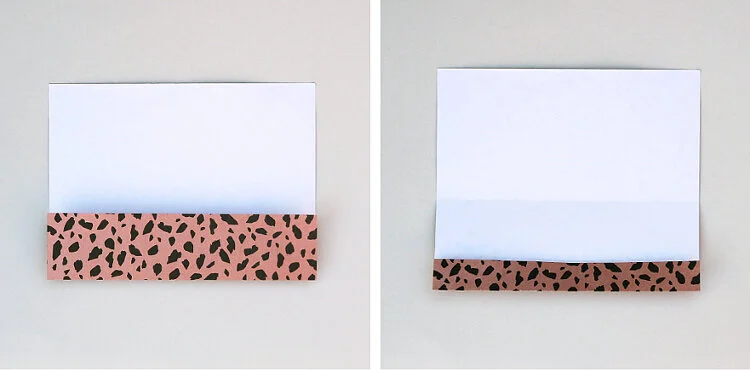
4. Open back out and fold the bottom edge up to meet the middle crease. The bottom half should now be divided into half to make 2 quarters.
5. Open back out and this time fold the bottom edge up to meet the crease you just made dividing the bottom section in half again.
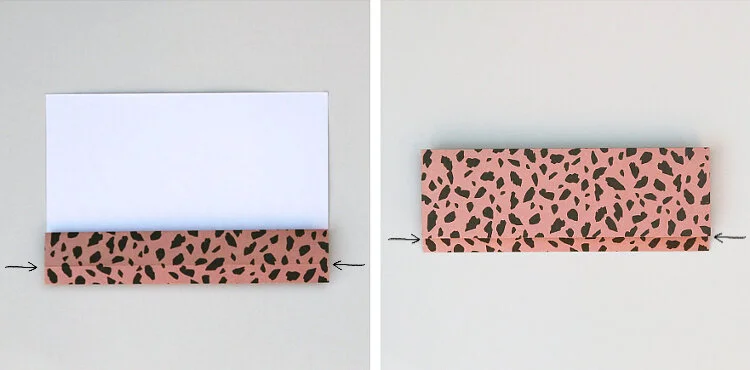
6. Fold the bottom edge up to meet the middle again. You should see a crease about a third of the way up (marked by the arrows in the picture above).
7. Fold the top edge down to meet this crease.
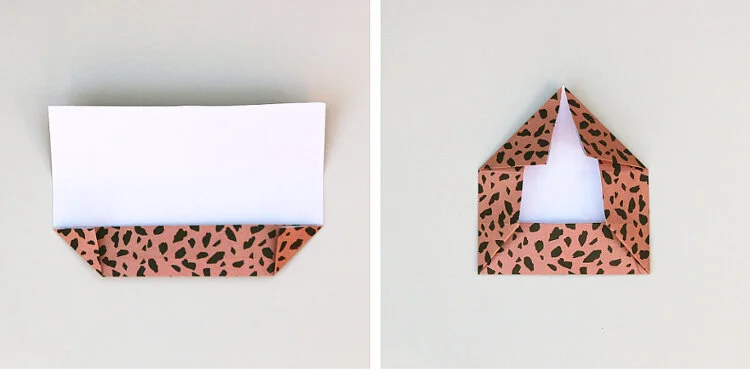
8. Open back out and fold the bottom corners in to make a small triangle on each side.
9. Fold the sides in using the edges of the triangles as guides.
10. Fold the top corners in to make 2 triangles that will form the closing flap of your envelope. Use the crease you made in step 5 as a guide.

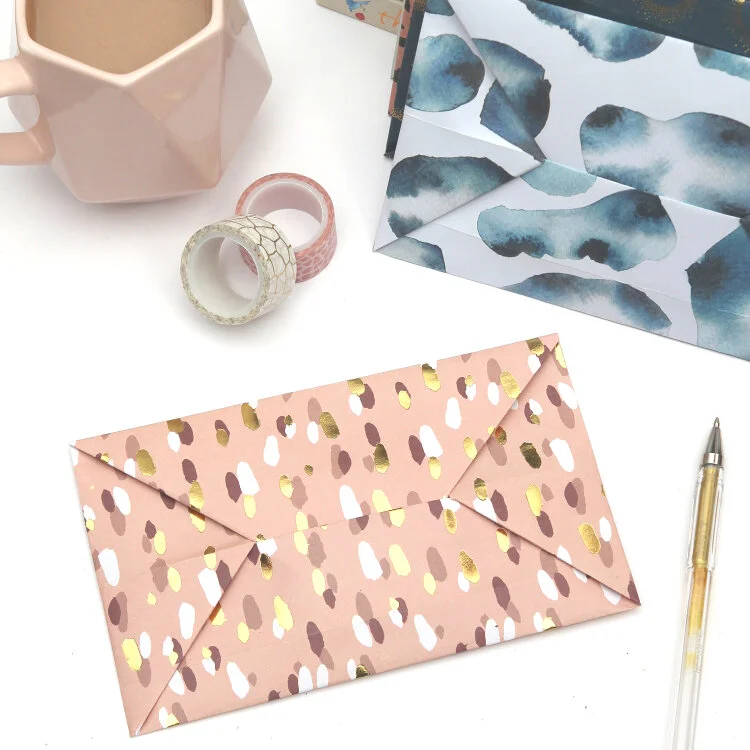
11. Fold down the top flap and refold along the crease.
12. To close your envelope tuck the top flap under the bottom flap. No glue or tape is needed.
Your easy origami envelope is now finished and ready to use. Pop in a card, thin notebook or gift card or anything that you want to send in style.
Once you’ve made this DIY origami envelope you’re going to want to make more and more. Good news, I’ve gathered some of my favourite envelope tutorials right here for you!

