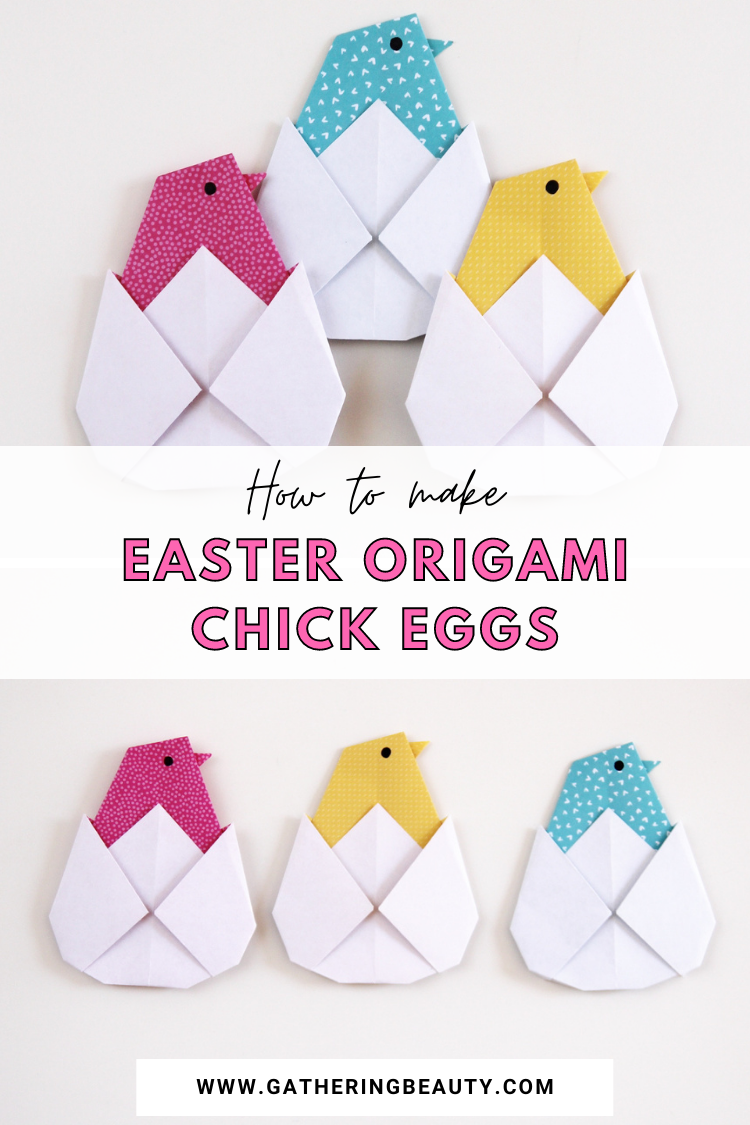
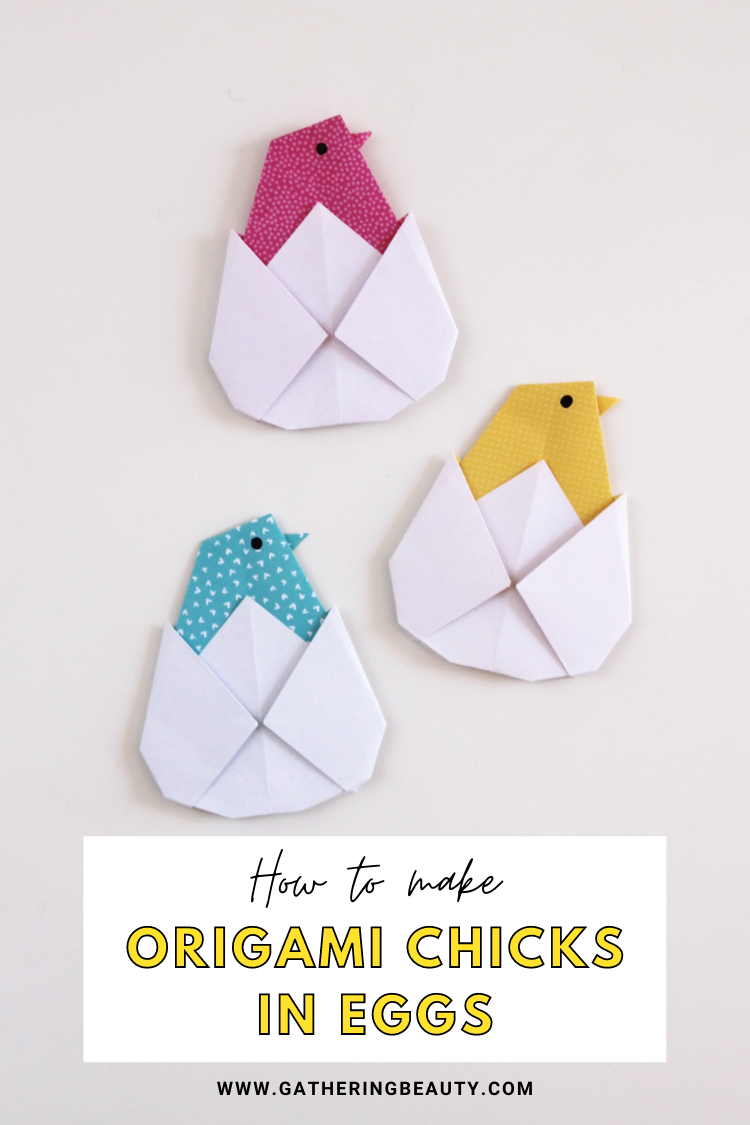
Origami Chicks In Eggs
/Ready to make another Easter origami project? This time I’ve got a super easy origami chick in an egg for you.
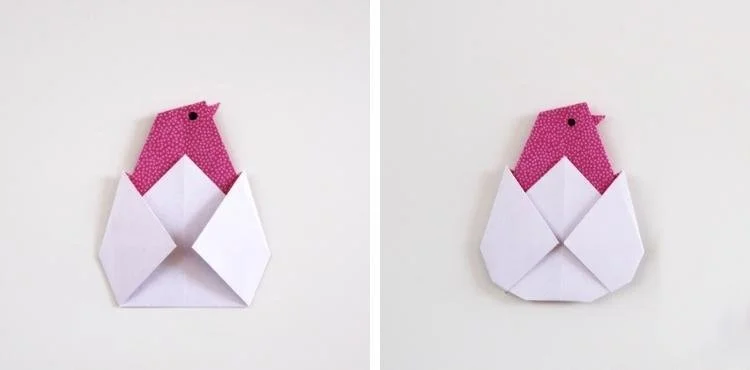
With its colourful chick popping out of an egg, it looks like it’s made from two separate pieces of paper but it’s actually only one.
A cute craft to get the kids involved with or make yourself and use as card toppers or place settings.
And the best thing about it? You don’t need any fancy materials to make it. A single sheet of paper and a pen to draw on the eye and you’re all set.
So grab some paper and let’s get started.
This page contains affiliate links. This means that if you make a purchase after clicking a link I earn a small commission but it doesn’t cost you a penny extra!
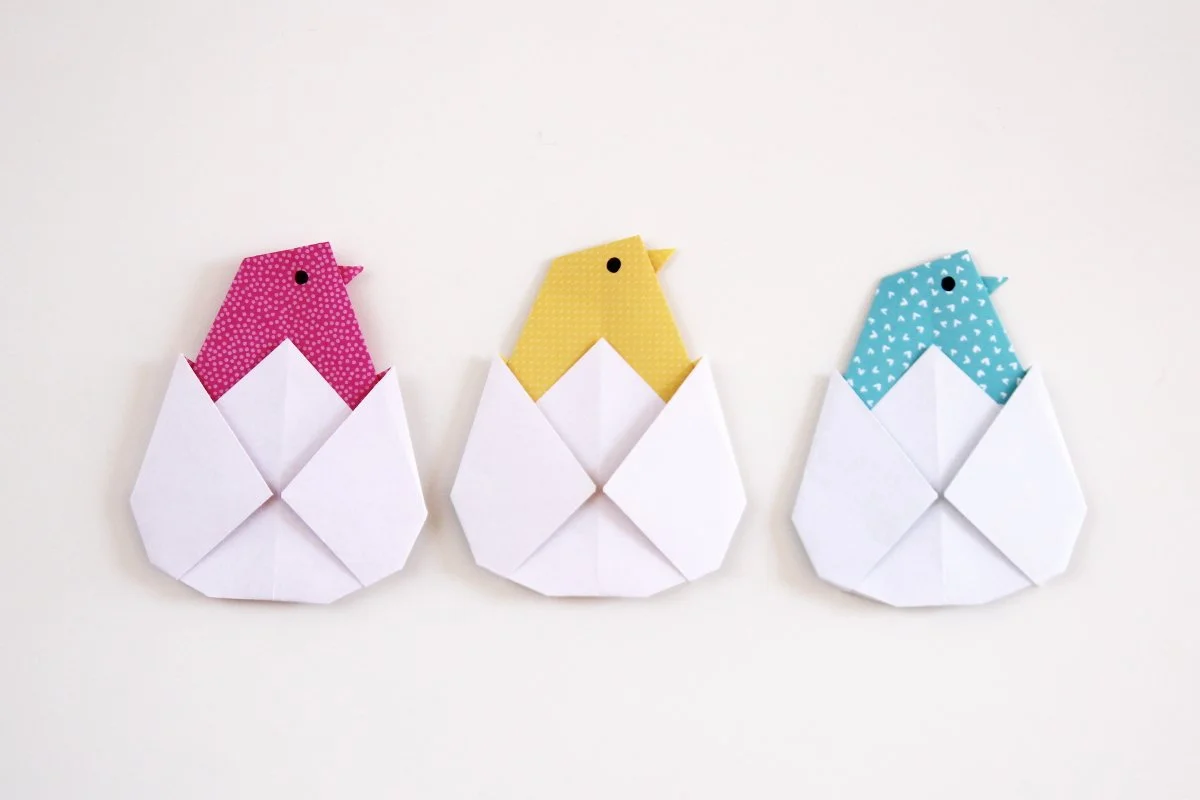
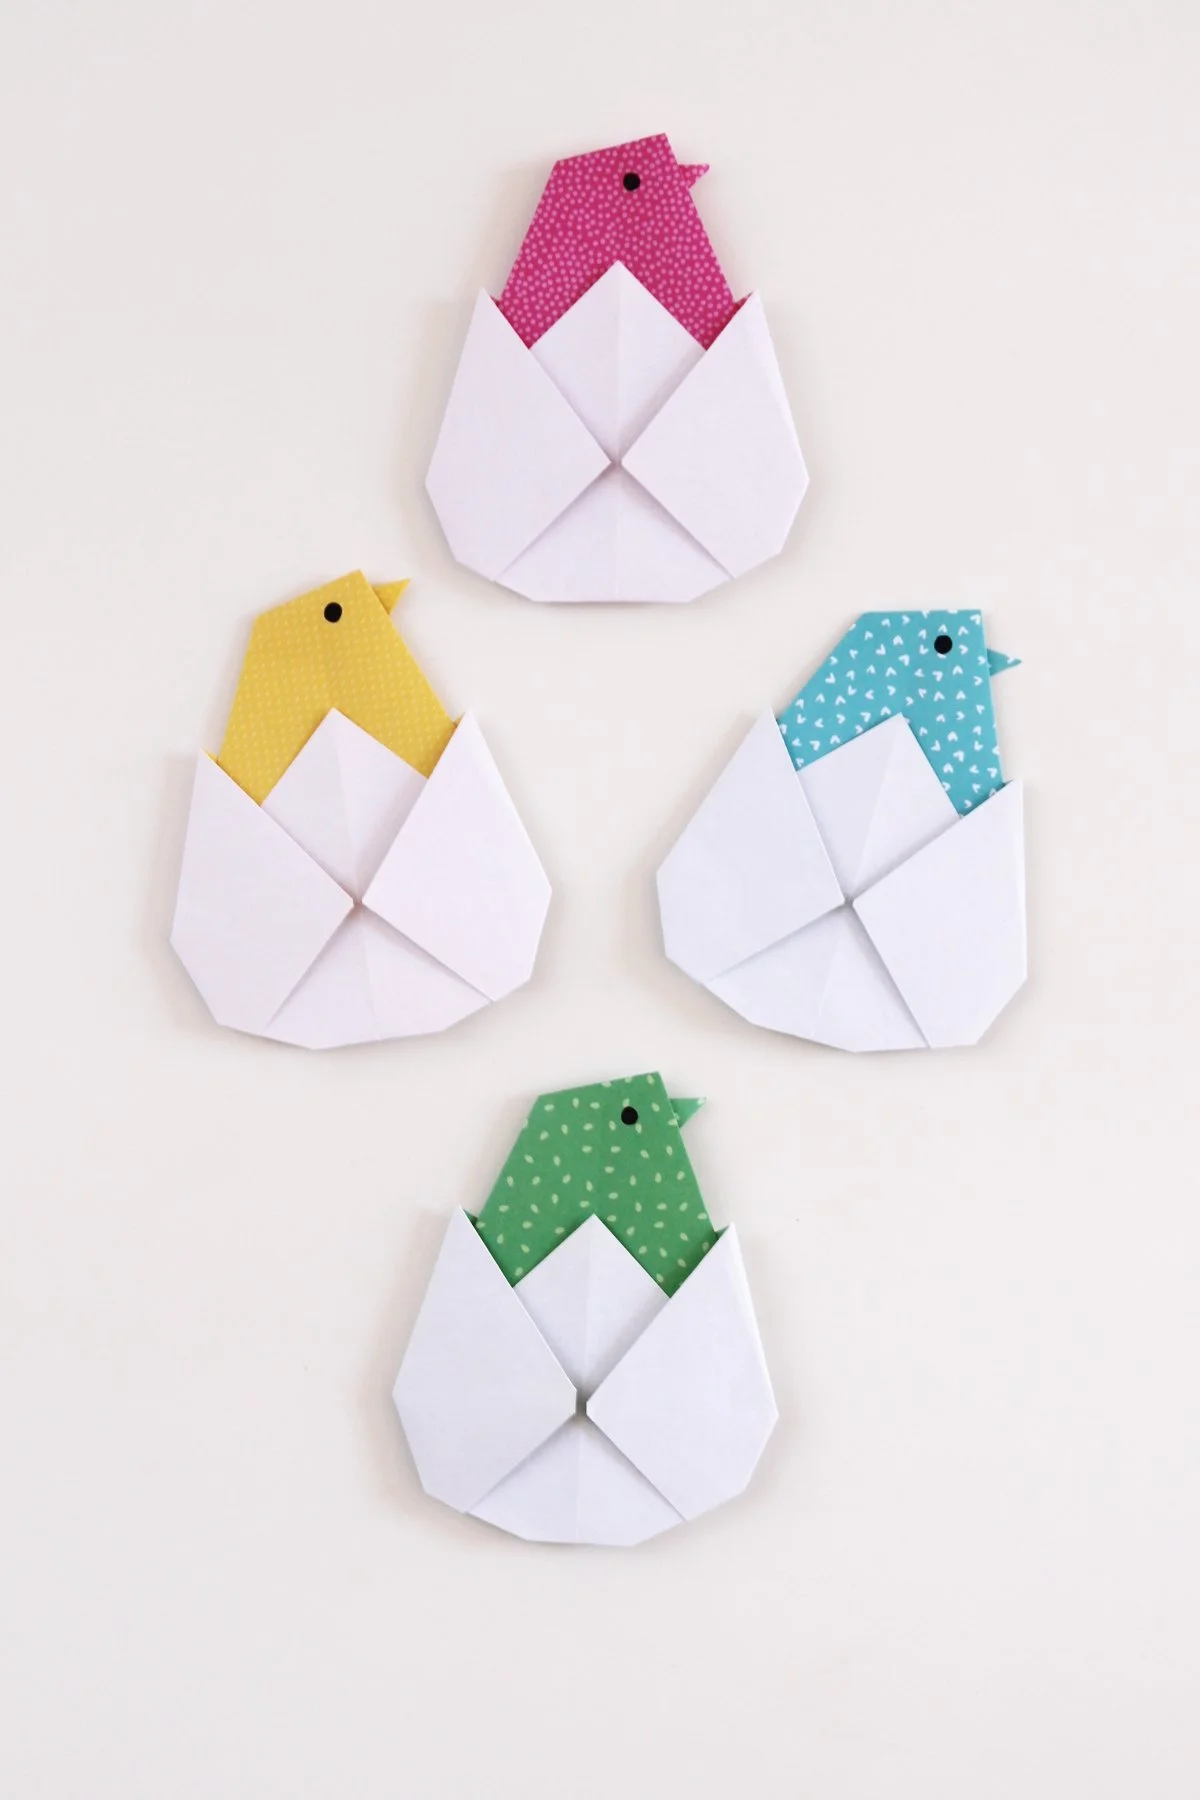
Easter Origami Chick In Egg.
How are your Easter plans coming along? Are you still looking for an Easter craft or two? Never fear, these origami chicks in eggs are just the thing.
Easy to fold and quick to make, they’d make fantastic table settings (like these adorable Easter bunny napkins) or as an extra special handmade touch to an Easter basket. Once you’ve had a bit of practice you’ll be able to fold one in a couple of minutes.
If you’re a regular reader you’ll know I love a good paper craft and of course, origami is top of that list. How could it not be? Throw in Easter and it’s the perfect combination (make sure to check out my favourite Easter origami crafts here). I think you’ll agree that these adorable chicks are another springtime origami classic.
Easter Chick Craft.
The clever thing about these chicks is that they look more complicated than they actually are. The chick looks like it’s a separate piece popping out of its egg but it’s actually folded from a single sheet of paper.
To make these origami chicks you’ll need paper that has one coloured/patterned side and one plain white side. This is standard for most origami paper.
By folding the paper with the coloured side on the inside you’ll end up with a coloured chick and a plain white egg. To make a plain white chick and brightly coloured egg you’ll need to start by folding your paper coloured side out.
Origami Supplies:
Pen
Glue (optional if you want to attach your chick to a card or gift tag)
My favourite origami paper alternatives.
I do recommend using origami paper (you can even get a cute pastel version) for any paper folding project, here are a few alternatives that you probably already have on hand.
Regular Printer Paper,
Magazines,
Maps,
Old Books,
And Newspapers.
I even have some printable origami paper you can download and use for FREE. Simply download, print and cut into 7x7-inch squares.

How to make an Origami Chick Egg.
1. Take a square piece of paper and lay it down colour side up.
This will give you a coloured chick and a white egg. If you want a white chick and coloured egg you need to lay the paper coloured side down.
2. Fold the paper in half along the diagonal with the coloured side on the inside.

3. Open back out and lay the paper with one of the corner points facing towards you and the crease running vertically.
4. Fold the bottom point up to the centre crease about 2/3 of the way up. You want to leave a gap of about 1 1/2 inches at the top.

5. Fold the left hand-side into the centre.
6. Repeat and do the same on the right-hand side to make a pentagon shape.

7. Flip your folded paper over.
8. Take the top left edge and fold it into the centre.

9. Repeat and fold the top right edge into the centre.
10. Fold the tip down at an angle to make the chicks head.

11. Fold the tip back up at an angle to make the beak.
12. Next we’re going to make the egg shell. You should have two white triangle pockets on either side of the chick.
13. Take the left pocket and open it out slightly. You want to push it out about a 1/4 inch and press it flat.
Check out the video below if you need more help with this step. It can be a bit tricky!

14. Do the same on the other side.
15. Flip your chick over.

16. Take the side of your egg and fold it out to make a triangle.
17. Do the same on the opposite side.

18. Take the two flaps you just made and the fold them back in on themselves.
19. To add some shape to your egg flip it back over and fold in the bottom corners.
20. Draw on the chicks eye to finish.

What do you think? Pretty cute, right? They're a lovely craft to make with the kids to give out at school or to use to decorate an Easter card or gift. Write the person’s name on the egg and you could even use them as place settings.
Need a bit more help? Make sure to check out the video below!