
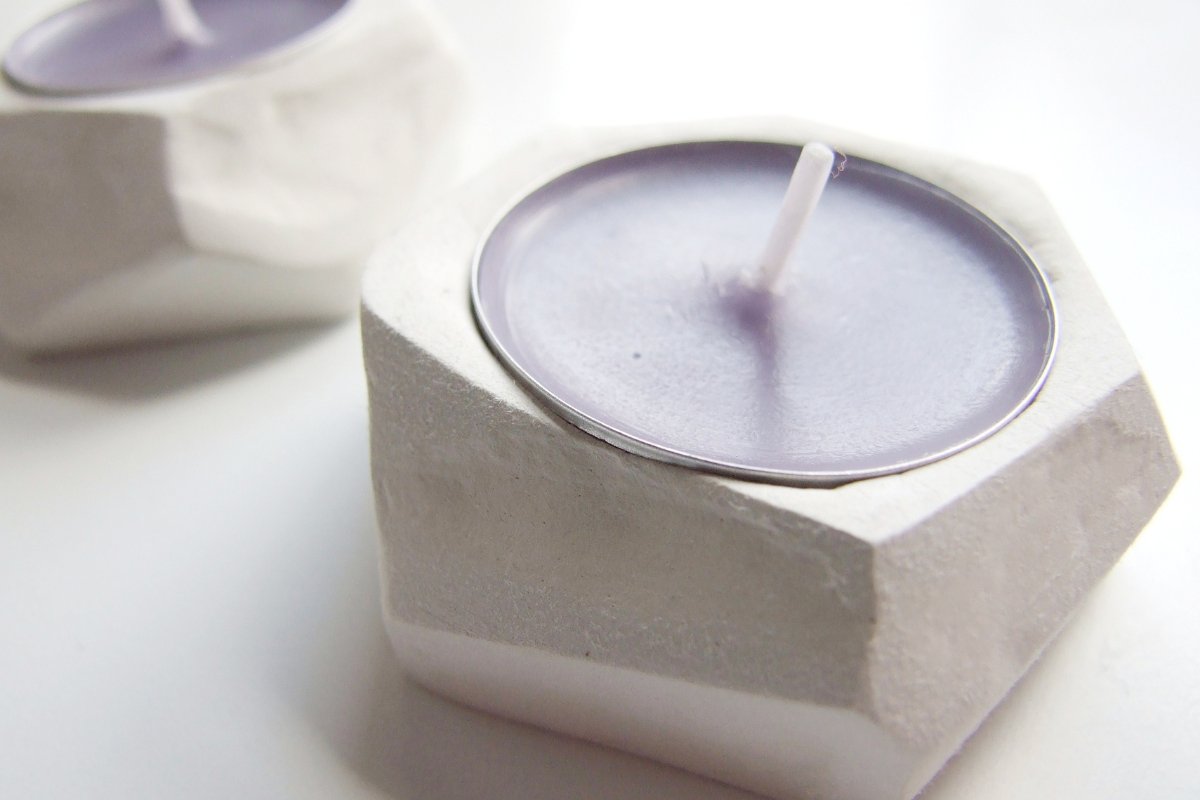
DIY Air Dry Clay Tea Light Holders
/Looking for a fabulous DIY project that will add a personal and handmade touch to your home? Try making these Modern Geometric Tea Light Holders
Made using air dry clay, these cute tea light holders make the perfect handmade present for your loved ones.

This post contains some affiliate links for your convenience (which means if you make a purchase after clicking a link I will earn a small commission but it won’t cost you a penny extra)!
DIY Clay Tea Light Holders.
Today, I’ve got a super cute project that will bring a cosy vibe to your home—making your very own air-dry clay tea light holders!
I must admit, I absolutely adore working with air dry clay. It's versatile, easy to use, and the best part? No need for a kiln or fancy equipment.
Related: 25+ DIY Clay Tea Light Holder Ideas
DIY Tea Light Holder.
Recently I used it to make DIY Air Dry Clay Magnets. I really love the slightly textured, matte finish you get with white air-dry clay.
I’ve seen quite a lot of clay candle holder tutorials using polymer clay but not a lot using air dry clay. So I thought this would be the perfect time to have a go at using it to make my own geometric tealight holders.
Want some tips and tricks before you start using air dry clay? Make sure to read this post Air Dry Clay Tips And Tricks!

The Best Air Dry Clay.
There are a couple of different types of air dry clay I recommend.
First up is the Das Air Dry Clay. I’ve used it to make nearly all the clay crafts on the blog as well as these stamped clay bowls.
It’s available in most craft stores. It comes in white and terracotta and I recently spotted a stone effect that I’m excited to try.
The next one is the white Crayola Air Dry Clay. It comes in a large 5 lbs resealable tub. Great for large projects or big groups.
Both the Crayola and the Das clay look grey when wet but dry to a matte off-white colour.

Supplies:

How to make Air Dry Clay Geometric Tea Lights.
1. Start by rolling your air-hardening clay into a ball.
2. Take a tea light and press it firmly into your ball of clay. Don't worry about any cracks in the clay just yet, you can fix these later.
Make sure to give the tealight a wiggle. You want to leave enough space that you can remove and replace the tealight as needed.

3. Slice into the base of the clay at an angle. Be careful not to cut too close to your tealight.
Continue to cut around the base until you are happy with the shape.
4. Flip your clay over and this time cut in at an angle from about halfway down towards the countertop.

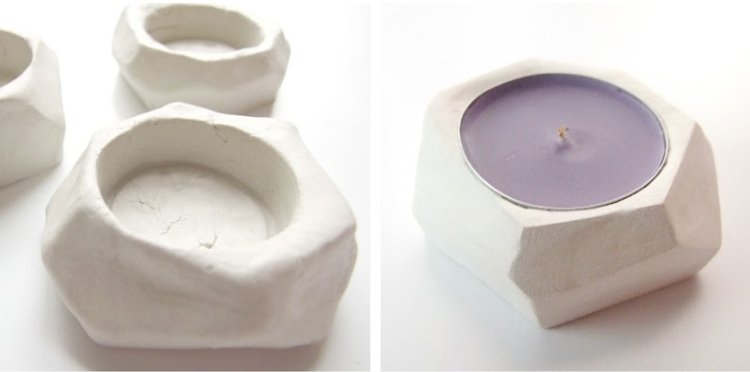
5. Carry on until you form your geometric shape.
6. This is the part where you can fix any cracks or splits in the clay. Use a little water and either your fingertips or the flat side of a knife and smooth out any imperfections.
7. Leave to dry until hard. Mine took nearly 72 hours as the clay was quite thick in places.
If your clay is taking a long time to dry try reading this post How Long Does Air Dry Clay Take To Dry? for more tips and tricks.
8. When completely dry use sandpaper or a nail file to smooth down any rough or rounded edges.

9. Place a tea light candle into your newly crafted tea light holder, and voila! You've just created a lovely and cosy accessory for your home.

I left mine white but if you're feeling adventurous, grab your acrylic paints and brushes to add splashes of colour to your clay tea light holders.
Experiment with different patterns and colour combinations. Once the paint has dried, seal your creations with varnish for added durability and a glossy finish.
You can read all about how to varnish your finished air dry clay pieces in this post How To Glaze Air Dry Clay.


