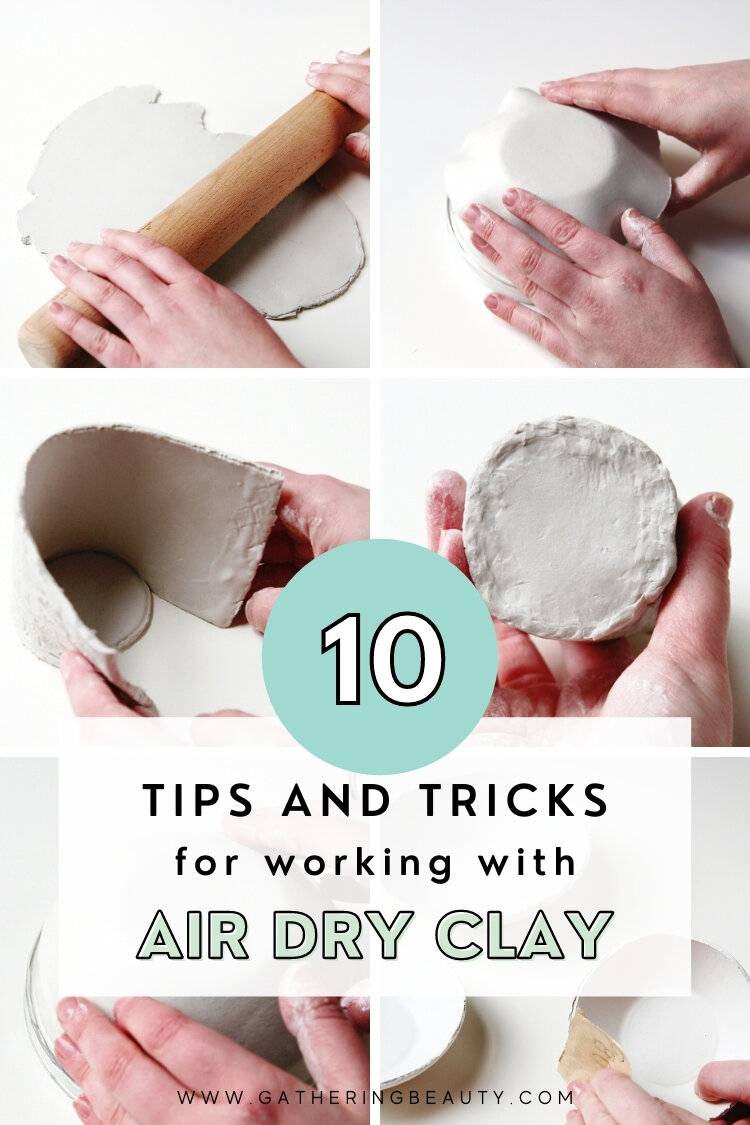
Air Dry Clay Tips And Tricks
/Want to get started using air dry clay but don’t know where to begin?
I’ve had a lot of fun making clay crafts over the years. It’s a fantastic material to work with. It’s cheap to buy, easy to use and doesn’t need baking or firing in the oven. However, it can be tricky to work with if you’ve never used it before.
To help you get the most out of your clay here are my top 10 tips, tricks and techniques to help you create wonderful clay creations.
This post contains some affiliate links for your convenience (which means if you make a purchase after clicking a link I will earn a small commission but it won’t cost you a penny extra)!
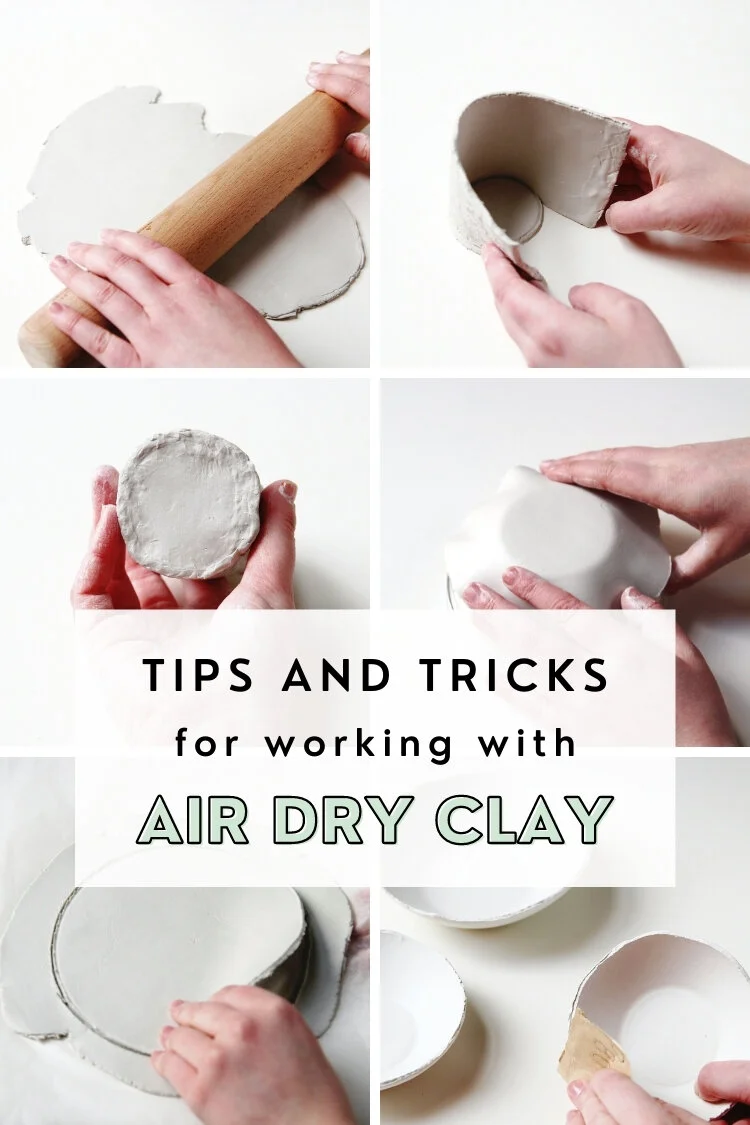
Best Tips, Tricks and Techniques for Working with Air Dry Clay.
We all know I love a good air dry clay craft. Ever since I discovered it 8 eight years ago it’s been my go-to crafting supply for making trinket style bowls, Christmas decorations, napkin rings and even tealight holders.
As craft materials go I would say it’s pretty inexpensive. I can pick up a 1kg pack for around £4 from my local craft shop. You could always benefit from basic ceramic tools like this pack but for the most part, you can make do with what you have at home.
A rolling pin (this clear acrylic one works well), stamps (or anything else you could use to leave an impression in the clay), cookie cutters, a craft knife, something to cut around or use as a mould like a glass or a bowl and acrylic paint or varnish to seal and decorate your piece.
Along the way, I’ve tested and experimented with a range of techniques and I’m excited to share the very best of them here with you.
What is Air Dry Clay?
Not sure what air dry clay is? Air dry clay is a fine, natural earth clay that dries hard without baking. You can use it to make pinch pots, coil bowls, slab builds and models. It's inexpensive and simple to use making it ideal for both kids and adults alike.
As there’s no baking or firing needed once your clay piece is finished you simply leave it out to harden in the air. Once dry you can add the finishing touches by painting or decorating it.
The Best Type of Air Dry Clay.
There are a couple of different types of air dry clay I recommend.
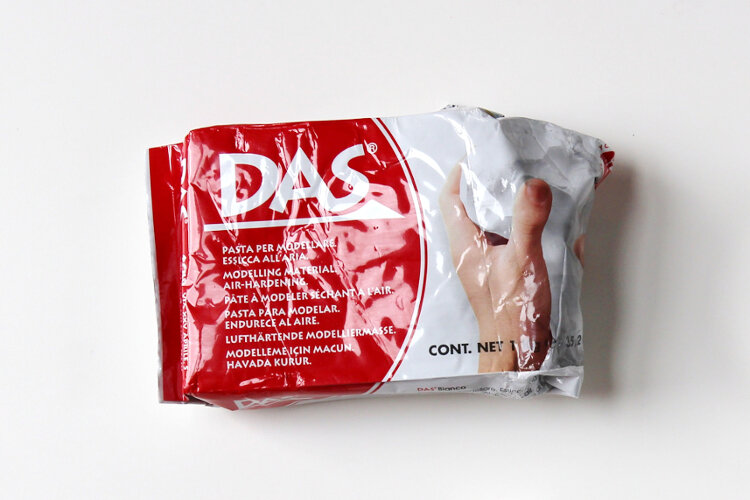
First up is the Das Air Dry Clay. A long time favourite (I used it to make these stamped clay bowls) and available in most craft shops here in the U.K. It comes in white and terracotta and I recently spotted a stone effect that I’m excited to try.
The next one is the white Crayola Air Dry Clay. It comes in a large 5 lbs resealable tub. Great for large projects or big groups. Both the Crayola and the Das clay look grey when wet but dry to a matte off-white colour.
Tips and Tricks.
1. Prepare Your Work Surface.
Always work on a clean work surface. No dust or fluff allowed.
Air dry clay can be quite sticky so roll your clay out onto a silicone craft mat or wax paper to stop it sticking and make your project easier to remove.
2. Tools And Equipment.
There is a fantastic range of modelling tools available. Most basic sets will include everything you need to get started.
Wooden tools are good for shaping or smoothing and steel tools can be used to remove excess clay and add details.
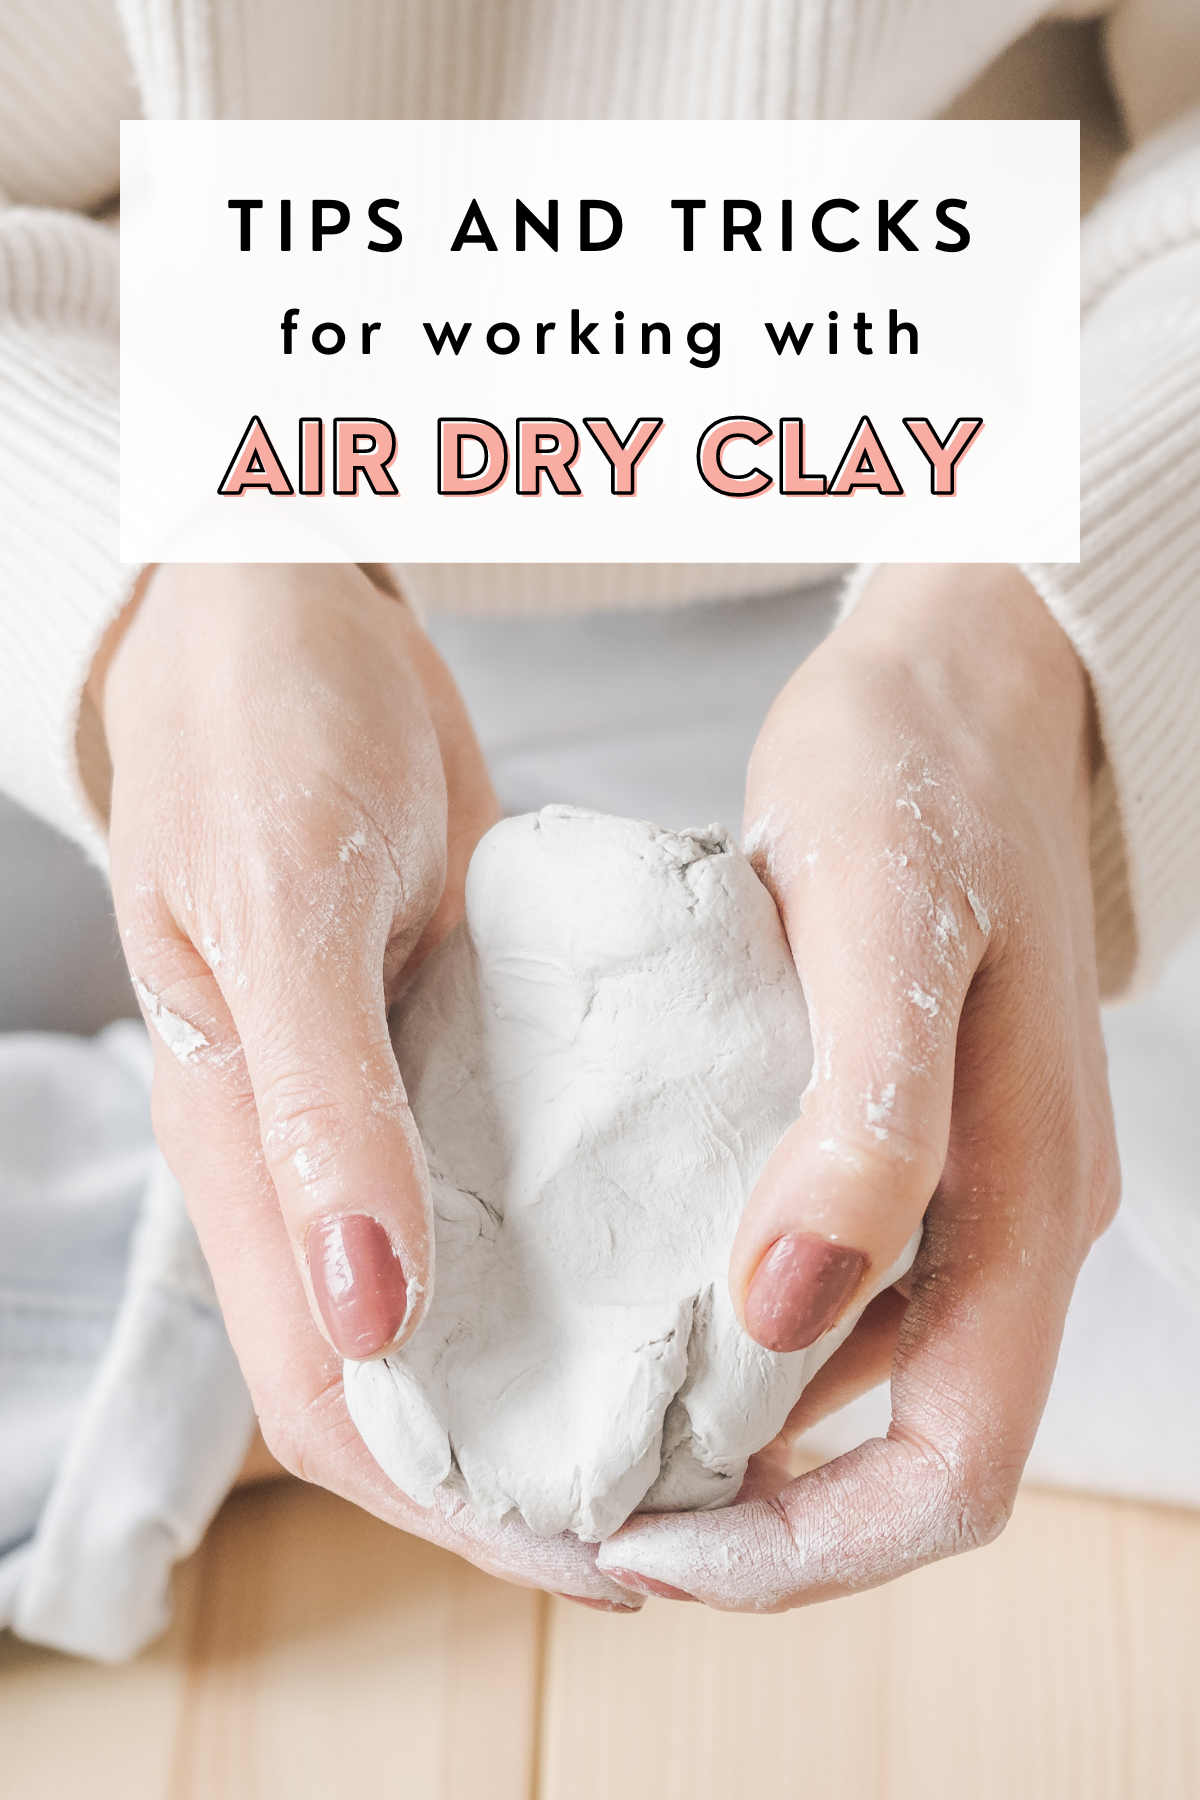
3. Condition The Clay.
Prepare your clay by taking it out of the packet and kneading it until it's smooth and soft. This is called 'conditioning’. This makes the clay pliable and easier to shape.
4. Handling The Clay.
Some types of air dry clay can be more sticky to handle than others. My favourites to work with are the Das Air Dry Clay and the Crayola Air Dry Clay.
To stop the clay from sticking you can apply a little hand cream or lotion to your hands before you begin to minimise the mess.
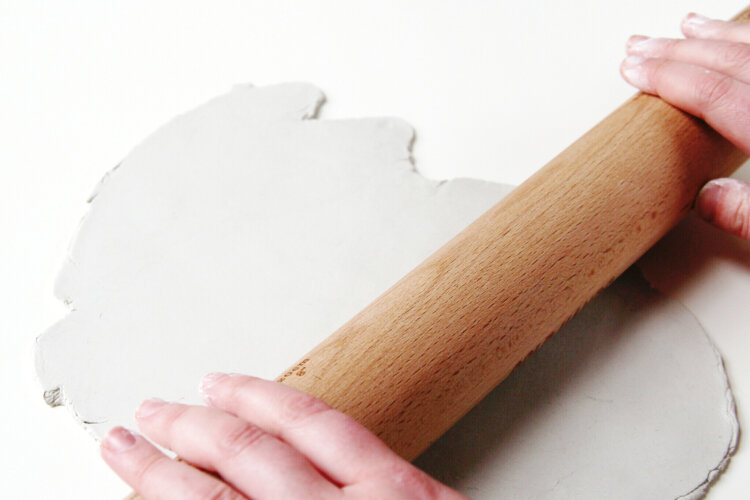
5. Rolling The Clay.
Be careful not to roll out your clay too thin. This can lead to cracking and breaking as it dries.
I've found that rolling the clay to about a quarter of an inch works well. It's thick enough not to break but not too thick that it won't dry.
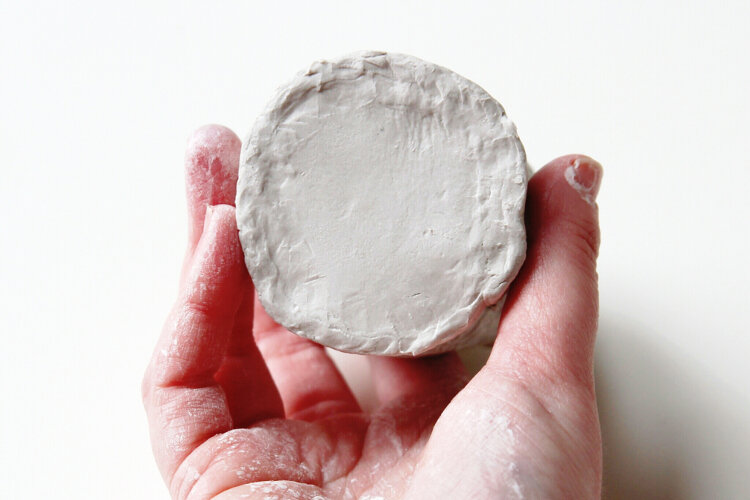
6. Smoothing The Clay.
Use a small sponge or a little water on your fingers to smooth out any imperfections as you go.
As your clay dries and shrinks small cracks can appear, don't panic. You can fix this by mixing a small amount of clay with water called 'slip' making a paste consistency. Once the clay piece is completely dry fill in any cracks using the slip and leave to dry once more.
Once the clay is dry any rough edges can be sanded down using a fine sandpaper or nail file.

7. Joining/Adding Clay.
To join or add clay you need to 'score' and 'slip' for a strong bond. To do this you need to score both of the surfaces with a sculpting tool (a toothpick makes a great alternative). This gives the clay something to adhere to. Add a little slip to each of the scored areas then join together using your fingers or sculpting tool.

8. Drying Clay.
Once your clay project is finished you simply leave the clay to sit out in the air to dry and become hard.
Air dry clay is slow drying and can take anywhere from 24 - 72 hours to harden depending on the environmental conditions.
To speed up the drying process be sure to flip your project over to ensure all sides are exposed to the air.
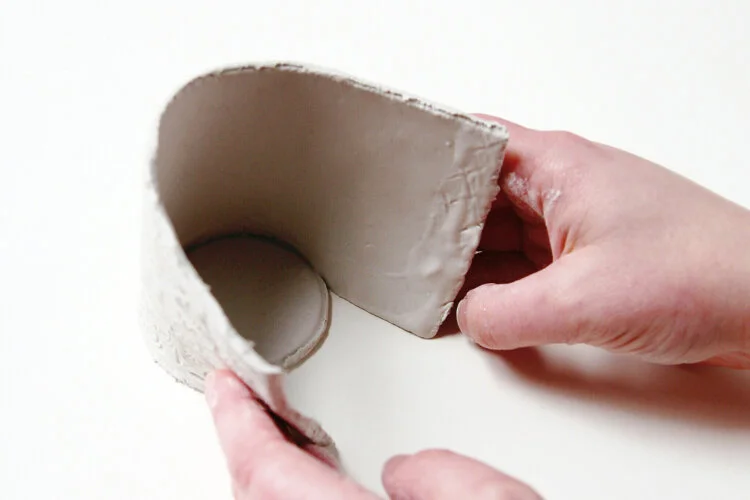
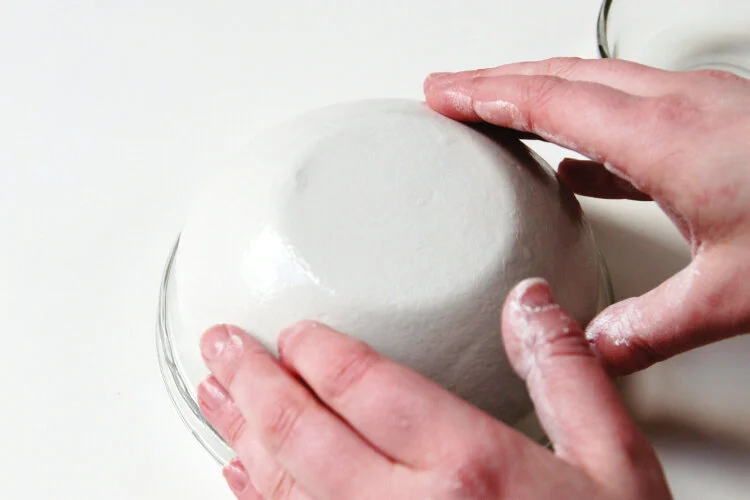
If using a mould, allow your clay to dry long enough to hold its shape (usually around 24 hours) and then remove it from the mould.
Want to know more? Check out my How Long Does Air Dry Clay Take To Dry? post. It’s packed full of useful information all about how to dry air dry clay.
9. Storing Leftover Clay.
Leftover air dry clay can be saved and used again.
Wrap it in cling film and place it in an airtight container to retain its moisture. Store in a cool dark place.
You can find more information in my How To Store Air Dry Clay post.

10. Sealing Your Finished Pieces.
As air dry clay breaks down in water it's not possible to truly waterproof it. However, you can help make it water-resistant by applying a coat of acrylic paint or varnish.
The most popular options are Modpodge (I like the Dishwasher Safe Mod Podge) and the DecoArt Triple Thick Glaze. Apply in a thin layer using either a foam brush or a paintbrush and leave to dry for 5 to 6 hours before applying a second coat.
Other alternatives are a varnish or acrylic sealer like the ModPodge Spray Acrylic Sealer.
Want to know more about varnishing your air dry clay decoration? I’ve written a whole blog post about it - HOW TO GLAZE AIR DRY CLAY.
Please remember that air dry clay is not food safe. Anything you make with air dry clay should be used for decorative purposes only.
Want to download and keep these tips and tricks? Sign up below to get them sent straight to your inbox!
I hope these tips help you along the way and save you some wasted time and frustration.
If you’ve got any other tricks for working with air dry clay, please share in the comments below. I’d love to hear them.
Ready to make some clay crafts? You can find 30 of my favourite clay crafts below:
Or check out HOW TO GLAZE AIR DRY CLAY for the best results.
You can find all my Air Dry Clay projects for inspiration and ideas!