
Easy Origami Wall Art
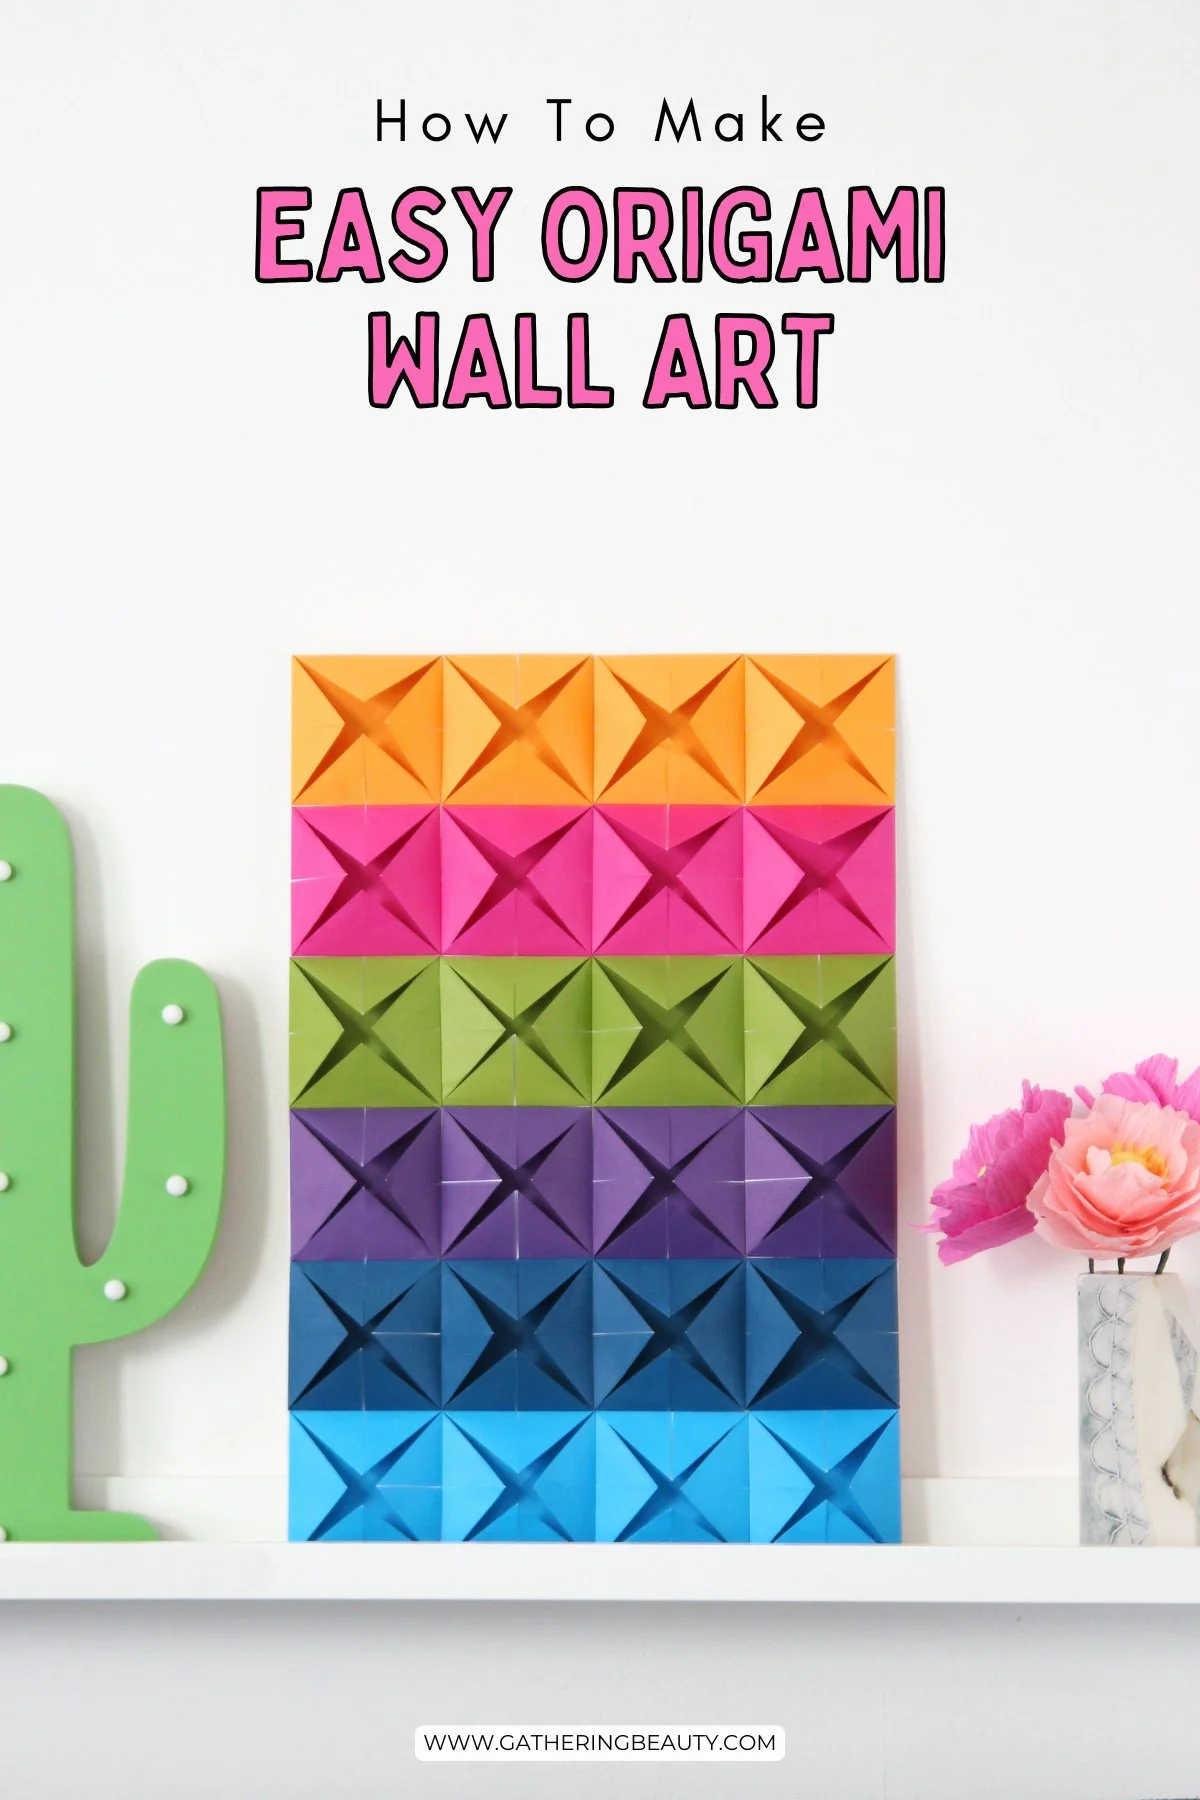
/Brighten up a blank wall with this colourful DIY Origami Wall Art! Made with simple folded paper squares, this easy paper craft creates a fun geometric design that you can customise with your favourite colours. Perfect for adding a handmade touch to your home or even creating a DIY photo backdrop.
This page contains affiliate links. This means that if you make a purchase after clicking a link I earn a small commission but it doesn't cost you a penny extra!
Easy DIY Origami Wall Art.
Looking for an easy way to brighten up a blank wall? This colourful DIY origami wall art is such a fun paper craft and a great way to turn a handful of simple folded paper squares into something really eye-catching.
I love how much impact this project has despite being so inexpensive to make. You only need some paper, a piece of card or foam board and a little glue, and you can create a colourful geometric artwork to display in your home.
The best part is that you can customise the colours to suit your space. Go bright and colourful as I did, stick to different shades of one colour, or create a more neutral design using white, cream and kraft paper.

Supplies:
Card or foam board
Glue stick or double-sided tape
Bone folder, optional
Ruler, optional
I recommend using origami paper because it's lightweight and easy to fold, but you don't have to stick to traditional origami paper. You could also experiment with printer paper, scrapbook paper, gift wrap, magazine pages, old book pages or maps.
For this project, I used 6 x 6-inch squares, but you can make your squares larger or smaller depending on the size of the artwork you want to create.

How to make Colourful Origami Wall Art.
1. Take your origami paper and fold in half along both diagonals.

2. Open it back out and fold each of the corners into the center.

3. Flip your paper over and fold all the corners into the centre again.

4. Make as many pieces as you need in your chosen colours.

5. Arrange your design and cut a piece of foam board or cardboard to size.

6. To finish, use a glue stick or some double-sided tape and secure your origami pieces to the card.

7. To finish, trim the cardboard to size and display.
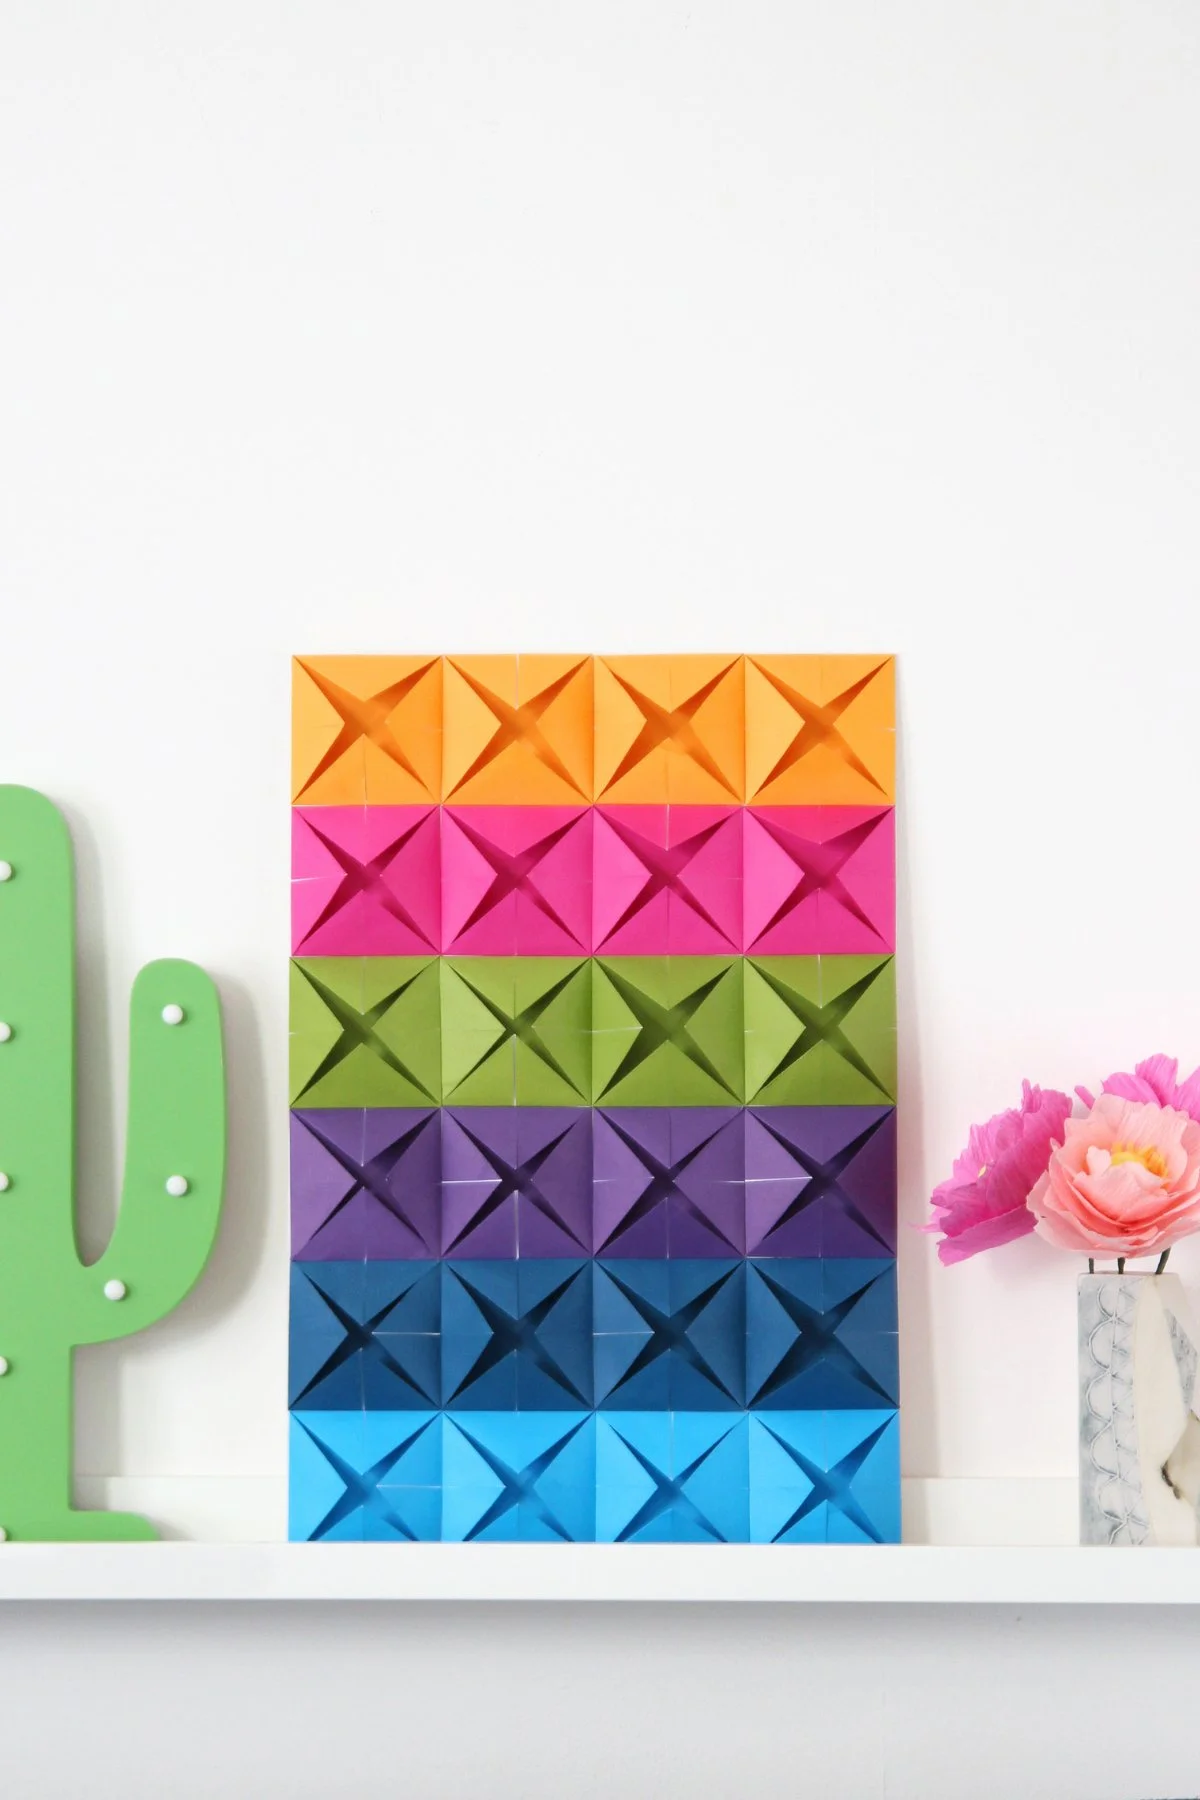
You can also use this folded-paper technique to create a colourful DIY photo backdrop for parties, proms, birthdays and other special occasions.
Simply make a larger panel covered with folded paper squares, or create several smaller panels that can be joined together to make a fun, eye-catching backdrop for photos.


