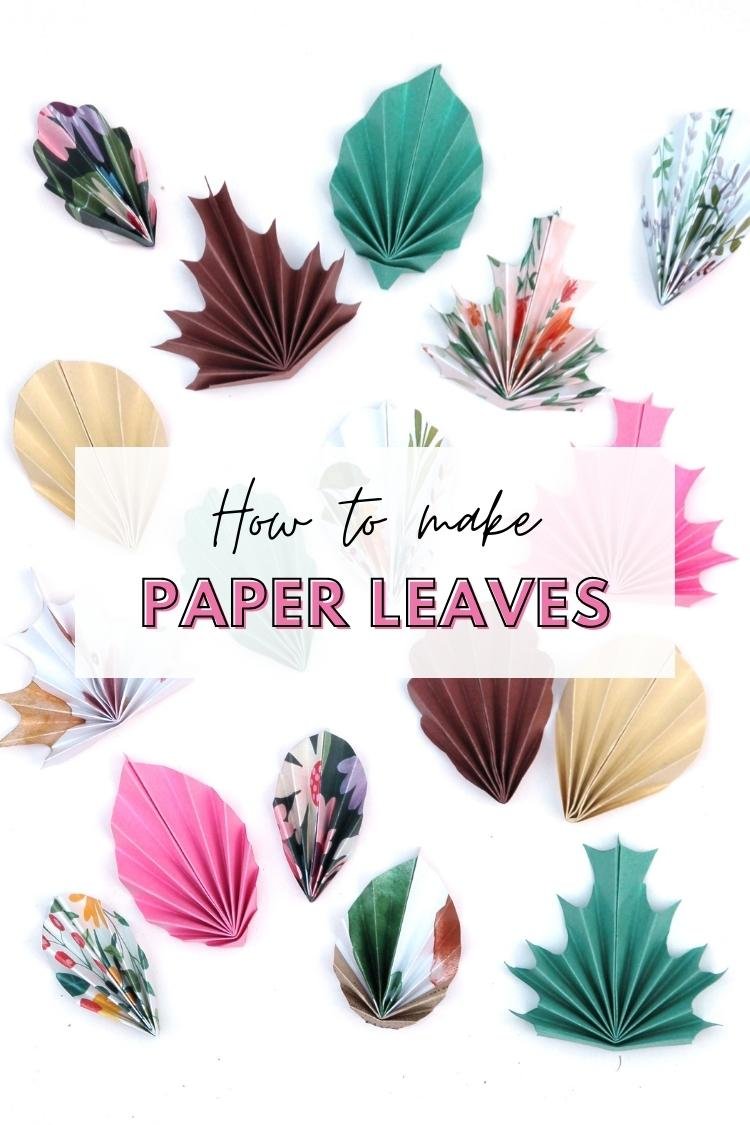
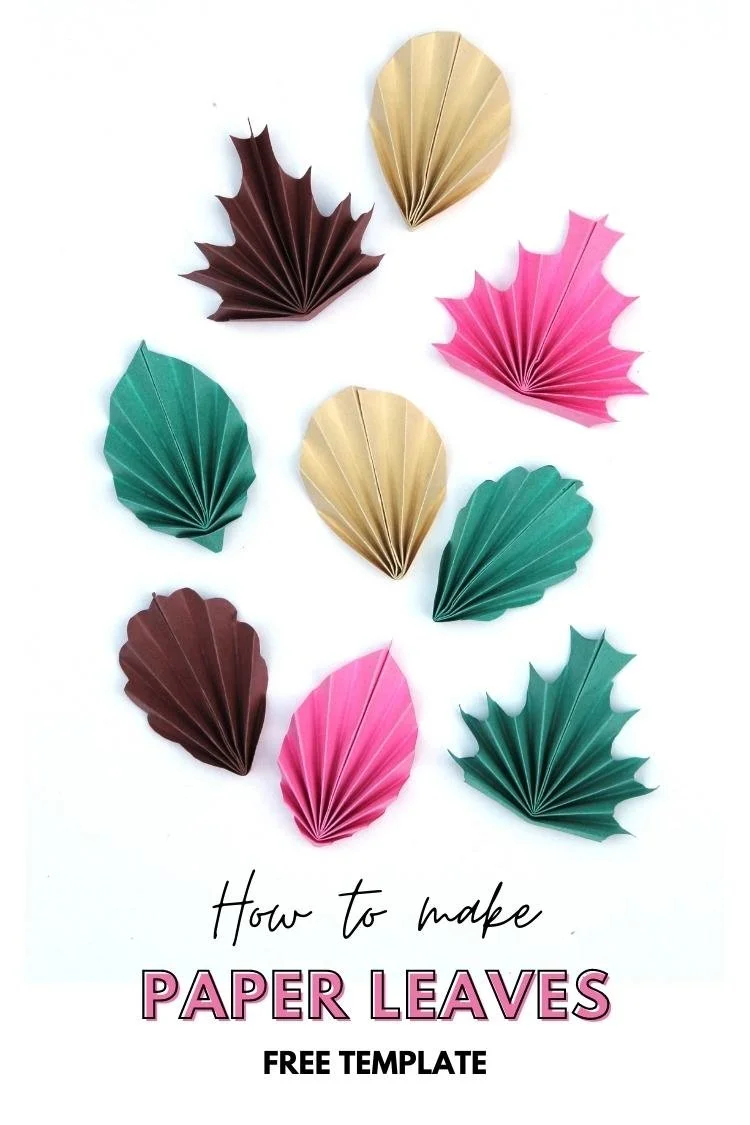
How To Make Easy Paper Leaves
/Get crafty this fall with these easy folded paper leaves. These homemade leaves are so simple to make and ideal for all sorts of autumn craft projects.
Change the colour depending on the season and these pretty paper leaves will make a fantastic year-round decoration.
This page contains affiliate links. This means that if you make a purchase after clicking a link I earn a small commission but it doesn’t cost you a penny extra!
DIY Paper Leaves.
Autumn is here. The leaves are changing colours and I’ve got a cute fall craft to share with you. These paper leaves are the easiest thing to make. If you ever made a simple paper fan as a child then you’ll have no problem folding these pretty leaves.
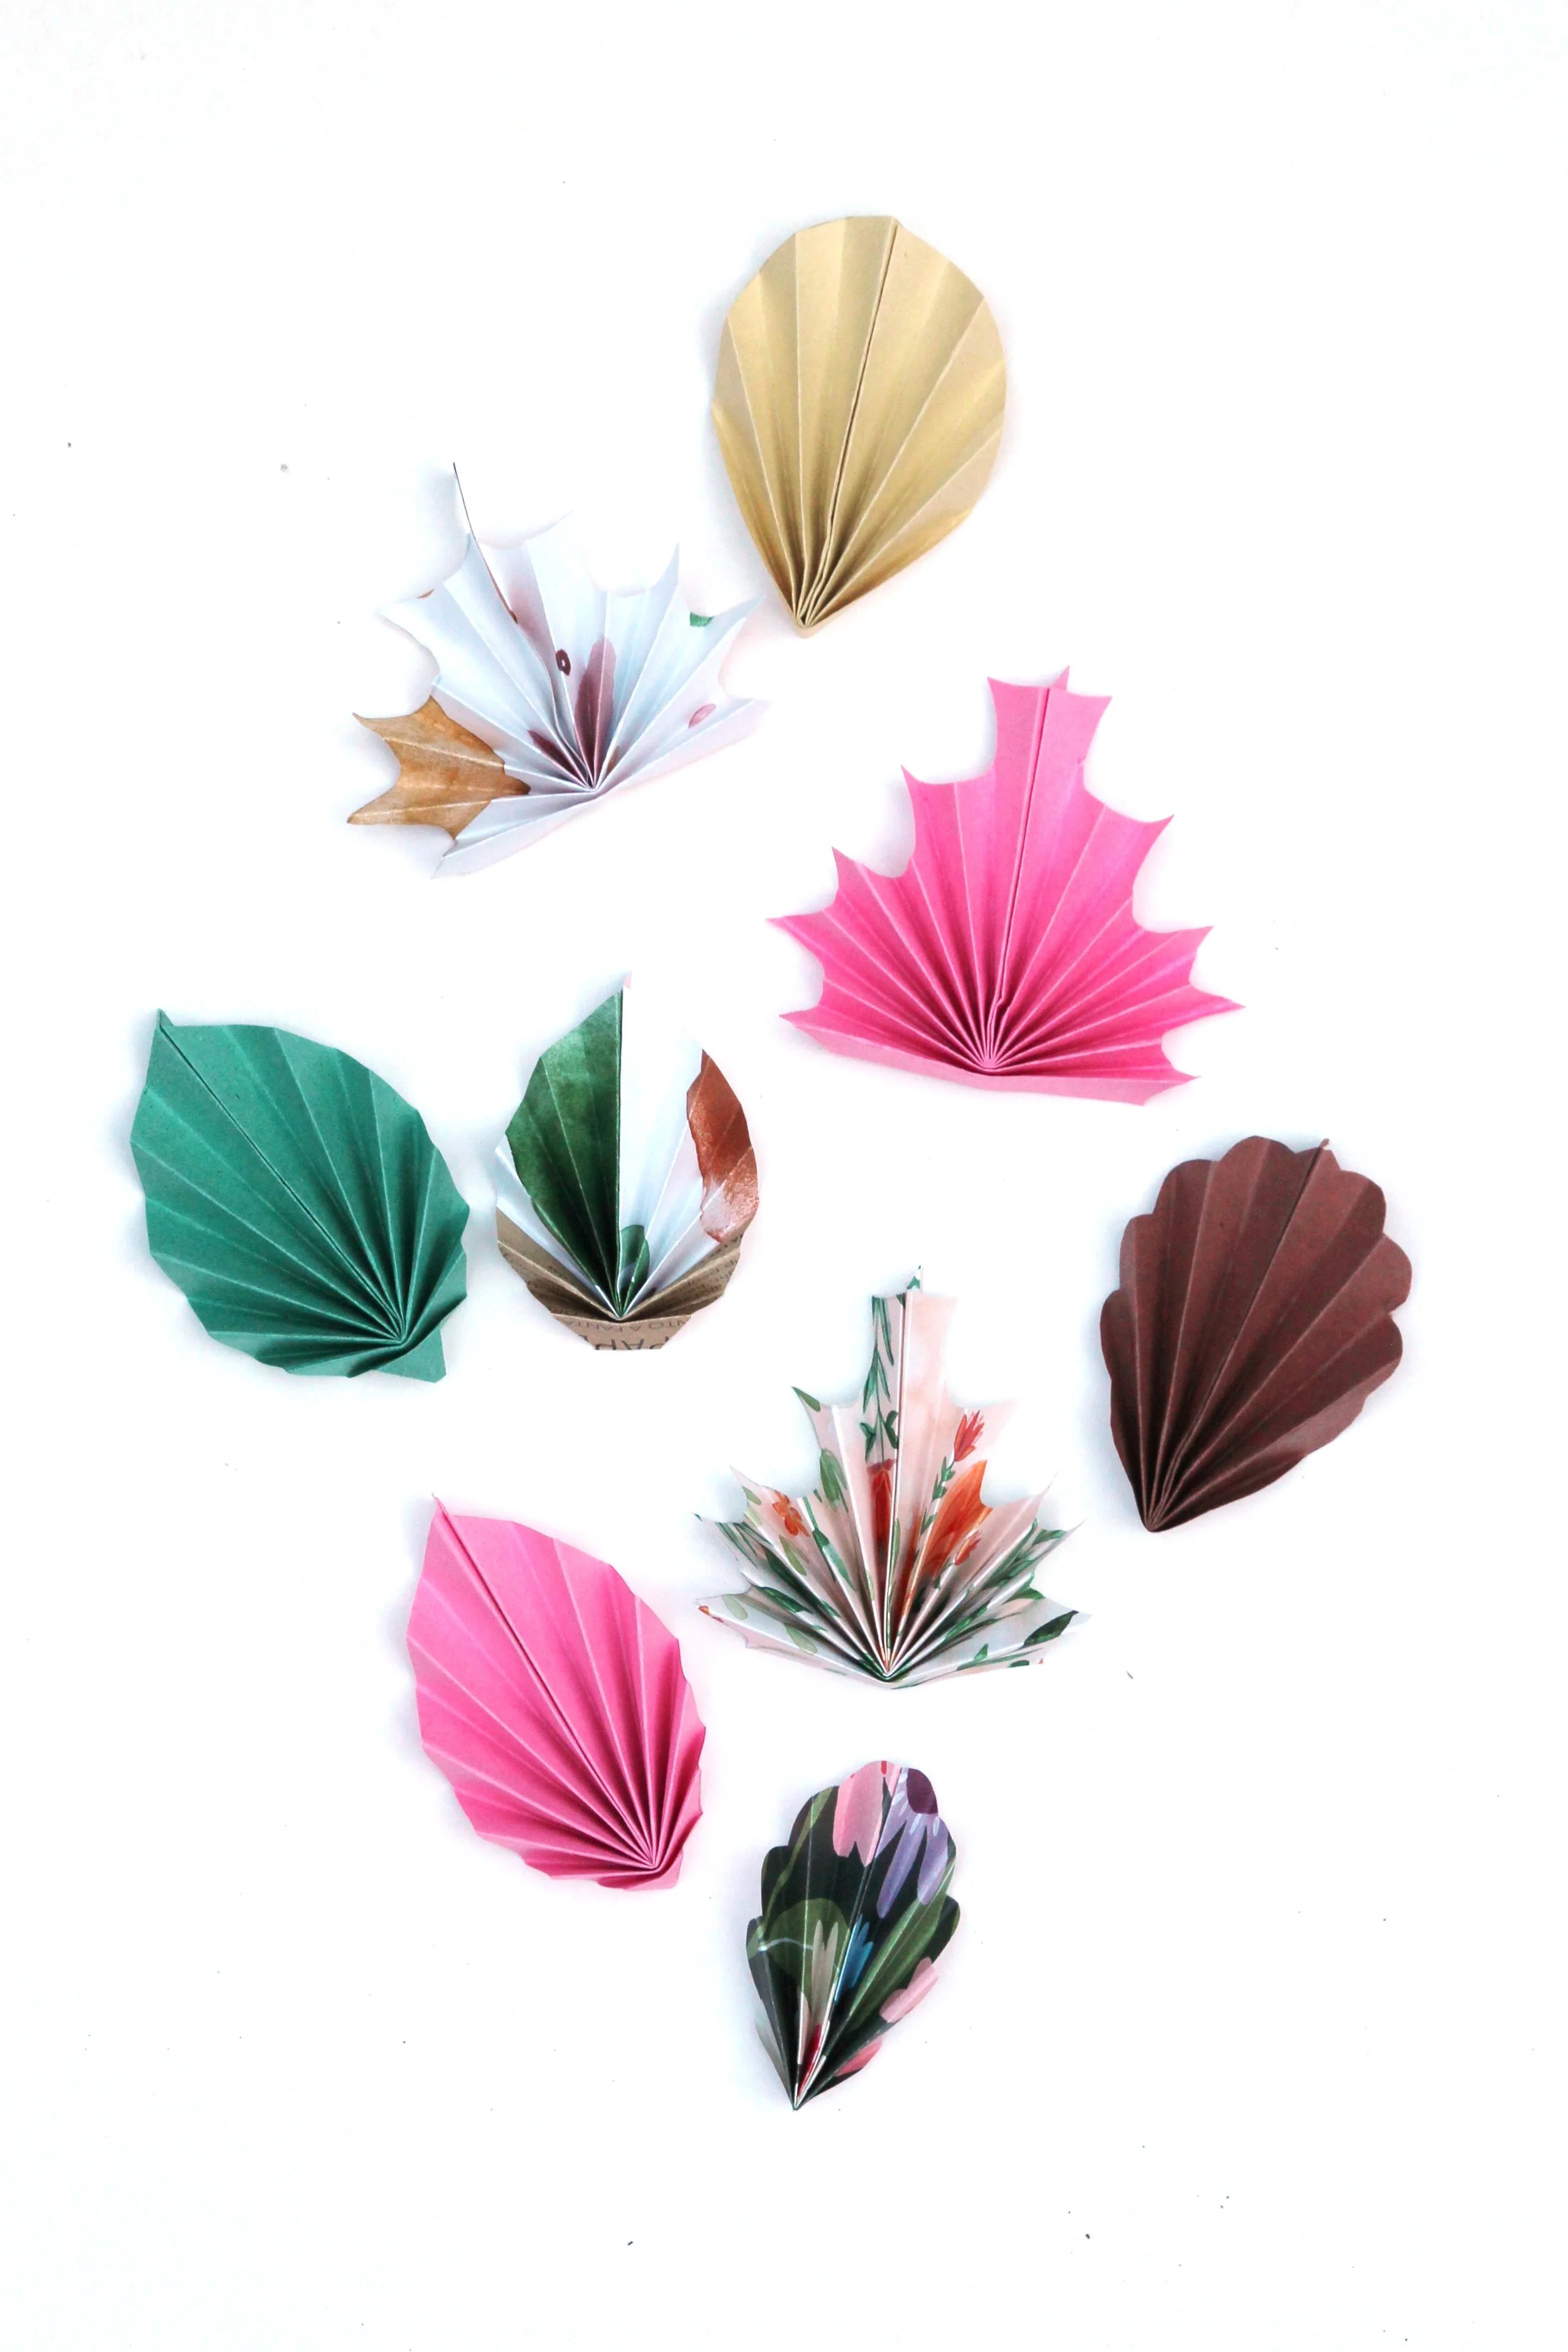
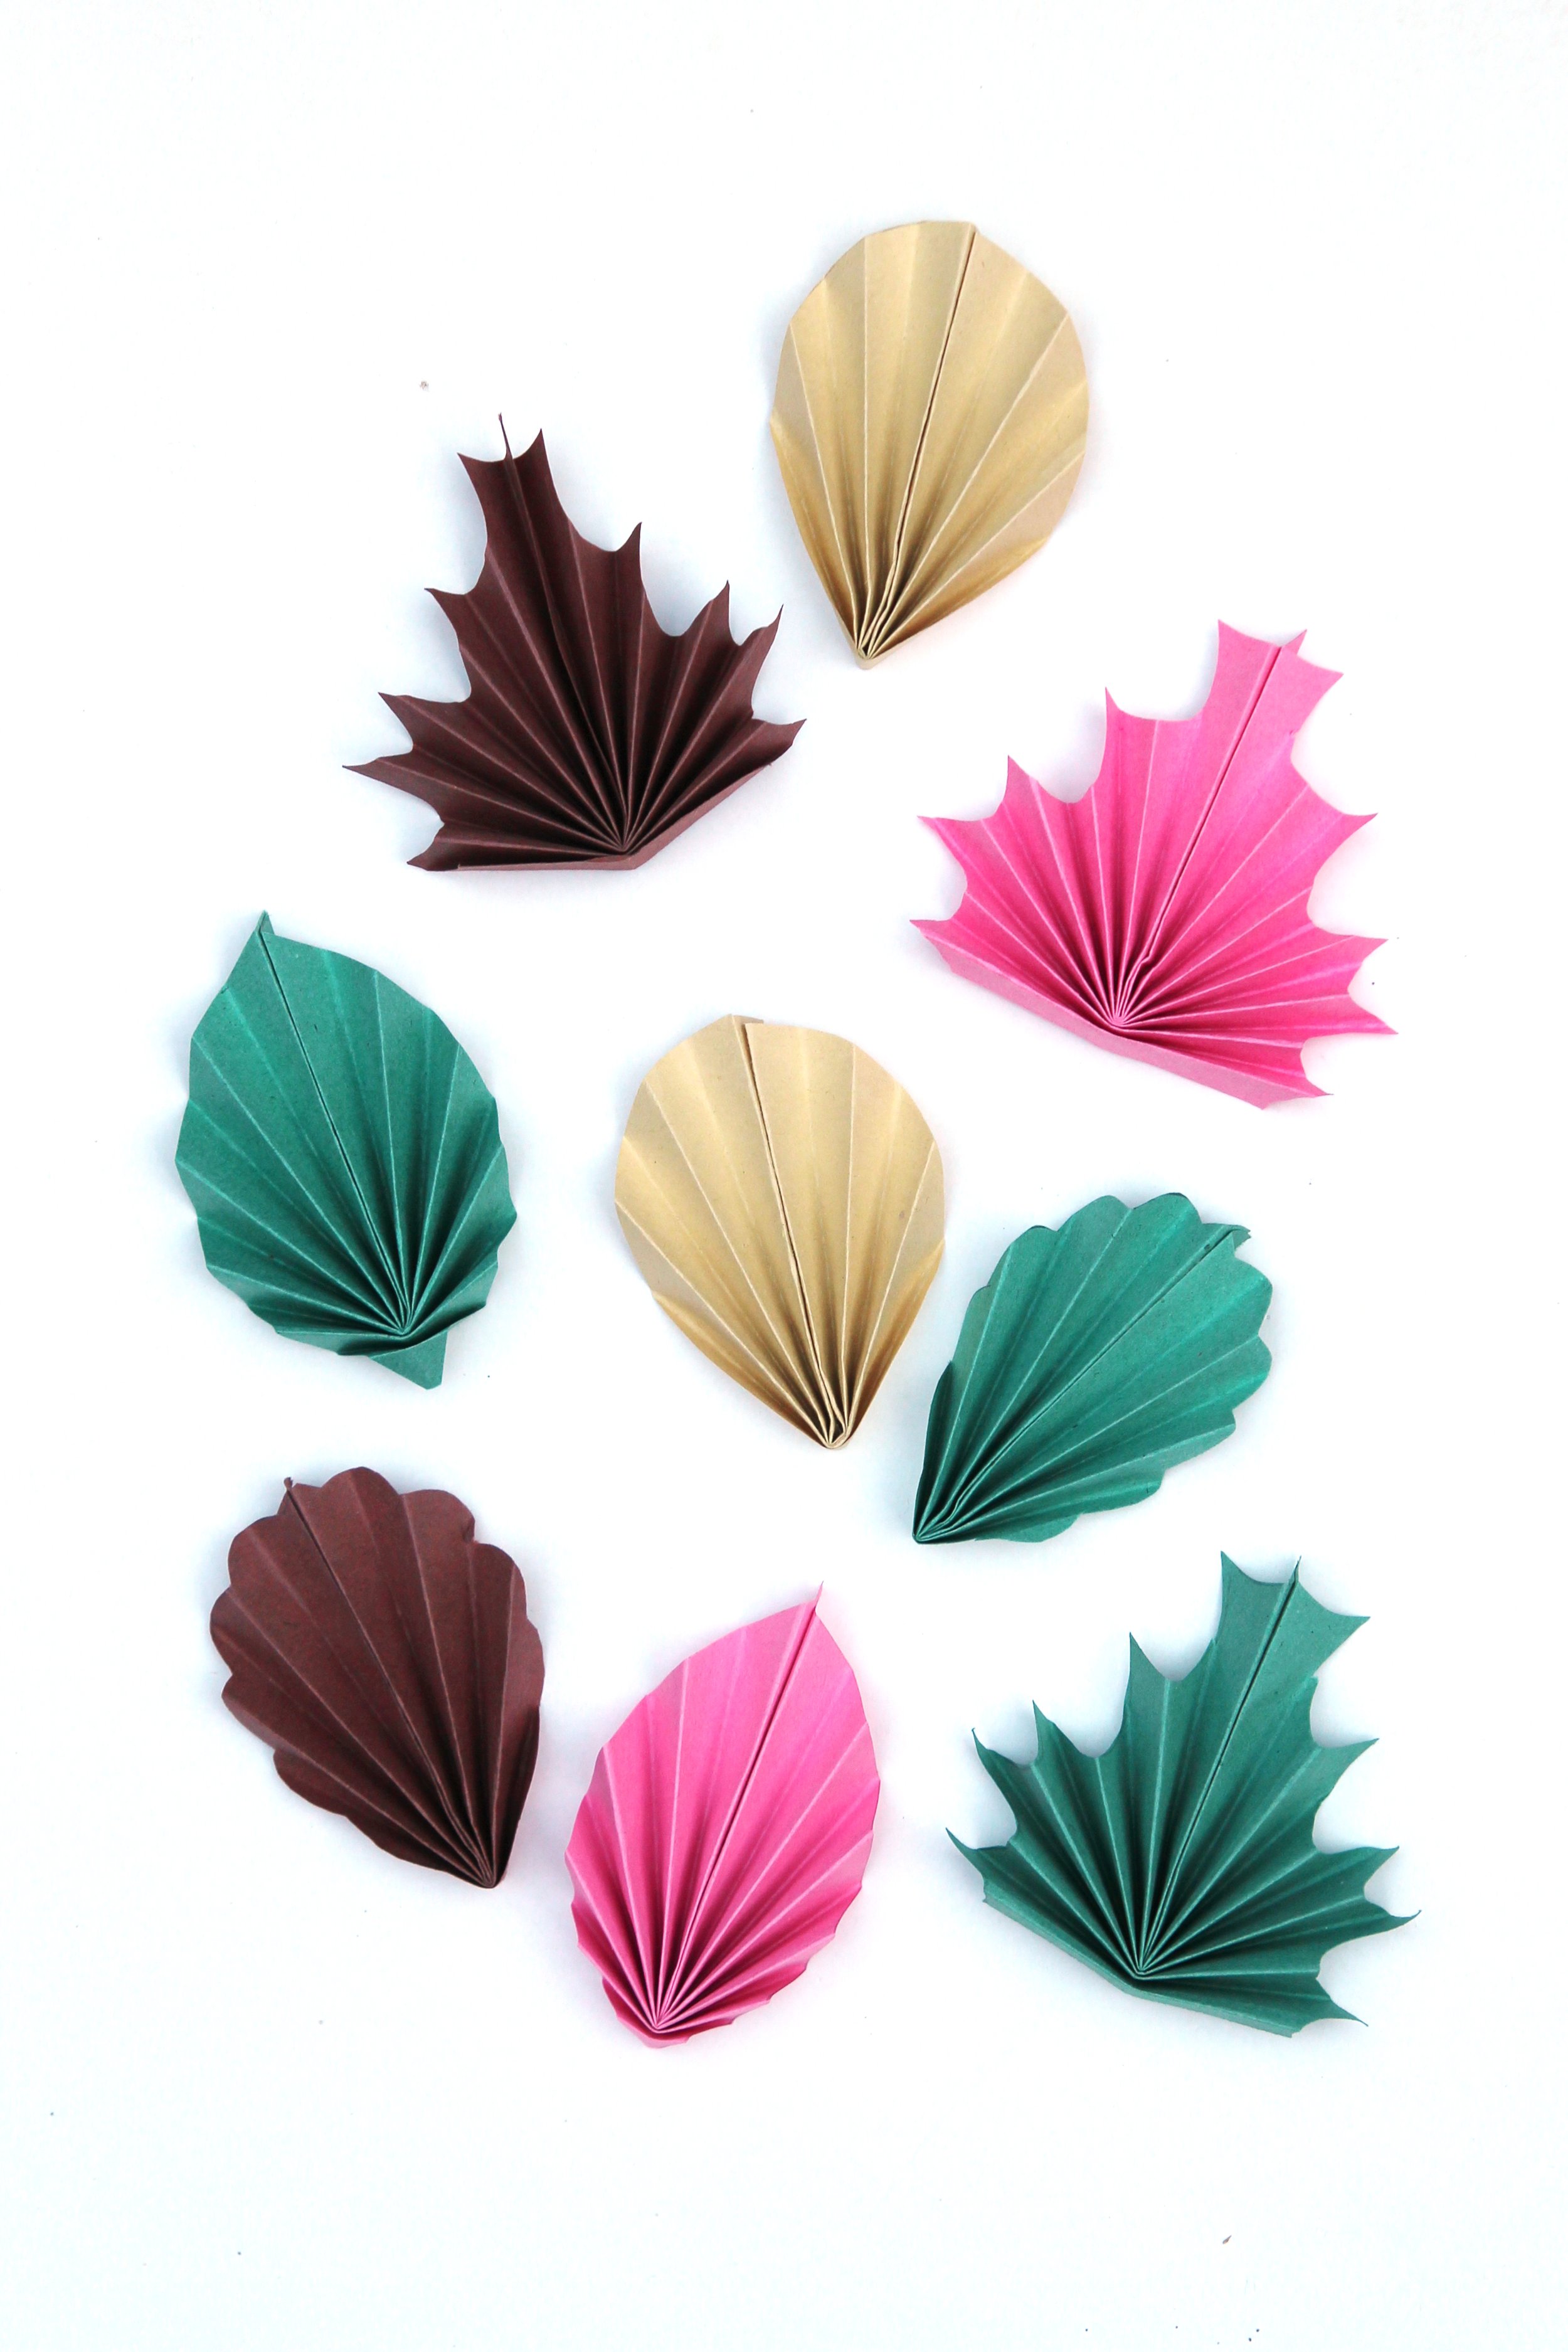
You might recognise these paper leaves from my origami leaf garland last year. It used a simple paper triangle to make the leaves. This time around I wanted to show you how to make four different shaped leaves and to make it even easier you can download a template for each one.
They’d look fantastic hung up as a garland but they’d also make a lovely display when stuck to some twigs in a vase or used as a gift tag or homemade card topper.
If you’re looking for a quick and easy way to add some fall colour to your home then a paper leaf garland is the ideal solution.
Check out the video to see how to make them for yourself.

Supplies:
Paper (6 x 6-inch squares)
I used a mixture of plain coloured paper and some pretty patterned paper.
Printable Leaf Template (found at bottom of post)
A Pencil
Scissors
Double-sided Tape or a Glue Stick

How to make Paper Leaves (with FREE template).
1. Download and print out the templates below.
2. Cut out the four different leaf shapes.
3. To make leaf one and leaf four in the video you need a 6x6 inch piece of paper and fold it in half.
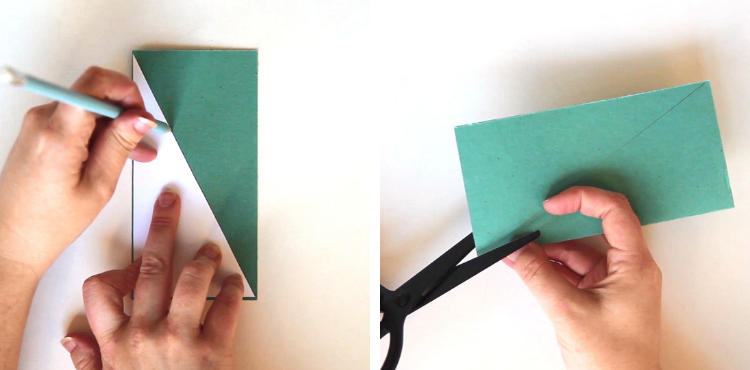
Leaf One (point at the top, curve at the bottom).
4. Place the triangle template with the long side along the creased edge.
5. Draw along the edge of the template and cut out.

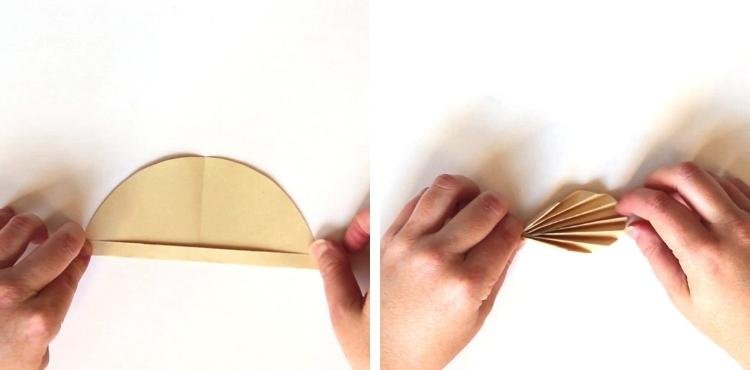
6. Open your paper out to make a triangle and lay it down with the widest point at the bottom.
7. Start by folding the bottom edge up by around 1/2cm.
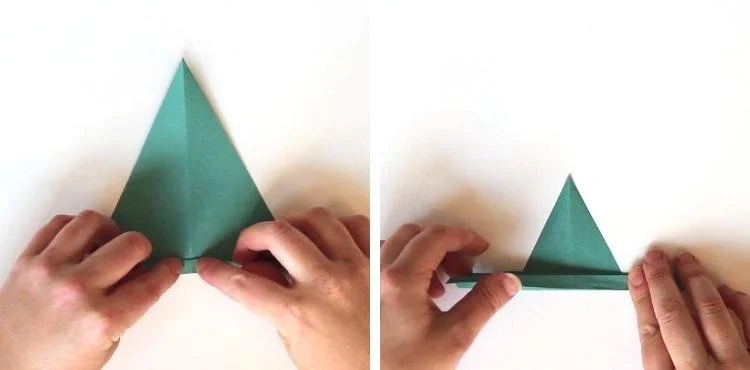
8. Flip your paper over and repeat.
9. Keep flipping and folding your paper to make a concertina or accordion fold.
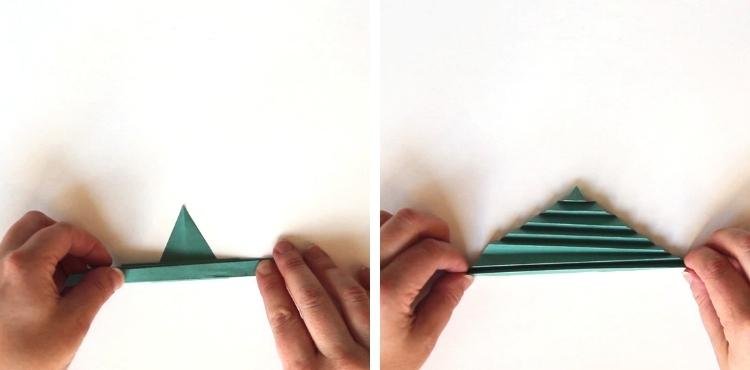
10. Fold until you reach the end of the paper.

11. With the smallest point at the bottom fold the paper in half to make a leaf shape.

12. Open back out and apply some glue or double-sided tape to the inside of your leaf.

13. Carefully line up the middle section of your leaf and stick together.

14. Fan out your paper leaf to finish.
Leaf Two (curved top leaf).
1. To start take a 6x6 inch paper square and fold in half.
2. Cut along the crease to make two rectangles. Each rectangle makes one leaf.
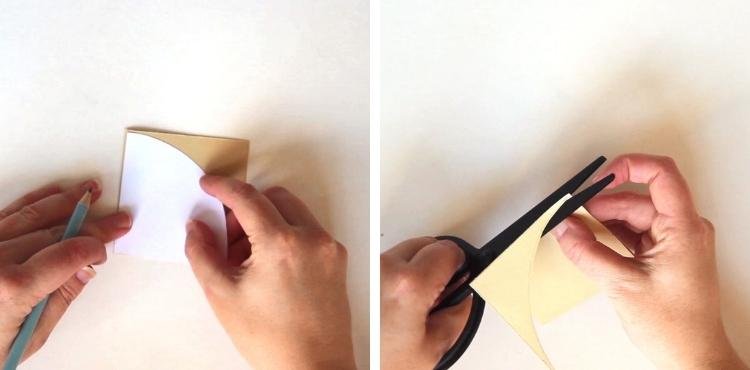
3. Fold a rectangle in half to make a square.
4. Place the quarter circle template on the folded side and draw around it.
5. Cut along the line.
6. Open out to make a semi-circle.
7. Fold the bottom edge up around 1/2cm and keep flipping and folding your paper to make a concertina fold like with the other leaf.
8. Fold in half and crease.
9. Open back out and stick close to finish using double-sided tape.
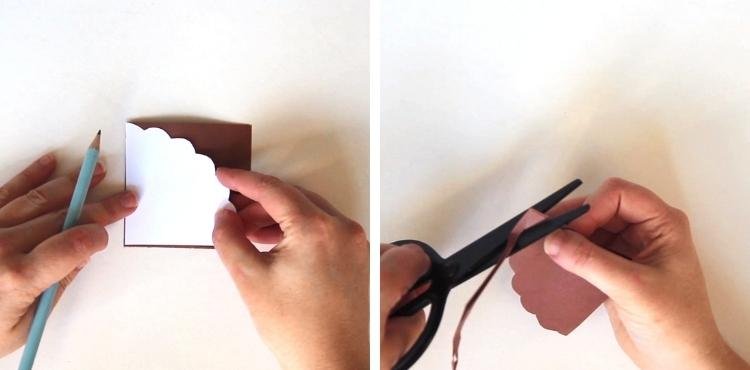
Leaf Three (scalloped edge).
1. Fold and cut a 6x6 inch square in half.
2. Fold in half again and this time use the scalloped edge template to make the leaf.
3. Trace and cut around the template.
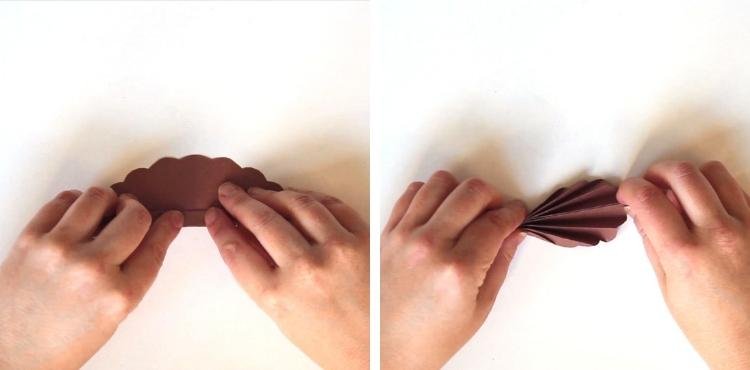
4. Fold the bottom edge up and keep flipping and folding until you reach the end of the paper.
5. Fold and stick the leaf closed to finish.
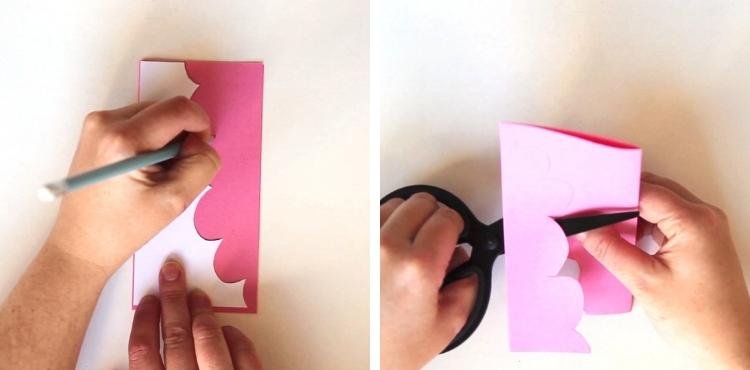
Leaf Four (maple leaf).
1. To make this maple style paper leaf you need a 6x6 inch square of paper folded in half.
2. Take the jagged edge template and place the long side along the folded crease.
3. Trace and cut around the template.

3. Fold the bottom edge up and keep turning and folding to make a fan.
4. Fold in half and stick together at the middle.

Want more help? Make sure to watch the video below for step by step instructions:
I think these paper leaves make a lovely decoration. There are so many ways you can use them. For example, gluing them to homemade greeting cards or making an autumn leaf wreath. You could even try using some textured paper or hand painting your own pattern to make your leaves really unique.