
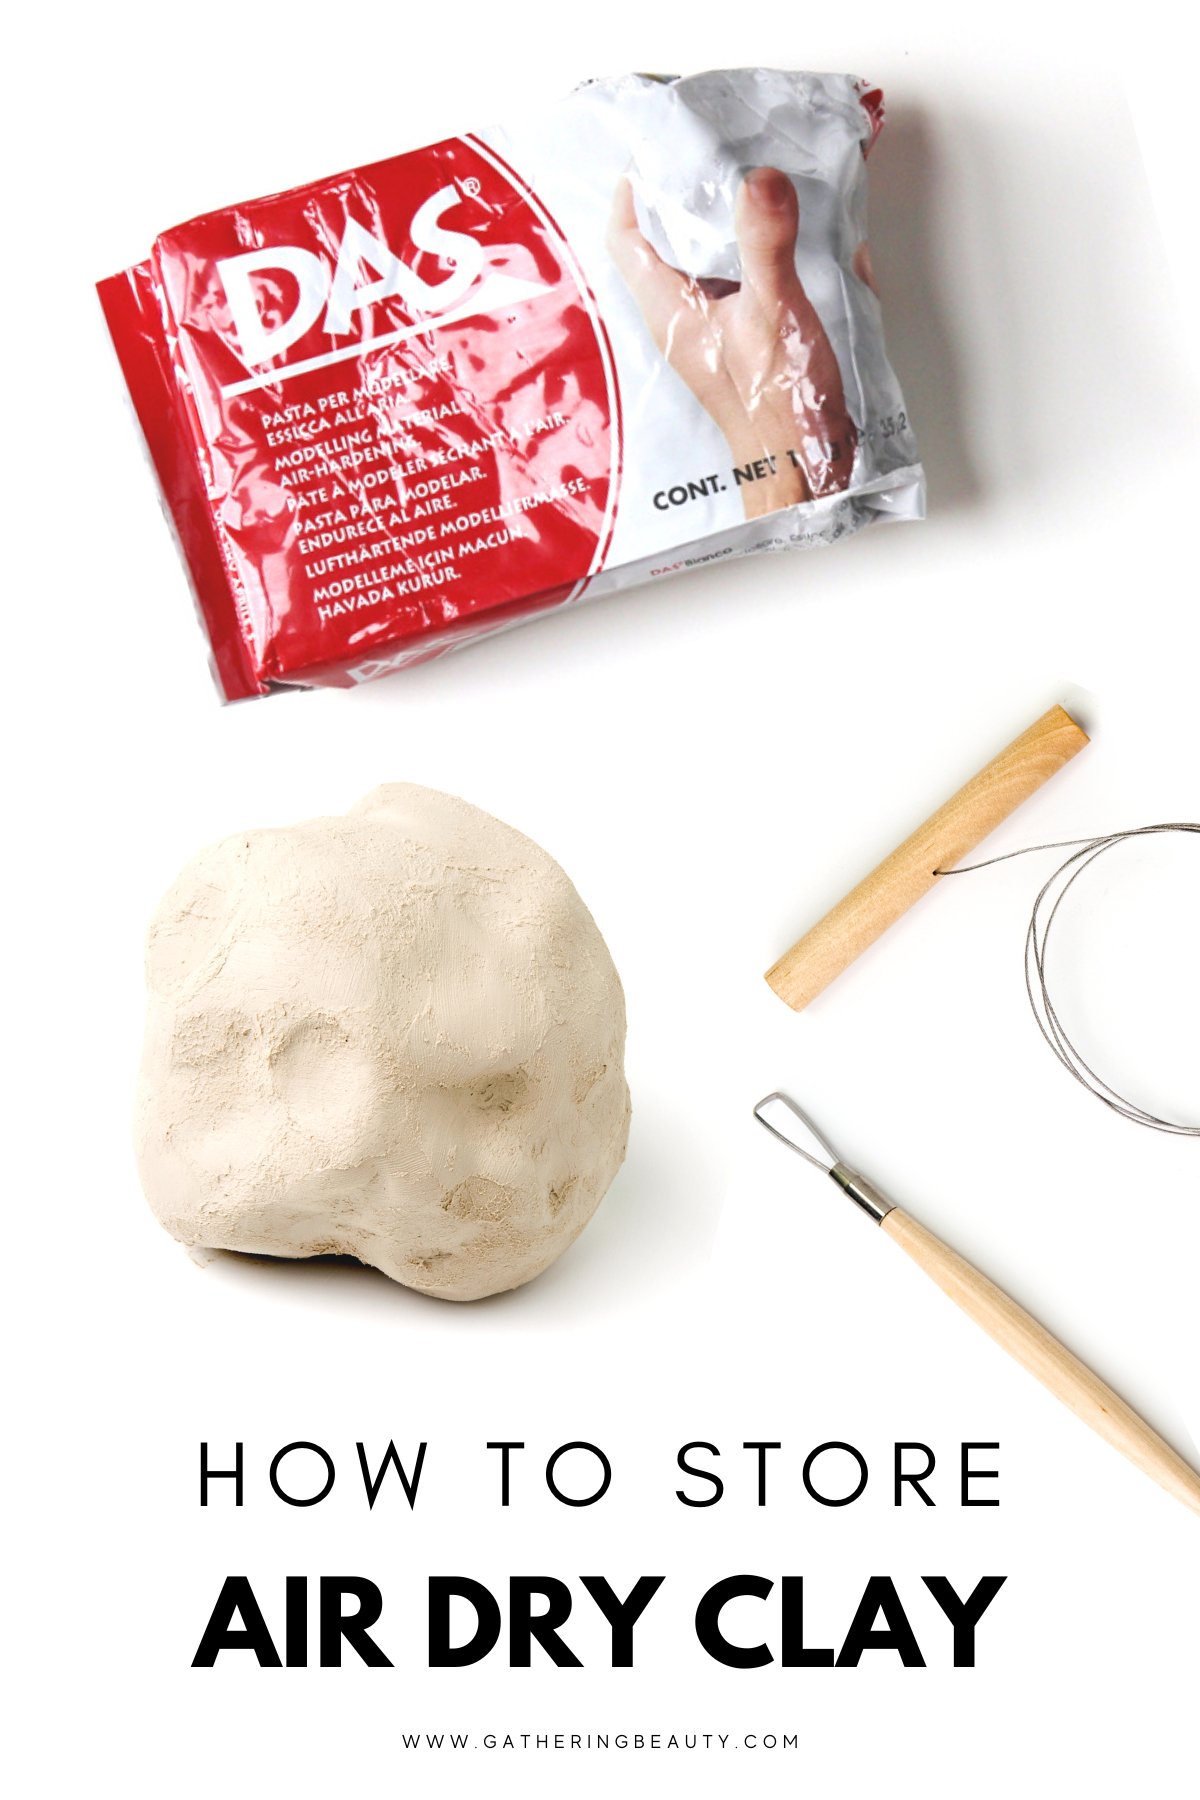
How To Store Air Dry Clay
/Don't let your clay go to waste! Learn how to store leftover air dry clay using these tips and tricks so you can keep it fresh for all your future projects.
This post contains some affiliate links for your convenience (which means if you make a purchase after clicking a link I will earn a small commission but it won’t cost you a penny extra)!
Keep Your Air Dry Clay Fresh: Tips for Proper Storage.
As someone who loves to create with air dry clay, I've learned a thing or two about storing it properly. There's nothing more frustrating than going to use your clay to make a pretty bowl or some jewellery only to find out it's as hard as a rock.
But fear not, the good news is I've put together some of my best tips and tricks to help you store your air dry clay like a pro. By following these simple steps, you can avoid waste and extend the shelf life of your clay.
There's no crumbly, dry clay here! Only soft, pliable clay that can be used to make your beautiful clay masterpieces.
Related: Air Dry Clay Tips And Tricks
The Basics: What is Air Dry Clay?
Air dry clay is one of my favourite materials for creating all kinds of different craft projects. It's a type of clay that is made from a mixture of natural materials, paper pulp or fibres and glue.
As the name suggests it dries and hardens in the air instead of needing to be fired in a kiln like traditional clay. The great thing is it's easy to work with, requires no baking or firing during the drying process and dries to a hard, durable finish.
If you want to know more about air dry clay drying times check out my post on How Long Does Air Dry Clay Take To Dry? here.
The Best Type of Air Dry Clay.
There are a couple of different types of air dry clay I recommend.
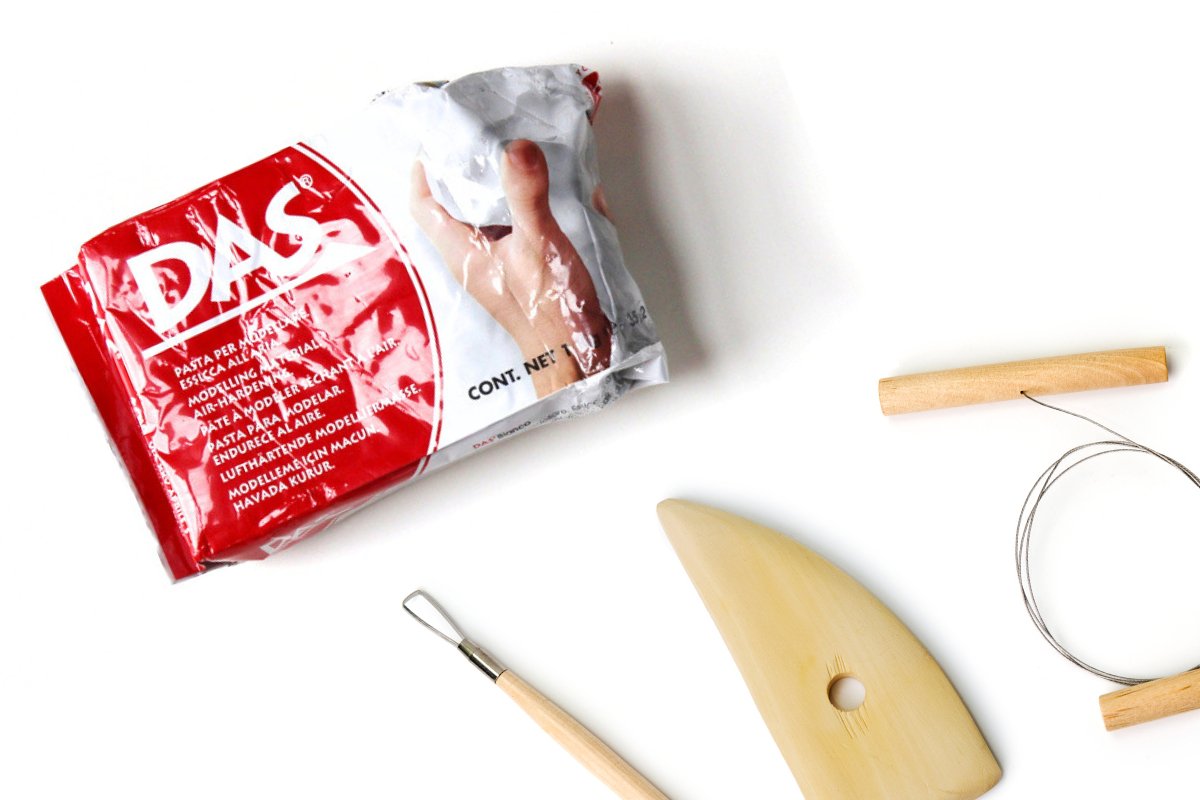
First up is the Das Air Dry Clay. It's available in most craft shops here in the U.K. It comes in white and terracotta and I recently spotted a stone effect that I’m excited to try.
The next one is the white Crayola Air Dry Clay. It comes in a large 5 lbs resealable tub. Great for large projects or big groups. Both the Crayola and the Das clay look grey when wet but dry to a matte off-white colour.
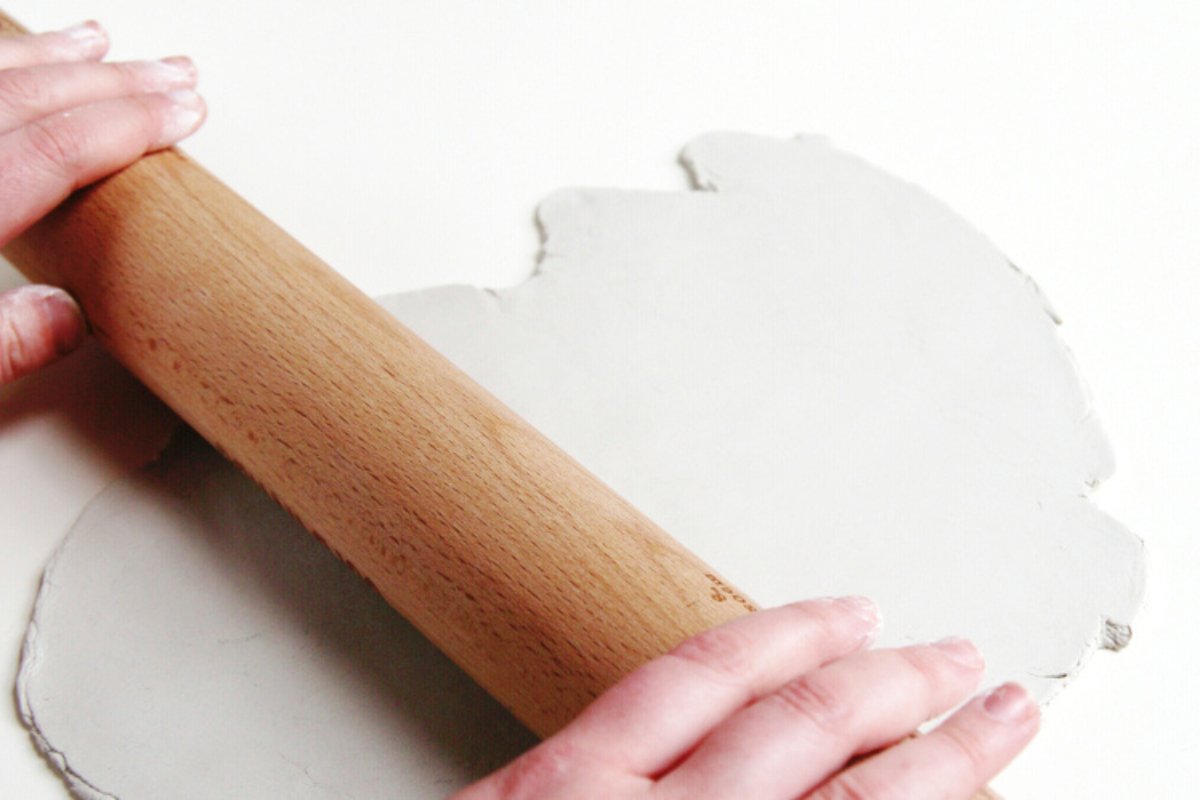
This clay can be moulded, embossed and stamped when wet to make anything from small models to bowls, jewellery and even larger pieces like pots.
Finished projects can be painted using acrylic paint and sealed using an acrylic sealer (check out this post on how to glaze air dry clay) to create pieces that will last for a long time.
Any leftover clay can be saved and used again. Read on to find out how.

Tips and Tricks For Storing Your Air Dry Clay.
1. Wrap It In Plastic.
The first thing you need to do is wrap your remaining clay in plastic wrap or cling film. For extra protection, I like to place the wrapped clay inside a plastic bag or Ziploc bag.
Make sure to remove wrap it tightly and remove all the excess air. This will keep the moisture in and prevent the clay from drying out.
2. Keep It In An Airtight Container.
The next step is to find an airtight container. Any plastic container with a tight-fitting lid will do as long as it is clean and dry to avoid contaminating your clay.
Place your wrapped clay into your airtight storage container making sure the lid is firmly in place so no moisture can evaporate.
3. Store In A Cool, Dark Place.
Air drying clay should be stored at room temperature in a cool, dark place away from any direct sunlight or heat sources. Too much heat and direct sunlight can cause the clay to dry out faster so storing it somewhere like a cupboard, drawer or pantry is ideal.
A good idea is to try to remember to check on your clay every now and again to make sure it's not drying out.

4. Rehydrate If Necessary.
If your clay starts to dry out there are a few things you can do to try and save it.
For clay that is only slightly dry around the edges, you can place a wet paper towel around the clay. Rewrap it in the plastic wrap and place it back in the airtight container for a few days.
For clay that is beginning to become hard, you may be able to rehydrate it by adding a little water at a time or spritzing it with a water bottle. Keep kneading and adding more water until it becomes soft and pliable.
If the clay is extremely dry, you may need to add more water and let it sit for a few hours before kneading. Be careful not to add too much water though as this can make the clay sticky.
5. Store Different Brands Or Types Of Clay Separately.
There any many different types of air-dry clay and each brand will have different properties and drying times. I prefer to stick to one brand and type of clay for each project and store any leftover clay separately. Mixing them can mean you could be left will cracking and an uneven finish.
The best way to store them would be to leave them in their original packaging and wrap them separately so you know which is which. If you only have a small amount of unused clay as long as it's bagged up separately I would still store them in the same container.

So there you have it, the best tips and tricks when it comes to how to store air dry clay. By following these steps you'll be able to keep your clay in good condition for months to come.

