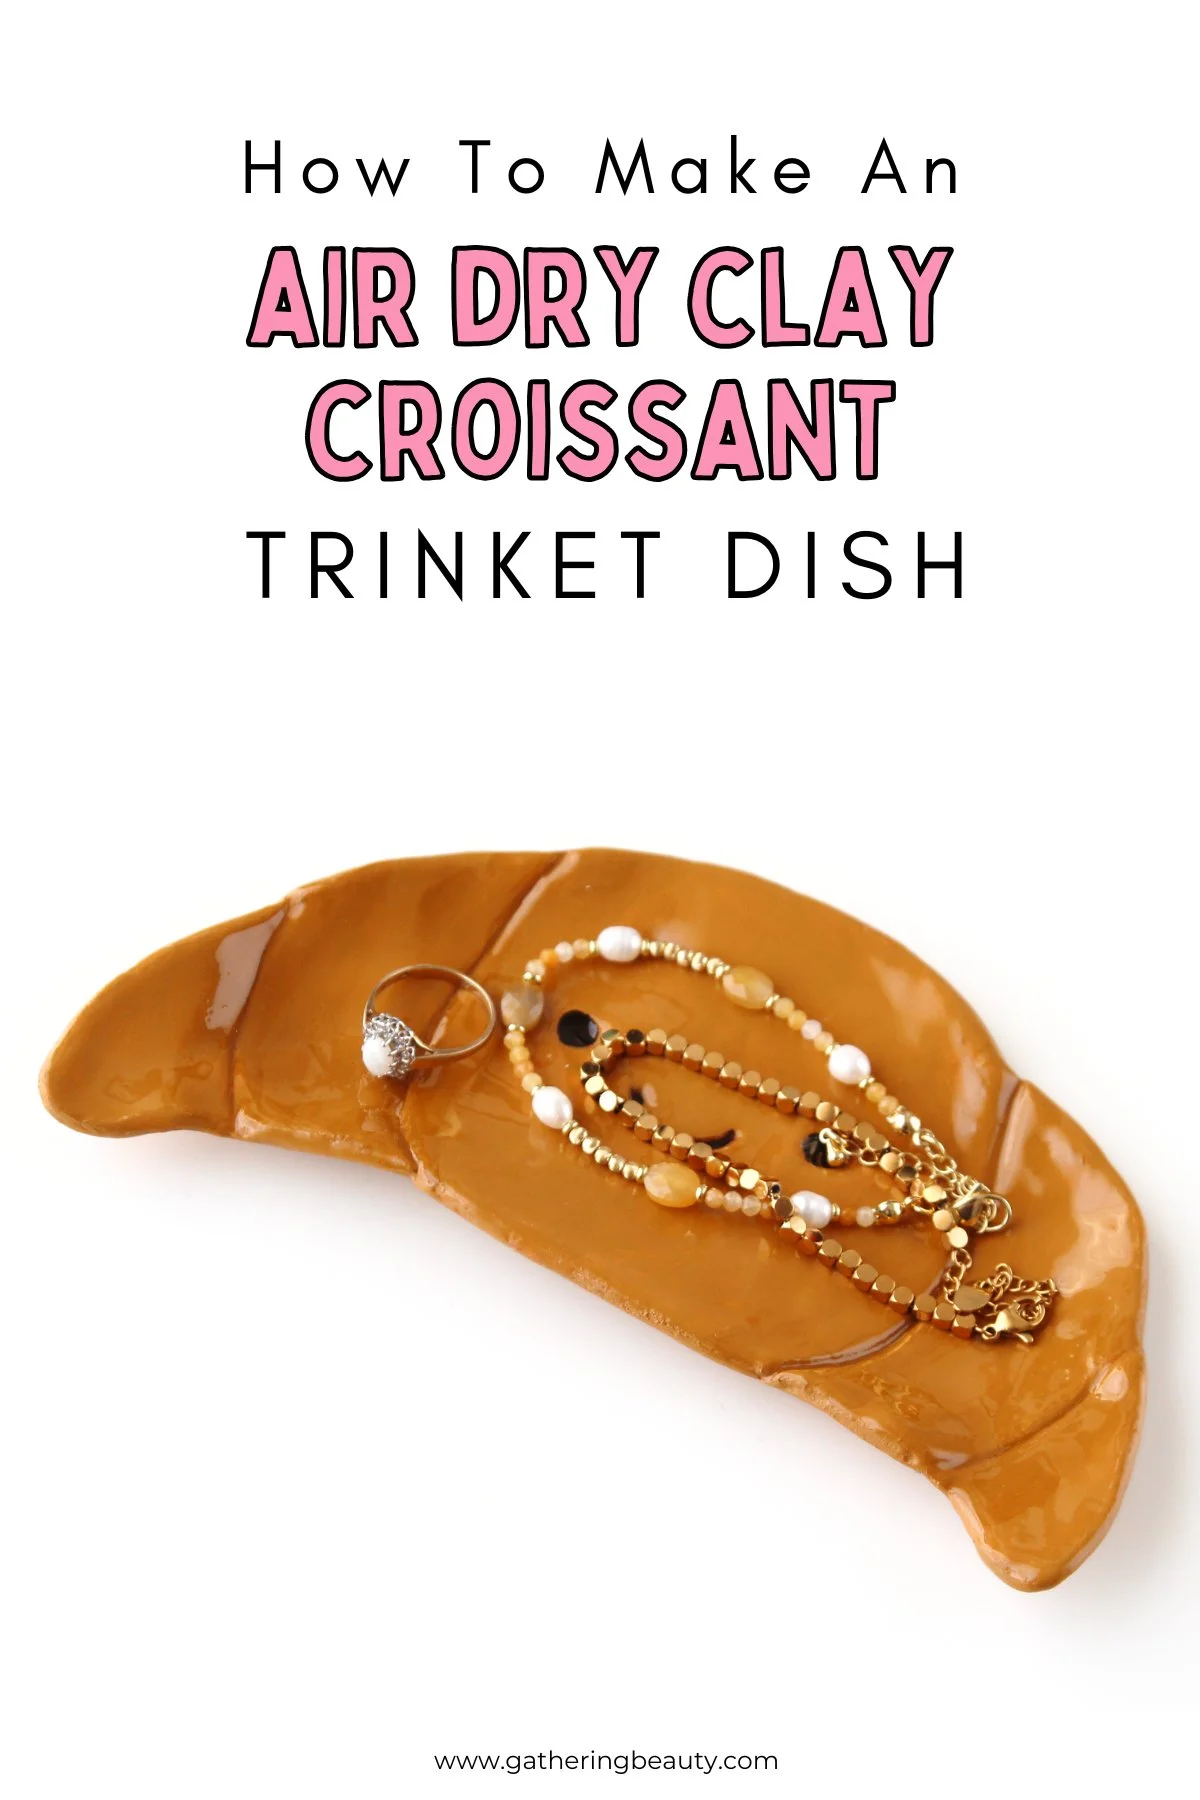
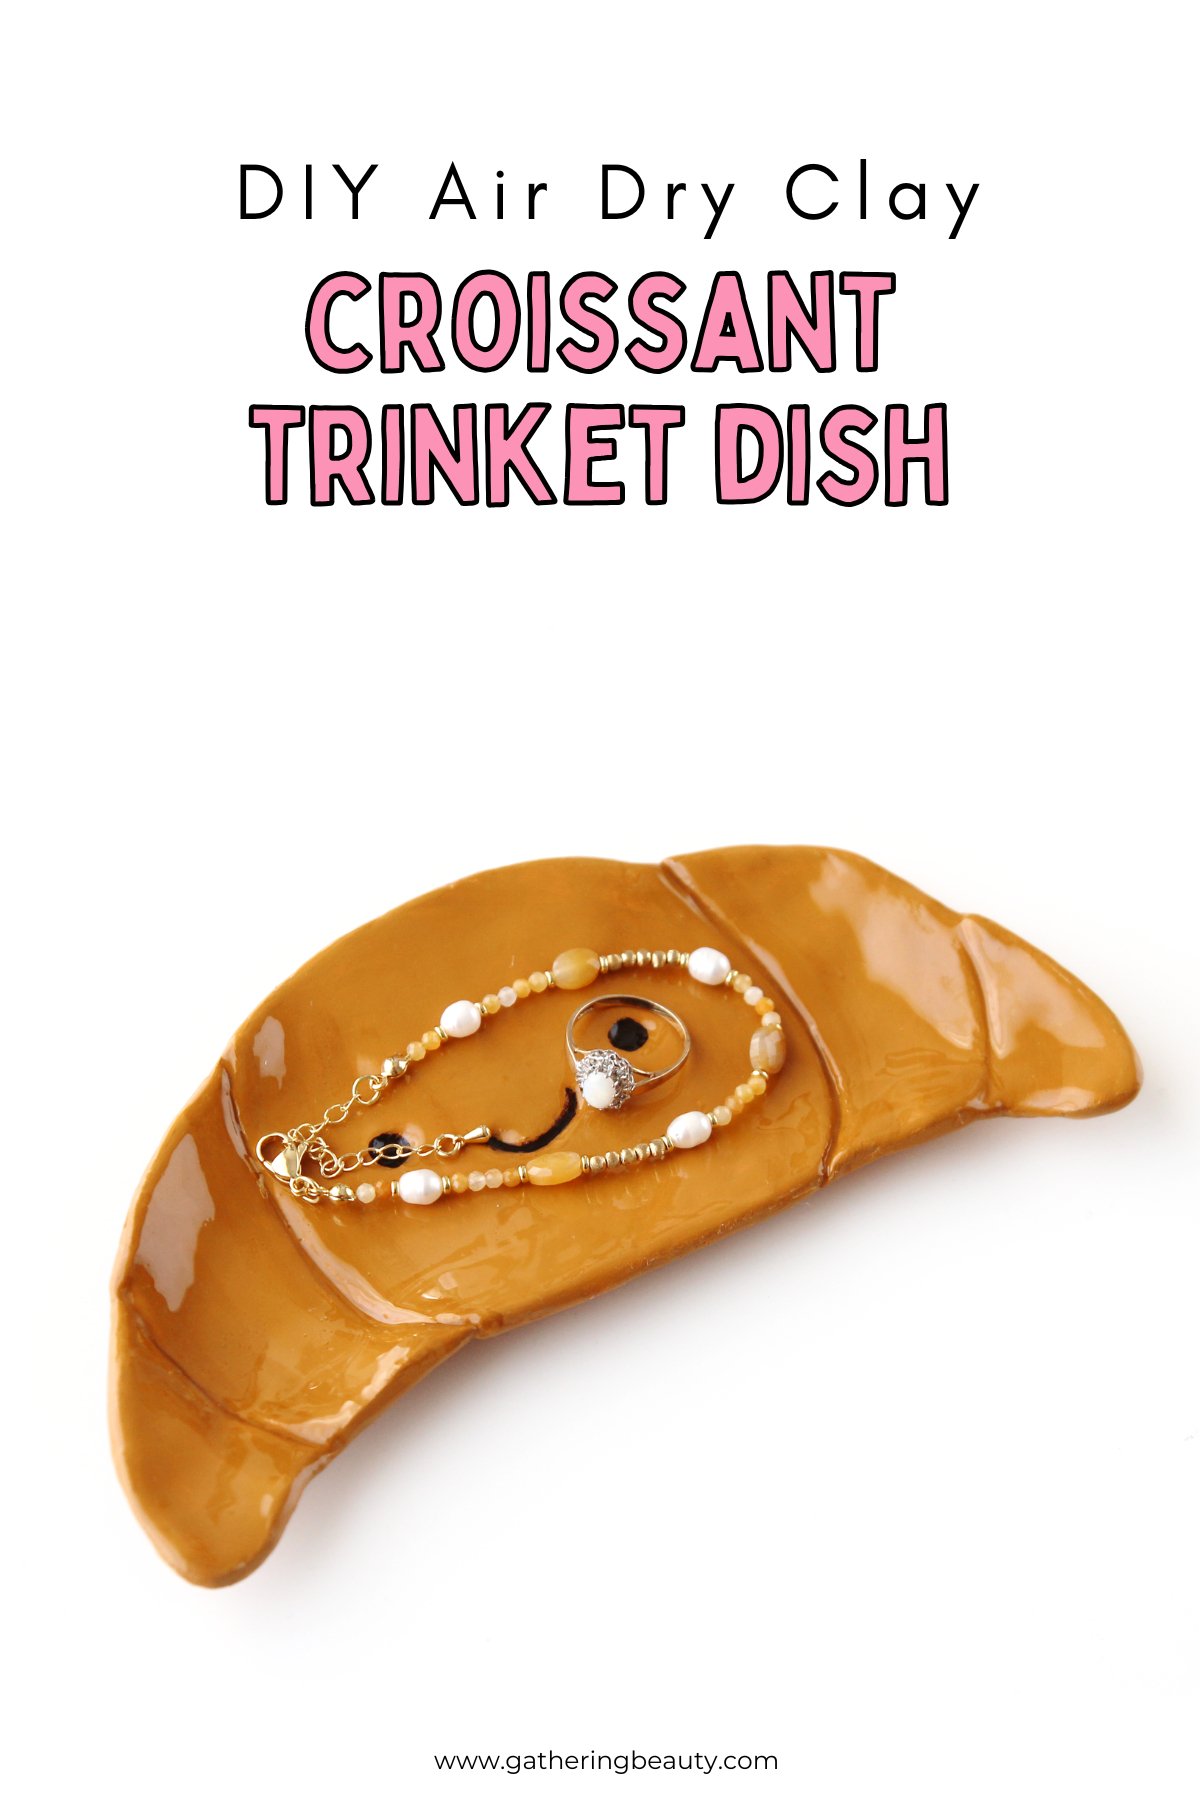
DIY Air Dry Clay Croissant Trinket Dish
/Add a sweet little bakery touch to your dresser or vanity with this DIY Air Dry Clay Croissant Trinket Dish! With its glossy finish and cute smiling face, this handmade dish is the perfect spot to keep your rings, earrings, and other tiny treasures safe.
This page contains affiliate links. This means that if you make a purchase after clicking a link I earn a small commission but it doesn’t cost you a penny extra!
DIY Clay Croissant Dish.
Is there anything cuter than a food-shaped trinket dish? I don't think so! This little croissant dish has quickly become one of my favourite air dry clay projects, and it's such a fun one to make with kids too (with a little help for the painting and resin steps).
All you need is some air dry clay, the free template, and a few basic tools you probably already have lying around your craft space. No pottery wheel or kiln required!
You can find more tips and tricks for working with air dry clay here.

Supplies:
Croissant Template (sign up below to get the free template)
Fine Sandpaper
Acrylic Paint (tan or caramel shade, plus dark brown for the face)
Small Cup of Water
Paper Towels
Acetone/Nail Varnish Remover

How To Make A Clay Croissant Trinket Dish.
1. Knead your clay until soft and pliable, then roll it out to an even thickness of around 5 mm using a rolling pin.
2. Place your croissant template on top and trace carefully around the outline with a clay tool.

3. Remove the excess clay.
4. Use a clay tool to trace the shape of the croissant and the eyes and mouth onto the clay.
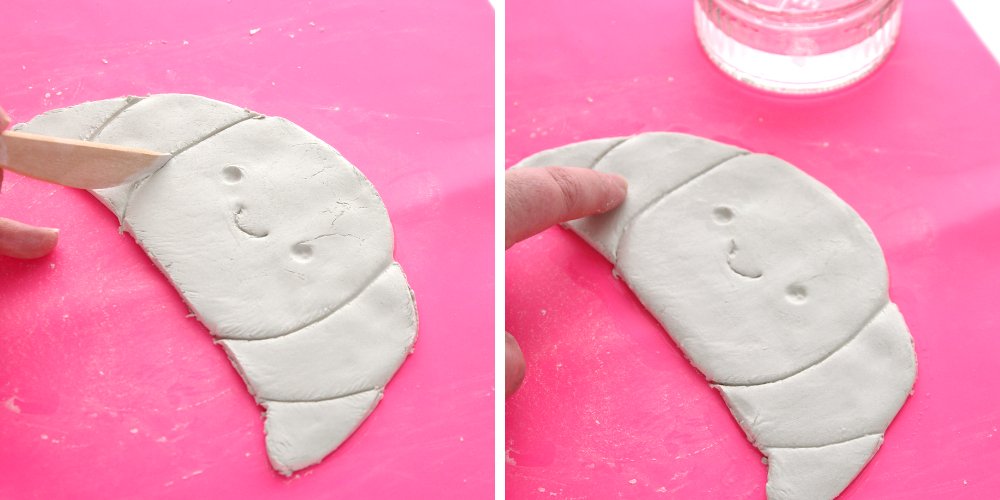
5. Go over the traced lines with a clay tool and press two small indents for the eyes, then carve a simple curved smile underneath.
6. Use your fingers and a little water to smooth the edges.

7. Transfer your clay onto a plate to dry. Place folded-up pieces of paper towel under the edges of the sides to give it a curved shape as it dries.
8. Leave to dry for 24 hours before flipping over and leaving to dry for another 24 hours.
Depending on your clay's thickness and the humidity in your space, it can take longer to dry.
You can find more tips and tricks for drying your air dry clay crafts here.

9. Once fully dry, lightly sand any rough edges.
10. Prime your clay croissant by painting it with 2 coats of white gesso. Leave 2 hours between coats and allow 24 hours to dry.

11. Paint the whole piece with tan acrylic paint, making sure to work it into the grooves. Two coats usually give the best coverage.
12. Once dry, add the eyes and smile on top of your carved indents using dark brown paint or a fine-tip marker.
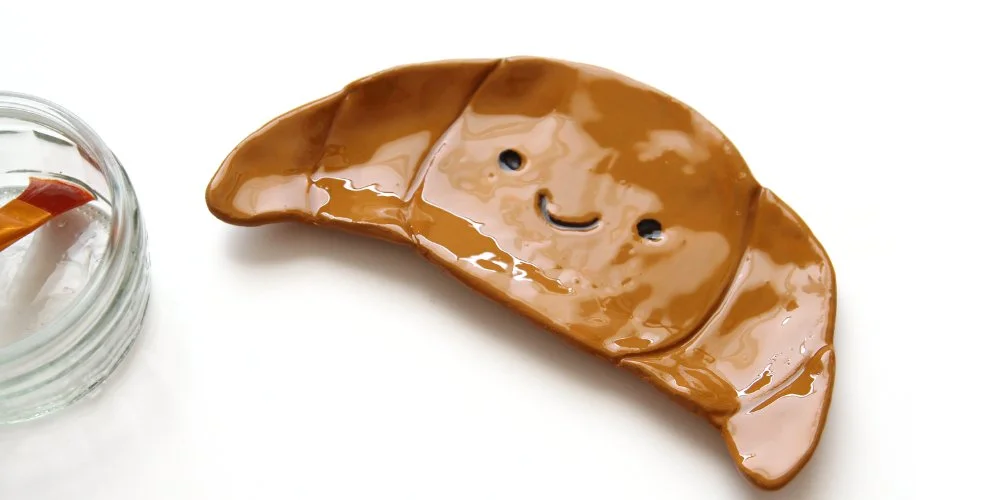
13. Apply a thick, even layer of resin using a brush.
Acetone or nail varnish remover can be used to clean your paintbrush.
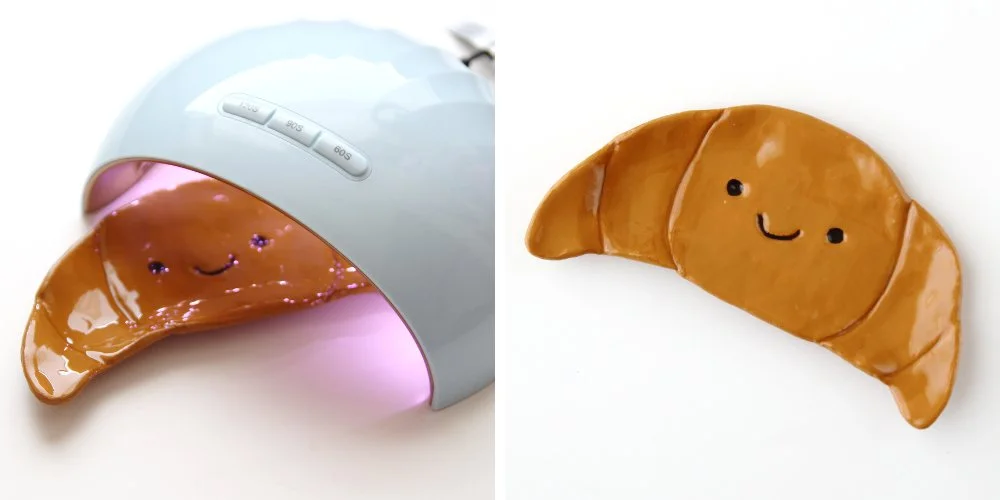
14. Place your clay under a UV lamp for the time recommended by your product.
I did 2 minutes (120 seconds) on one side and then turned my clay around and did another 2 minutes on the other side.

Once cured, your little croissant dish is ready to hold all your favourite trinkets! It also makes such a sweet, budget-friendly handmade gift.