
DIY Crepe Paper Daisy
/Looking for a beautiful paper flower craft? These DIY Crepe Paper Daisies are surprisingly simple to make and look stunning displayed in a vase. A perfect beginner-friendly paper flower project for spring and summer.
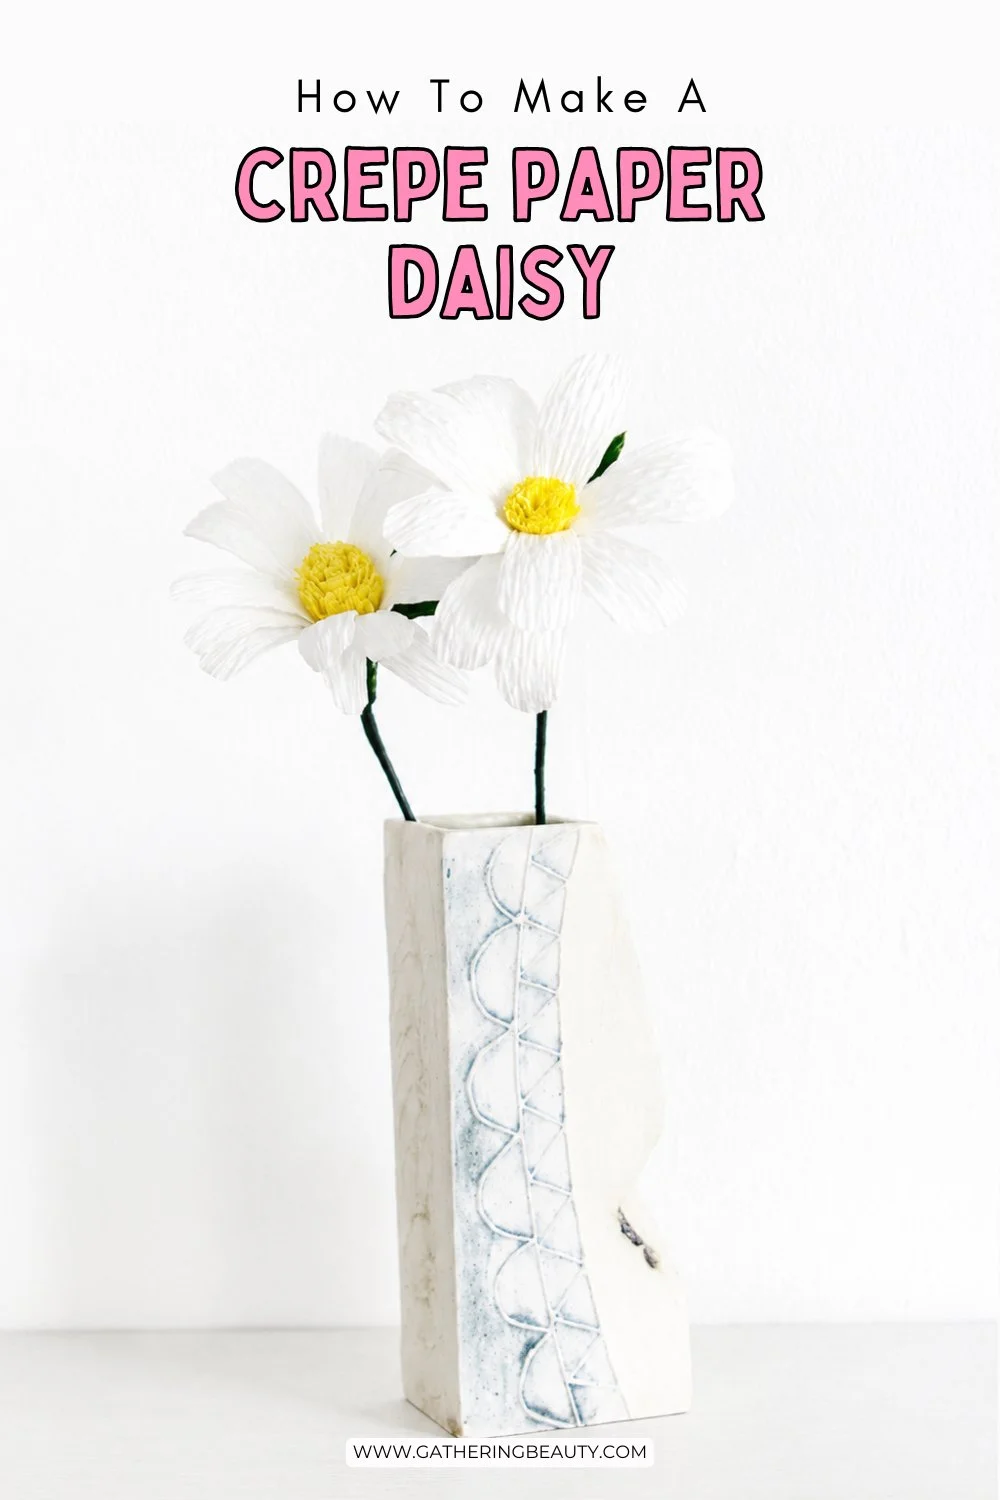
DIY Crepe Paper Daisies.
If you're looking for a simple paper flower craft that's both beautiful and beginner-friendly, these crepe paper daisies are the perfect project.
With their cheerful yellow centres and delicate white petals, they're a lovely way to bring a little springtime indoors no matter the season.
Whether you're new to paper flower making or looking for a quick weekend craft, these crepe paper daisies are a fun project that's perfect for beginners.

I love making crepe paper flowers because they're inexpensive, long-lasting, and look beautiful displayed around the home. These daisies are one of my favourite flowers to create because they're quick and easy to make.
Arrange them on their own in a vase or mix them with your handmade roses and crepe paper peonies for a stunning everlasting bouquet.


How to make Paper Daisies.
1. Cut a piece of yellow crepe paper measuring 15 cm x 3 cm.
2. Cut fine fringe along one long edge, stopping halfway down.
3. Apply a thin line of glue along the uncut edge and wrap the strip tightly around the end of a floral wire stem.

4. Continue rolling until the entire strip is wrapped and secure the end with glue.
You can also add a little glue where the wire stem meets the crepe paper centre.

5. Cut a strip of white crepe paper measuring 12 cm x 6 cm.
6. Fold in half and cut petal shapes into the paper, making sure to leave a 1cm gap at the bottom.
7. Apply a thin line of glue along the uncut edge and wrap the petals around the yellow centre of the flower.
Tip: Try to line up the petals so they overlap as you wrap them around the centre. This will mean your petals are spread out evenly on your finished flower.

8. Cut a strip of green crepe paper measuring 9 cm x 5 cm.
9. Fold in half and sepal shapes out about two-thirds of the way down.
10. Apply a thin line of glue along the bottom edge of the sepals, leaving a gap at the bottom.
11. Wrap around the flower, lining up the line of glue with the bottom of the flower.
You want the base of the sepals to hang over the edge of the flower.

12. Trim away any excess sepals.
13. If you’re using white/PVA glue like I did, leave to dry overnight.

14. Once dry, pinch and twist the overlapping base of the sepals around the wire stem.

15. Starting at the base of the flower, wrap floral tape around the bottom of the flower bud, stretching it slightly as you go.
I used some double-sided tape at the top of the stem to help the floral tape stick.
16. Keep wrapping until the stem is covered.

17. Gently spread the petals apart and arrange them around the centre.

18. Take your petals and, using your thumbs, push away from the centre to shape each one.
19. Use a pencil to gently curl the petals and give them a more realistic shape.

20. Trim any excess yellow fringe from the centre if needed and gently press to shape.

Make several daisies and arrange them together in a vase for a beautiful handmade bouquet.
You can vary the petal size and shape slightly to create more natural-looking flowers.


