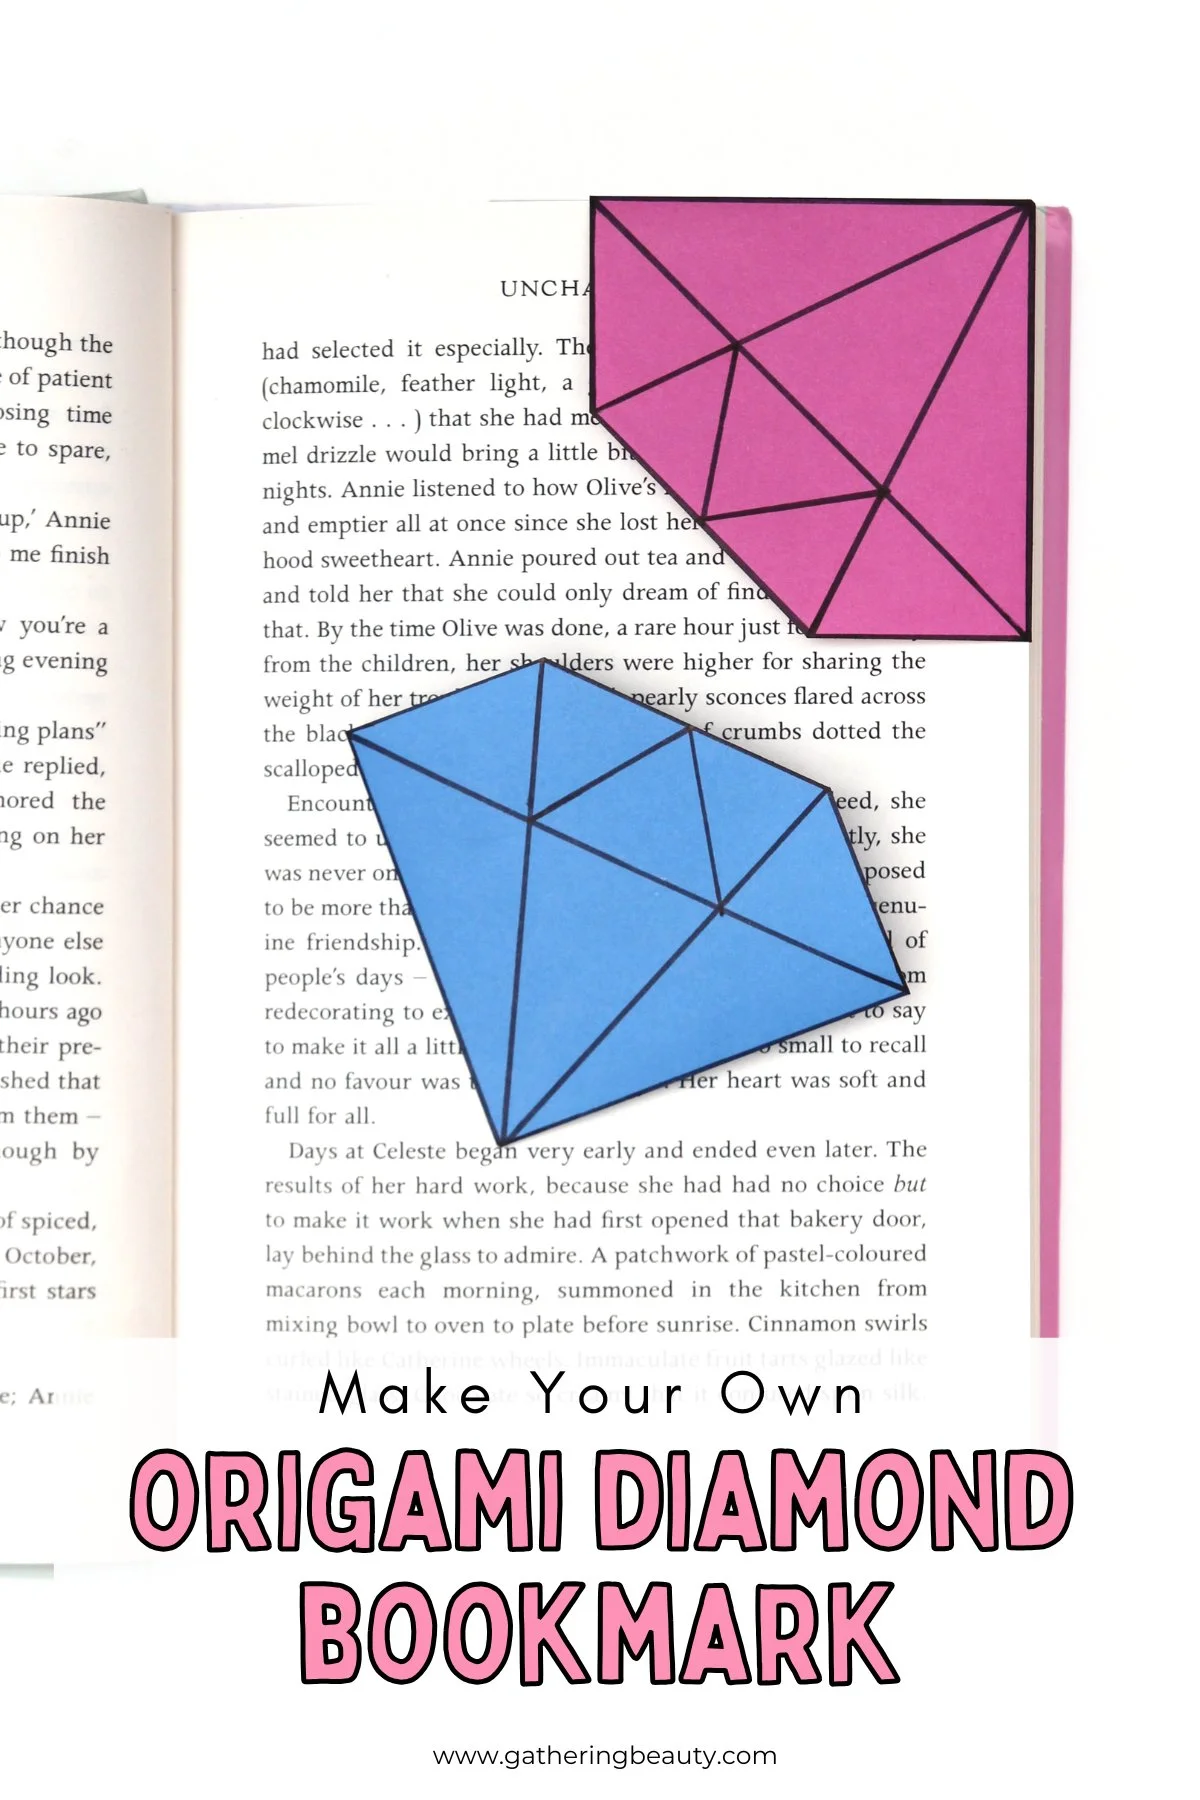
Origami Diamond Bookmarks
/Never lose your page again with these adorable Origami Diamond Bookmarks! They slip right over the corner of your page and look so cute peeking out from your favourite read.
This page contains affiliate links. This means that if you make a purchase after clicking a link, I earn a small commission, but it doesn’t cost you a penny extra.
DIY Origami Bookmarks.
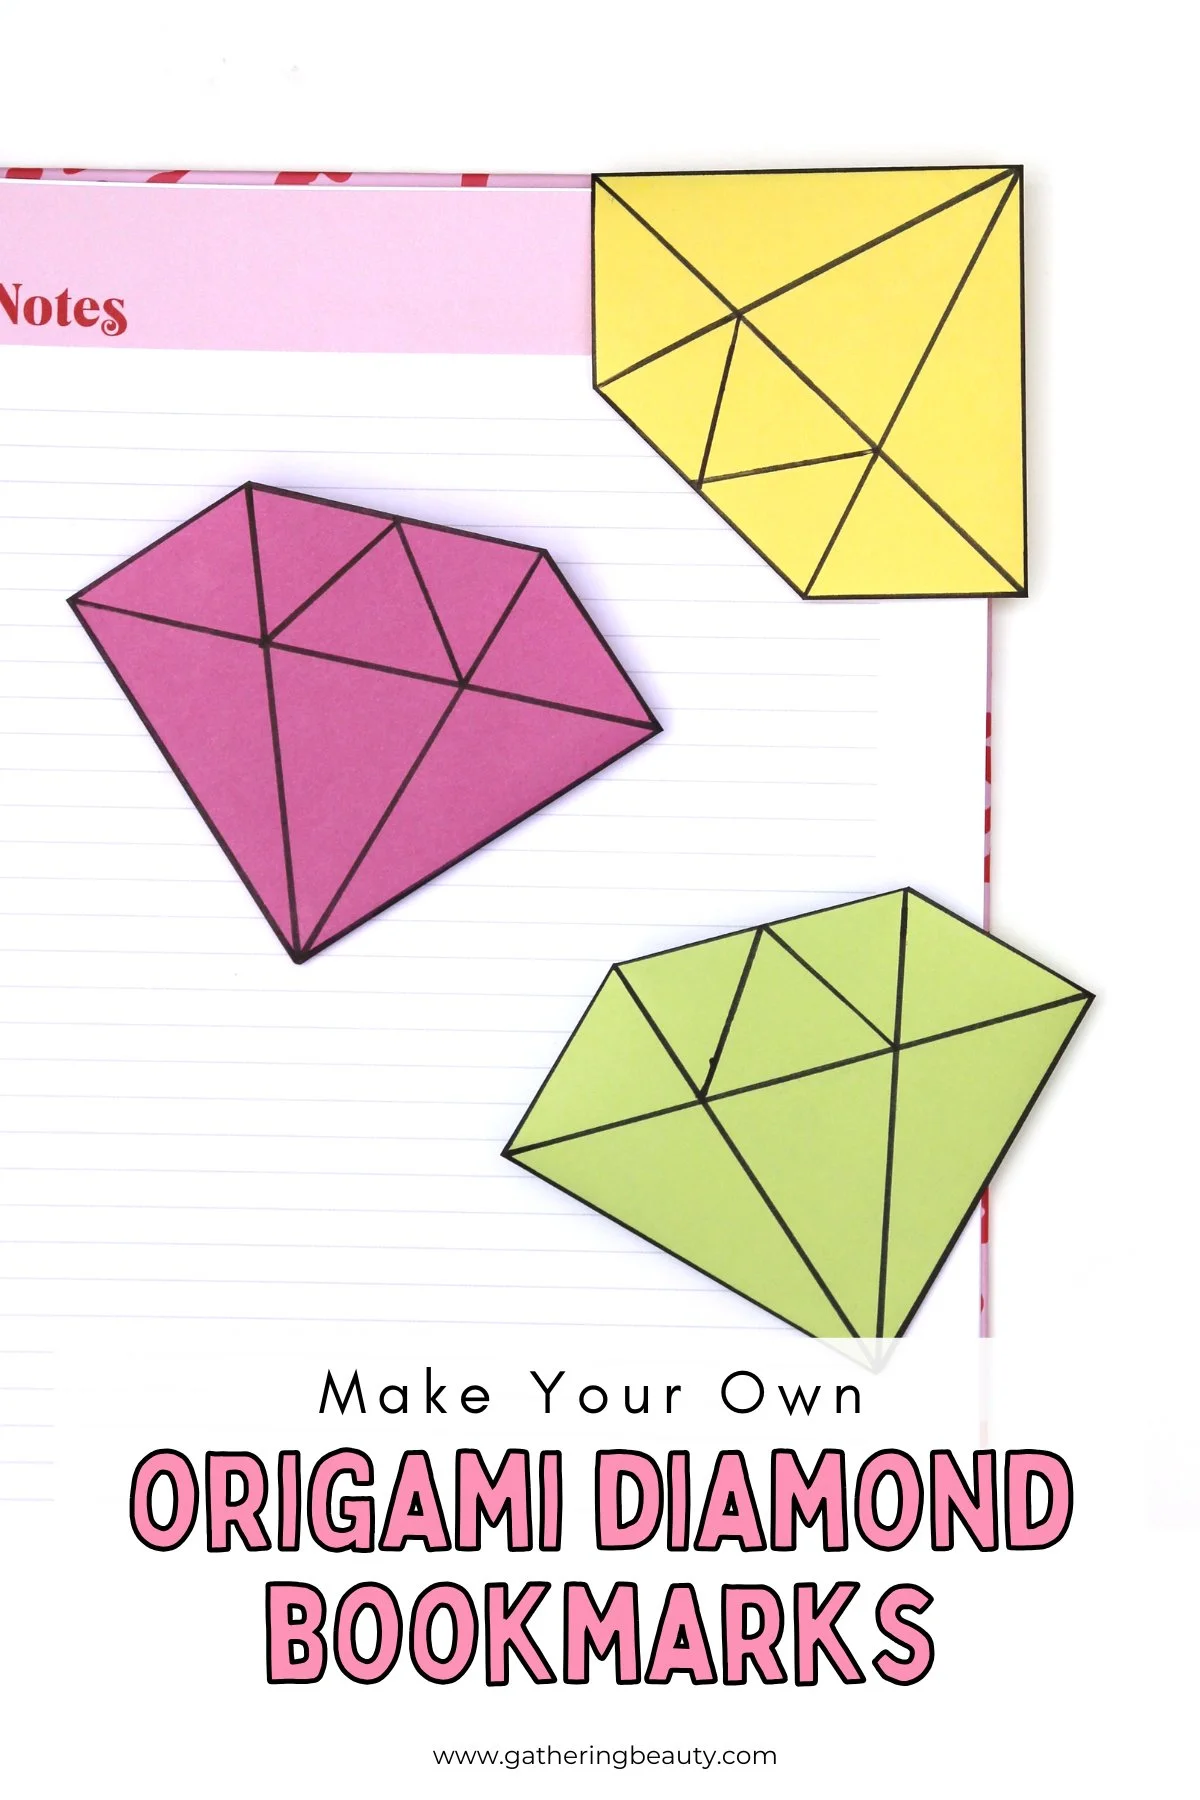
These DIY paper diamond bookmarks are the craft project you didn't know you needed! Once you've got the folding technique down, you can make a whole set in next to no time.
They are so pretty and so much fun to make. The best part? You probably have everything you need at home already.
Just coloured paper, a black marker, and a ruler, and you've got the prettiest little corner bookmark.

If you're looking for a quick and satisfying craft that's actually useful, this is the one. They’re a fun twist on the classic origami corner bookmark and really easy to make.
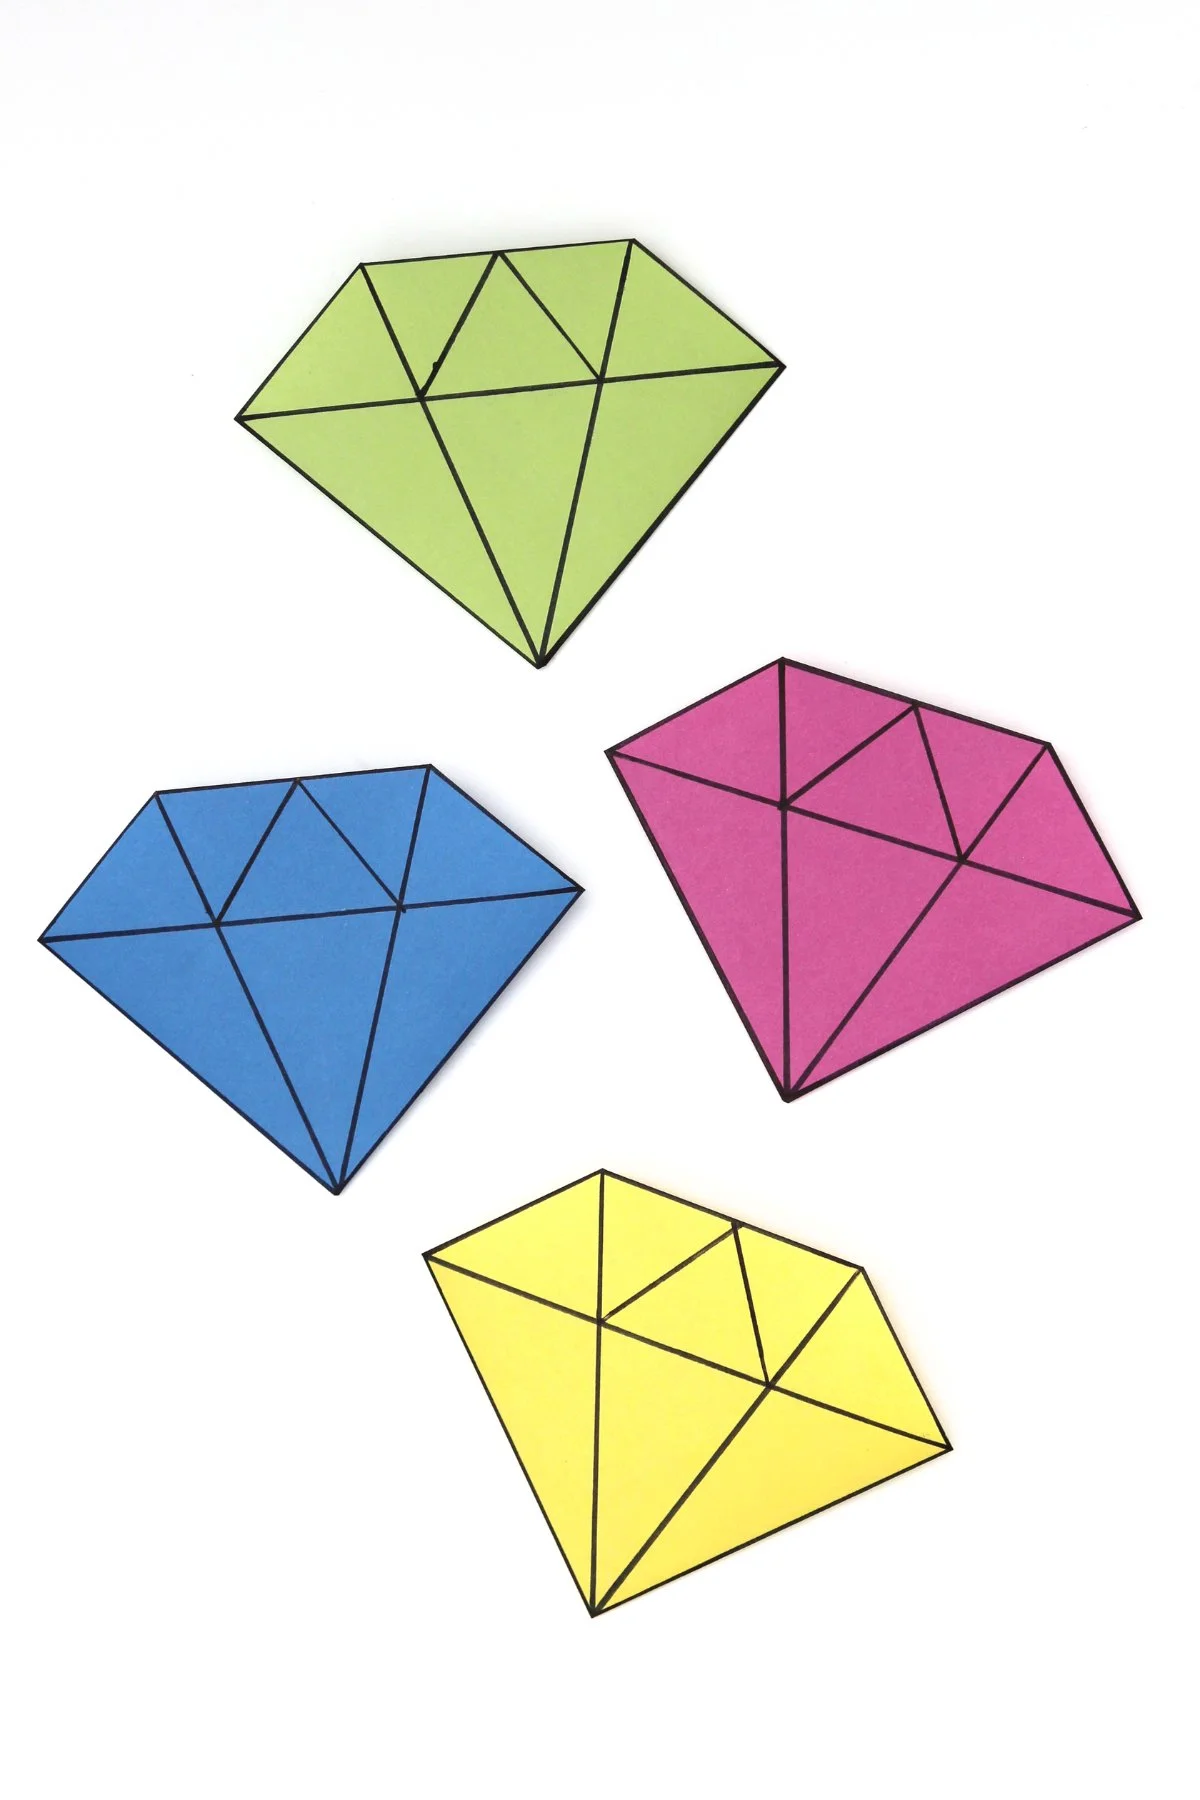
I've made these in pink, yellow, green, and blue, and honestly, I want to make them in every colour.
They take minutes, cost next to nothing, and make reading feel just a little bit more special. Plus, they make such a lovely handmade gift tucked inside a book.
Related: DIY Easy Bookmark Ideas To Make

Supplies:
Origami Paper (I used this set of origami paper)

How To Make An Origami Diamond Corner Bookmark.
1. Take a square of origami paper and fold it in half along the diagonal to make a triangle shape.
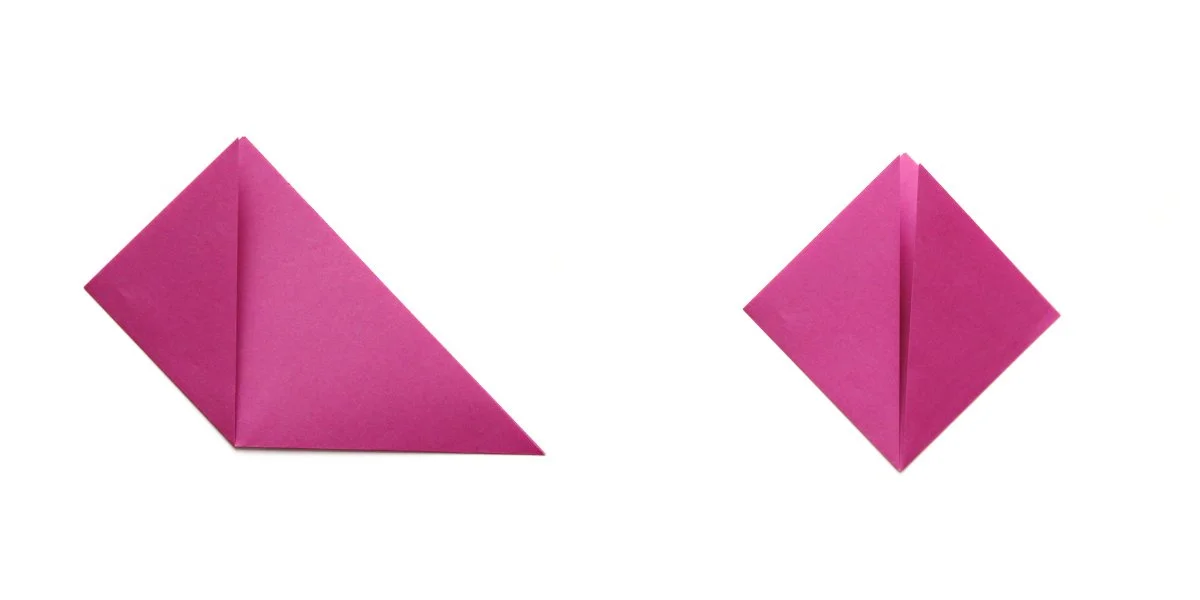
2. Fold the bottom left corner of the triangle upward so that the point meets the top of the triangle.
3. Do the same with the bottom left corner to make a diamond shape.

4, Next, open both folded corners back down.
5. Take only the top layer of the triangle and fold it down to meet the bottom of the triangle.

6. Fold the remaining top layer down to meet the top of the previous fold.
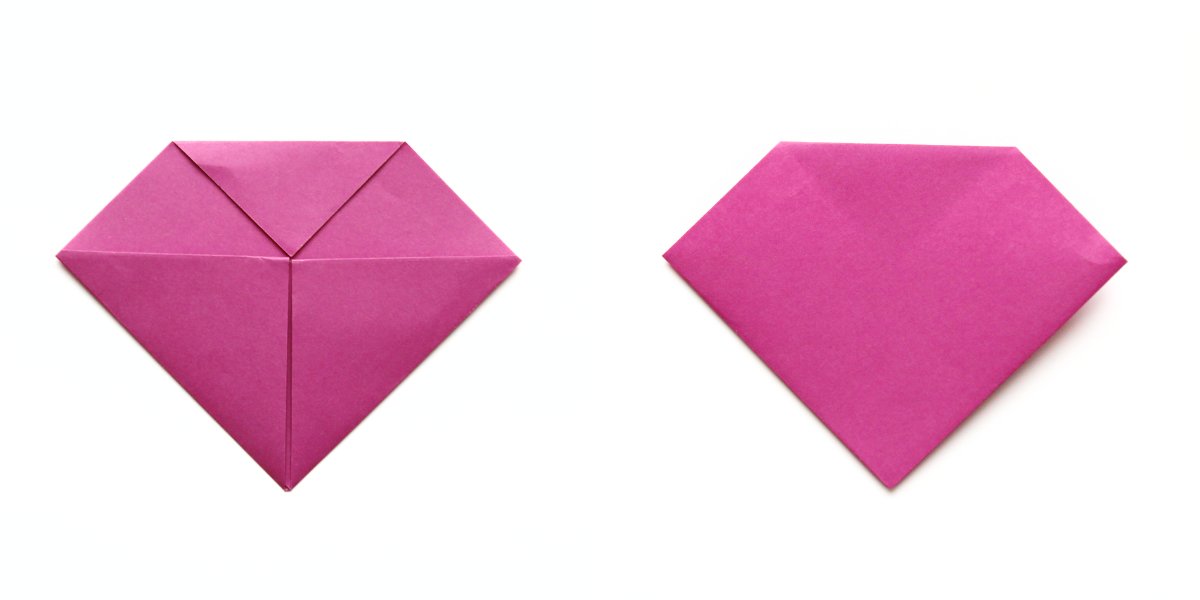
7. Take the right corner and fold it upward, tucking it into the pocket you just created.

8. Do the same with the left corner.
This will make the pocket that will slip over the page.
9. Make sure both sides are tucked in and press them down lightly so the folds stay in place.
10. Flip it over to reveal the diamond corner bookmark.

11. Take a black marker and carefully draw an outline around the folded shape using a ruler.
12. Next, draw on the markings to make a diamond structure.

13. Slide the pocket of the bookmark over the corner of your page.
The diamond should sit on the front of the page, marking exactly where you left off.