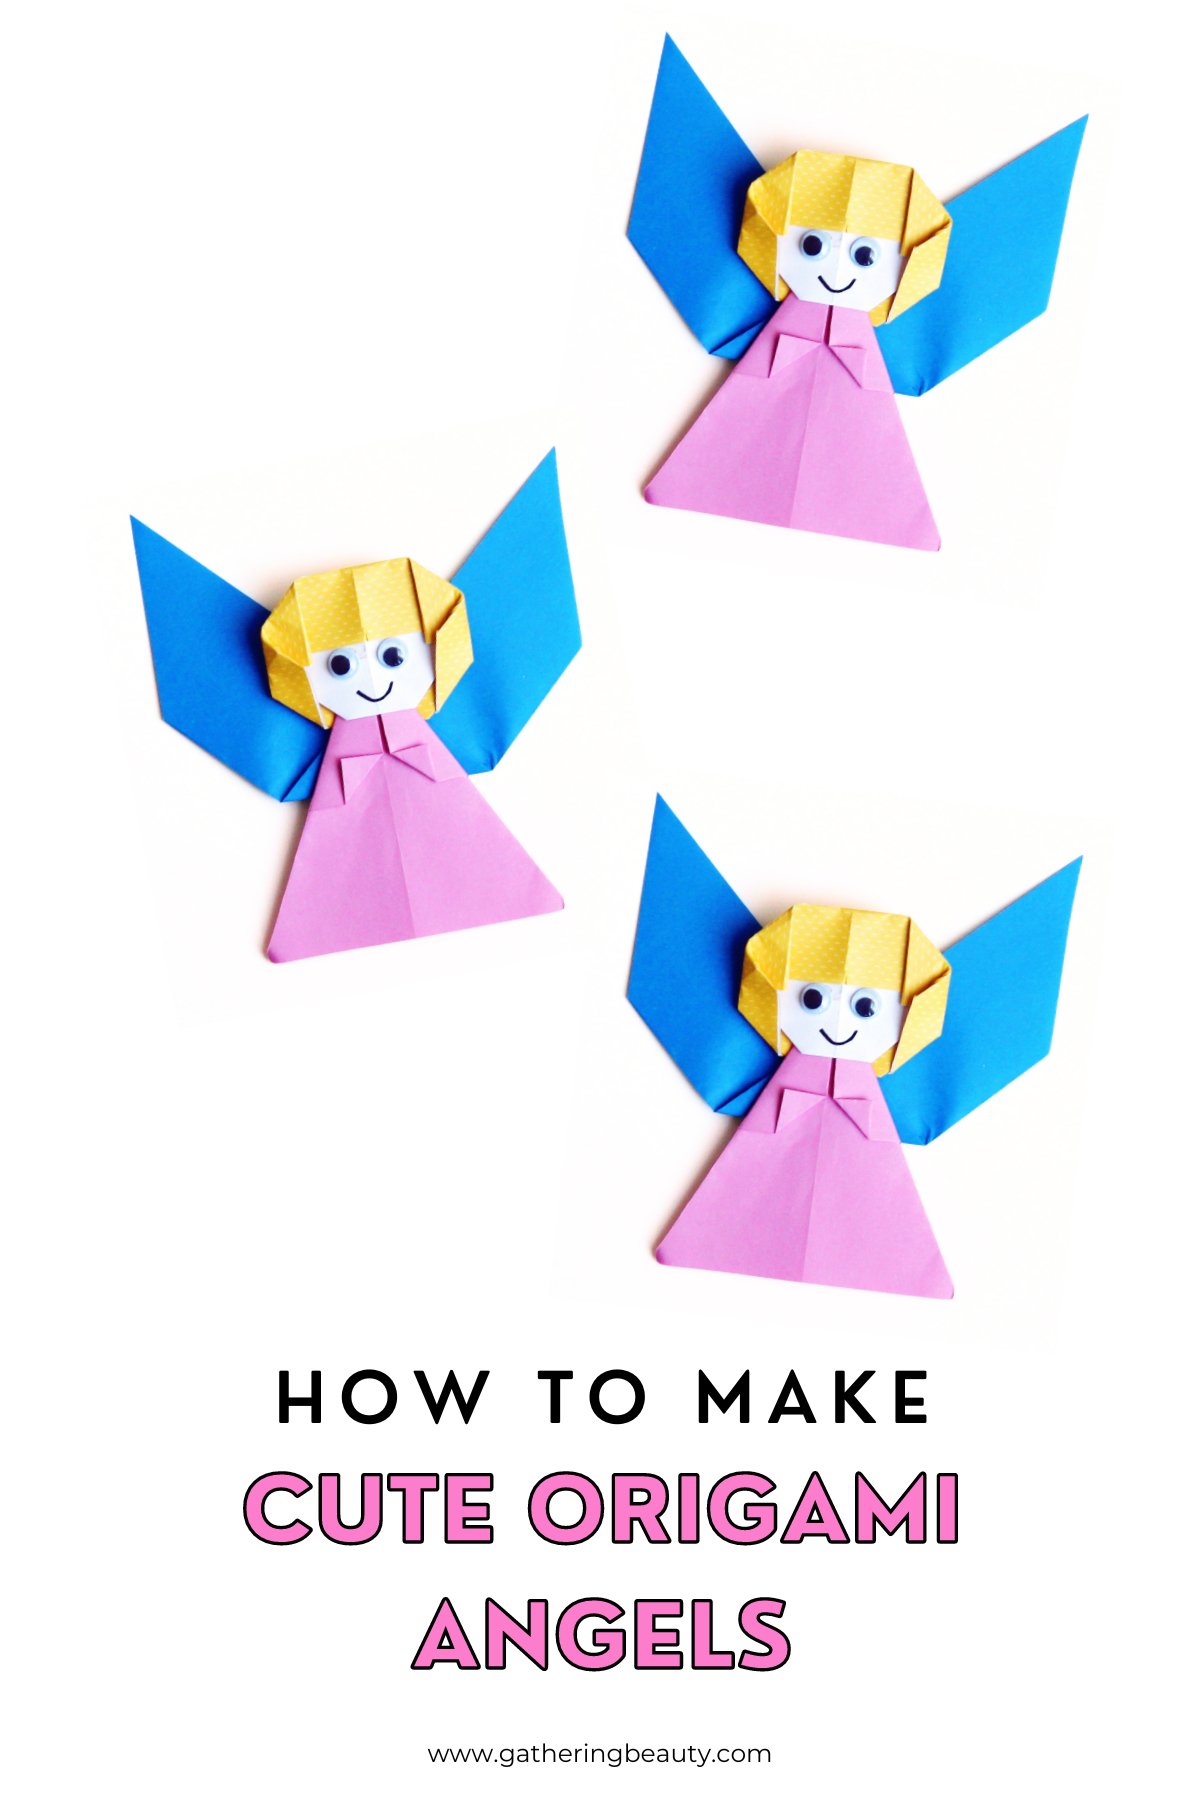
How To Make An Origami Angel
/These cute Origami Angels are an easy and fun paper craft to make this holiday season. They make fantastic Christmas decorations, gifts or even a tree topper.

This page contains affiliate links. This means that if you make a purchase after clicking a link I earn a small commission but it doesn’t cost you a penny extra!
DIY Paper Angels.
Each year I like to make a new origami Christmas decoration. Last year I made these fun origami Santa hats and this year I've been having fun making these adorable origami angels.
If you're looking for a simple origami paper craft to make with the whole family, then you're in for a treat. They are such a fun idea and make for wonderful gifts and decorations during the holiday season.
Glue mini paper angels onto the front of a handmade greeting card. Attach them to gifts, string them together to create a garland for your fireplace or even have them hanging on your Christmas tree as paper angel ornaments.
Related: 30 Easy Christmas Origami

Easy Angel Ornaments.
Origami can be tricky if you're a beginner but this Christmas paper angel is a great place to start. The head is the hardest part to make so once you've mastered that, you're good to go.
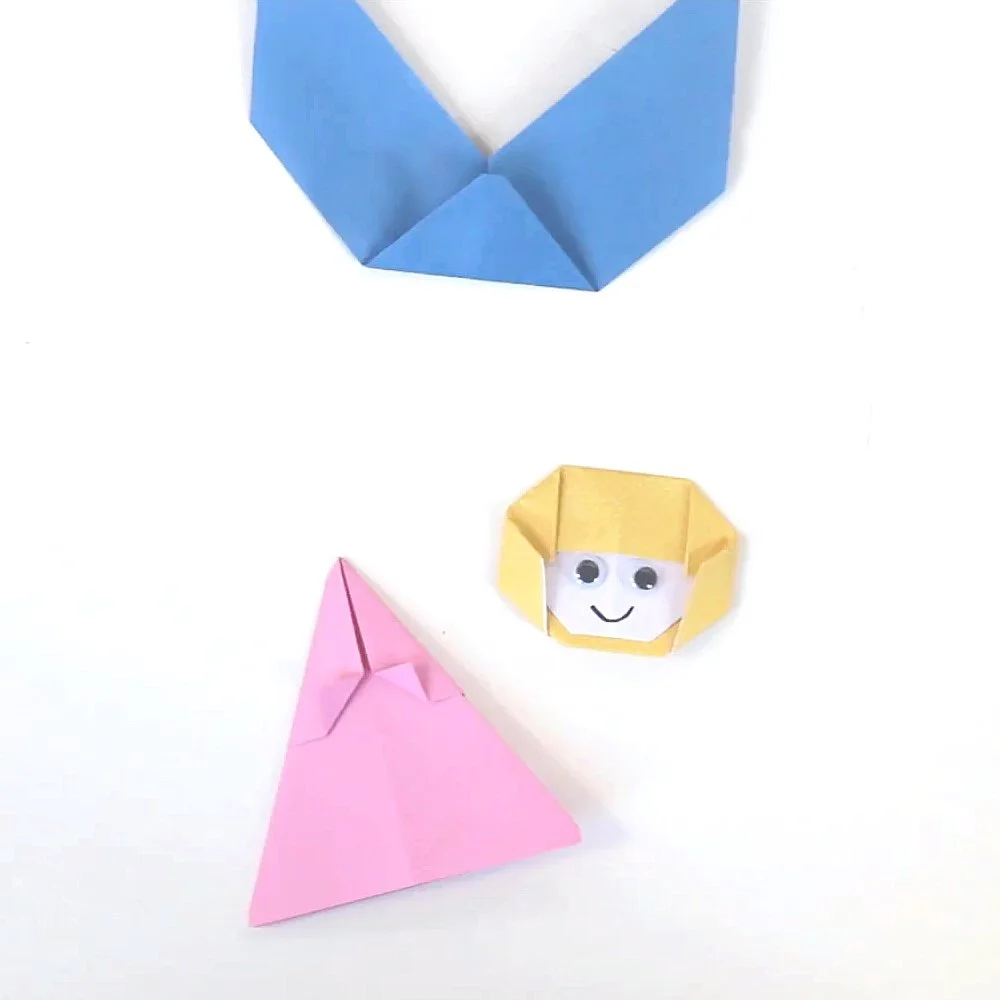
These easy paper angels only use 3 sheets of paper (different colours if you like) and perhaps a pair of googly eyes. You can change up the colour and pattern of the hair, wings or dress.
I decided to go for a pink and blue combination for mine but you can use any kind of paper that you like. You can make them from gift wrap, old magazines, scrapbook paper or whatever you happen to have lying around.
They’re a great way to use up any leftover wrapping paper and you get a cute one-of-a-kind decoration out of it as well.
Check out the detailed instructions below.

Supplies:
Origami Paper/Square Sheet of Paper
Scissors
Glue Stick/Glue Dots
Pen/Marker
Optional extra: Googly Eyes
Although I recommend using origami paper for any paper-folding project, here are a few alternatives that you probably already have on hand.
Regular Printer Paper,
Gift Wrap/Wrapping Paper
Magazines,
Maps,
Old Books,
And Newspapers.


How To Make Origami Angel Head.
1. Take your piece of origami paper and fold it in half to make a rectangle.
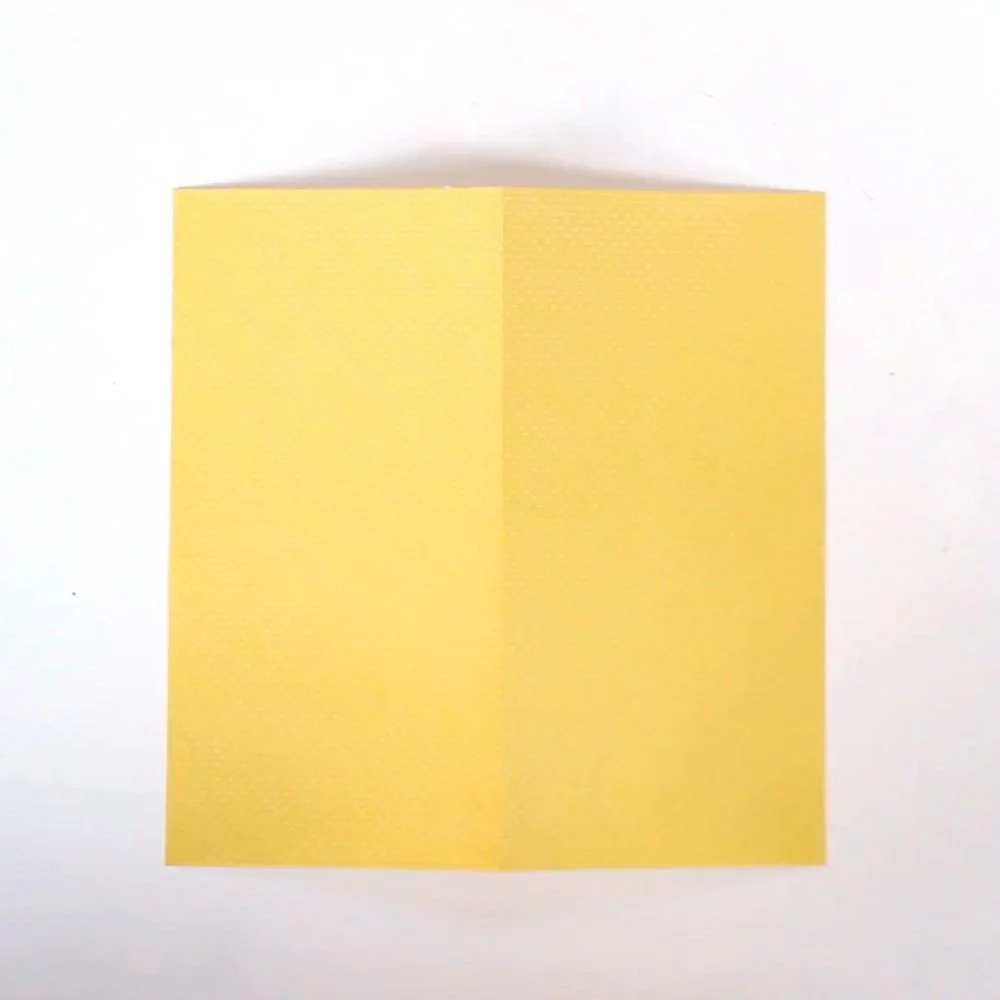

2. Open it back out and cut in half.
You’ll need one rectangle to make each head.
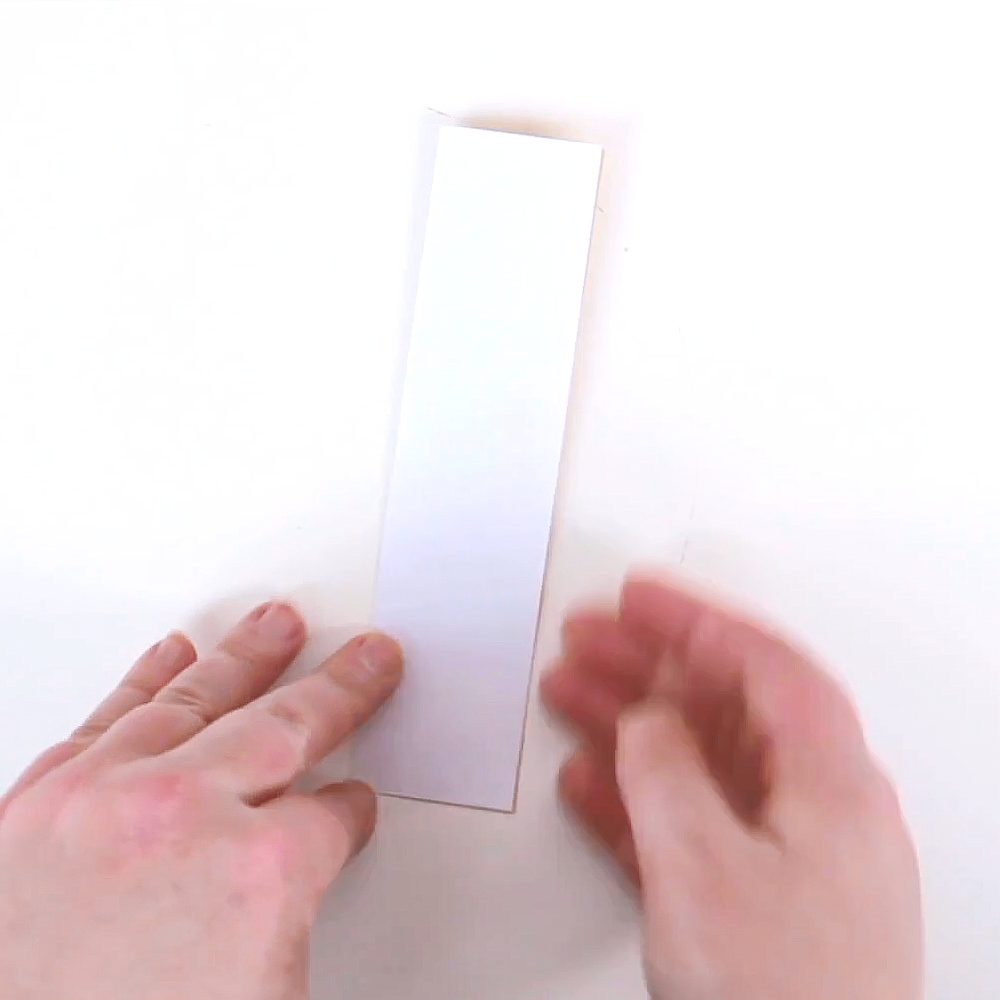

3. Fold in half again lengthways and open back out.
4. Fold the left corner in to meet the middle crease.
5. Repeat and fold the right corner in.


6. Fold the top point down to make a small triangle.
7. Flip your folded origami paper over do the folded point is now underneath and at the bottom.


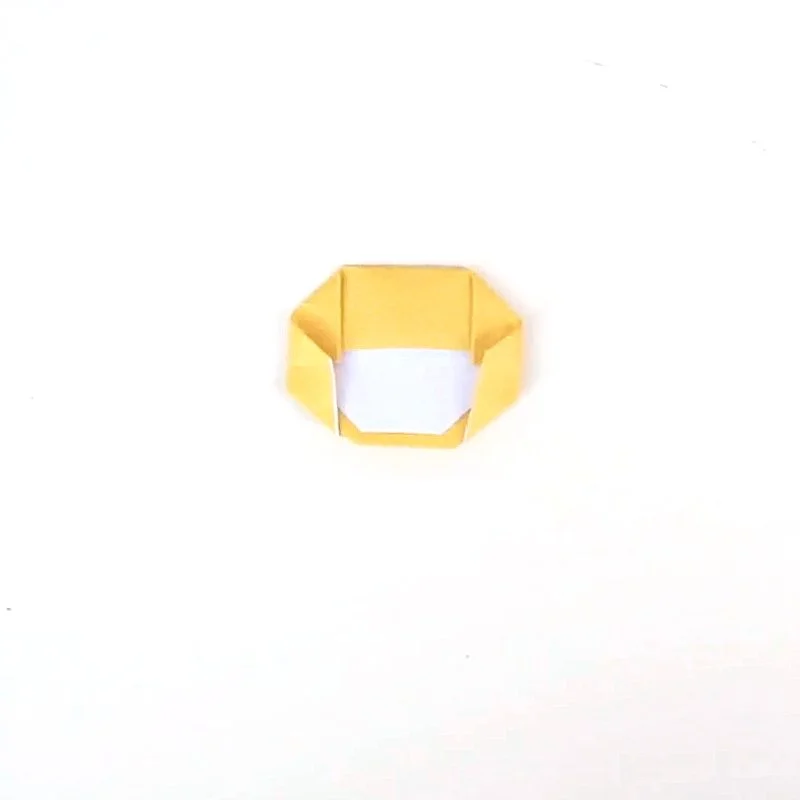
8. Fold the top down leaving a gap of about 1to 11/2 inches at the bottom. This will be the face of your angel.
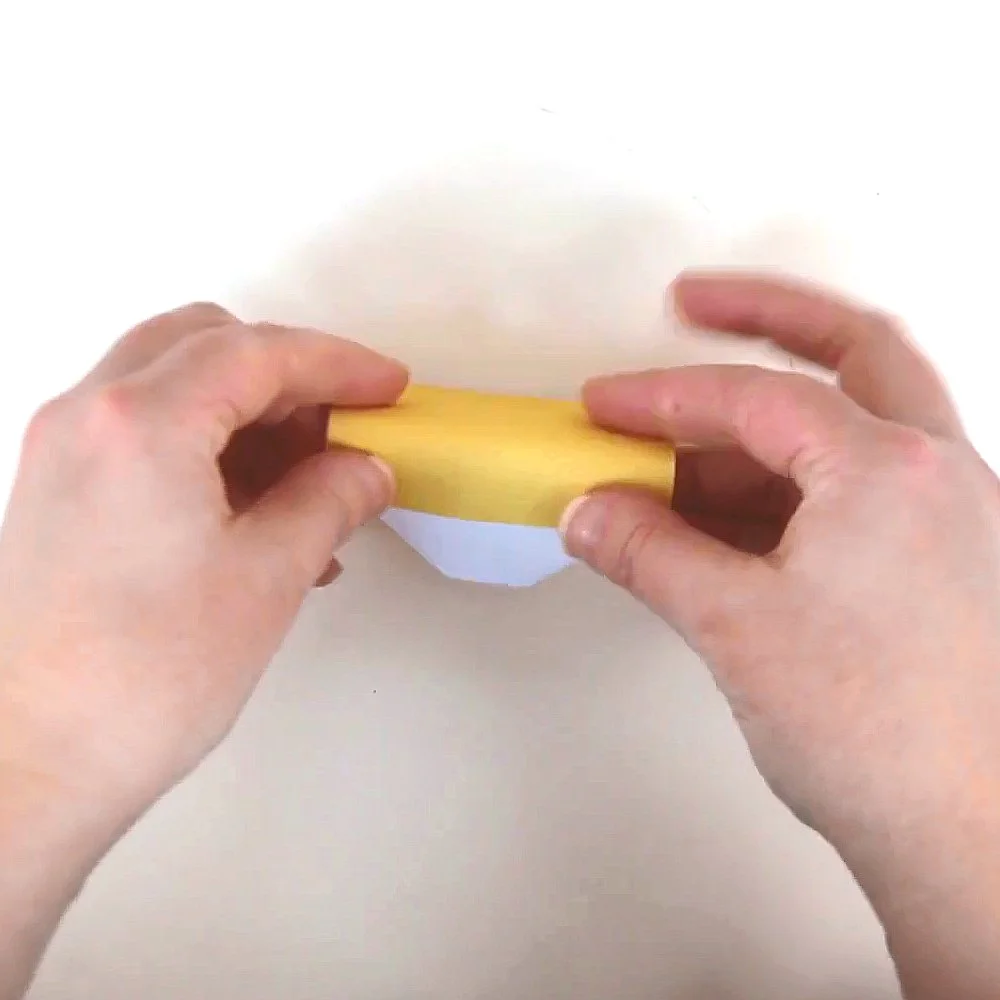
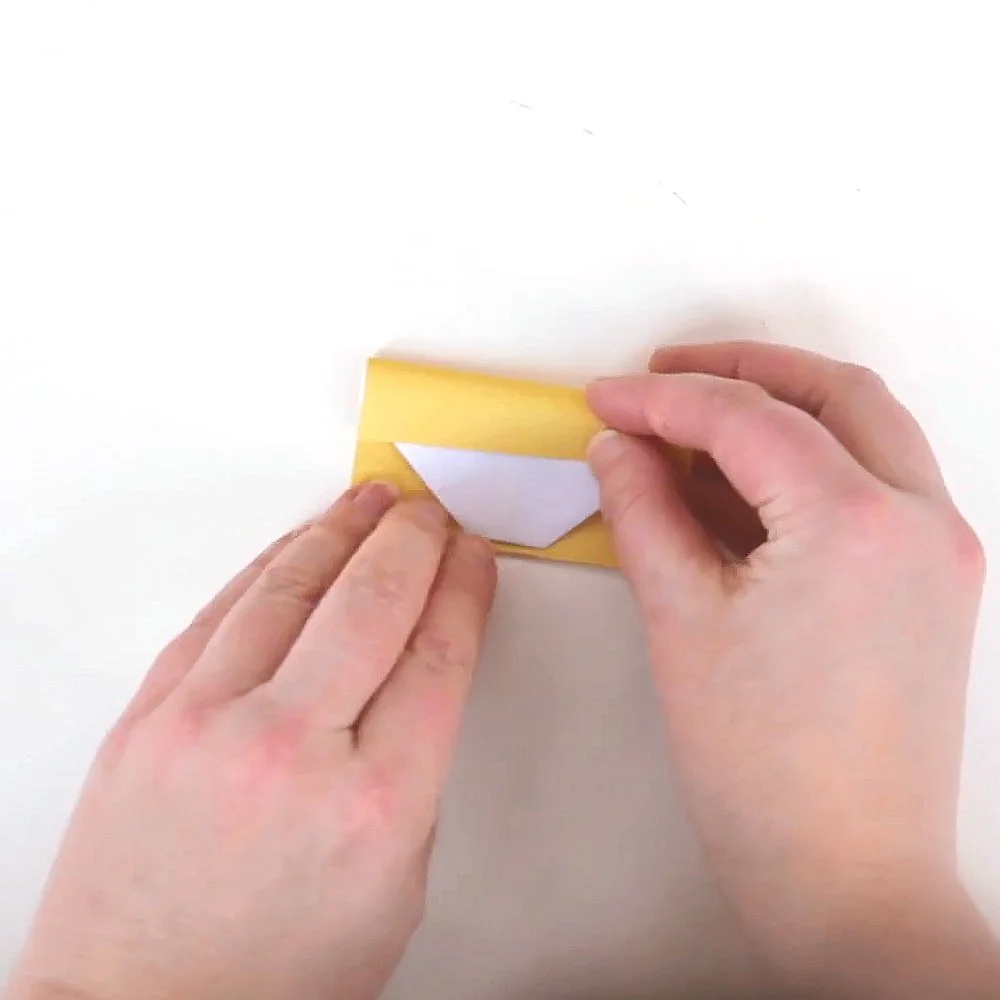
9. Fold your origami back on itself so the bottom edge sticks out below the face about 2-3 mm.
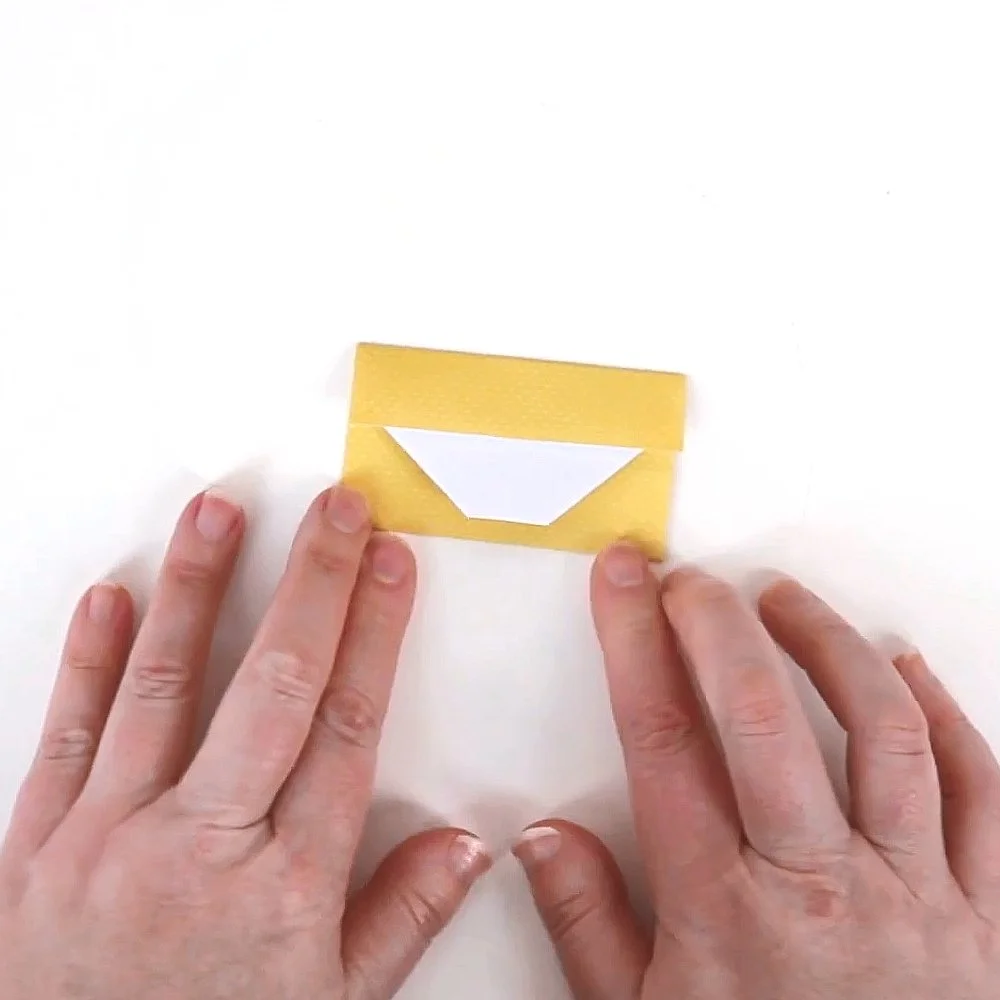
10. Press flat. You should now have a blank white face in the middle surrounded by the coloured paper side to make the hair.
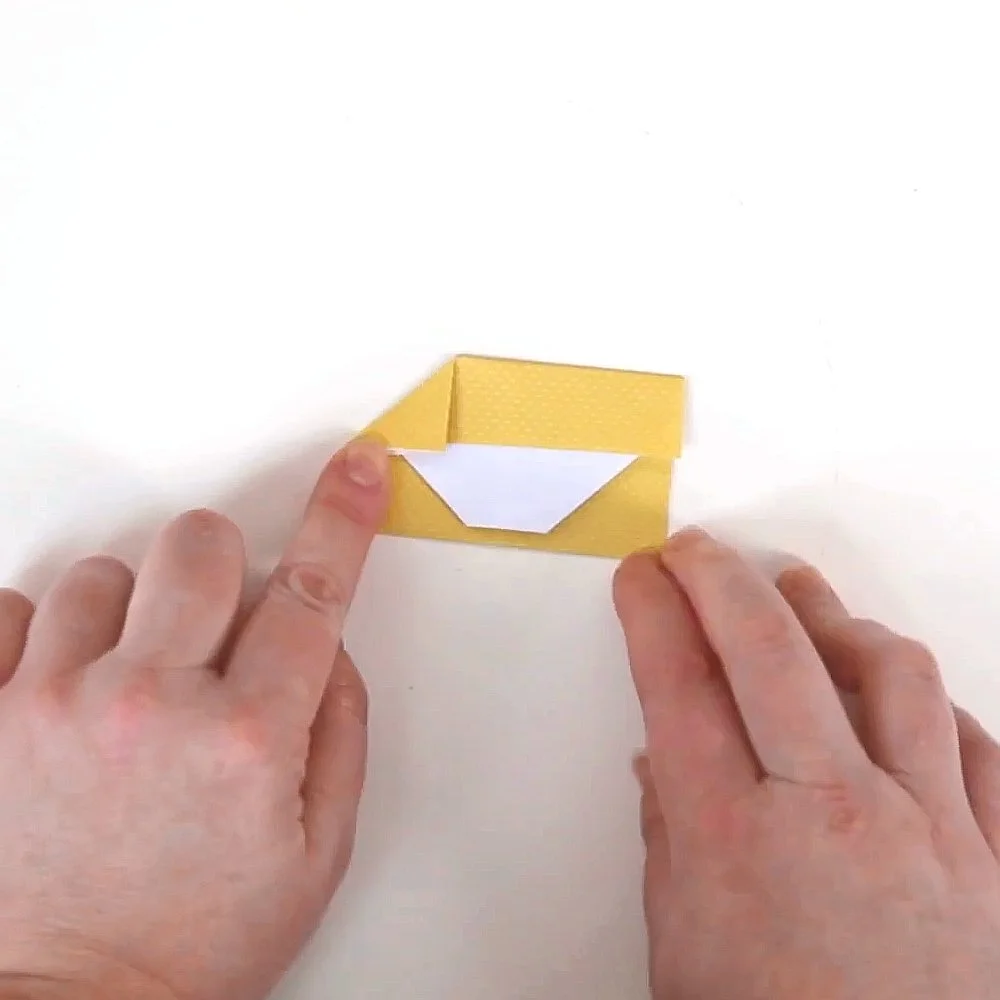
11. To add shape to the hair fold the top left corner in.

12. Repeat on the right top corner.
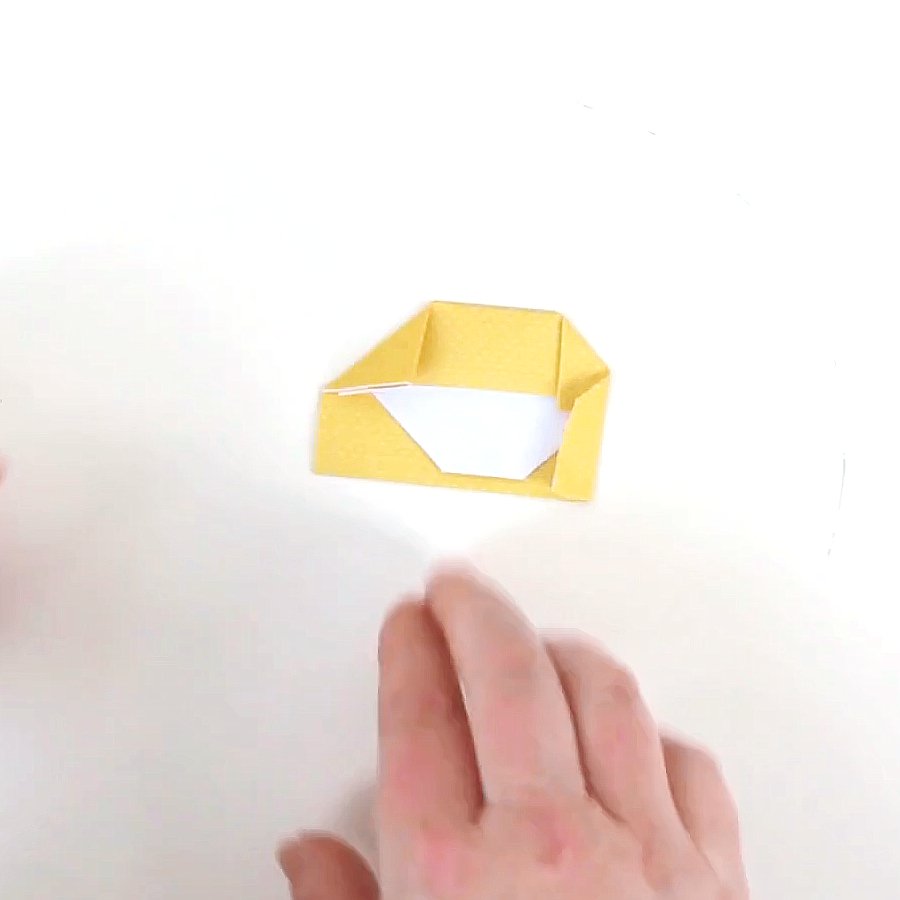
13. Fold the right side in to make the side of the hair.

14. Repeat on the left side.
15. Fold both the bottom corners back on themselves to finish shaping the hair.
16. Draw on the angel’s face or pop on some googly eyes.


How to make the Origami Angel Body.
1. Take your square sheet of origami paper and fold it on half to make a rectangle.


2. Cut in half using the crease as a guide.
Each rectangle makes one body.


3. Fold the rectangle in half lengthways.
4. Open back out.


5. Fold in half widthways to make a square.
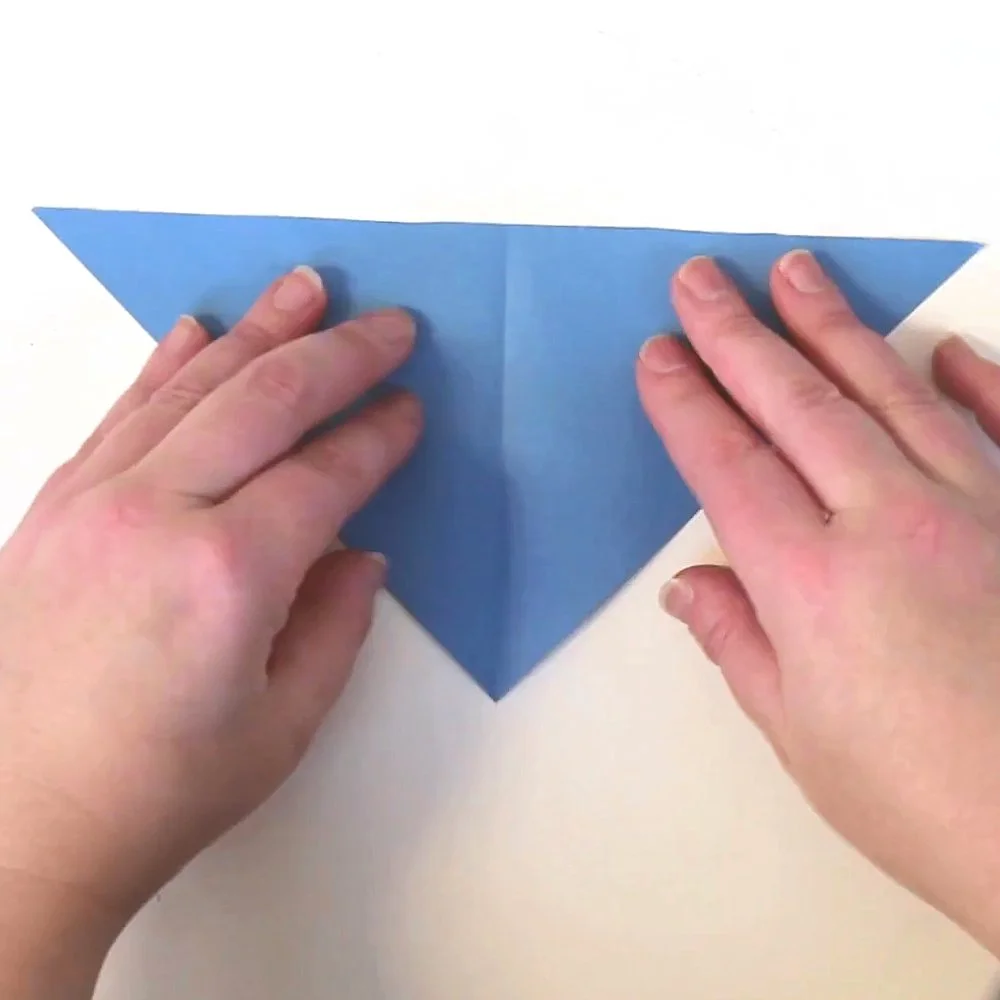
6. Rotate your paper to the folded edge is at the top.
7. Fold both the top corners into the middle to make a house shape.

8. Flip it over.
9. Fold both sides in at an angle about halfway to the middle.
10. Flip your origami over. You should have two triangles at the top.
11. Fold back the points on both of the triangles to make two smaller triangles. These will be the arms.

How To Make Origami Angel Wings.
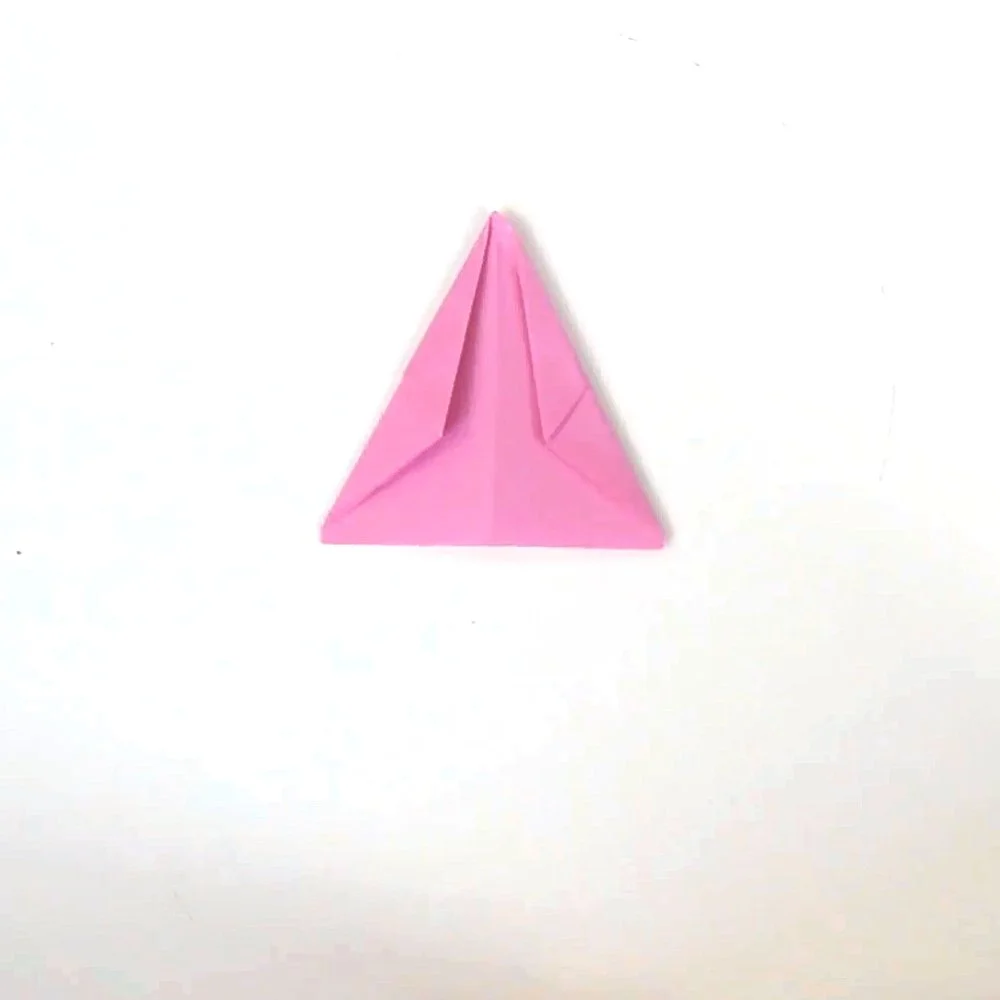
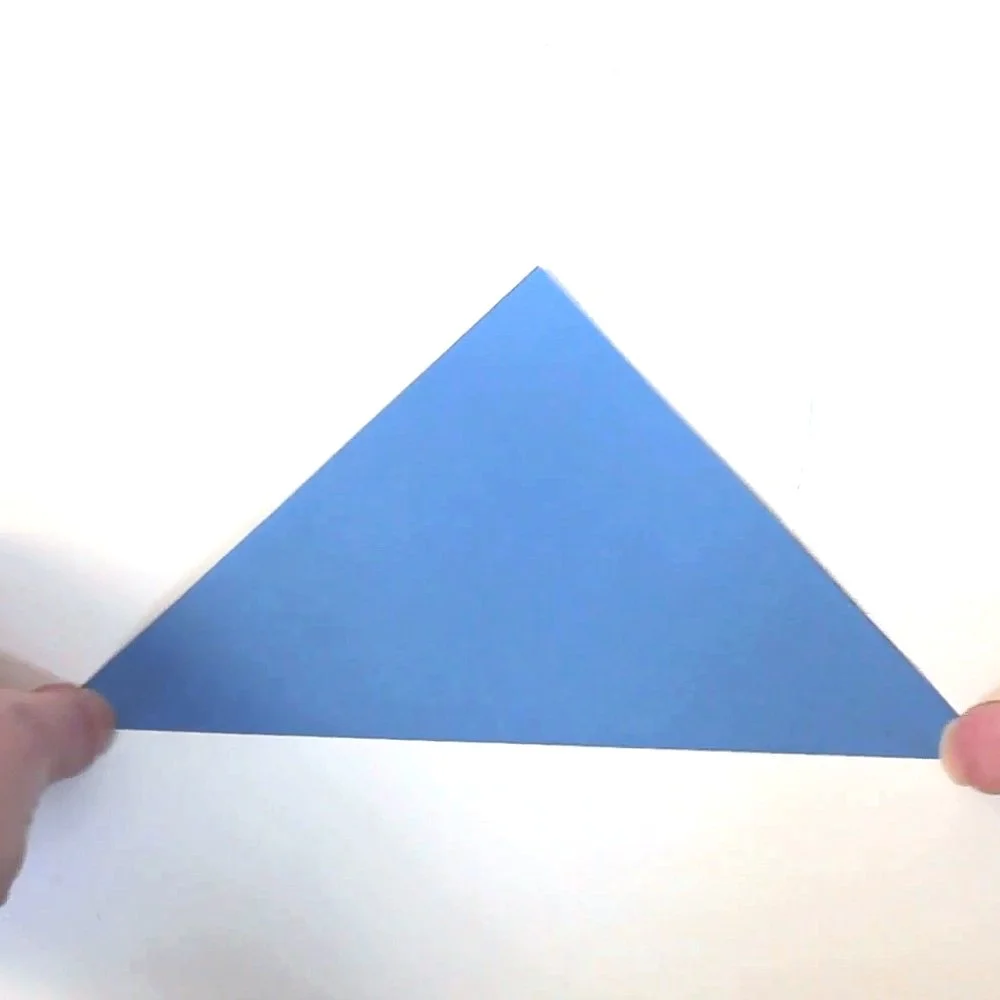
1. Fold a piece of origami paper in half along the diagonal to make a triangle.
2. Cut it in half along the crease. You will need one triangle to make each set of wings.

3. Fold the triangle in half.
4. Open back out.


5. Fold the bottom point up to meet the middle crease.
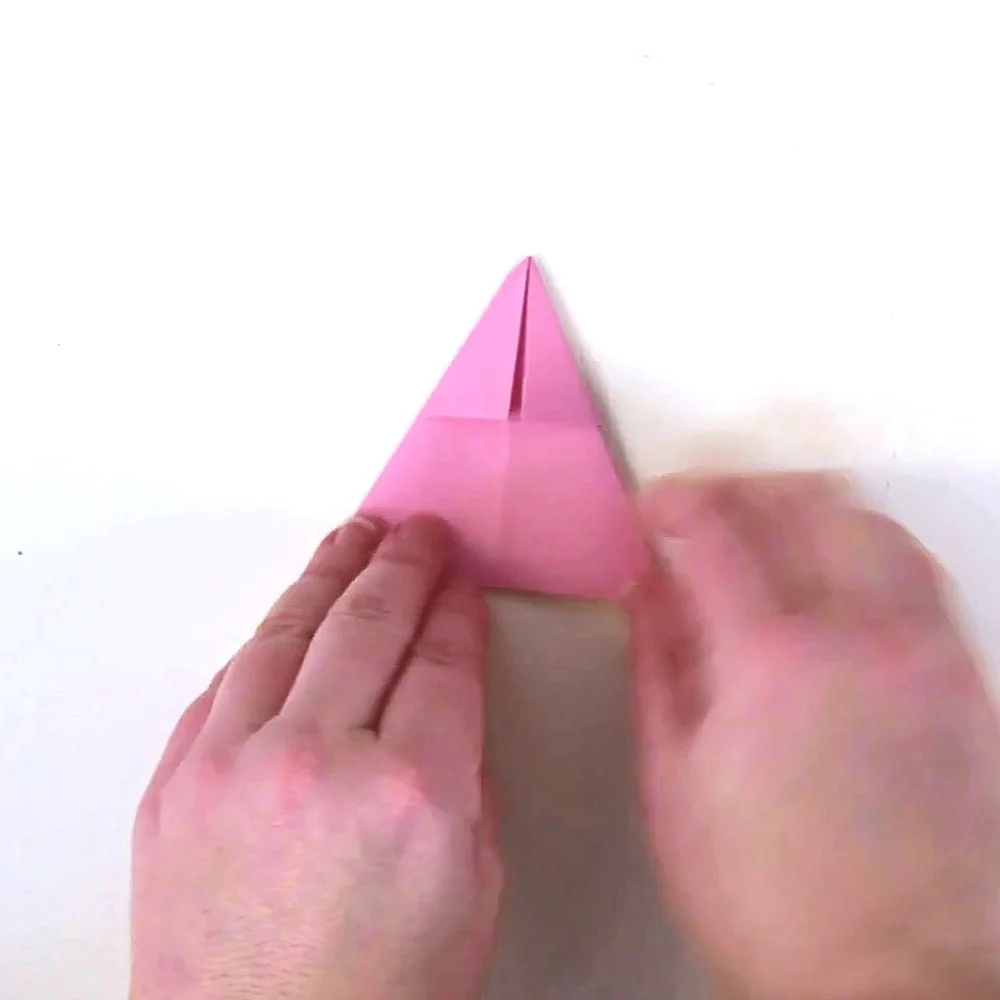
6. Take the left side and fold it into the middle.


7. Repeat on the right-hand side.
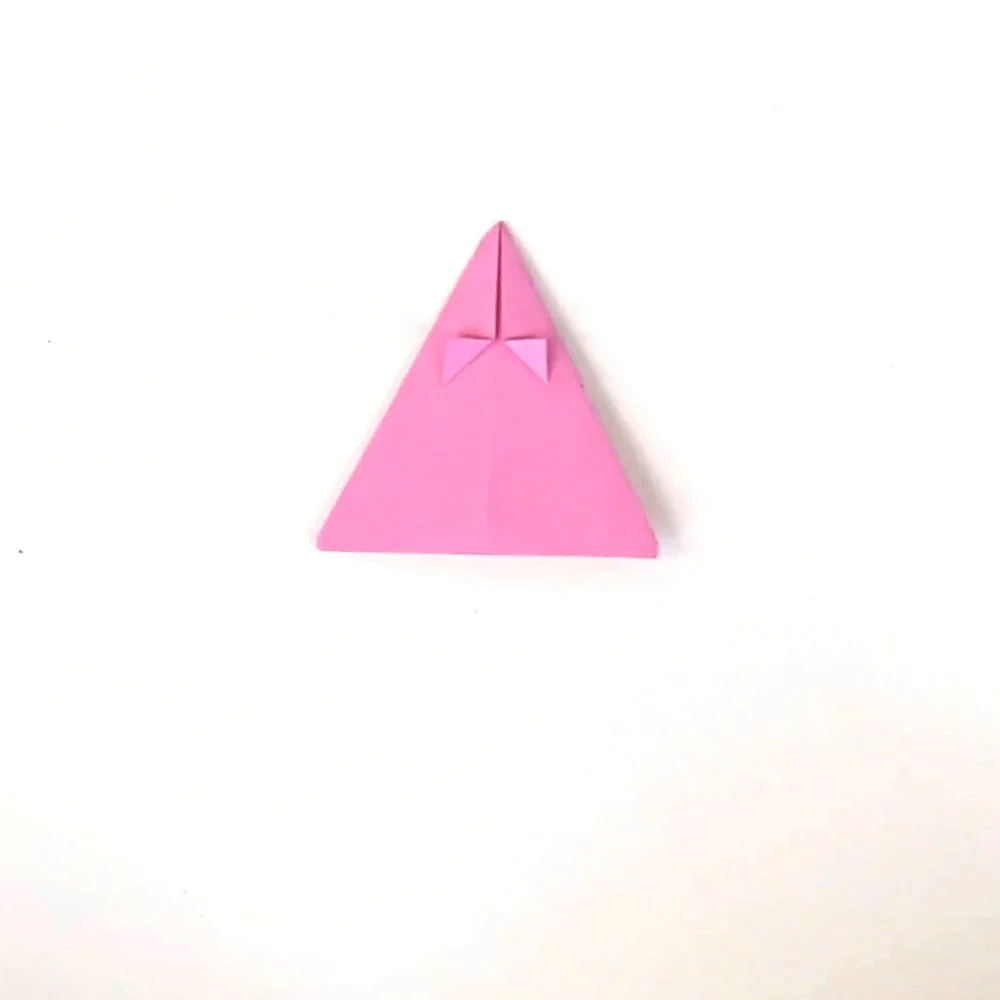
8. Fold the bottom point up to meet the top of the middle fold to finish the wings.
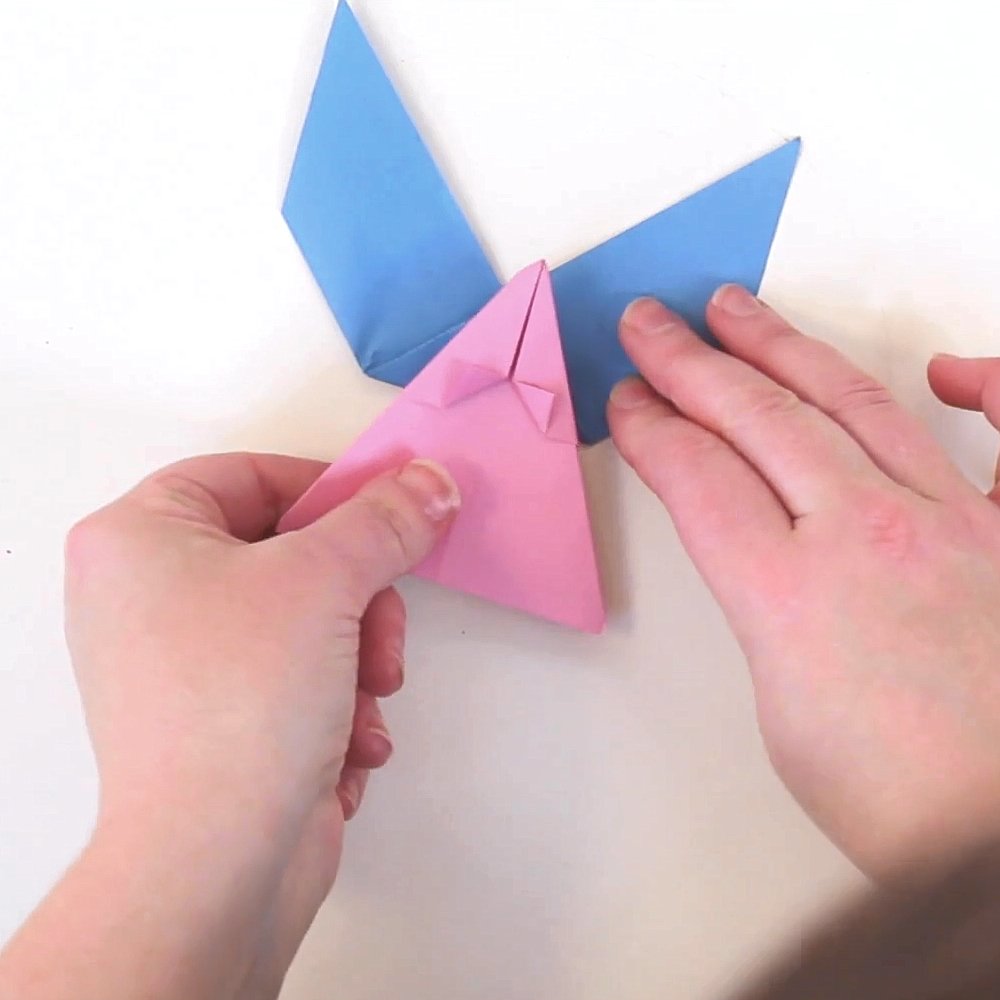
Assembling Your Origami Fairy.
1. Use glue dots or a glue stick to attach the body to the wings.
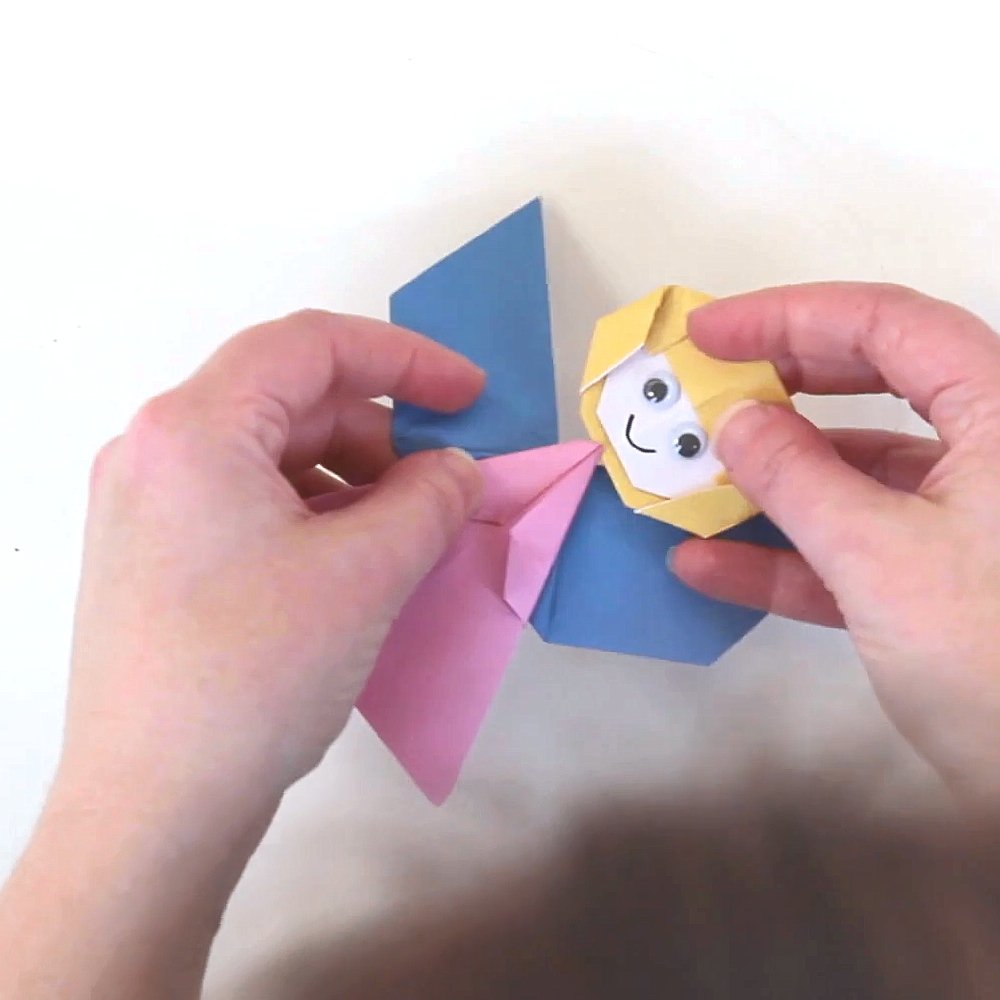

2. Slide the angel's face onto the body to finish your angel.
And that's it, you've now completed your own easy origami angel. If you not sure of a few of the steps and need a bit more help, please watch the step by step video below.