AROUND HERE: AUGUST.

Around Here: August

Shopping for wool and pretty trim at the local fabric shop.

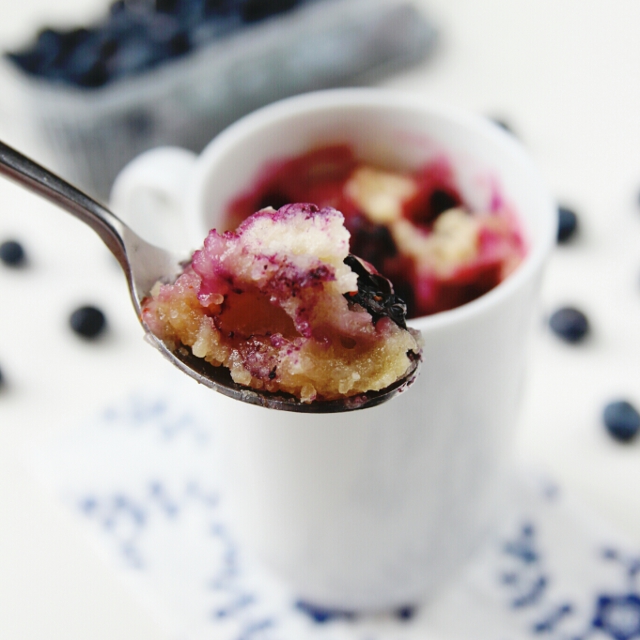
Testing out blueberry mug cake recipes.

Making trips to the cinema. Mission: Impossible Rogue Nation and The Man From U.N.C.L.E.

Recommending the Mayas Exhibition at the Liverpool World Museum to anyone in the area.

Listening to and loving the soundtrack after seeing the film. Particularly this song.

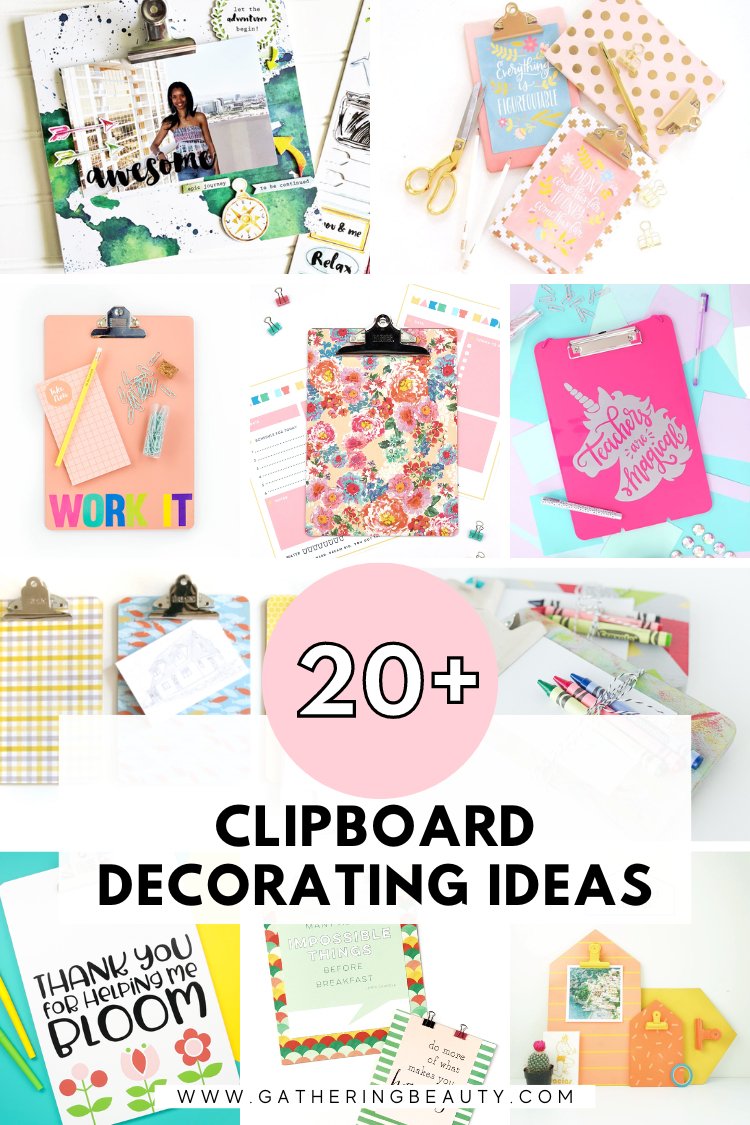
Making a mini weaving using a clipboard as a loom.

And thanking you for your patience last week while I got the new mobile responsive theme up and running. I gave myself the weekend to get it done but it ended up spilling into most of last week. The site now resizes automatically to suit the size of your screen, no more ugly default blogger mobile template. Yay!  I think I have most of the kinks worked out but if you come across any problems please shoot me an email and I'll see what I can do about fixing them.

Happy Monday everybody. Here's to a new week.
Summary Block
This block has no content yet. Items you add to the page connected to this block will display here.
Comment

Emma

Hi, I'm Emma.

I'm a crafter, blogger and paper enthusiast living in the North West of England.

Gathering Beauty is the place where I share craft tutorials and diy inspiration. I started this blog back in 2013 as a way of sharing all the things I love and make. I share paper crafts, clay crafts, origami, printables and desktop wallpapers as well as the odd crochet and weaving project. I hope you find something here that inspires you.

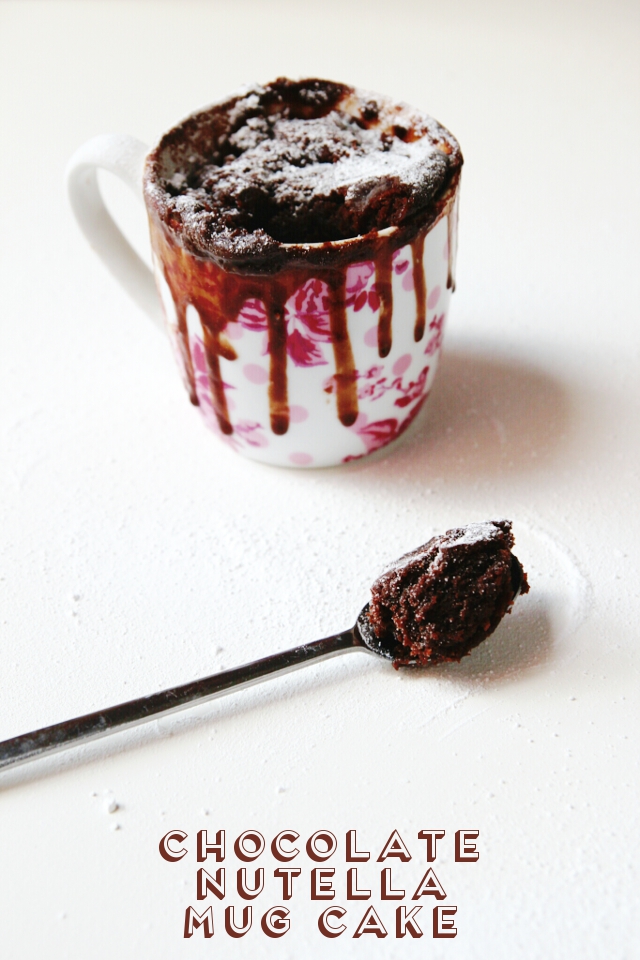
CHOCOLATE NUTELLA MUG CAKES.

2 Minute Microwave Chocolate Nutella Mug Cakes

Chocolate Nutella Mug Cakes.

Chocolate Nutella mug cakes you bake in the microwave in 2 minutes? Yes, please.

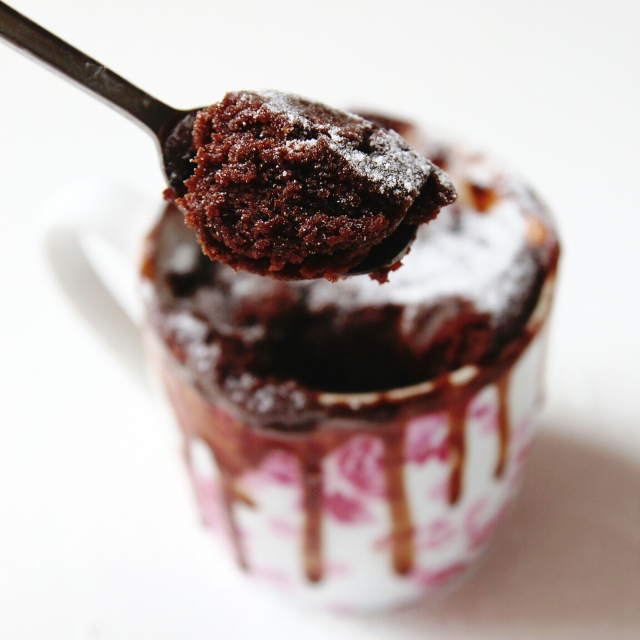
Have you tried making a microwave mug cake before? I've made a few of them in my time but none of them have turned out to be as good as this one. It's delicious and moist and has the added bonus of leaving behind only minimal washing up. All you need is a tablespoon, a mug and a fork and you're all set. Of course if you want to be a bit fancier and don't mind the extra dishes you can spray your mug with some non-stick cooking spray first and turn your finished cake out onto a plate.

If you're looking for a quick and easy sweet treat I can recommend giving this one a go.

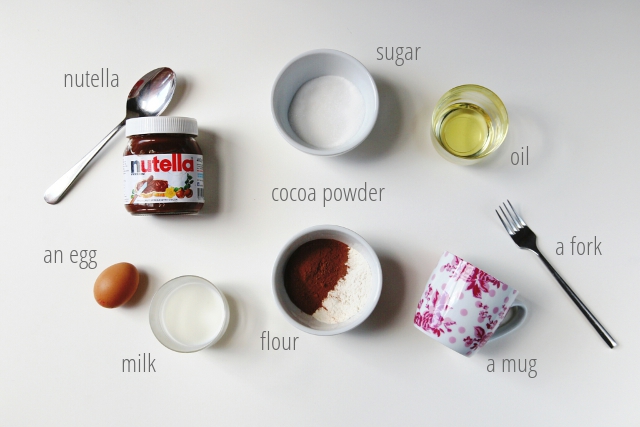
Ingredients for Chocolate Nutella Mug Cakes

Ingredients needed for Chocolate Nutella Mug Cakes (makes 1 large or 2 small servings depending on the mug).

3 tablespoons of Nutella,

4 tablespoons of sugar,

3 tablespoons vegetable oil,

1 medium egg,

3 tablespoons of semi-skimmed milk,

3 tablespoons of cocoa powder,

4 tablespoons self-raising flour.

How to make Chocolate Nutella Mug Cakes

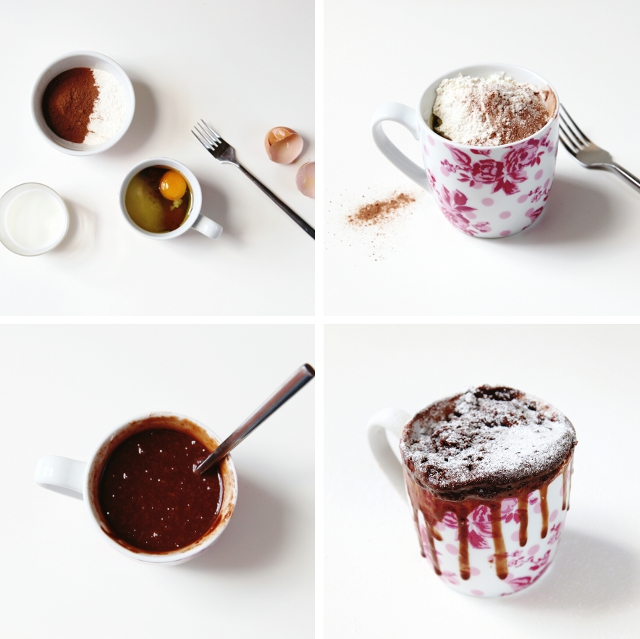
1. Add the Nutella, sugar, vegetable oil ,egg, milk, cocoa and flour in this order to the mug. If you want to turn your cake out spray some non-stick cooking spray into the mug before adding any ingredients.

2. Whisk with a fork until all the ingredients are combined. The mixture should have the consistency of a thick milkshake.

3. Microwave for around 2 minutes. This will depend on your microwave and how moist you like your cake.

The first time I made this I popped it in the microwave for 1 minute 45 seconds and the cake was still uncooked at the bottom. The next time I microwaved it for 2 minutes and it turned out perfectly. You may need to adjust the time depending on the size of your mug and the power of your microwave.

4. Dust with icing sugar or top with cream and enjoy.

Chocolate Nutella Mug Cakes

I'm thinking of trying this snickerdoodle mug cake next and maybe this chocolate peanut butter one. They both look so good. I've definitely been bitten by the 2-minute mug cake bug.

Want more? You can find my other recipes you might want to check out my Quick and Easy Microwave Blueberry Mug Cake.

Quick and Easy Microwave Blueberry Muffin Mug Cake

Want more recipes using chocolate? Check out some of our favourites below:

Comment

Emma

Hi, I'm Emma.

I'm a crafter, blogger and paper enthusiast living in the North West of England.

Gathering Beauty is the place where I share craft tutorials and diy inspiration. I started this blog back in 2013 as a way of sharing all the things I love and make. I share paper crafts, clay crafts, origami, printables and desktop wallpapers as well as the odd crochet and weaving project. I hope you find something here that inspires you.

MAKE THIS: DIY POM POM RUG.

Make This: Diy Pom Pom Rug

photo credit Say Yes

I've fallen in love with this Diy Pom Pom Rug from Say Yes. Have you seen it? It looks so cosy and fluffy. Perfect for keeping your feet warm on a cool autumn day. All you need is a non-slip rug mat, some wool, I love the colours in this bright yarn pack and a pom pom maker.

Pretty easy, right? I'd love one of these in my bedroom.

Don't forget to pop over to Say Yes for the full tutorial.

Comment

Emma

Hi, I'm Emma.

I'm a crafter, blogger and paper enthusiast living in the North West of England.

Gathering Beauty is the place where I share craft tutorials and diy inspiration. I started this blog back in 2013 as a way of sharing all the things I love and make. I share paper crafts, clay crafts, origami, printables and desktop wallpapers as well as the odd crochet and weaving project. I hope you find something here that inspires you.

DIY SCRAPBOOK PAPER BOOK COVERS.

Diy Scrapbook Paper Book Covers

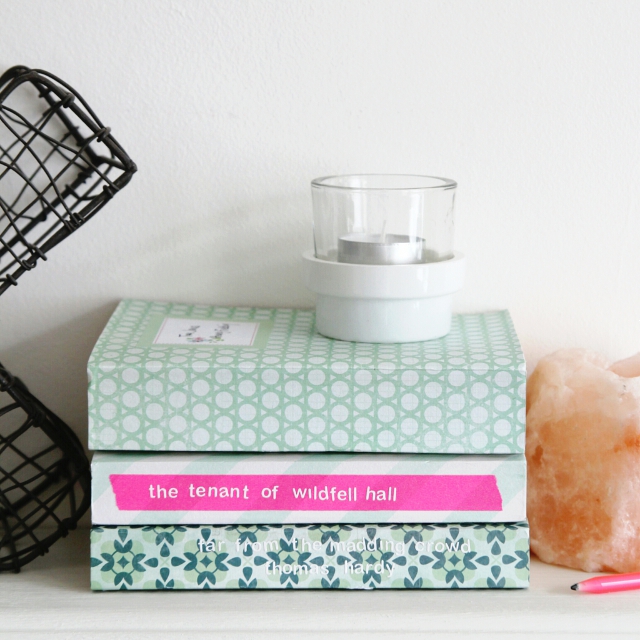
As promised here are my diy scrapbook paper book covers. I've got a shelf full of these old classic novels, they've been well read and well loved and sadly it's starting to show. I know in recent years a lot of the classics have been getting makeovers like this version of Pride Prejudice and this gorgeous version of Heidi and so I decided to give some of my old books a makeover of their own. I love how they turned out. In fact I love them so much I think I need to give all my books a makeover!

P.S. You can find more of my paper crafts here.

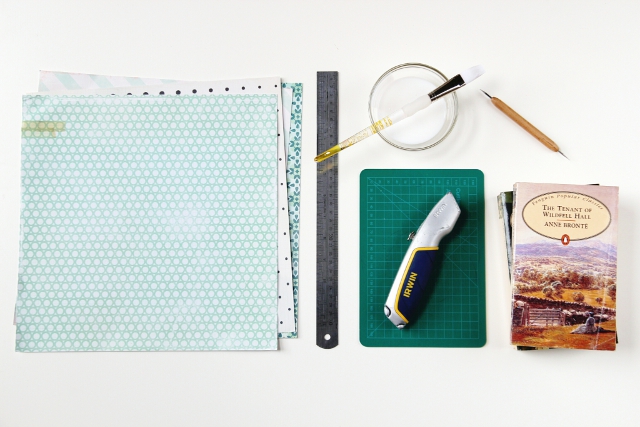
Materials needed to make Diy Scrapbook Paper Book Covers

Supplies:

The above links are affiliate links. This means that if you click on them and make a purchase I receive a small commission.

1. Line your book up with the top of the scrapbook paper and mark the bottom of the book. Trim your paper to size. You want the cover to fit as precisely as possible.

2. Lay your book down flat on your trimmed paper and score along the spine using an embossing tool.

As we're covering old books that can be warped and uneven I found it worked best to score along the actual book rather than measuring and using a ruler.

3. Lift your book up on it's spine and line it up with the previous score line. Score along the edge of the book spine.

4. To make sure your cover will open smoothly score 2 more lines a 1/4 inch out from the 2 you've just scored.

5. Check your new cover fits your book. You want to make sure the cover is the same height as your book. Don't worry about the paper overlapping the edges at this stage, we're going to fix this later.

6. Apply a thin layer of glue to your book cover.

7. Stick your cover to your book. I found it worked best if I laid the book down spine first onto the paper and then lifted the sides up. Make sure to smooth out any creases.

8. Leave to dry. To stop the book covers bending up as the glue dried I left mine to dry overnight under a stack of heavy books.

Once dry if your book covers are still a little curved you can always gently bend them in the opposite direction to straighten them out.

9. When dry use a craft knife and ruler to trim away any excess paper.

10. Decorate your scrapbook paper book covers. I used some white alphabet stickers, pink washi tape and some Cath Kidston labels to decorate mine. I really love how the white stickers look against the neon pink washi tape.

Diy Scrapbook Paper Book Covers

Find more diy and craft projects and inspiration over on my Pinterest board.

Comment

Emma

Hi, I'm Emma.

I'm a crafter, blogger and paper enthusiast living in the North West of England.

Gathering Beauty is the place where I share craft tutorials and diy inspiration. I started this blog back in 2013 as a way of sharing all the things I love and make. I share paper crafts, clay crafts, origami, printables and desktop wallpapers as well as the odd crochet and weaving project. I hope you find something here that inspires you.