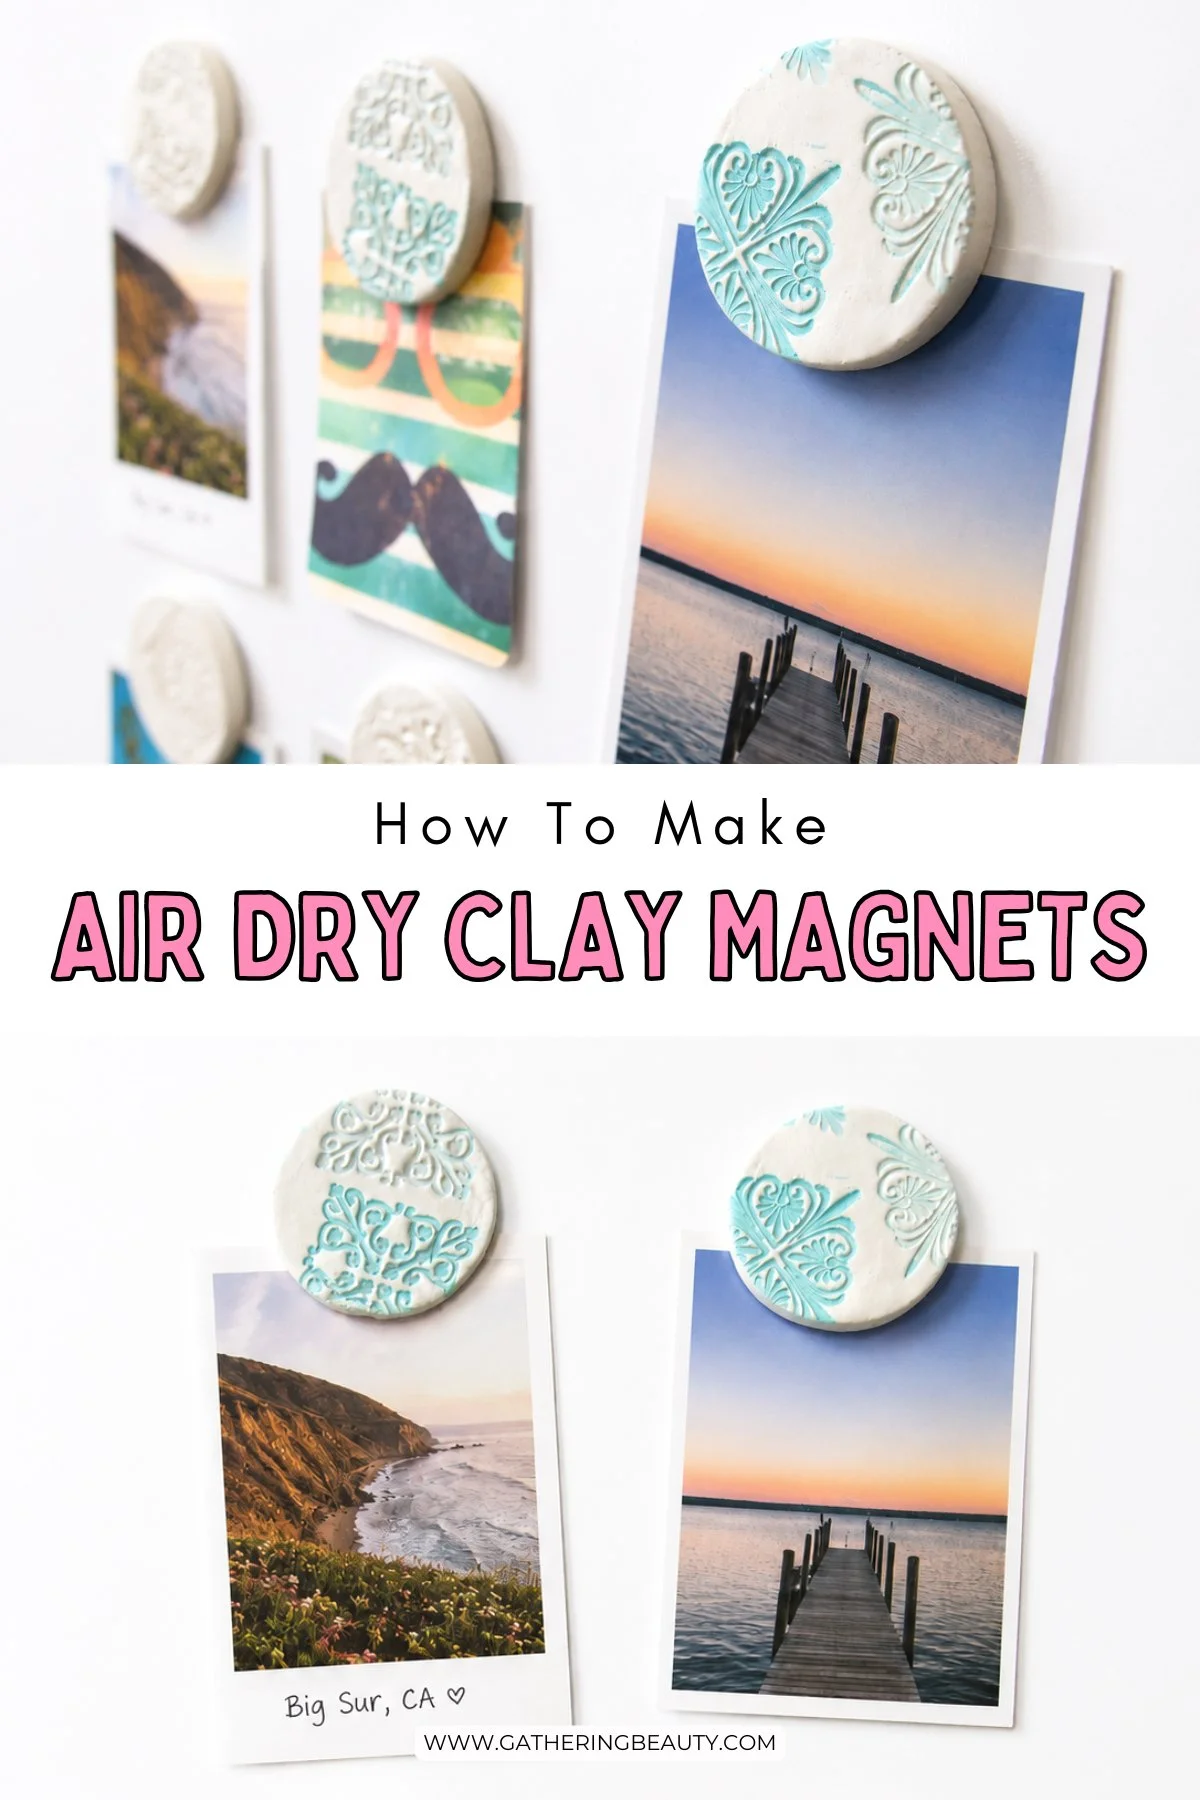
DIY Air Dry Clay Magnets
/Try your hand at making these adorable air dry clay magnets! They're perfect for holding up notes, photos, and reminders on your fridge or any magnetic surface.
Get creative with shapes, patterns, and colours to make your magnets truly unique.

This page contains affiliate links. This means that if you make a purchase after clicking a link I earn a small commission but it doesn’t cost you a penny extra!
Air Dry Clay Magnets.
I'm super excited to share a fun and easy project that'll bring a pop of colour and personality to your kitchen. We're going to make some adorable air dry clay magnets that are not only functional but also super cute.
You can never have too many, right? There always seems to be something that needs pinning to the fridge.
So, gather your supplies and let's get our craft on!
Related: Air Dry Clay Tips And Tricks

Supplies:
Air hardening clay - you can find this at most craft stores or order it online. It's a fantastic medium that dries without the need for a kiln or oven.
An Acrylic Rolling Pin - don't worry if you don't have a fancy one; even a smooth glass bottle will do the trick!
An ink pad
Sandpaper
mini magnets - get some small, round magnets that will stick nicely to your fridge.
And a glue gun.
Optional extra: Mod Podge or clear varnish: This will help seal your clay and protect it from moisture.

How to make Air Dry Clay Magnets.
1. Take your air hardening clay and roll it out to about 5 mm thick. Be careful not to make it too thin. You don't want the clay to be brittle and crack as it dries.
2. Stamp your design into the clay. I used these stamps and this ink.

3. Punch out the shape of your magnets using a cookie cutter.

4. Try inking up the stamps as well and don't be afraid to experiment.
You can use anything that will leave an impression on the clay.
The ink-stamped magnets turned out to be my favourites in the end.

5. Set aside and leave to dry overnight. Mine took around 24 hours.
6. When dry, file away any rough edges with sandpaper or a nail file.
Optional extra: Once your magnets are dry, apply a coat of Mod Podge or clear varnish to seal and protect them. This will help to ensure their longevity and resistance to moisture.

7. Glue a magnet onto the back of each disc to finish.

And voila! You've just created a set of delightful air dry clay magnets to jazz up your fridge or any magnetic surface.
Display them proudly or give them as thoughtful handmade gifts to your friends and family.