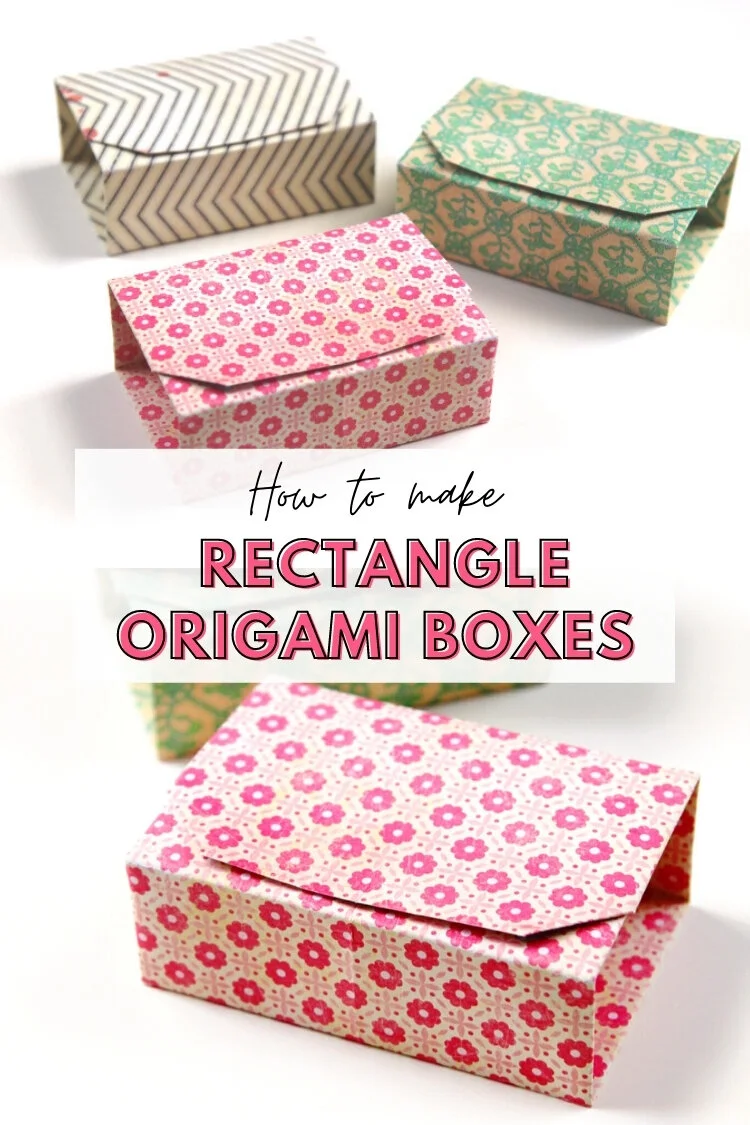
Origami Rectangle Box - All-In-One
/Are you planning on giving a handmade gift but don’t have a box for it? Learn how to make these clever all-in-one rectangular origami boxes using a single sheet of paper. The ideal handmade gift box for your best friend, mother or that special someone.
This page contains some affiliate links. This means that if you make a purchase after clicking a link I earn a small commission but it doesn’t cost you a penny extra!
Origami Rectangle Box.
You may have noticed that I'm a little obsessed with making things out of paper, especially origami. I love how you can turn a simple piece of paper into a stunning gift box without a pair of scissors or a drop of glue in sight.
It’s so easy to make your own traditional origami gift boxes but I wanted to show you how to make something a bit more clever. Instead of making a separate lid, this little box is made from a single piece of paper with an all-in-one lid.
From the outside, it looks like a normal rectangular gift box but when you open it out, a small internal square box is revealed. How clever is that?
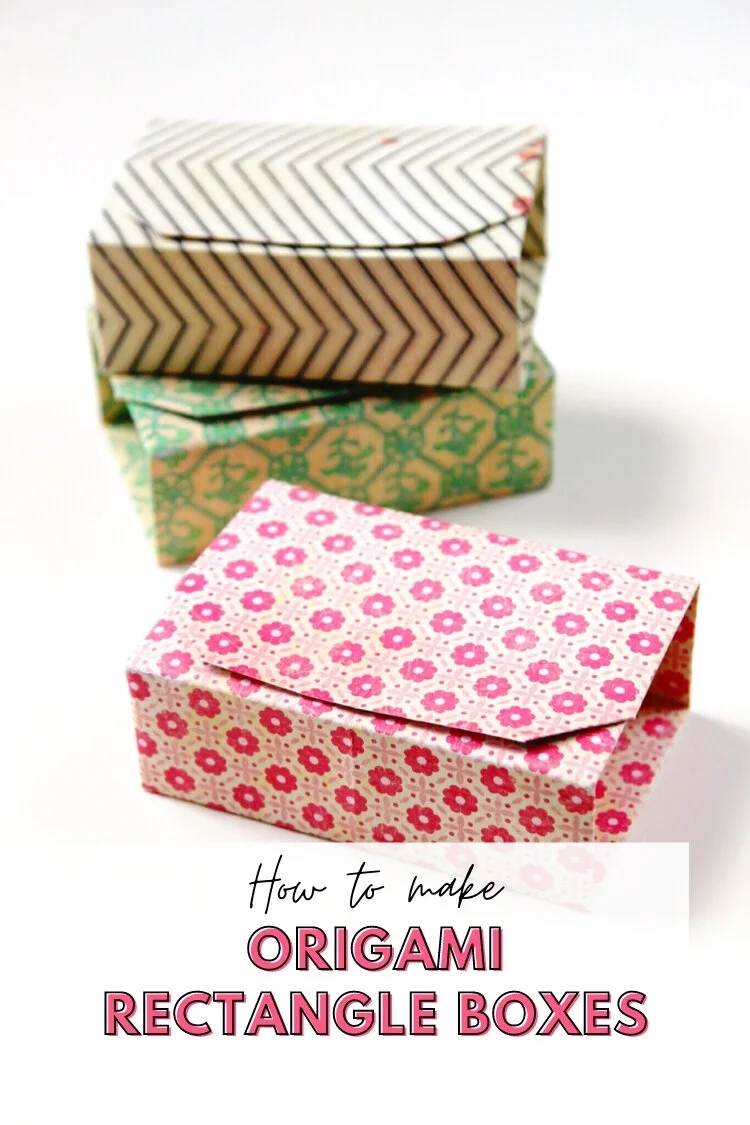
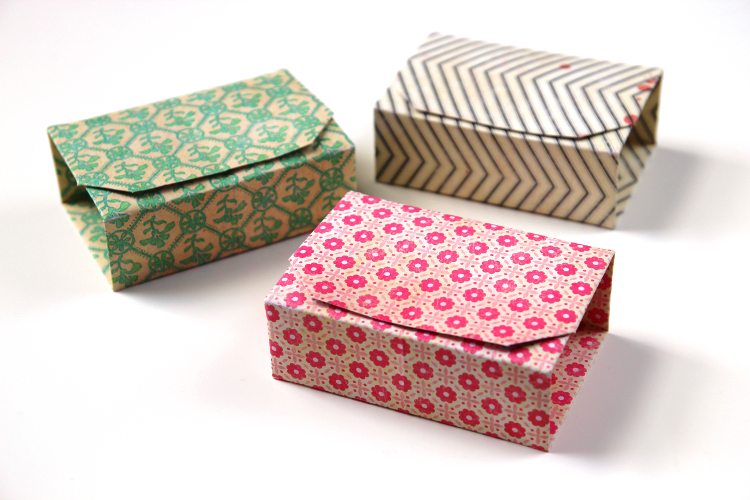
I love to use pretty patterned scrapbook paper when I make these boxes as I think it helps them really stand out and look truly unique but you could use gift wrap, origami paper, coloured construction paper - any kind of paper really. They’re perfect to use as gift wrap for jewellery or other small presents or just to fill with sweets and candy.
Supplies:
I like to use scrapbook paper for my origami gift boxes. It’s more of a lightweight cardstock than paper so it means the box is sturdier than if you used traditional origami paper.

How To Make An Origami Rectangle Box.
(The finished boxes measure 4.5x3 inches and are 1.5 inches tall. On the inside they measure 3x3 inches square.)
1. Take your paper and fold it in half.
2. Open it back out, rotate 90° and fold in half again.

3. Open your paper out and lay it pattern side down.
4. Fold the bottom of your paper up to the halfway mark.
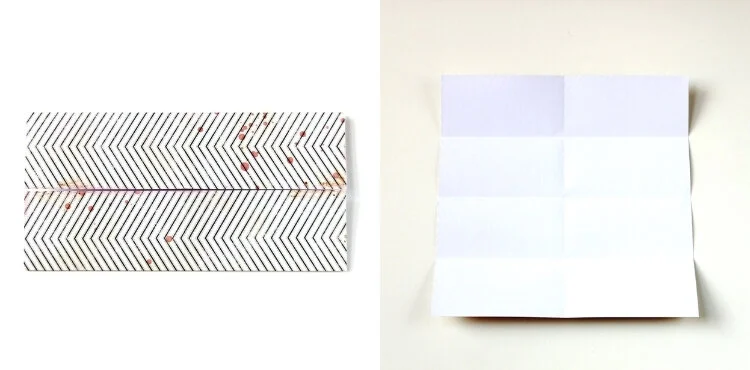
5. Rotate 180° and repeat.
6. Open your paper out. It should now be divided into 8 rectangles.
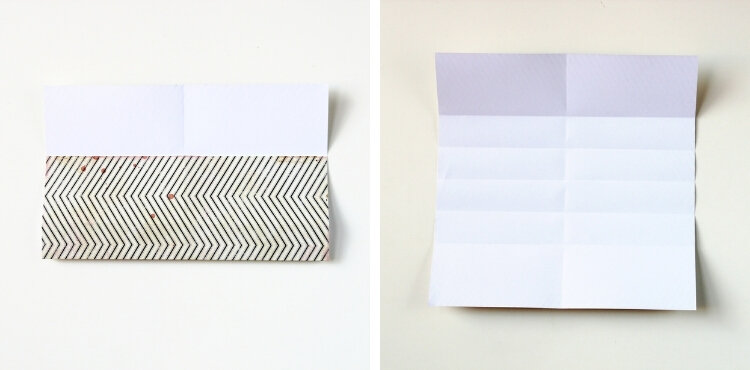
7. Next fold the bottom of your paper up to the 1st horizontal crease.
8. Rotate 180° and repeat.
9. Open it back out. The middle 4 rectangles should now be divided into 8 smaller rectangles.

10. Fold the top corners of your paper down so they meet the 2nd crease down.
11. Next fold the bottom corners up so they meet the 2nd fold up.
12. Flip your paper over and rotate. You want the creases to be running vertically this time.
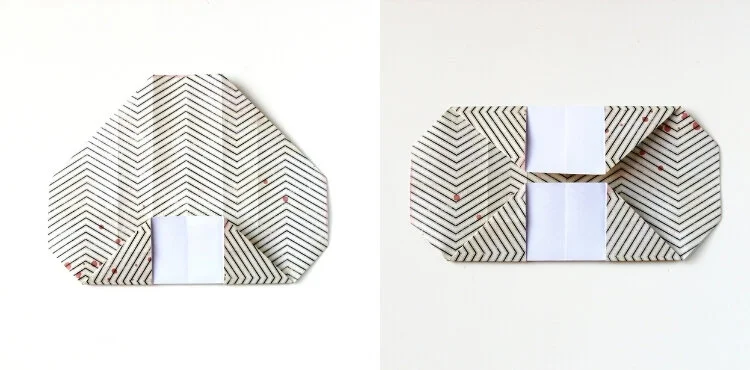
13. Fold the bottom of your paper up to the halfway crease.
14. Rotate 180° and repeat.

15. Next, you need to take these flaps and fold them in half again. To do this you need to fold them back on themselves to meet the edges.
16. Lift these flaps. You should see 2 smaller triangles.
17. Open up the triangles to make a rectangle instead.

18. Repeat on the opposite side and press flat.
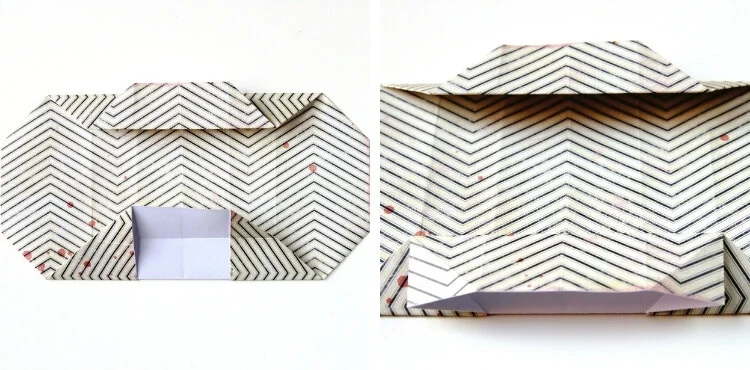
19. Flip your folded paper over again.

20. The flaps you've just made should now be underneath. You need to bring these flaps back to the front.
21. As you bring them forward and fold the bottom piece in half to make a concertina fold. Do the same on the opposite side.

22. To construct the box you need to raise the flaps you've just made, these are going to be the sides of your box.
I've rotated mine in the photos so you can see the next steps more clearly.
23. You should have two creases that you made previously. You need to fold along these creases to form the lid of your box and make a crisp edge.
24. Raise the sides as you pull the top towards you.
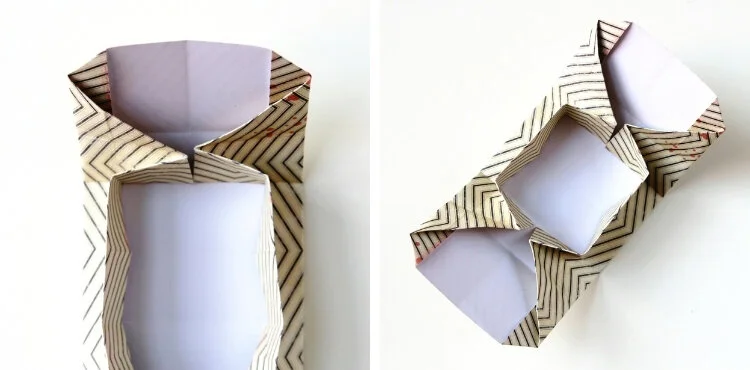
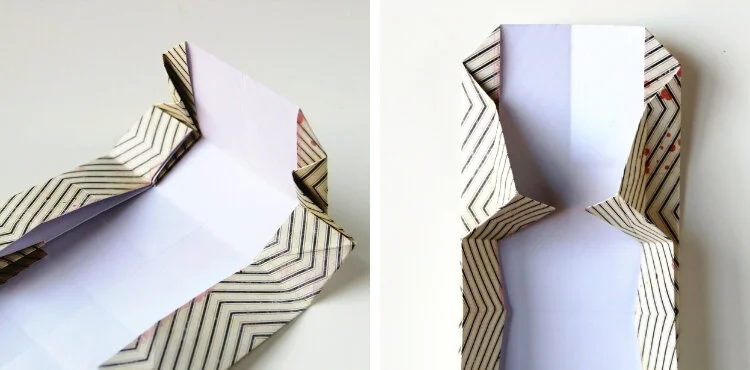
25. As you fold the top towards you collapse in the folds to make 2 squares and the sides of your box.
26. Repeat on the opposite side. An inner square box will appear.
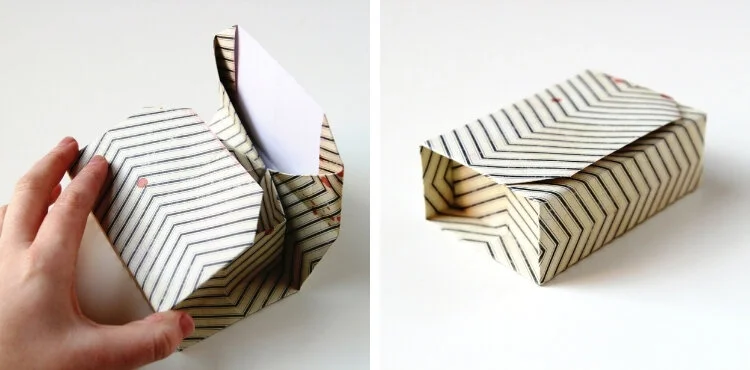
27. The lid is made up of two flaps. On the inside of each flap you should be able to see two triangular pockets.
28. To close your origami box slide one of the flaps into the triangular pocket of the other one.
The best handmade wrapping for those special gifts, don't you think? Fill your boxes with your gifts or treats and if you want to add an extra finishing touch tie on some ribbon and a pretty gift tag.