HOW TO MAKE ORIGAMI TULIP TABLE SETTINGS.
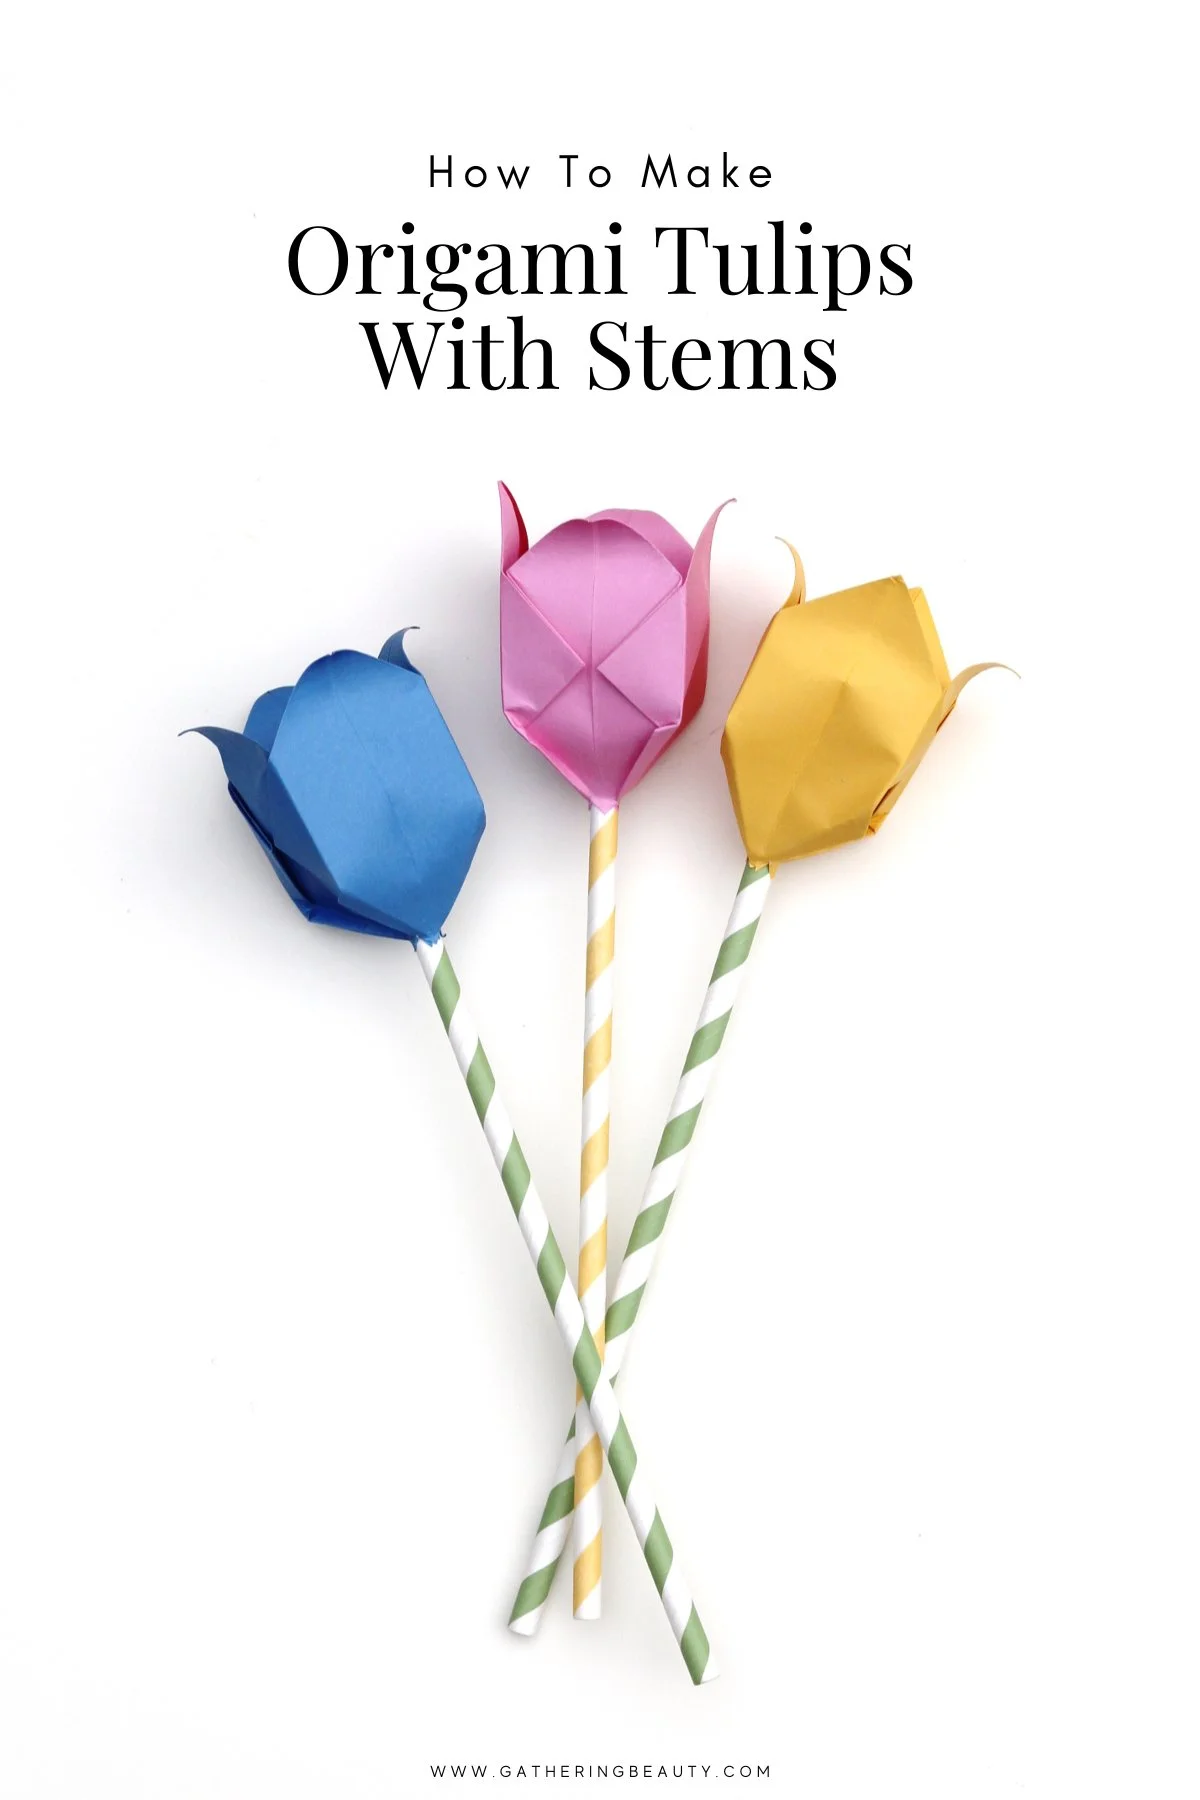
/Forget real flowers that fade after a day or two and create these pretty origami paper tulips instead. They don't need watering, will never wilt and can be enjoyed all year round.

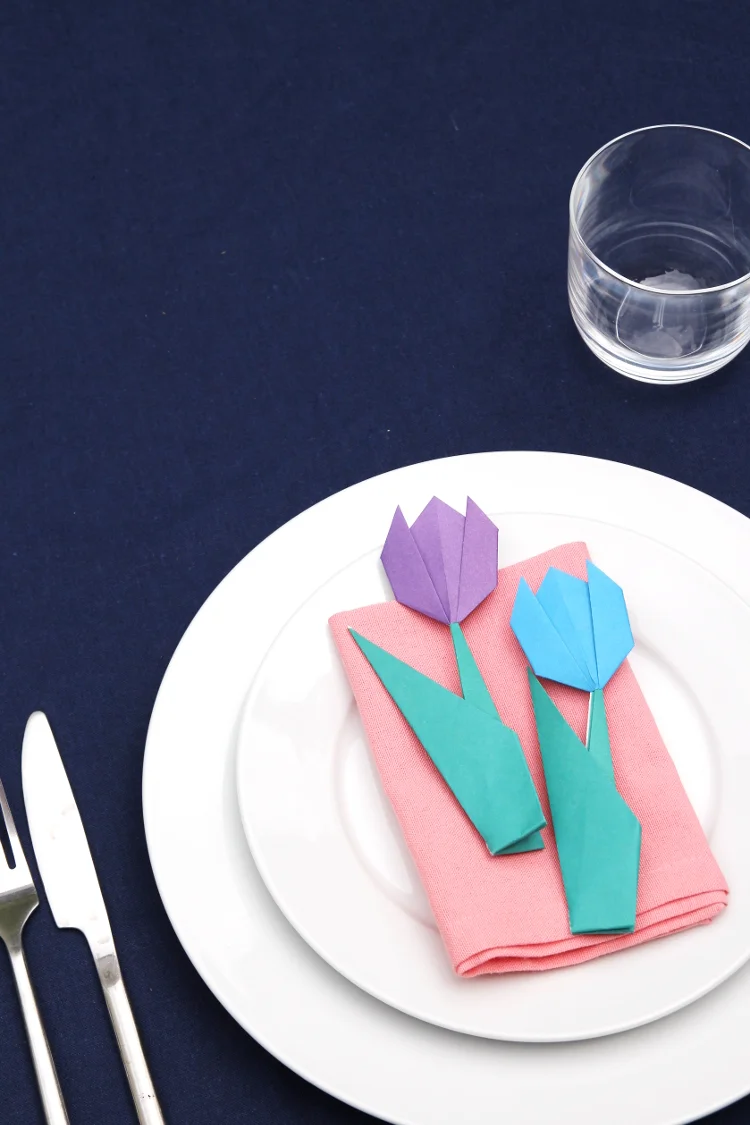
One of the best parts about throwing a dinner party is decorating the table, don't you think? Today I thought I'd show you a quick way to make some simple origami tulips to use as table decorations at your next gathering.
I know tulips are traditionally associated with Spring but as they're such a happy, colourful flower it seems wrong not to have them all year round. These paper tulips are the perfect way to make sure I can enjoy them whenever I like.
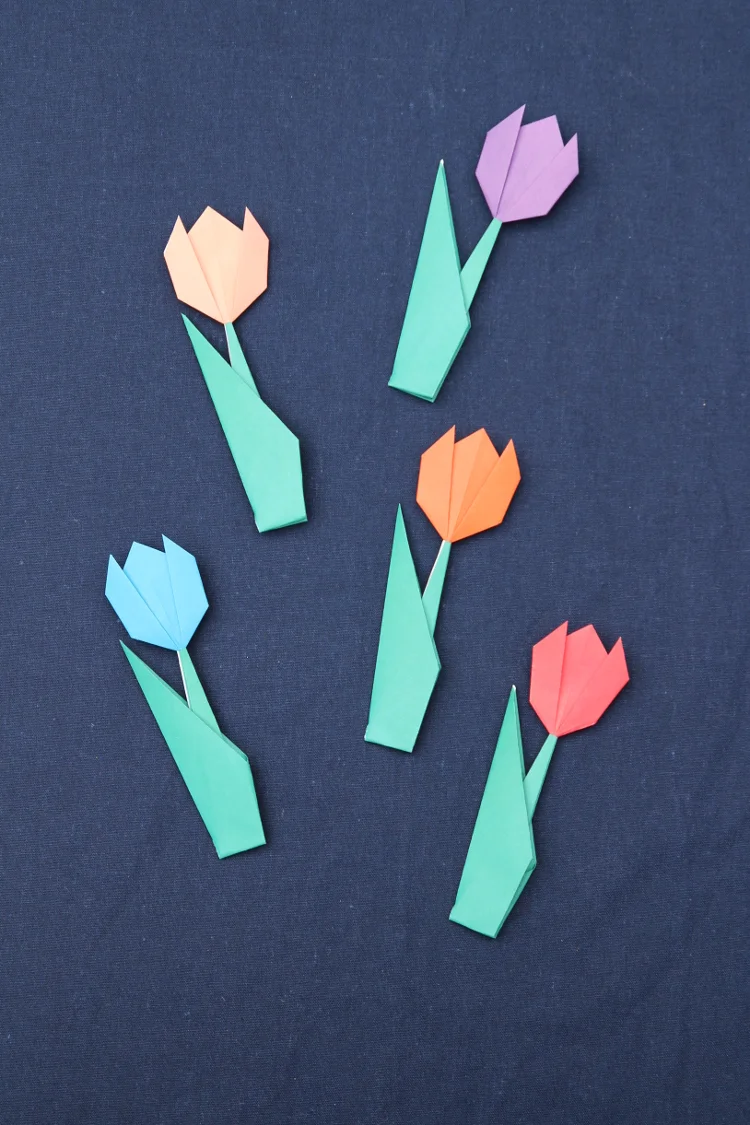
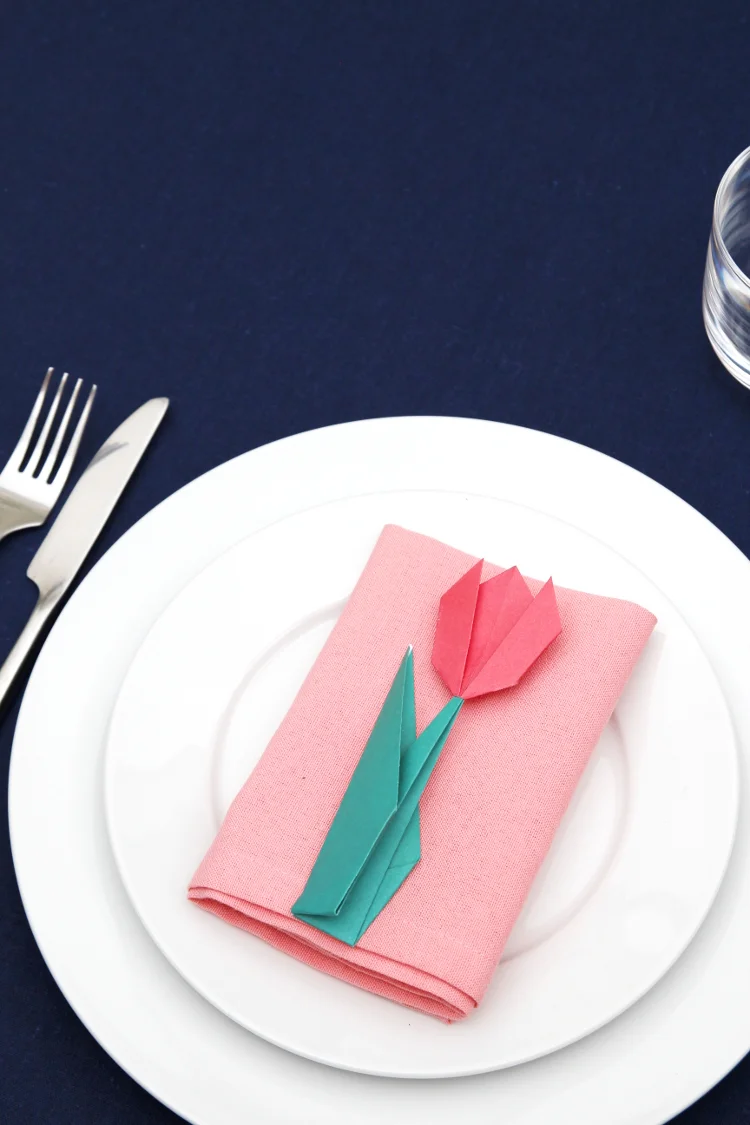
You can customise them using any colour or patterned paper. For mine I chose some bright pastel origami paper. I love how it contrasts against the dark blue table cloth. If you don't have any origami paper another great alternative is to rip pages out of old magazines or use gift wrap. You can create some lovely surprises by mixing the random patterns together. All you need to do is grab a pair of scissors and get folding.
If you’re new to origami make sure to check out these 3 Basic Origami Folds For Beginners.
To Make Your Tulip:
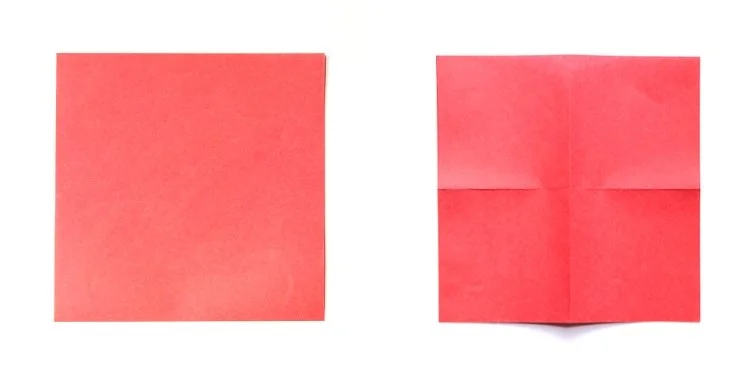
1. Take your origami paper and fold it into quarters - fold it in half, open out and fold in half again.
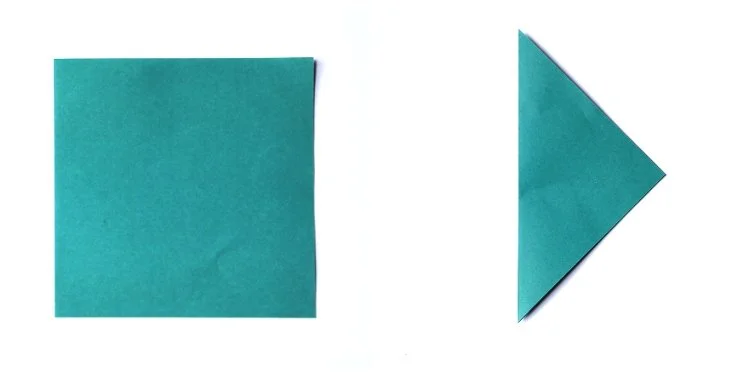
2. Cut a quarter out of the paper. Take this quarter and fold it in half across both diagonals. Leave folded as a triangle.

Make sure to keep the rest of the paper. Don't throw it away. You can use it to make another 3 tulip heads.
3. Take the triangle and fold the corners up at an angle not quite to the middle to make the side petals of the tulip.

4. Flip your tulip over and fold the sides in to make 2 small triangles. Your tulip head is now finished. Easy peasy, right?

To make the stem:
1. Take your green origami paper and fold it in half across the diagonal.
2. Open it out and fold the bottom edges up to meet the middle crease.
3. Next fold the top edges down to meet the middle crease.

4. Repeat and fold the top edges in again to the middle.
5. Fold the stem in half so the top point meets the bottom point.

6. Fold in half with the smaller part of the stem on the inside.
7. Shape the stem by pulling the inner part out slightly. Make sure to press all the creases flat again.
8. Snip the tulip head at the bottom to make a small hole.
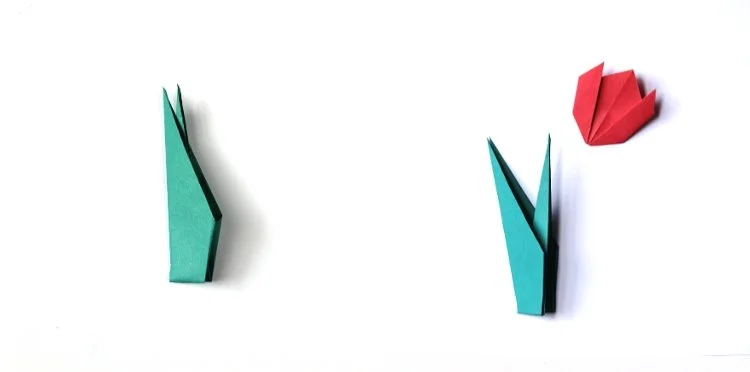
9. To assemble your flower slide the tulip head onto the stem.
All done. Your tulip is now ready to display.
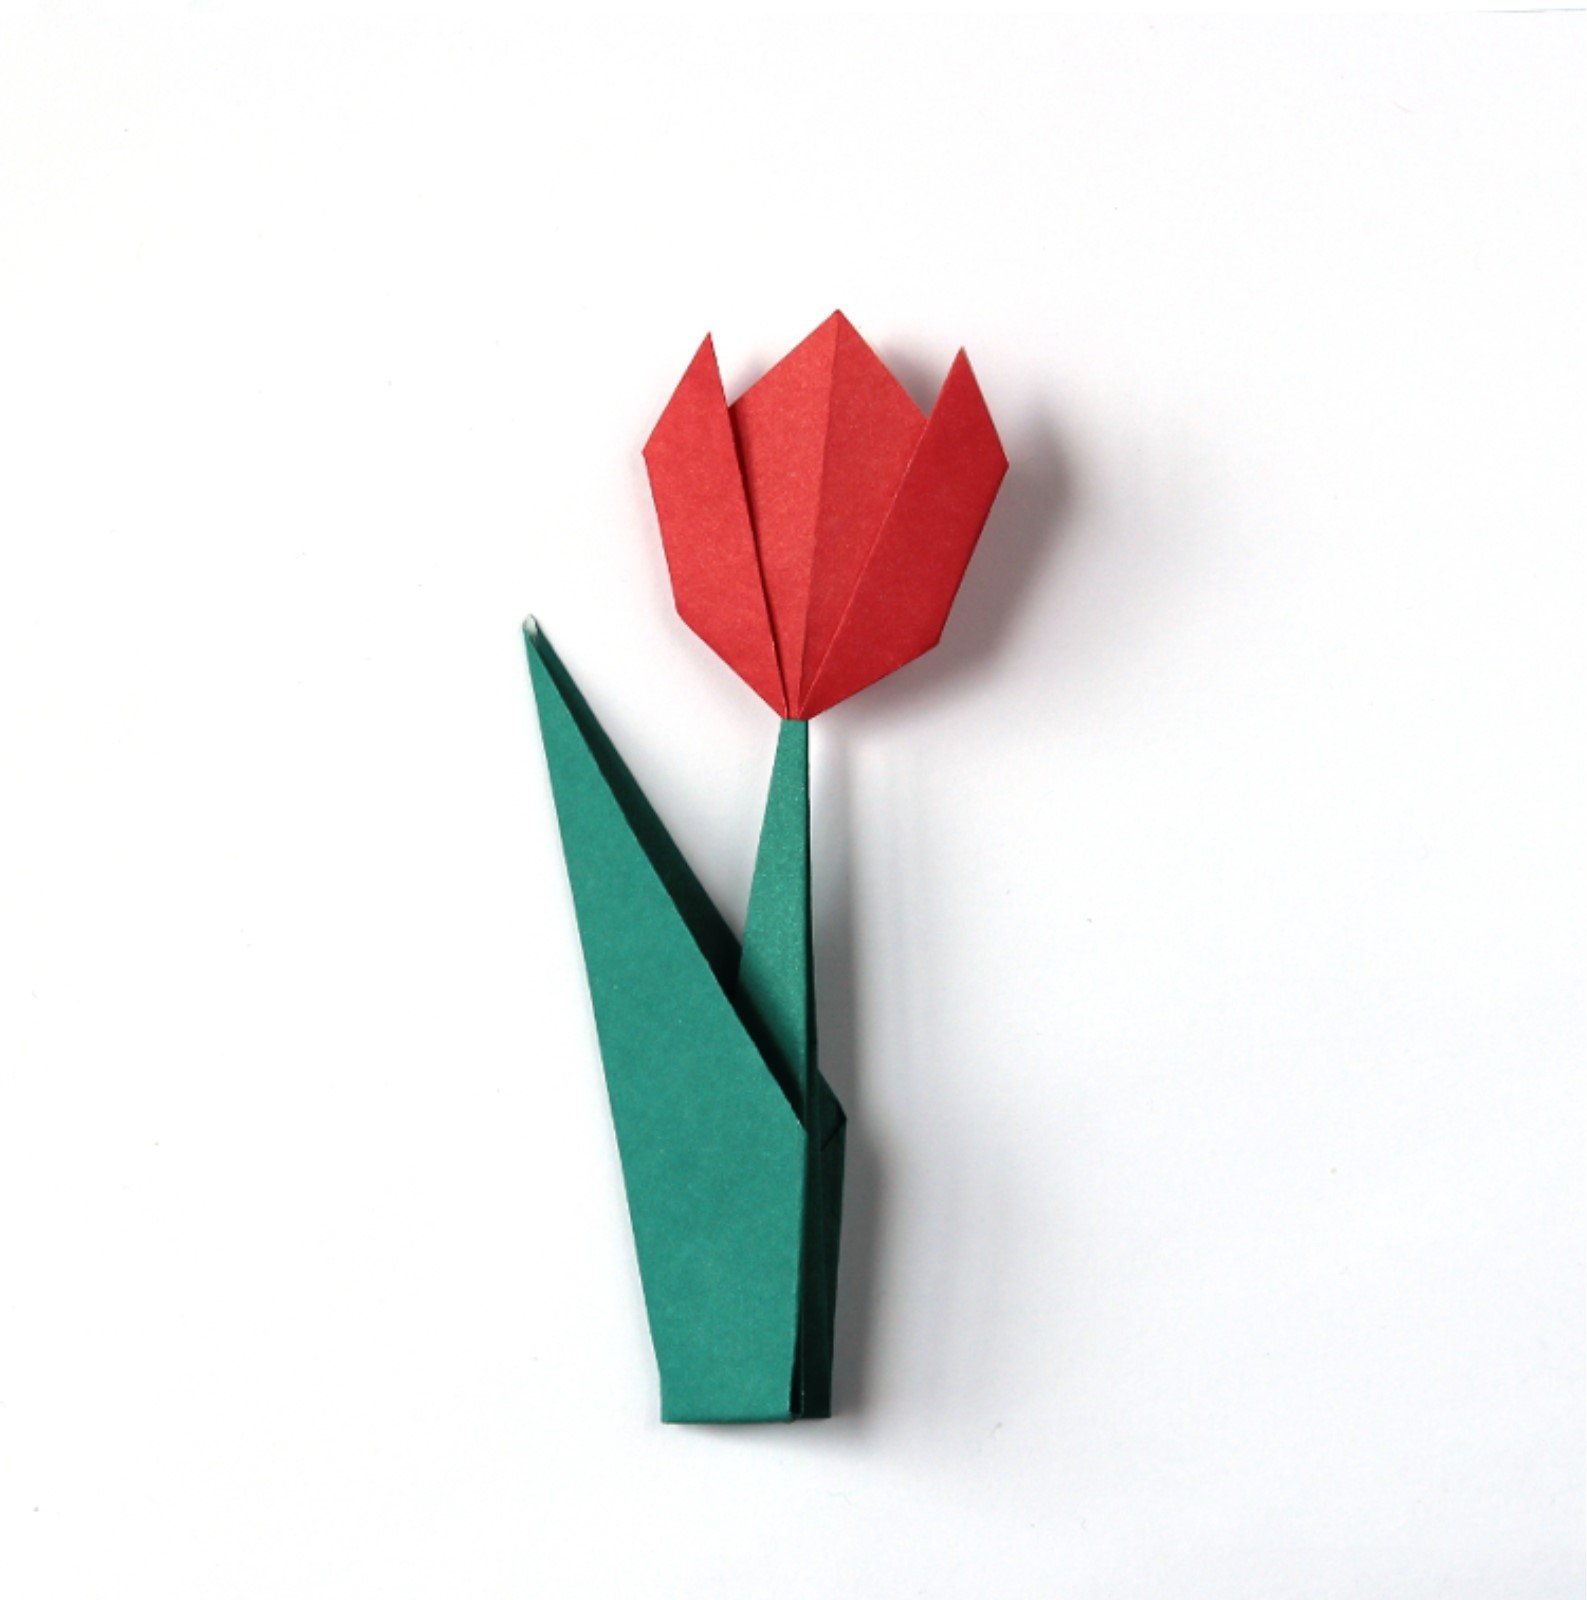
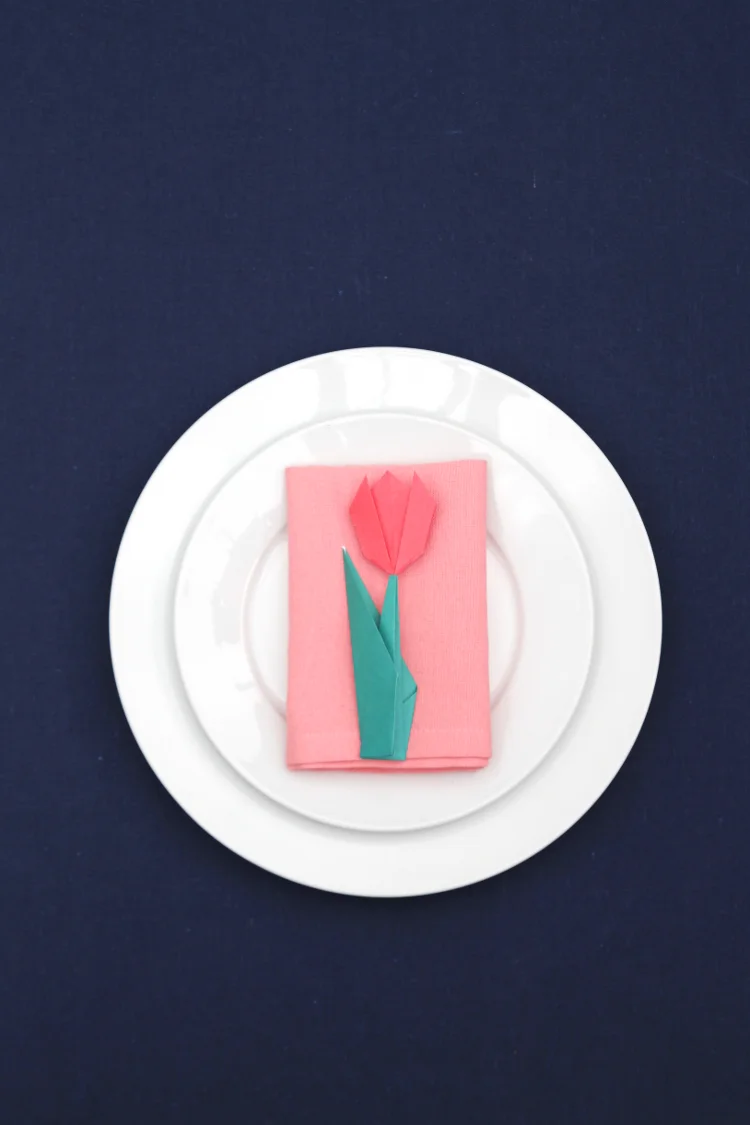
I used mine as a table setting but as they can be used free standing or lying flat there's many more ways to use them. They look great on a greeting card or as a gift topper. Open the base out and stand them up all in a row along a fireplace or window sill. Pop a bunch of them in a vase and brighten up a dull corner. Scatter them across a table or write your guests name on the leaf and use them as place cards.
Such a lovely way to add a touch of charm to any dinner party. The best part? You don't have to replace them after a week!
P.S. Make sure to check out my diy crepe paper peonies. Another pretty paper flower that lasts and lasts.