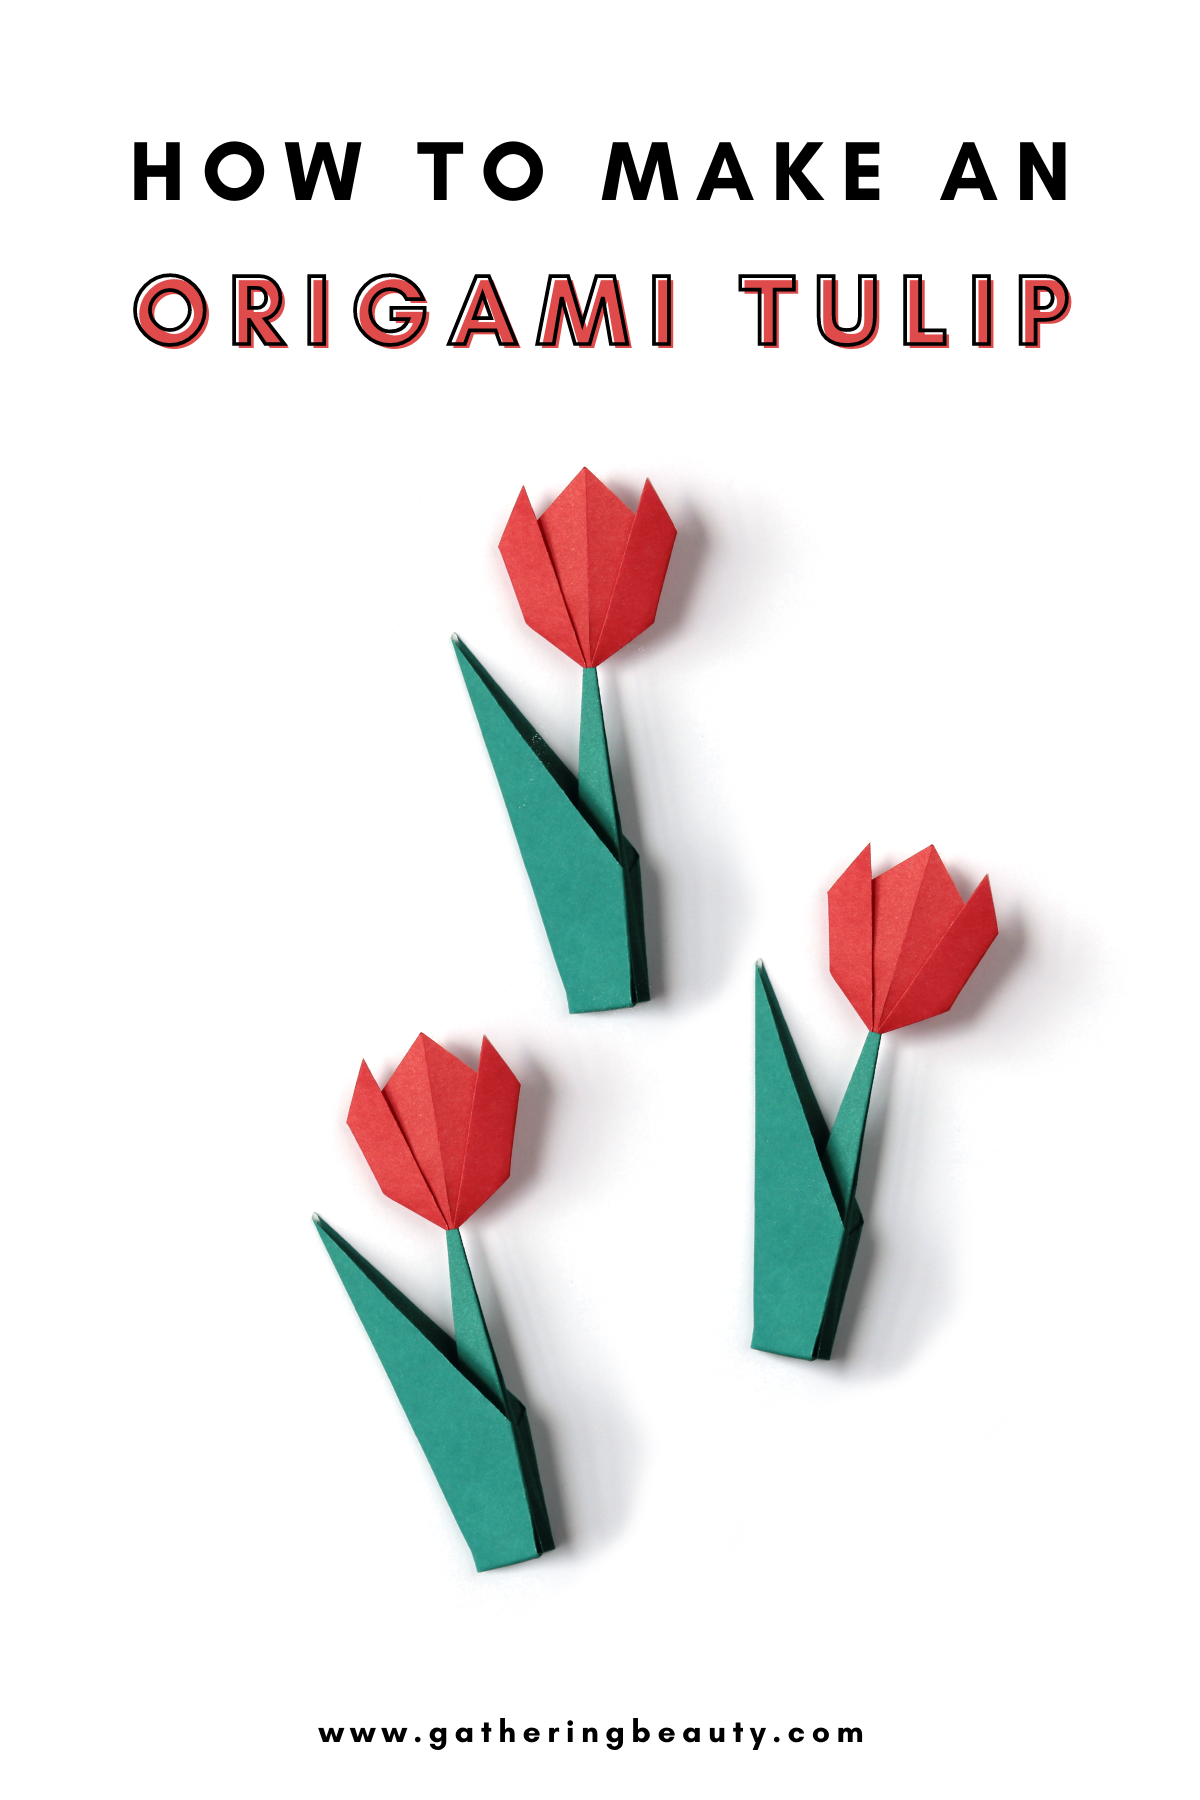
How To Make An Origami Tulip.
/Learn how to make an easy origami tulip with a stem. Follow these simple step by step instructions to make your own beautiful paper tulips.
A few clever folds are all that’s needed to transform two squares of paper into a pretty paper flower. They can be made to stand up on their own or pressed flat and used to decorate a greeting card, gift or collage.
All you need is some colourful origami paper and a pair of scissors. Make them in a rainbow of colours and patterns and decorate your home with a whole bunch.
This post contains some affiliate links for your convenience (which means if you make a purchase after clicking a link I will earn a small commission but it won’t cost you a penny extra)!
Origami Tulip.
I’m back with another easy origami craft, this time a simple origami tulip. I’ve made origami flowers before (like this origami kusudama flower) but never an origami tulip.
If you’ve never made an origami project before I think these tulips are the perfect place to start. They’re such a fun project and ideal for spring or summer celebrations.
As soon as you’ve made one I think you'll see why they’re one of the easiest and most popular origami flowers. They can be folded in only a couple of minutes and are a great one to get the kids involved with. Although younger children may need a little help with the stem.
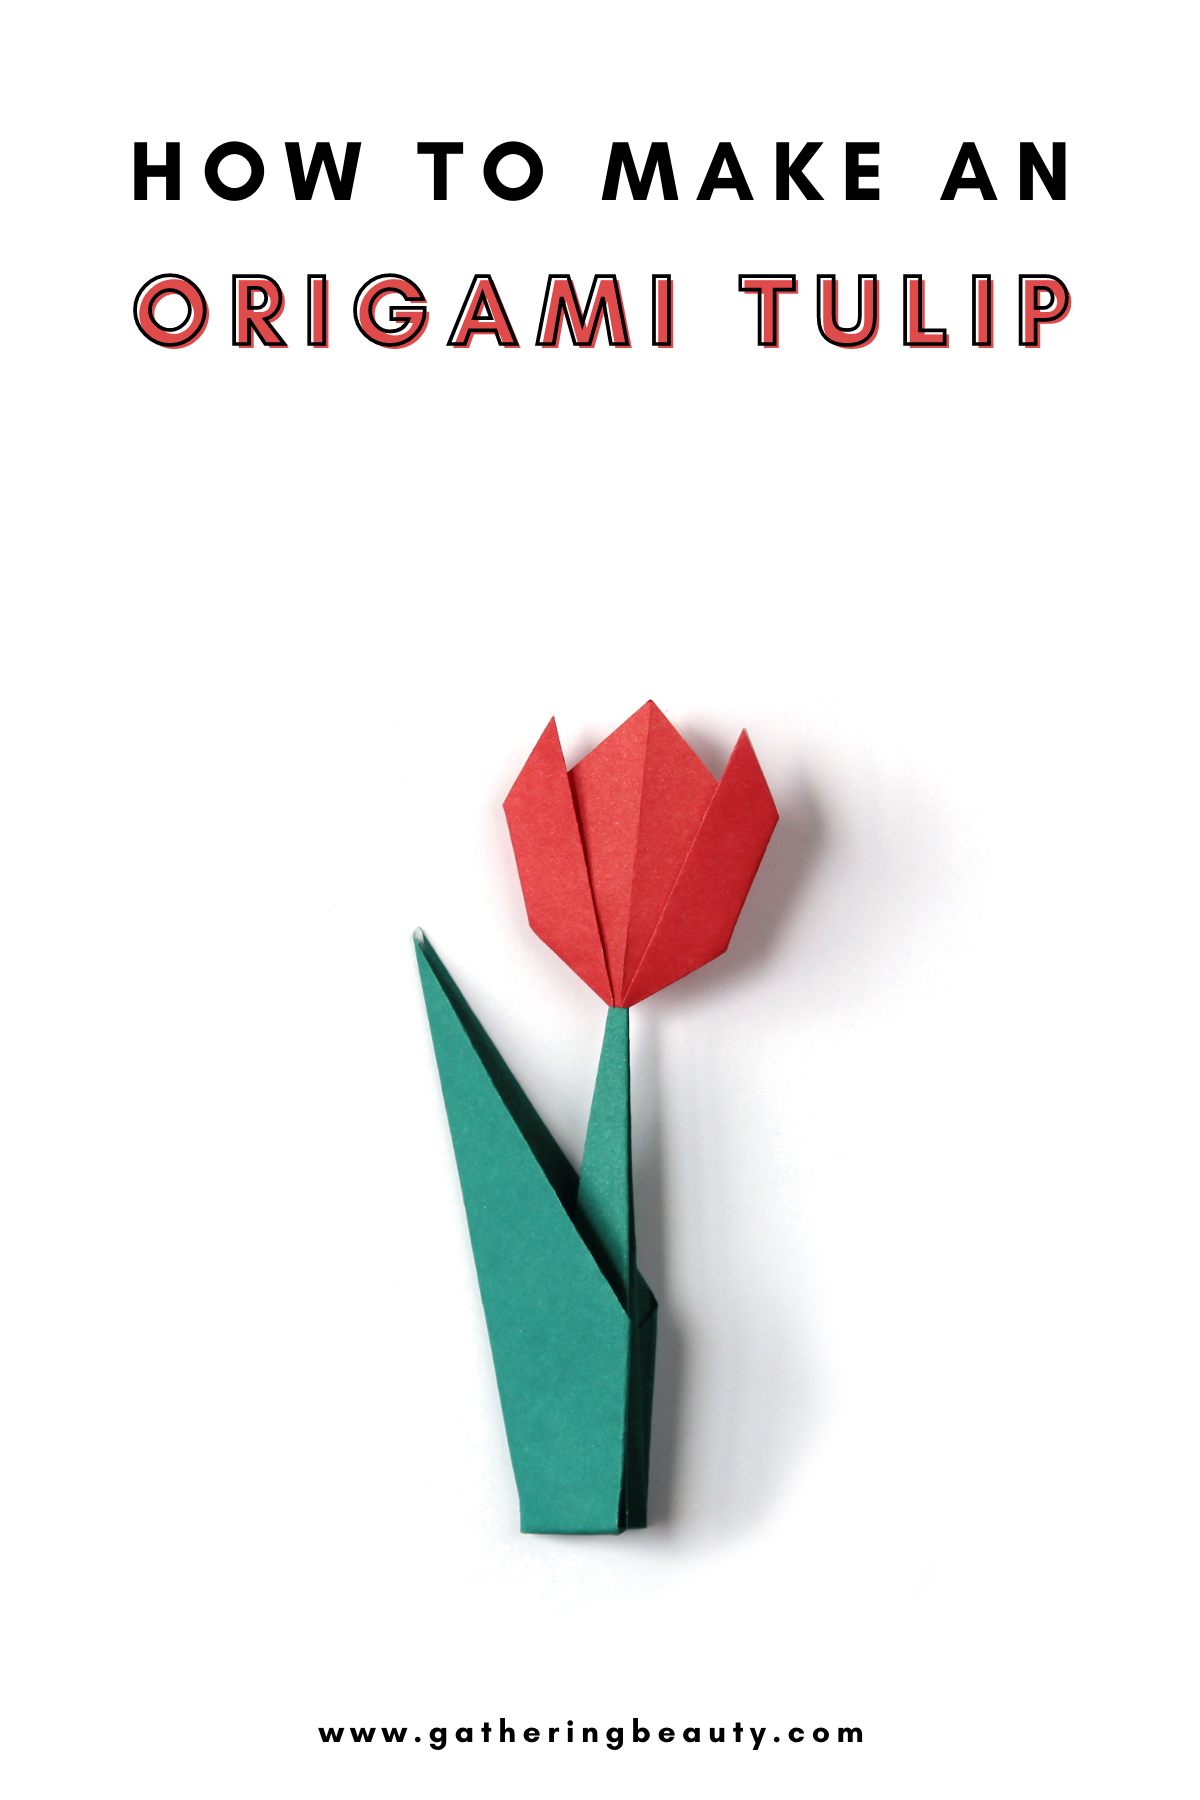
The clever thing about these tulips is that they can be used free-standing or lying flat. You can stick them to a card base for a cute origami card. They look fantastic as a gift topper or bookmark. They could be used as embellishments in scrapbooking or to make collages with the kids.
Open the base out and you can stand them up in a row along a fireplace or window sill for a pretty spring display. Scatter them across a table or even write your guest’s name on the leaf and use them as place cards.
Related: 20+ Easy Origami Flowers To Make

Easy Paper Tulips.
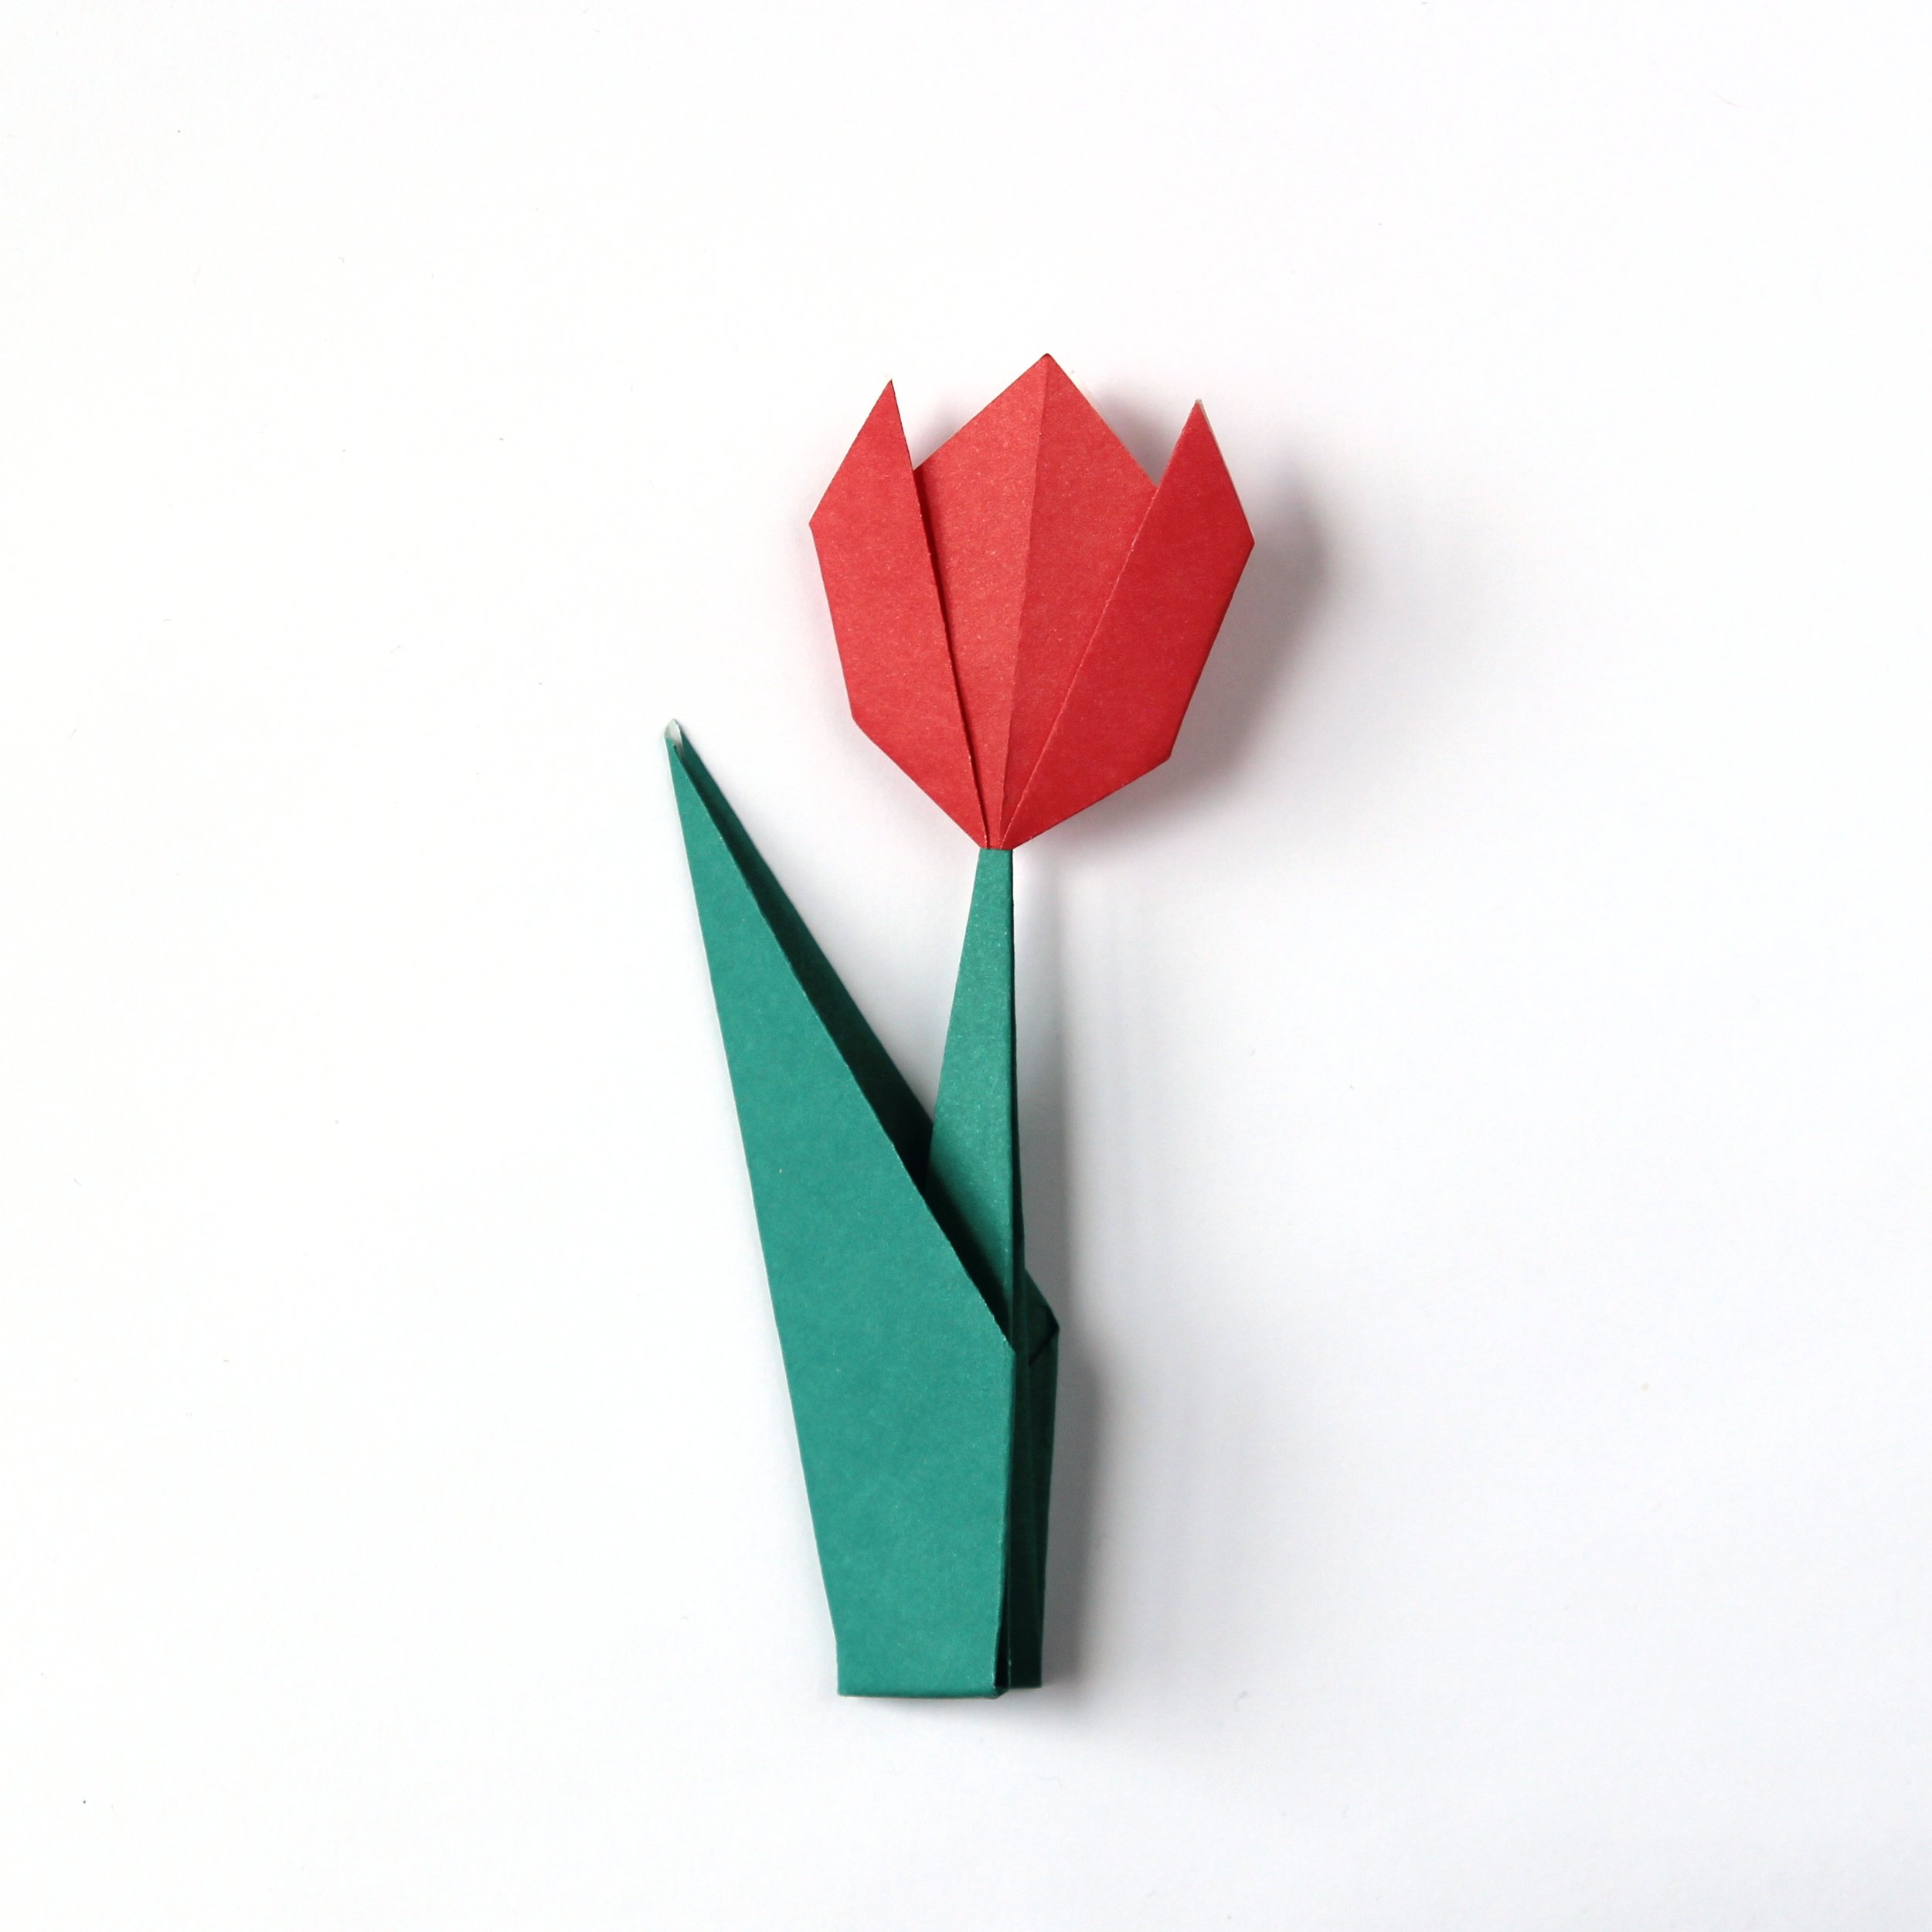
To make these origami tulips you will need two different coloured squares of origami paper. A coloured one for the flower head (I went for classic red) and a green one for the stem.
The flower head is made separate from the stem and attached later. You’ll need a pair of scissors to cut a small hole and a little glue to hold it in place. You may need to play around with it to get the best fit.
Tulips come in such a lovely variety of colours of vibrant colours. I love the idea of making a set of rainbow tulips to display along a windowsill. They’d look so pretty in any home.
Supplies:
I do recommend using origami paper for any paper folding project but any kind of thin paper will work. Here are a few alternatives that you probably already have on hand.
Magazines
Old Books
And Maps.
I even have some printable origami paper you can download and use for FREE. Simply download, print and cut into 7x7-inch squares.

How to Make an Origami Tulip.
1. Take your origami paper and fold it into half with the coloured side on the outside.
2. Open out and fold in half again in the opposite direction.
3. Open back out. Your square will now be divided up into four quarters.
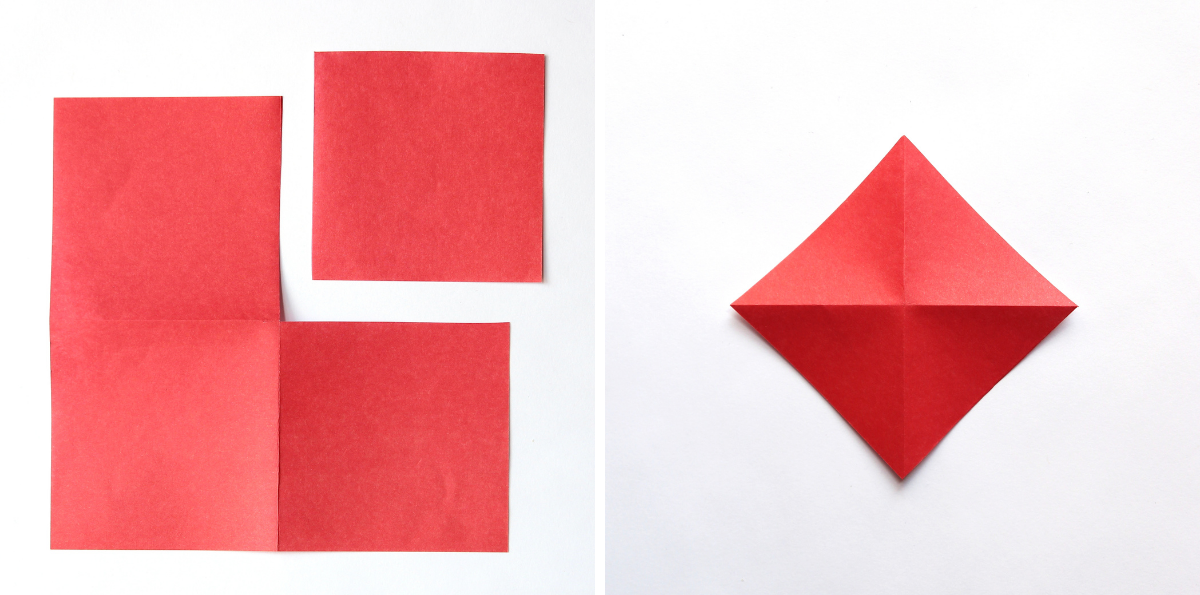
4. Cut a quarter out of the paper.
Make sure to keep the rest of the paper. Don't throw it away. You can use it to make another 3 tulip heads.
5. Take this quarter and fold it in half diagonally.
6. Open back out and fold across the opposite diagonal.

6. Leave folded as a triangle.
7. Take the triangle and fold the corners up at an angle not quite to the middle to make the side petals of the tulip.

4. Flip your tulip over and fold the sides in to make 2 small triangles.
Your tulip head is now finished.
Easy peasy, right? The next step is to fold the stem.

How to Fold an Origami Flower Stem.
1. Take your green origami paper and fold it in half across the diagonal.

2. Open it out and fold the bottom edges up to meet the middle crease.
3. Next fold the top edges down to meet the middle crease.

4. Repeat and fold the top edges in again to the middle.
5. Fold the stem in half so the top point meets the bottom point

6. Fold in half with the smaller part of the stem on the inside.
7. Shape the stem by pulling the inner part out slightly.
8. Make sure to press all the creases flat again.
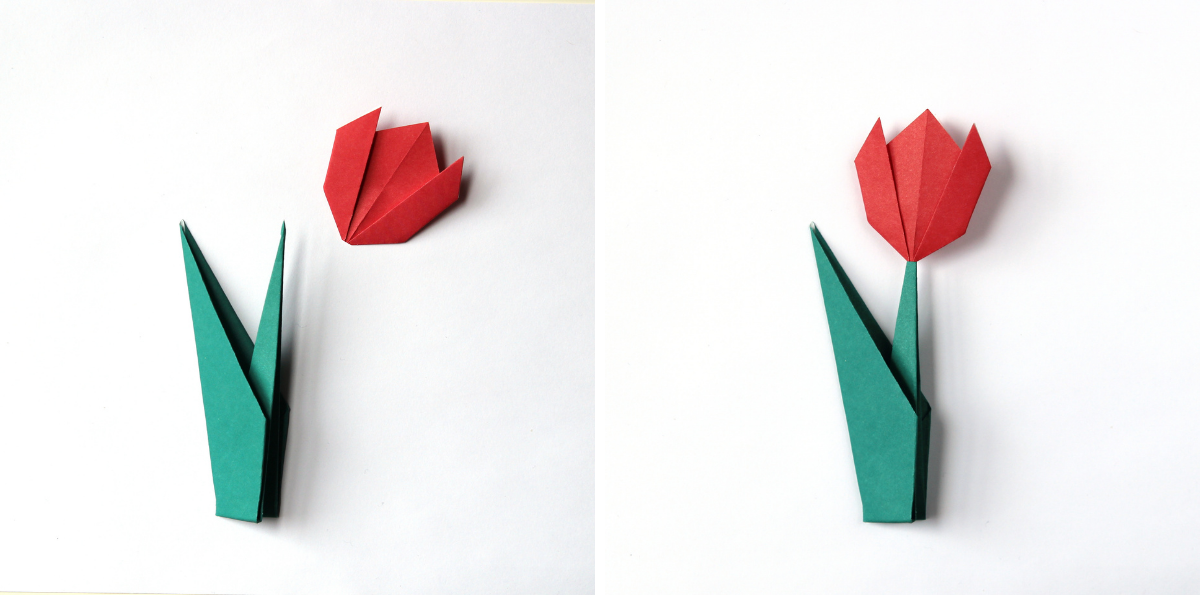
Assembling An Origami Tulip.
9. Snip the tulip head at the bottom to make a small hole.
10. To assemble your flower apply a little glue to the tip of the stem.
11. Slide the tulip head onto the stem and leave it to dry.
Your tulip is now ready to display. You can choose to open out the base and stand your tulip up or leave flat and use on a card or collage.