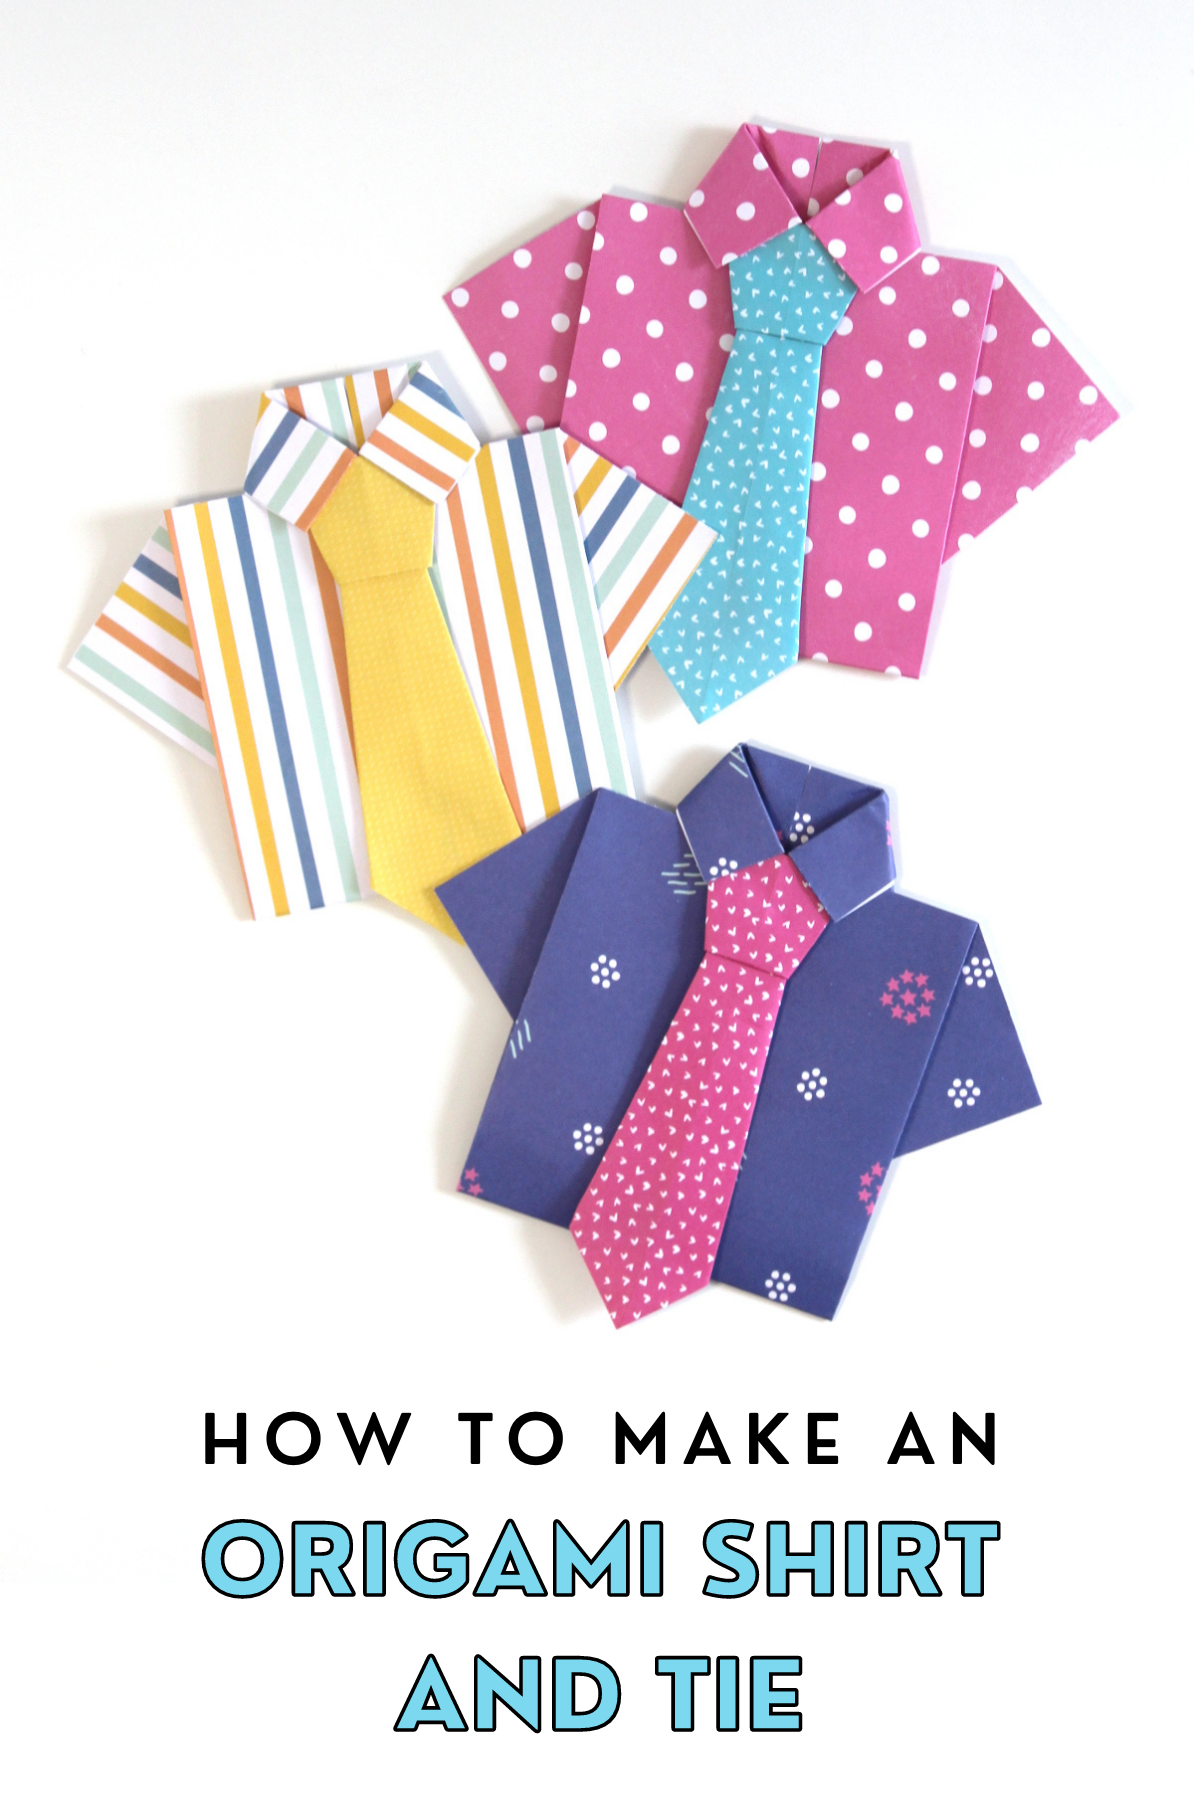
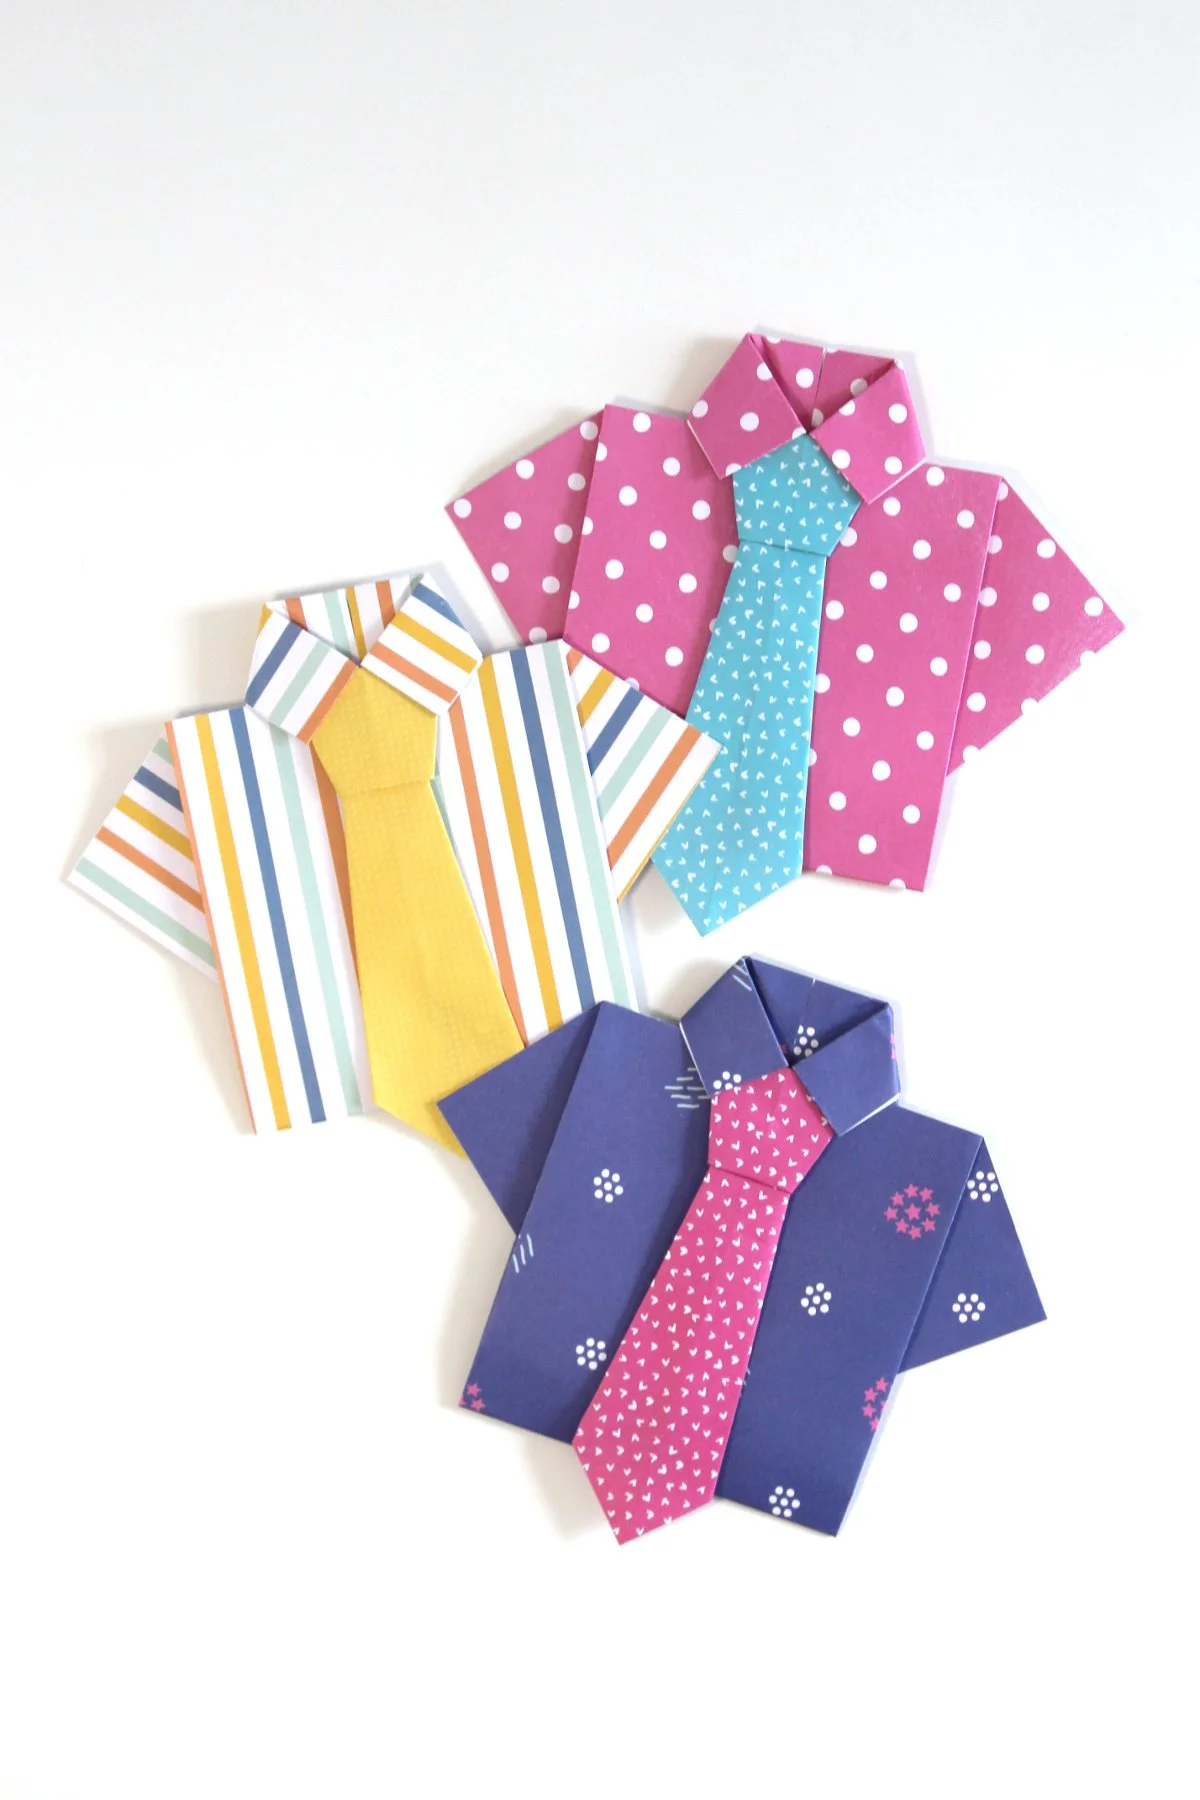
Father's Day Origami Shirt And Tie.
/Get crafty and make this Origami Shirt and Tie for Dad this Father’s Day. They are quick and easy to fold and as they only require a couple of sheets of paper can be made using supplies you probably already have at home.
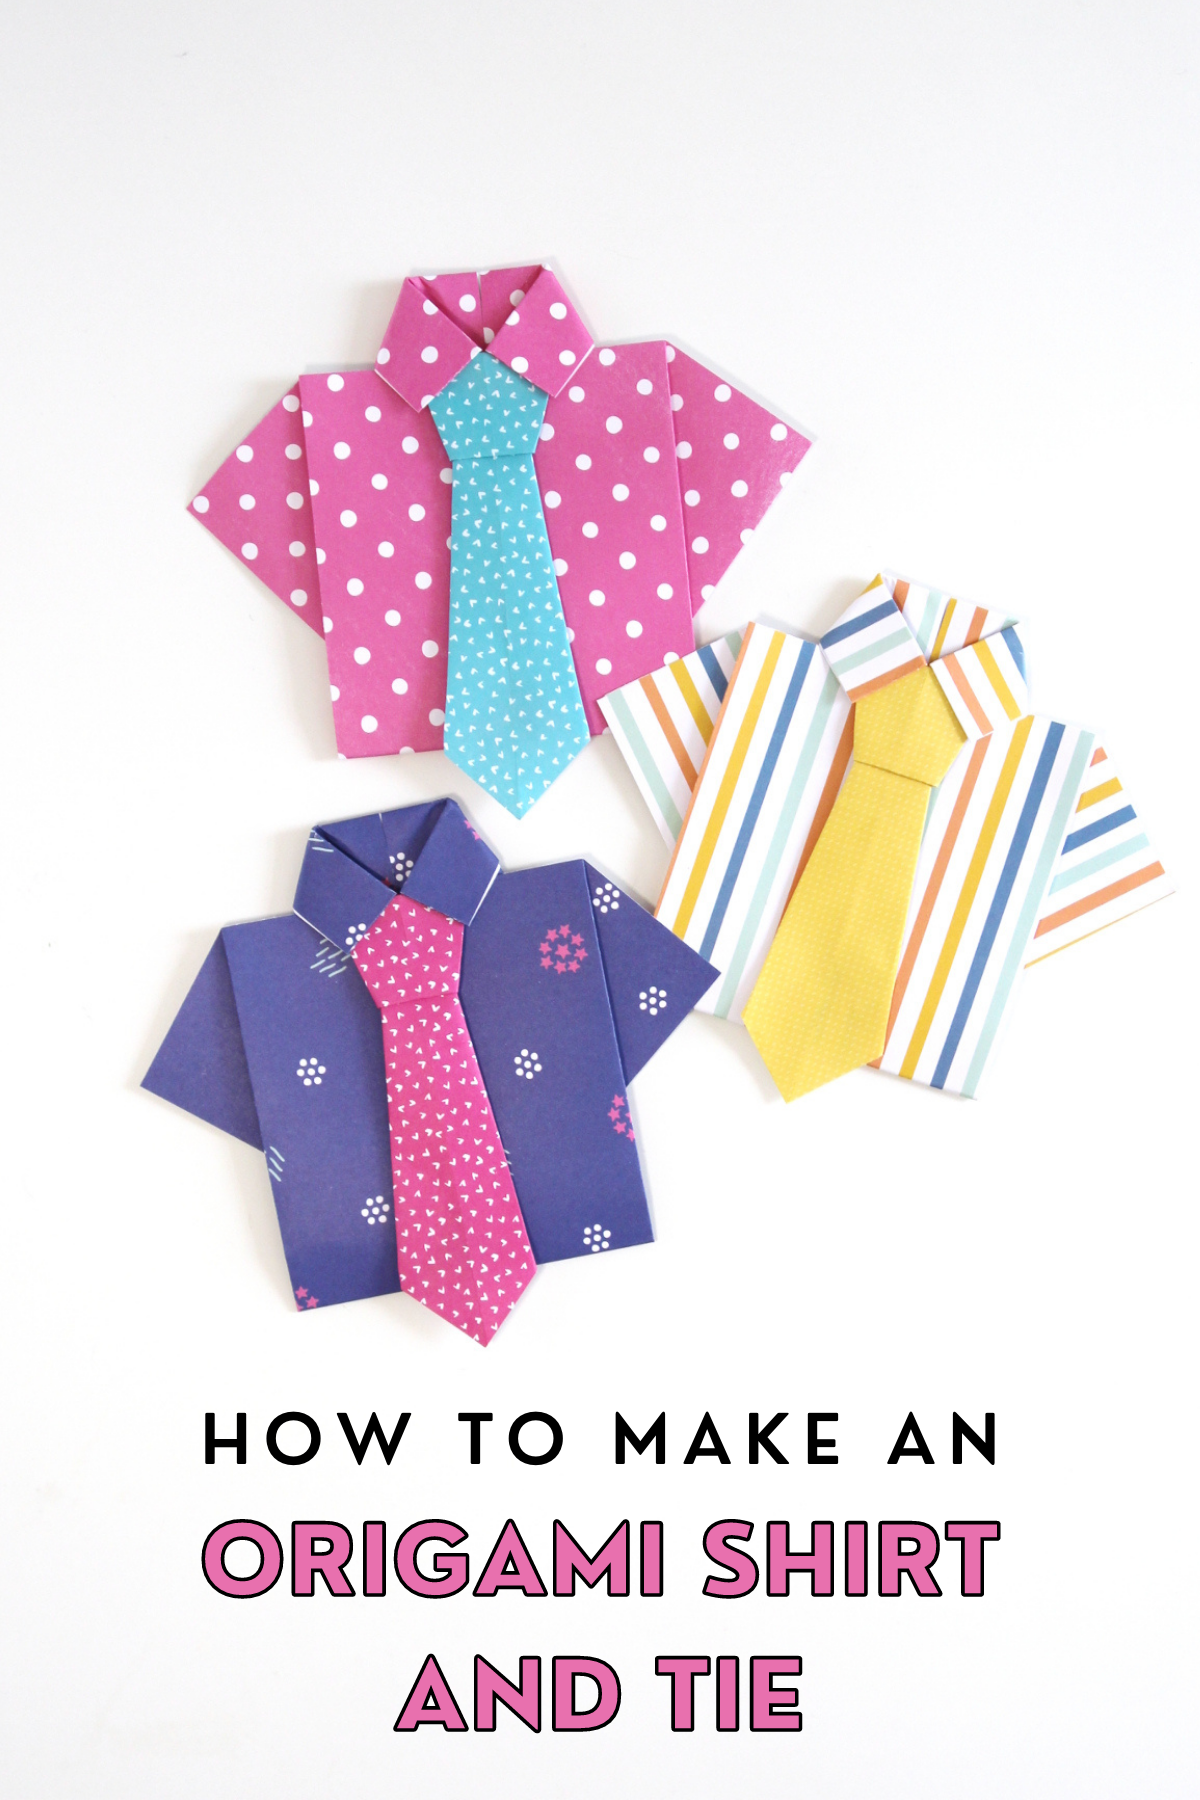
This fun origami DIY can be used not only for Father’s Day but also for birthdays and even simply just because. Give them as a cute greeting card, or a handmade keepsake, open them up and include a special message or slip in a gift card to their favourite store.
This post contains some affiliate links for your convenience (which means if you make a purchase after clicking a link I will earn a small commission but it won’t cost you a penny extra)!
Origami Shirt And Tie.
Father’s Day is coming up but it’s not too late to make a special handmade gift for Dad. If you’re a last-minuter like I am you’re going to find this origami shirt and tie tutorial will come in very handy.
Origami makes the perfect gift if you’re short on time. Especially easy origami like this gift box and this butterfly as they don’t take much practice to get right.
The shirt can be made in only a matter of minutes and even though the tie can be a bit tricky it doesn’t take that much longer. They’re a good project to have in your back pocket as they make fantastic last-minute gifts.
Personalise them by choosing a patterned paper that they love and wear (Stripe? Check? Colourful? Bold?) and show them some love and appreciation with a mini handmade paper shirt.
Related: Money Origami Shirt
DIY Paper Shirt.
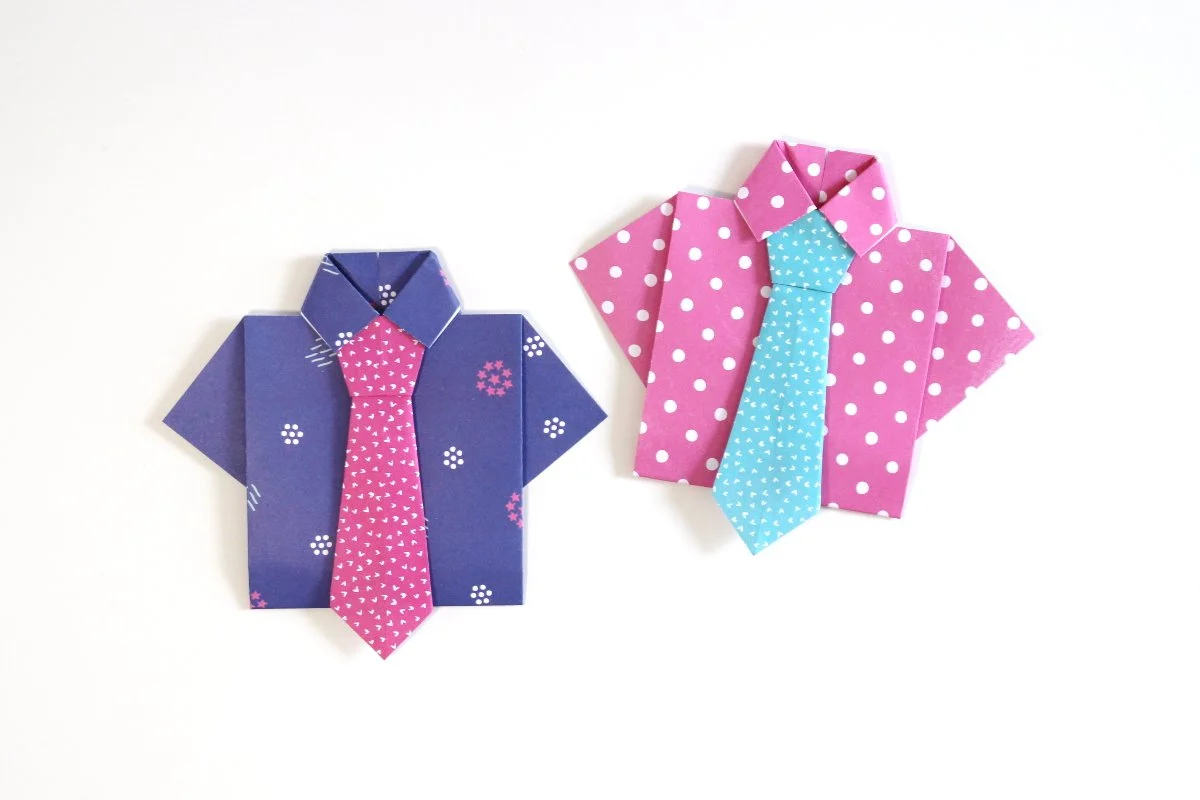
I’ve made a similar smaller origami shirt before that can be made using money but this one is a bit different not to mention bigger. The finished shirt from the top of the collar to the bottom of the shirt measures 5 1/2 inches by 7 inches (sleeve to sleeve).
You can use them to make an origami Father’s Day card or even as the card itself. Open the shirt back out and write in a personalised message or maybe include a favourite photo.
Stick them on a gift or punch a hole at the top and use them as gift tags. If you’re giving a shirt or tie as a gift why not include a small paper version as well. They’re big enough that you can even use them as a cute gift card holder as well.
Why not add a DIY Father's Day Origami Medal as well?
Supplies:
For the shirt:
Scrapbook Paper or other Patterned Paper (trimmed to 8.5 x 11 inches)
Sadly the paper I used is no longer in stock. It was called Violet Studio Spots and Stripes 12 x 12 Inches Paper Pad if you want to keep an eye out for it in a local shop. I got mine from TK Maxx. Scrapbook.com also have a fantastic range of colours and patterns.
Paper Trimmer or Scissors and a ruler.
For the tie:
Origami Paper (trimmed to 5 x 5 inches)
I do recommend using origami paper for any paper folding project but any kind of thin paper will work. Here are a few alternatives that you probably already have on hand.
Magazines
Old Books
And Maps.
I even have some printable origami paper you can download and use for FREE. Simply download, print and cut into 7x7-inch squares.

How to make an Origami Shirt.
1. Trim your paper to 8.5 x 11 inches.
2. Fold in half lengthways so the pattern is on the outside.

3. Open back and fold the left edge in to meet the center crease.
4. Repeat and fold the right edge into the middle.

5. Take the top left flap and fold out at an angle to make a triangle shaped flap.
6. Repeat on the right hand side.
The two flaps will make a ‘V’ shape that forms the sleeves of your shirt.

7. Flip your paper over so the ‘V’ shape is at the bottom and facing down.
8. Take the top edge and fold it down about 1/2 inch.

9. Flip your paper upside down so that the ‘V’ is at the bottom facing up and the straight edge is at the top.
10. Take the top left corner of the paper and fold it into the centre at an angle to make a small triangle flap. This will be the collar of your shirt.

9. Fold up the bottom edge and tuck it up and under the folded collar to finish your origami shirt.

How to make an Origami Tie.
1. Trim a piece of origami paper to 5 x 5 inches.
2. Fold in half to make a rectangle.
3. Open back out and fold in half in the opposite direction.
4. Open back out again. Your paper will now be divided into quarters.
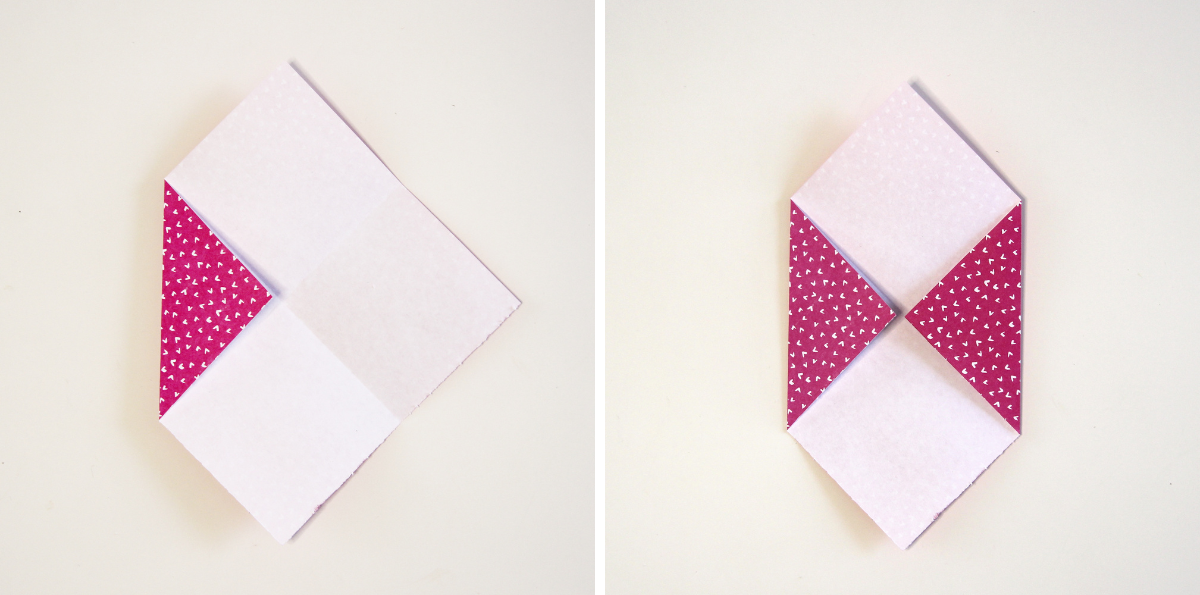
5. Rotate your paper to make a diamond shape.
6. Fold the left corner into the middle.
7. Repeat and fold the right corner into the middle.
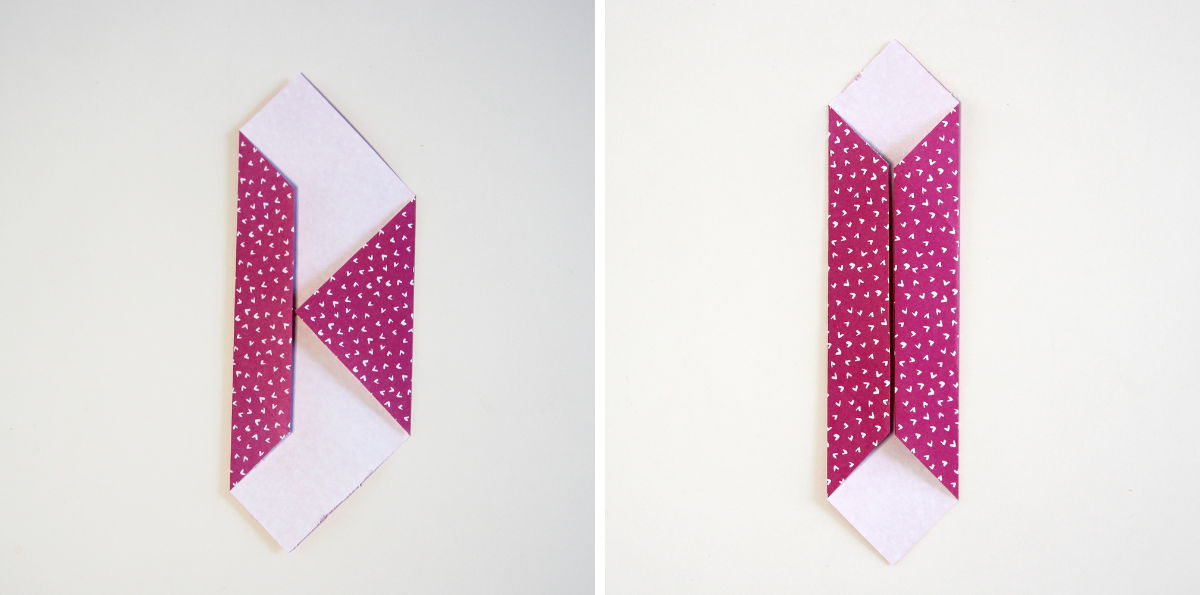
8. Fold the left side to meet the centre crease.
9. Repeat and fold the right side in.
10. Fold down the top point to make a small triangle flap.
11. Flip it over.
12. Fold the top edge back and fold it down about 1/2 inch past the centre crease.
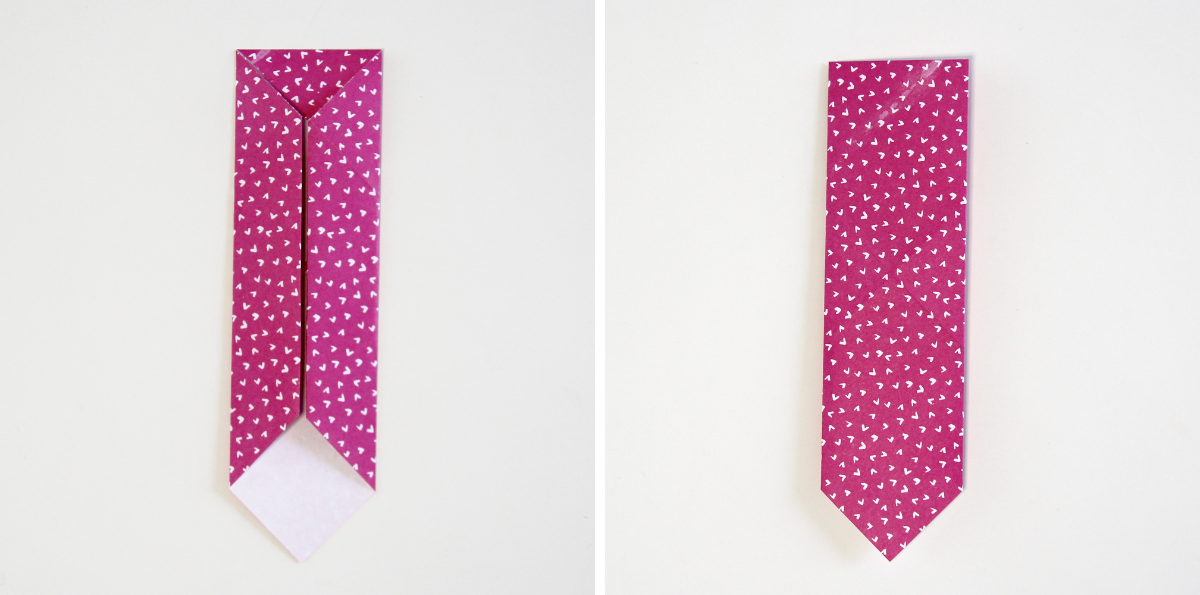
13. Fold back out and flip it back over again so the small triangle flap at the top is facing up again.
14. Pinch the bottom of the crease you made in step 12 and lift it up to meet the bottom point of the small triangle flap.

15. When you look at your origami from the side you should see a ‘Z’ shape.
16. Lay flat with the folds facing up.
17. Take the left corner of the ‘Z’ flap and fold it in to meet the centre crease.
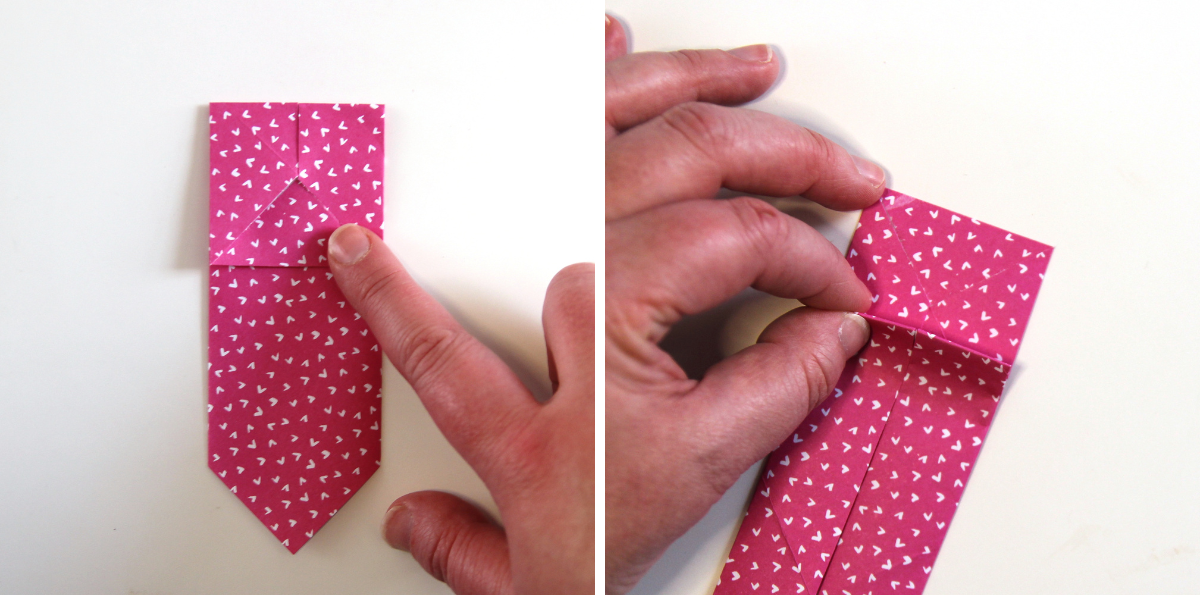
18. The side of your paper will start to fold in as you do this. Press this flat to make a skinny triangle that runs from the top down to become thinner at the bottom.
This part can be tricky so please check out the video below to see exactly how it’s done.
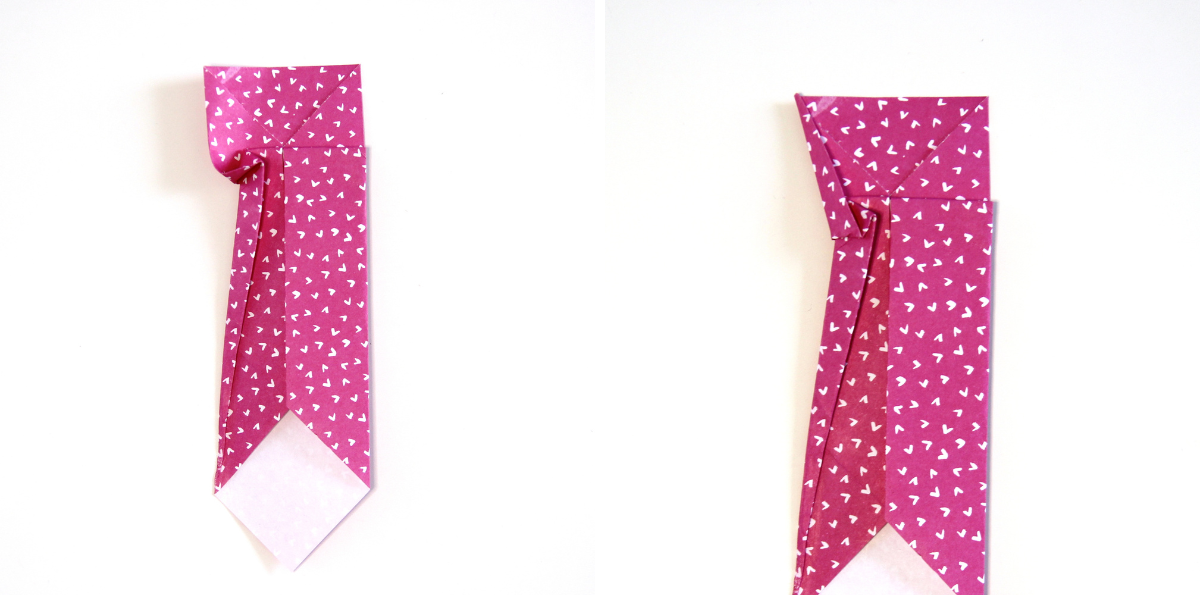
19. Take the top edge and fold it into the middle to make another small triangle.
You should start to see a tie shape forming.

20. Repeat on the right hand side.
I’ve included a close up of the folds above.

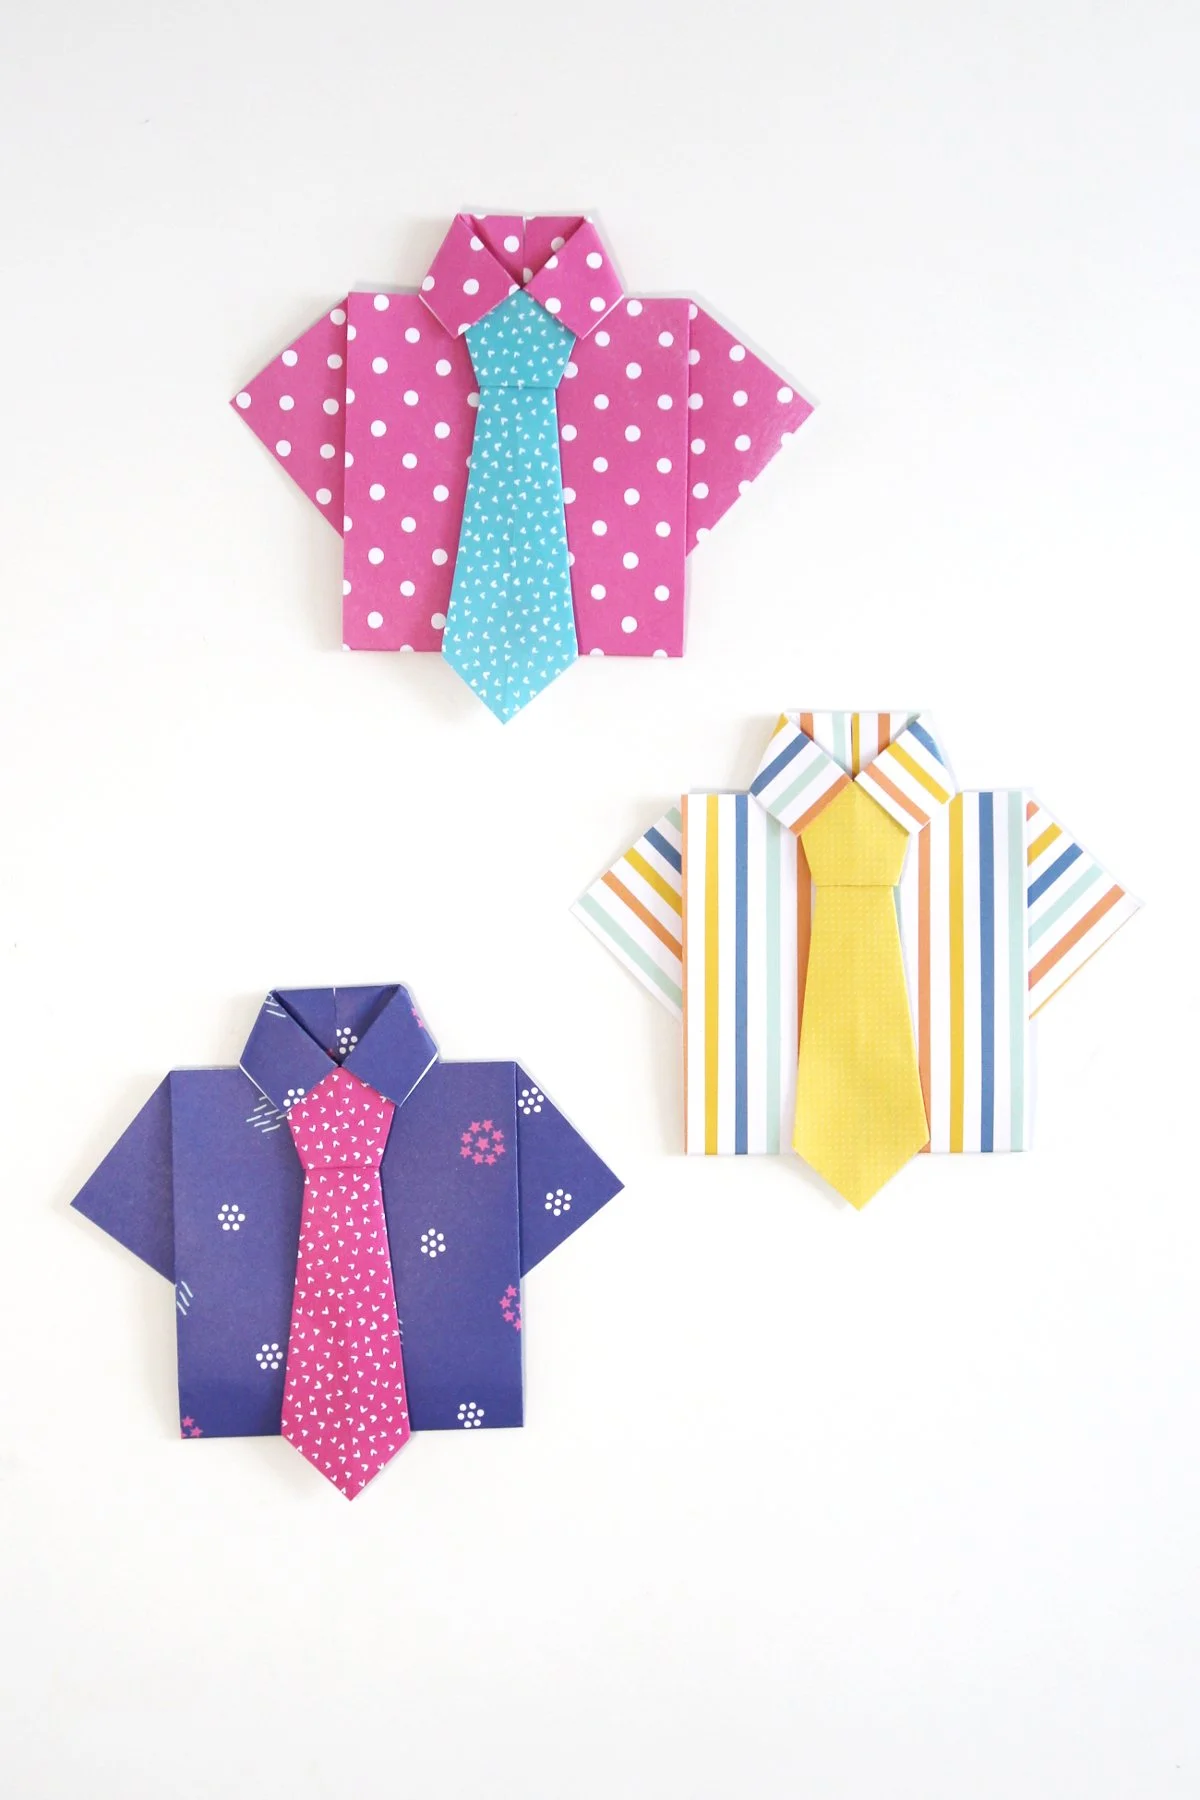
21. Flip back over to reveal your finished origami tie.

22. To finish your origami shirt gently lift the collar and add your tie.
23. Sometimes the ties can pop up if this happens use a small amount of glue or double-sided tape to secure the tie in place.
Don’t want to add a tie? How about a tiny origami bow tie or maybe some mini buttons instead?
Want more Father’s Day Origami? check out these 15+ Father's Day Origami Ideas.