
DIY PAPER WALLET.
/
DIY Paper Wallet.
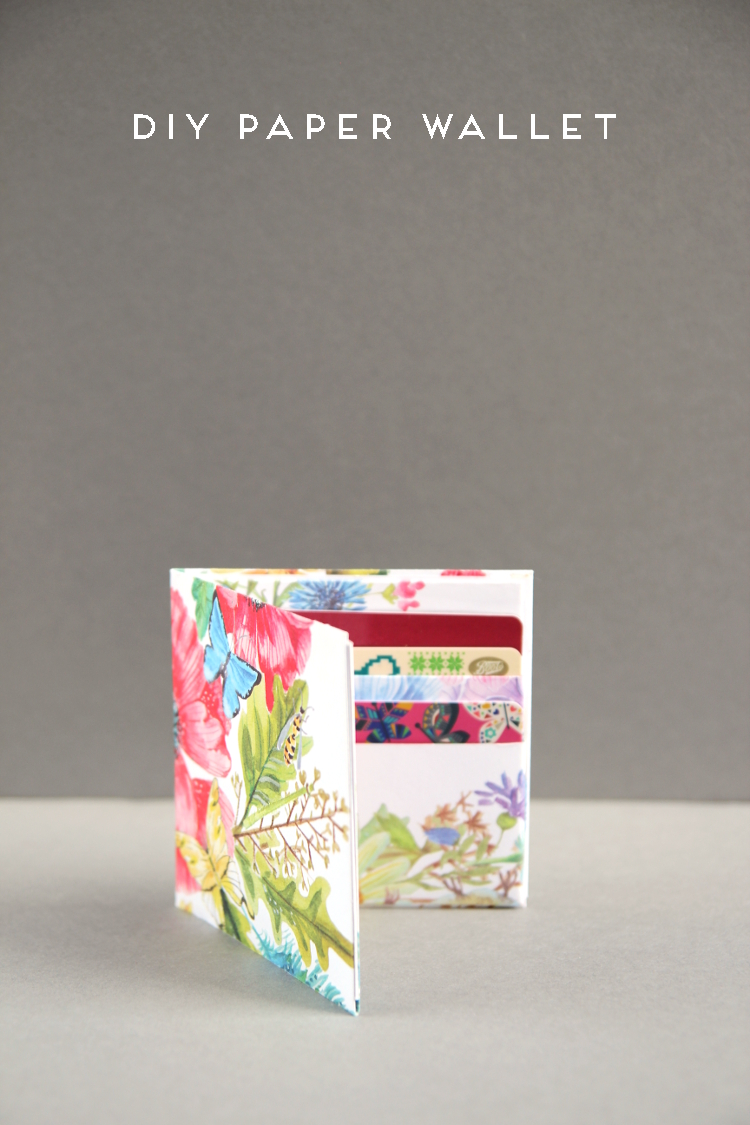
Everyone needs a wallet, right? I made this beautiful paper wallet out of some pages I had left over from a sticker art book. Of course you could make it with any kind of patterned paper as long as it's at least standard A4 size and you have 2 sheets.
This project took around 30 minutes although I would recommend practicing on some scrap paper first. I'll be honest, I have no idea how long my paper wallet will last but I do know it's quite possibly the prettiest wallet I've ever seen. If you're concerned with the paper tearing a good idea would be to cover the paper in sticky back plastic first to make it a little more durable.
SUPPLIES:
2 sheets of A4 patterned paper
Pencil
Ruler
Double-sided tape
Clear Sticky Back Plastic (optional).
1. Take your patterned paper and flip it over. If you have a double-sided paper like I do you want the side you don't want showing facing up.
2. Mark 3½ inches up from the bottom of the paper. Fold the bottom of the paper up at the 3½ inch mark.
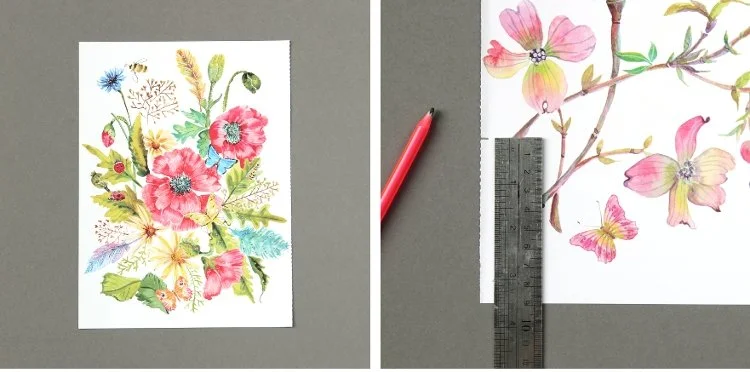
2. Fold the top of the paper down using the previous fold as a guide. Make sure to fold the paper as close as you can to the edge of the paper.
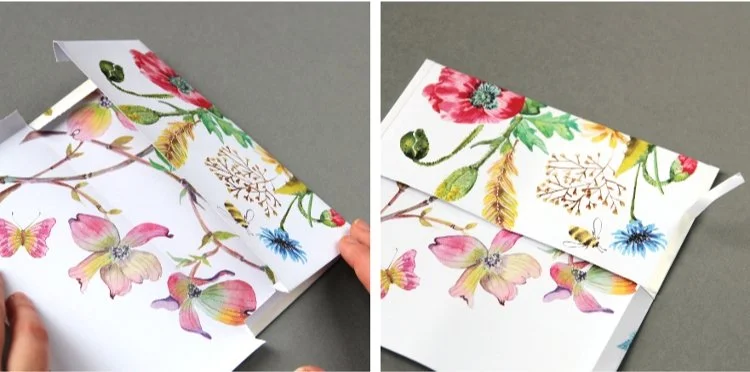
3. When you flip the paper over you should have a small overlap at the top. Flip the paper back over and fold the overlap down. Don't worry this part doesn't have to be too accurate. Trim off the overlap.

4. Open the paper back out and lay flat. It should now be divided into thirds. Fold the 2 long sides in about ½ cm.

5. Cut in the ½ cm flap at the first fold up from the bottom. Do this on both sides.

6. Stick some double-sided tape to the middle third of the ½ cm flaps. Remove the backing from the tape and fold down the top third. Press down firmly to stick.

7. Add some more double-sided tape to the last 2 flaps. Remove the backing from 1 of the flaps only. Fold the bottom up and stick down so your paper is open at one side. This will help make a nice neat fold in the next step.
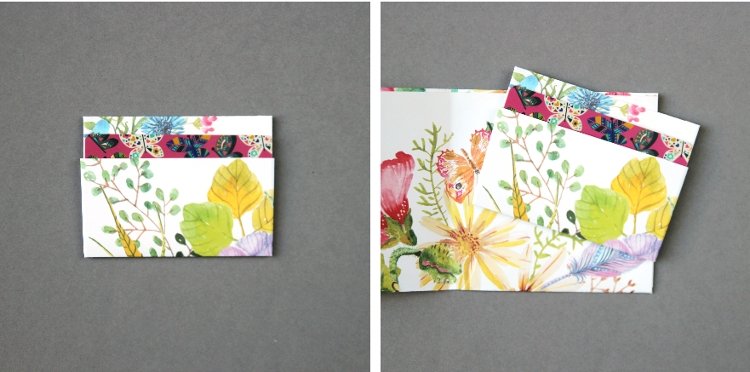
8. With only one side stuck down line up the edges and fold the paper in half. With the paper wallet still folded remove the last piece of tape and stick down by folding in half again.

9. You should now have a basic wallet with a pocket.

10. The next step is to make the card holder inserts. Take another piece of patterned paper, fold and trim in half.

11. Place a card on the paper strip and fold the bottom of the paper up so it covers about ¾ of the card.
12. Fold the top of the paper down and behind leaving a small lip above the card. Fold the paper back up on itself to make what will be a small flap. From the side it should look a lightening bolt.

13. Trim away the excess paper to leave you with a small flap like in the square 2nd up from the bottom left. Use some more double-sided tape and stick down the flap.
14. Line up the card in the middle of your folded paper and fold back both the sides to make a pocket for your card. Stick down the 2 sides you just folded back to the inside of your paper wallet. This way you'll be able to store 2 cards in each card holder.

15. Repeat steps 10-14 to make a 2nd card holder and stick it down on top of the previous one.
And there's your brand new paper wallet. Add your cash and cards and you're all set.
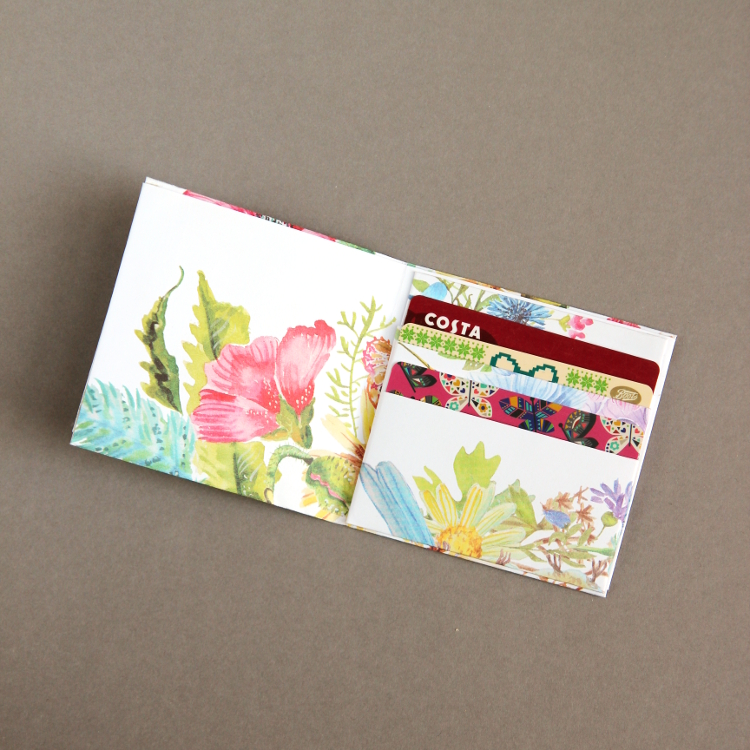
How cute would one of these be with a gift card tucked inside? After all, gift cards need pretty packaging just as much as big boxed gifts do.







Looking for a fun party craft? Learn how to fold an easy origami crown using just paper! Perfect for birthdays, photo booths, dress-up play and special occasions. Great beginner project with step-by-step instructions.