Quick And Easy Mini Gift Bags From An Envelope
/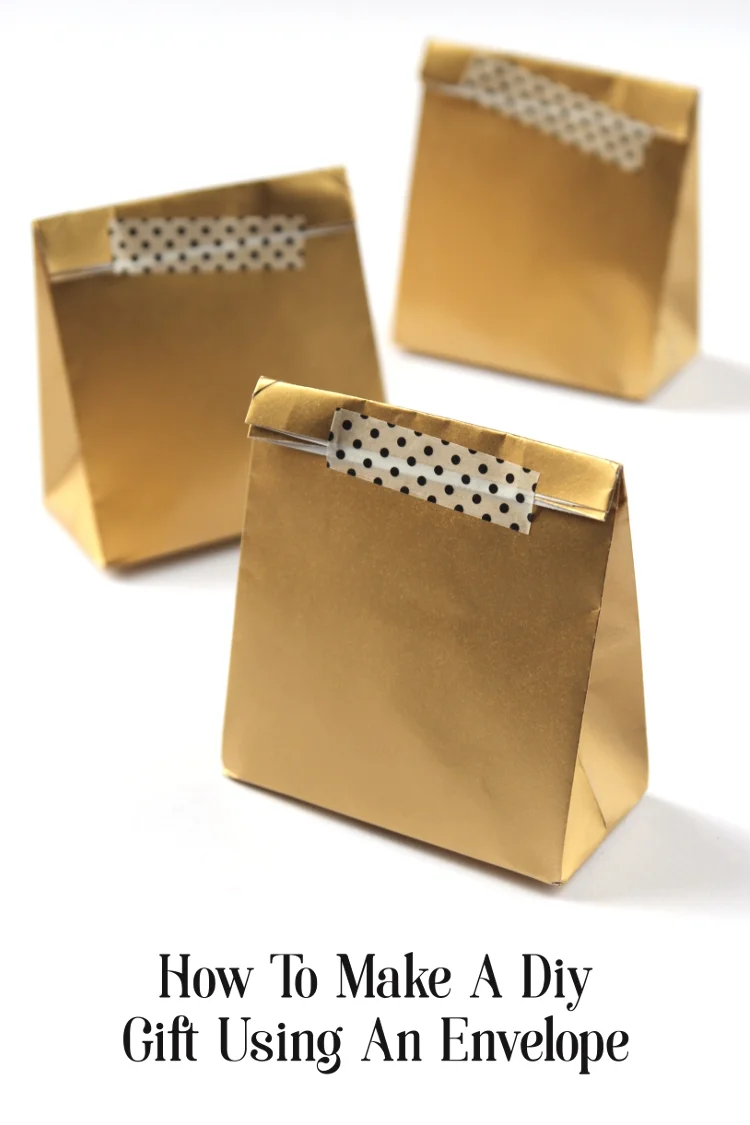
Transform your old greeting cards into cute gift boxes with this easy DIY tutorial! It's a great way to upcycle old Christmas or birthday cards and give them a new lease of life. Perfect for storing trinkets or gifting small items.
Read More
Do you remember these Diy Mini Milk Carton Gift Boxes I made back in January? They're one of the most popular things I've made so far this year. I'd been wanting to try and make a rectangular version for a while now but had been struggling to figure out how to do it when I came across this fantastic tutorial over on Pootles. It was exactly what I was looking for.
These boxes are a bit different to the normal milk carton boxes I've made in the past. Instead of sticking down paper flaps to make the base of the box the flaps make up the sides. I've never tried making a box like this before so a bit of trial and error was involved. I wanted each box to be big enough to fit 2 of the standard 37g bags of Maltesers inside. As the original tutorial was for a small 2.5 inch box I needed to tweak the measurements and proportions. The finished boxes measure 5 inches by 2 inches and are 4.5 inches tall. Read on to see how I made them and if you want more diy box ideas I can't recommend the Pootles blog enough. I know you'll love it.
Materials needed to make your own Diy Rectangle Milk Carton Boxes:
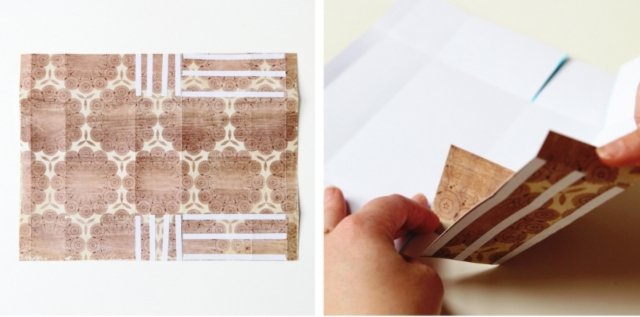
Scrapbook paper ( I used the Diy Shop 12 x 12 pad from Crate Paper),
A score board or embossing tool and ruler,
A bone folder,
double-sided tape or paper glue,
And some mini wooden pegs or baker twine.
Some of the links above are affiliate links. This means that if you purchase through them I receive a small commission.
1. Trim your paper to 12 x 9 inches.

2. With the 12 inch side on the top (the long side) score lines at 0.5 inches, 2 inches, 5 inches, 7 inches, 10 inches and 11.5 inches.
3. Rotate your paper 90 degrees so the 9 inch side is now at the top and score at the 2 inch and 7 inch mark.

4. Fold along your score lines and use a bone folder to burnish the creases. This will help make sure all your folds are clean and sharp.

5. Cut along the 5 and 7 inch marks up to the 2 inch score line. It's marked in blue in the bottom right square above. This will make 2 square flaps.
6. Apply double-sided tape or paper glue to the 2 square flaps you've just made and to the 2 rectangle pieces to the right of both square up to the 0.5 inch score line (see square in top left).
7. The 9 inch side of your paper will form the top of your box and the 12 inch side will form the sides. Lay your paper flat. Lift one of the square flaps and stick it to the back of the rectangle piece that has the tape or glue on. Lift the flap with no tape and stick this to the glued flap. Do the same to the other side.

8. Take your box and squeeze the top together. The box should naturally fold in and stop at the score lines to form to triangles on each side of your box.

9. Use some mini clothes pins or tie with bakers twine to keep the top of your rectangular milk carton boxes closed and fill with treats.


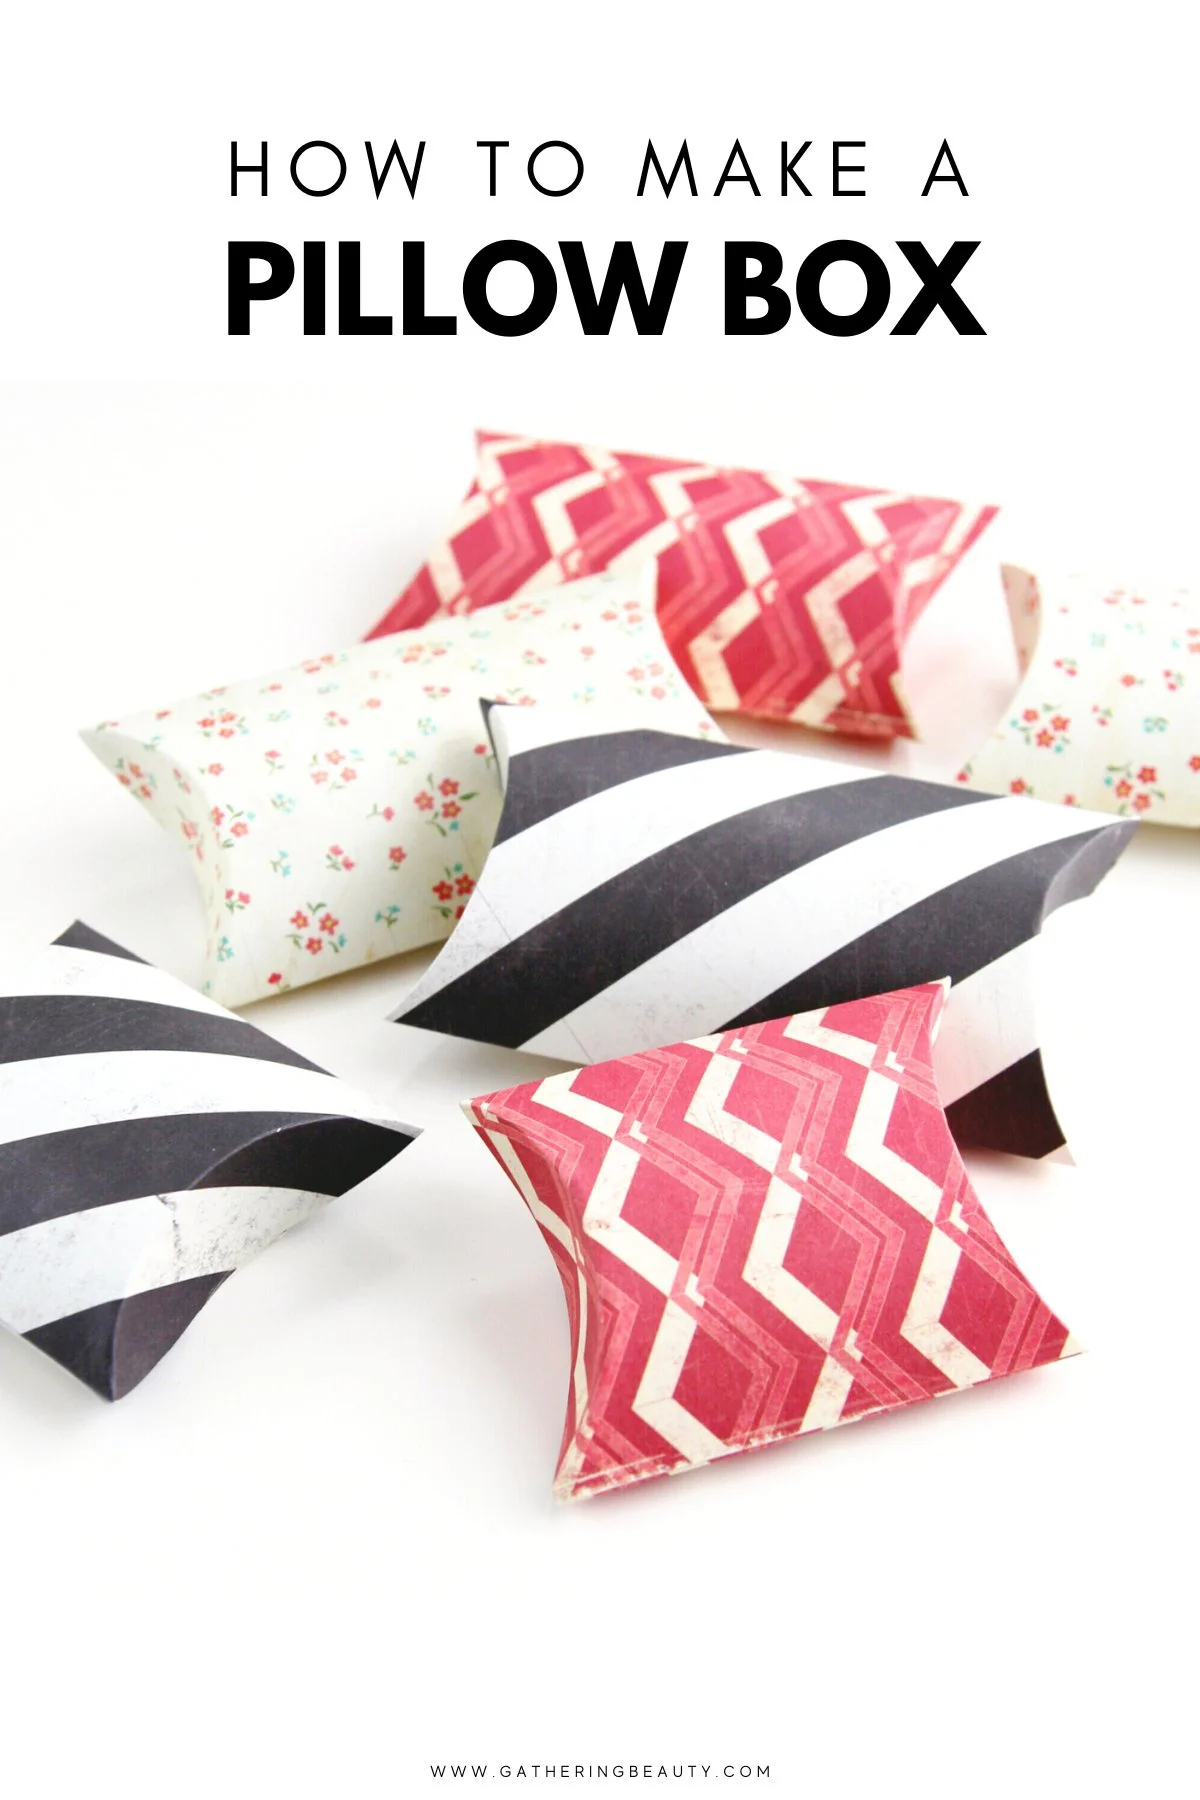
Add some handmade charm to your party favours with DIY Pillow Boxes! They're not only cute but also super easy to make.
You can personalise them with your favourite colours, patterns and embellishments. Perfect for birthdays, holidays or any special occasion.
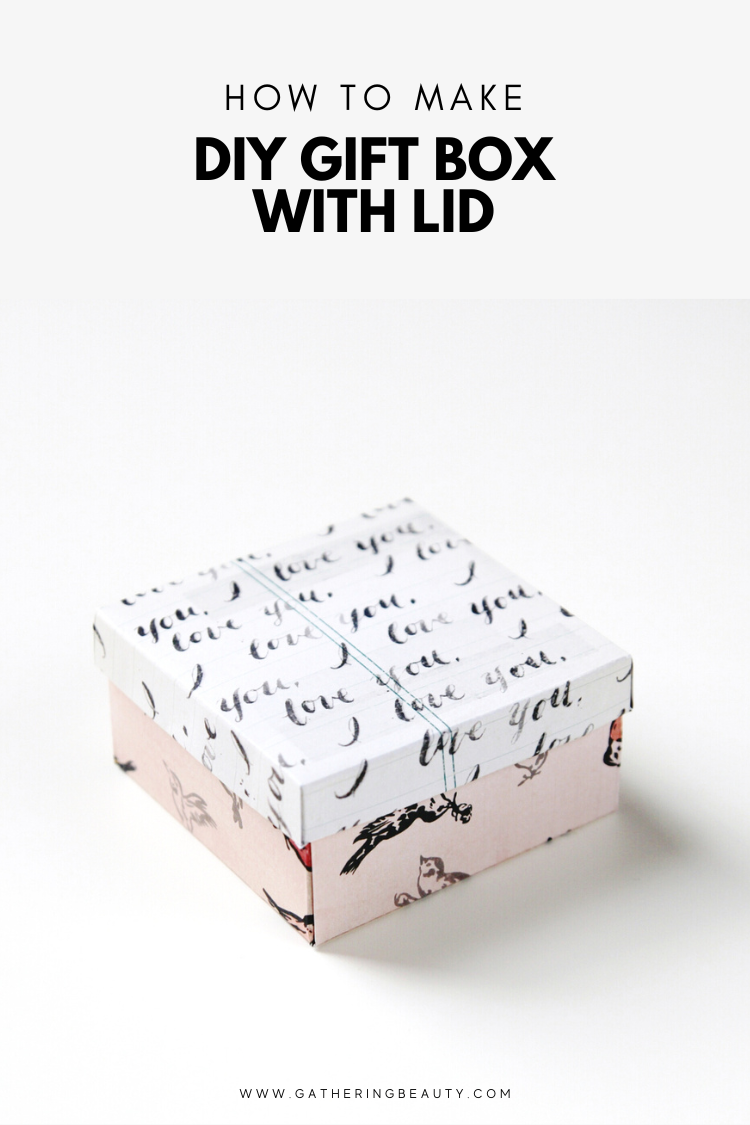
Read MoreLearn how to make your own DIY Square Gift Box with a lid using a scoring board! Perfect for any occasion, and it's easier than you think!
By using scrapbook paper you can easily make them match a theme, Christmas, Easter, a party or even a wedding. Ideal for those last-minute gift-giving emergencies.
Read MoreGathering Beauty is a DIY, craft blog with a love for all things paper. Here you'll find origami, papercrafts, air dry clay projects as well as the odd crochet or weaving tutorials. Let's Get Crafty!

Hi, I'm Emma. I'm a life-long maker, artist and founder of the craft blog Gathering Beauty. You can learn more about me and my blog here.
COPYRIGHT & LINKING
You're welcome to link to GatheringBeauty.com or use a single image with a brief description to link back to any post. Republishing posts in their entirety is prohibited. Please feel free to pin on Pinterest!
AMAZON ASSOCIATES DISCLOSURE
As an Amazon Associate I earn from qualifying purchases.
COPYRIGHT © GATHERING BEAUTY 2013-2025 // DISCLAIMER AND PRIVACY POLICY // ACCESSIBILITY STATEMENT