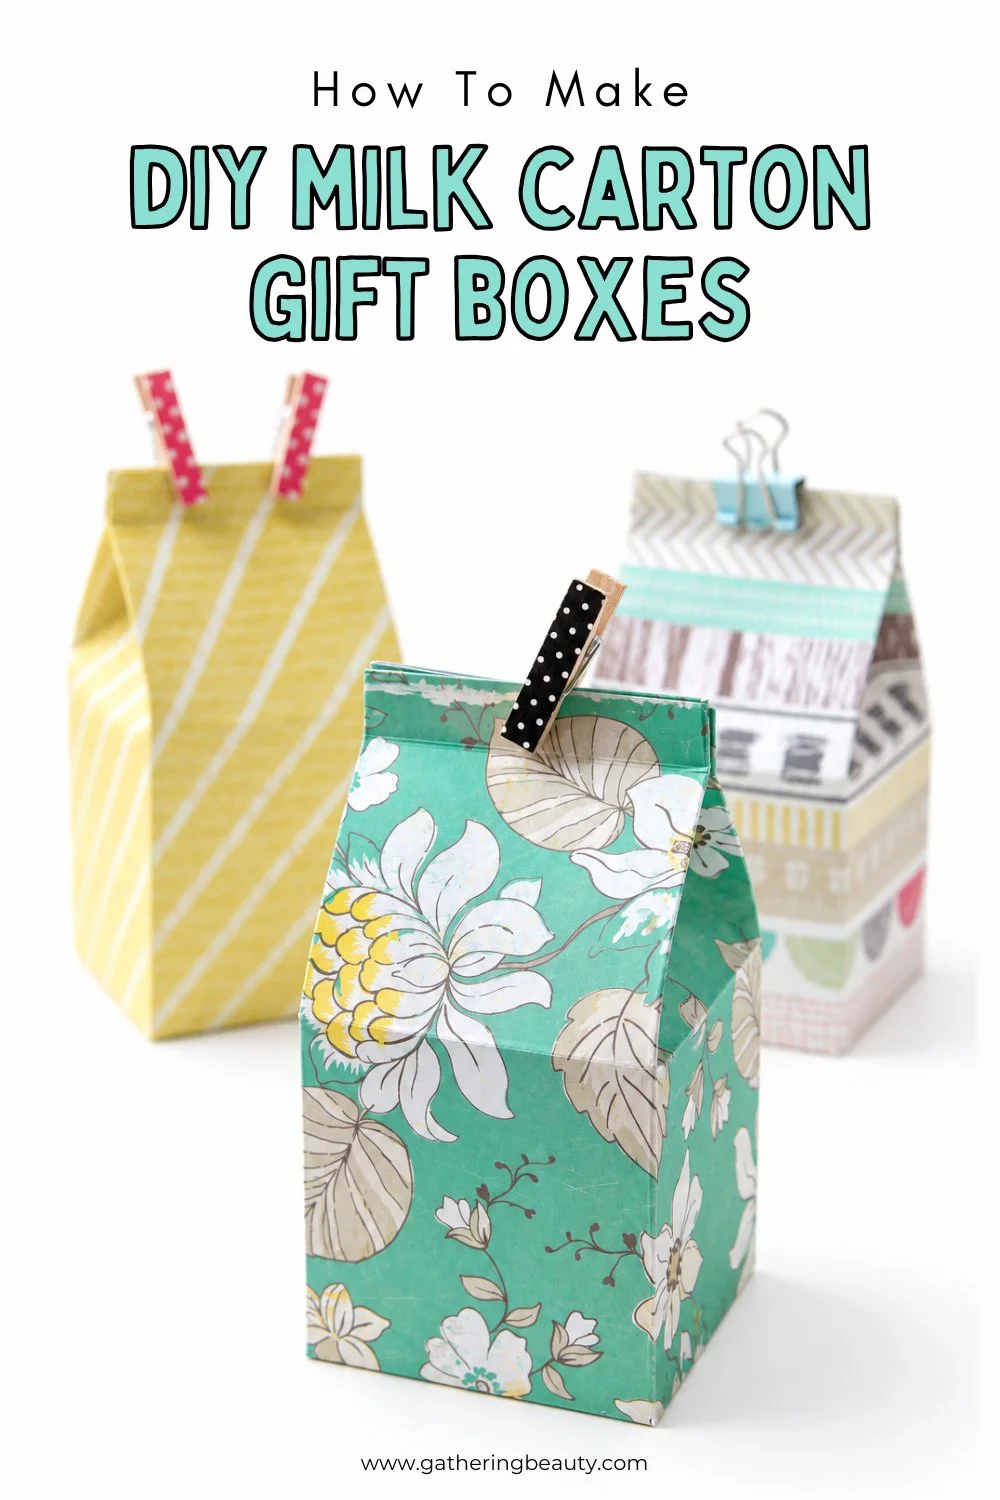
DIY Milk Carton Gift Box
/Looking for a cute and easy way to package a small gift? These DIY Mini Milk Carton Gift Boxes are the perfect little paper craft!
Made from scrapbook paper or cardstock, these homemade gift boxes are surprisingly simple to put together. All you need to do is score, cut, fold and glue your paper to create an adorable milk carton-shaped box.
This page contains affiliate links. This means that if you make a purchase after clicking a link I earn a small commission but it doesn’t cost you a penny extra!
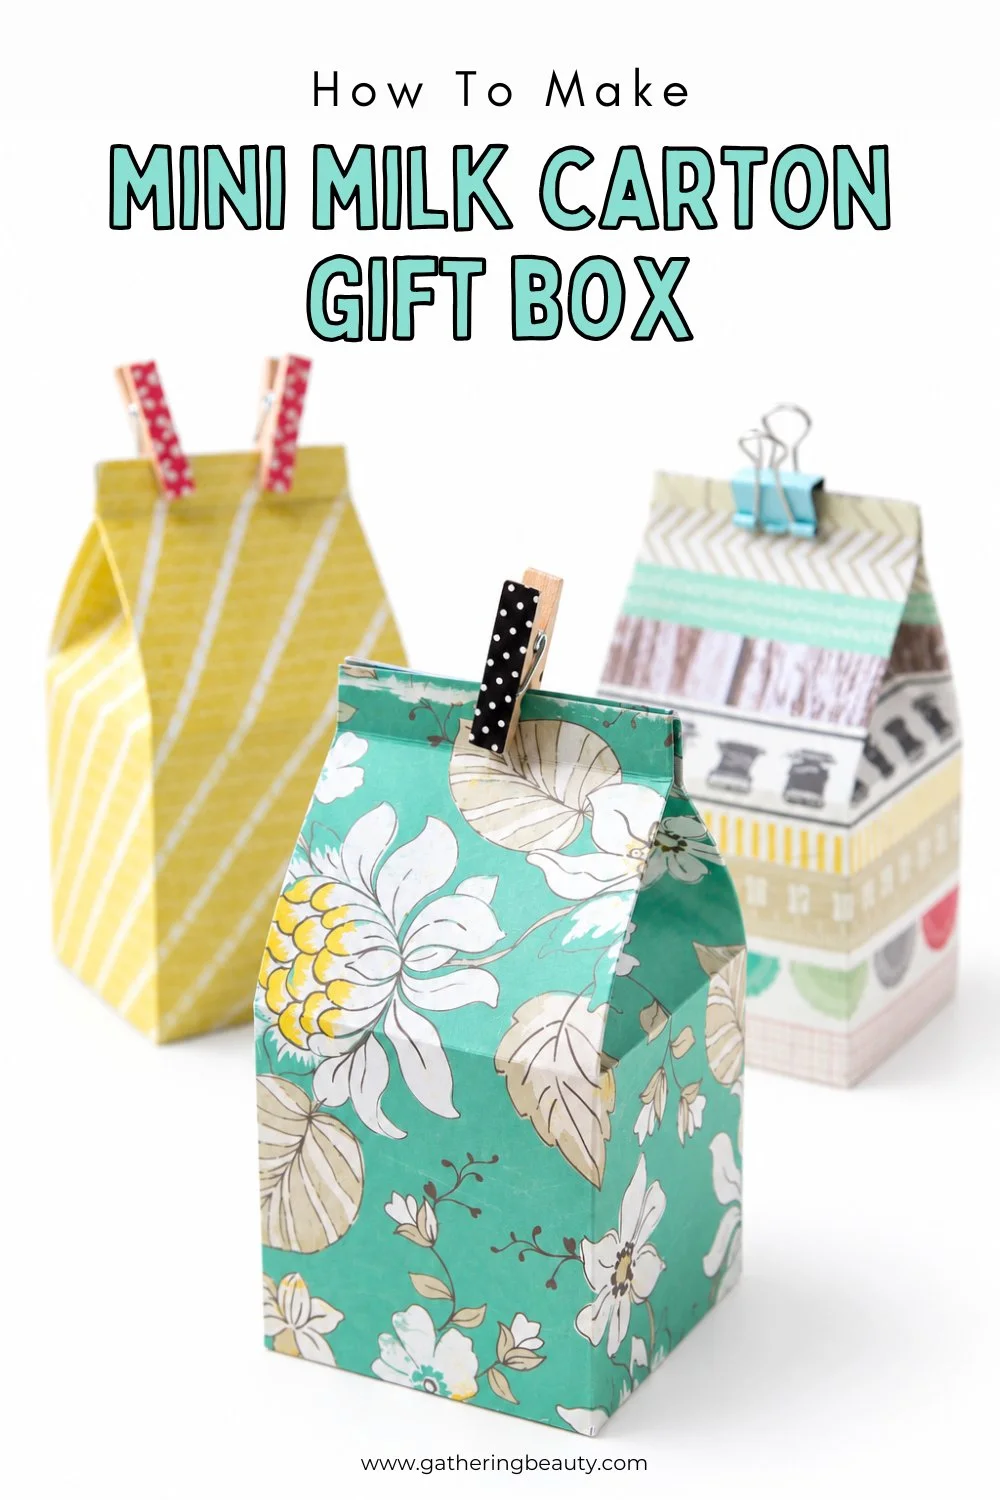
Mini Milk Carton Gift Boxes.
These mini milk carton gift boxes are such a handy little paper craft to have saved for when you need some last-minute gift packaging.
Make a few in advance and you'll always have a cute little box ready for a small gift, party favour or sweet treat!
They’re perfect for party favours, wedding favours, place settings, small gifts, chocolates, sweets and handmade treats.
And because you can make them from any scrapbook paper or cardstock you like, it’s easy to customise them for any occasion.
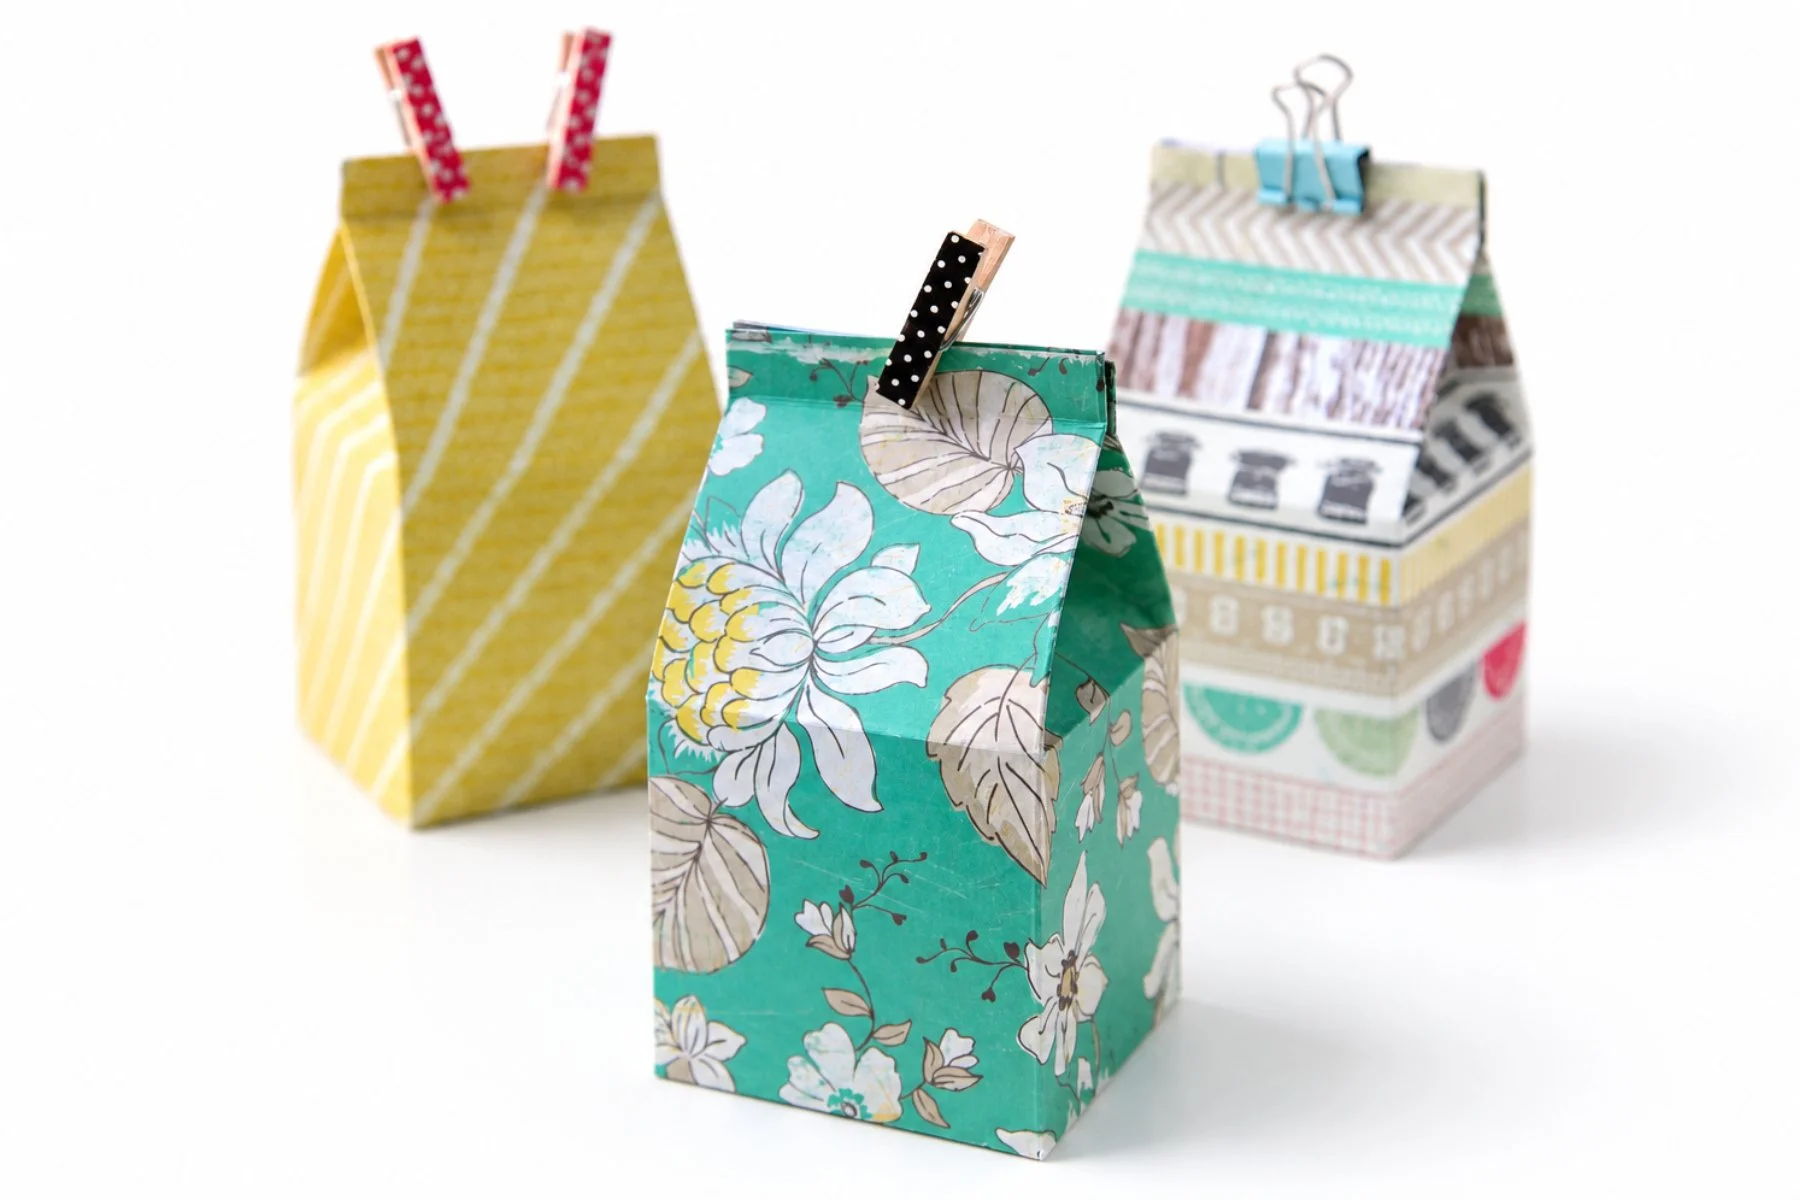
Mini Milk Carton Gift Boxes.
I love making my own gift boxes, and these little milk carton boxes are one of my favourites. They look much more complicated than they actually are and are a great way to use up pretty scrapbook paper.
Each finished box is approximately 2.5 inches square, with a little extra height at the top for the folded milk carton-style closure.
You can make them in any colour or pattern you like, which means they can easily be adapted for birthdays, Christmas, weddings, baby showers, Easter or any other celebration.
If you don't have a scoring board or don't fancy doing all the measuring yourself, I also have a free printable milk carton gift box template that you can use instead.

Supplies:
Scrapbook Paper or Cardstock
Score Board, or if you don't have one, you could use an embossing tool and a ruler
Scissors
Double-sided tape or a glue stick
And some mini wooden pegs
A Quick Note About Scoring Boards.
If you're new to paper crafting, a scoring board is a really useful tool to have.
It allows you to create neat, precise score lines in your paper, making it much easier to fold cards, boxes, envelopes and other papercraft projects. You can also use a ruler and embossing tool if you don't have one.

How To Make A DIY Milk Carton Box.
1. Start with a piece of scrapbook paper or cardstock.
2. Using a scoring board, score vertically at 2.5 inches, 5 inches, 7.5 inches, 10 inches and 10.5 inches.

3. Next, turn your paper 90 degrees and score again at 2.5 inches, 5 inches, 6.5 inches and 7 inches.
These score lines will create the panels, base and folded top of your milk carton box.

4. Trim your paper so that it measures 10.5 inches wide × 7 inches high.
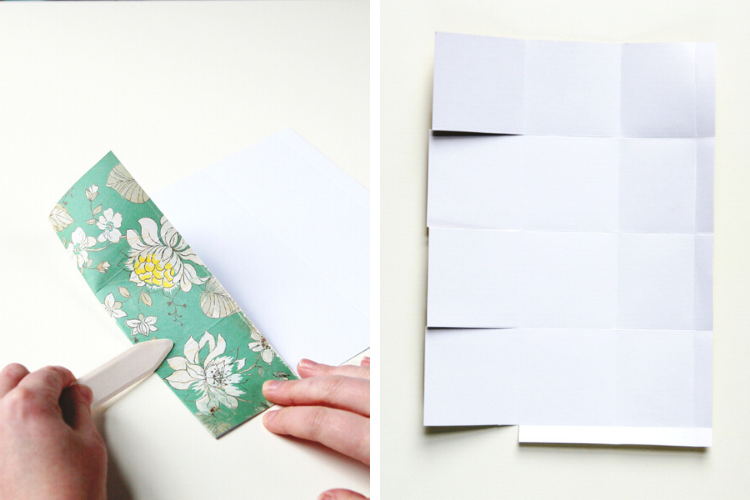
5. Crease along all the score lines. A bone folder is ideal for getting really crisp folds, but the back of a butter knife works well too.
6. Next, cut along the vertical score lines from the bottom edge up to the 2.5-inch horizontal score line. These cuts will create the flaps you'll use to form the bottom of the box.
7. Cut away the narrow side tab as shown in the photo above.

8. Fold the paper around to form a tube and secure the side tab using double-sided tape or glue.
If you're using glue, give it a little time to dry before moving on to the next step.
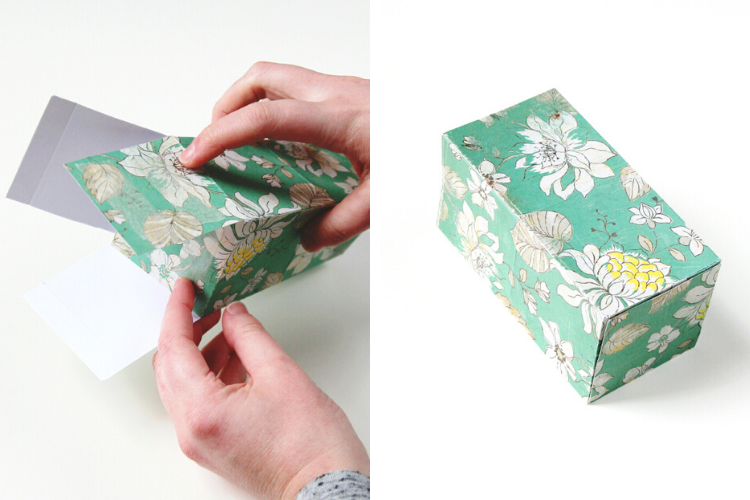
9. Apply double-sided tape or glue to the patterned side of three of the bottom flaps.
10. Fold the flaps over one another to create the base of your box. The flap without adhesive should be the final one folded into place.
11. Press everything down firmly to make sure the bottom is secure.

11. Gently pinch the sides of the box together at the top. Thanks to the score lines, the paper should naturally fold inwards to create the milk carton shape.
Don't worry if it takes a little fiddling the first time. Once you've made one, the next ones are much quicker!
12. Use a mini wooden peg or small binder clip to hold the top closed.
I used plain wooden pegs and decorated mine with a little washi tape, but there are lots of ways you could finish your boxes.
You could also punch two small holes in the top and thread through some ribbon, twine or embroidery thread.