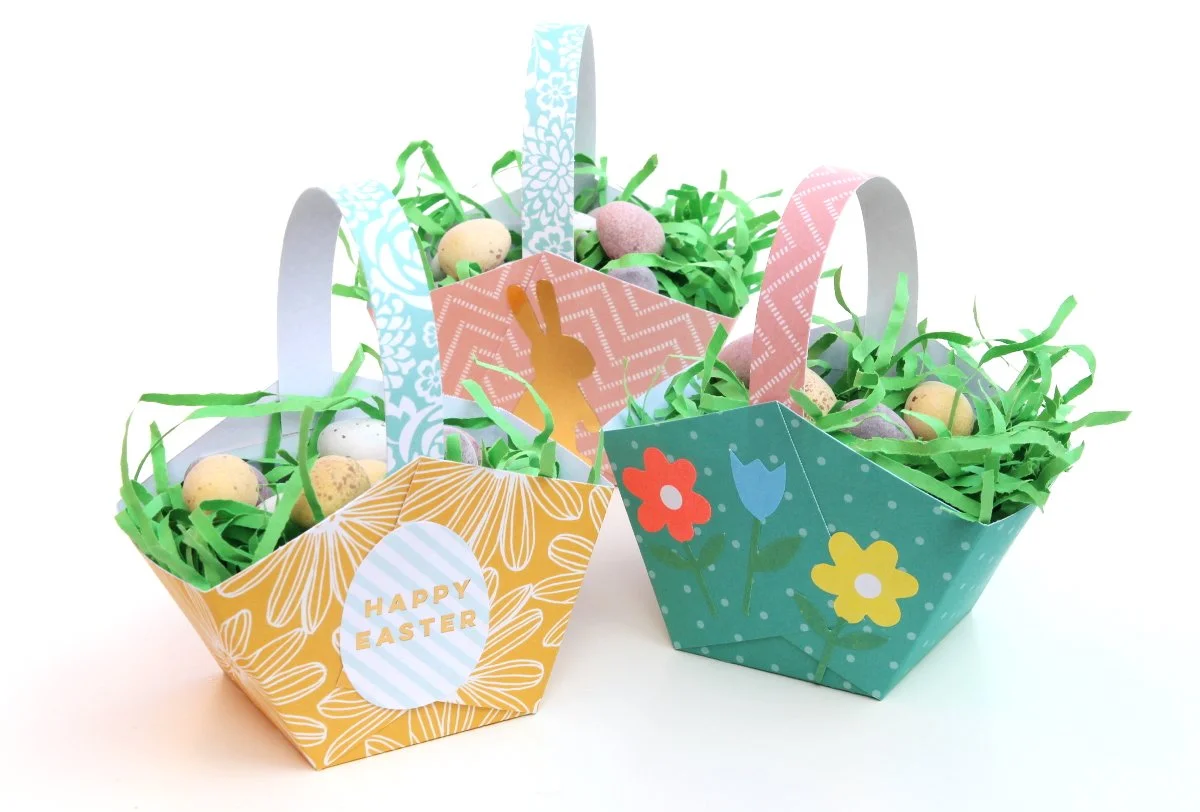
Easy Easter Baskets
/Ever wanted to make your own Easter Basket? Try this easy DIY paper Easter basket you can make with just a few cuts and folds.
Easy and affordable to make. They’re a cute and simple craft you can make with the kids.
Display on the table or hide around the house. Decorate with stickers for a truly unique gift that’s bound to impress your guests.

This page contains affiliate links. This means that if you make a purchase after clicking a link I earn a small commission but it doesn’t cost you a penny extra!
This post was originally published in 2017 but has since been updated.
DIY Easter Baskets.
Easter is on its way and I have just the Easter craft project for you. Are you ready for what is probably the easiest Easter basket you will ever make?
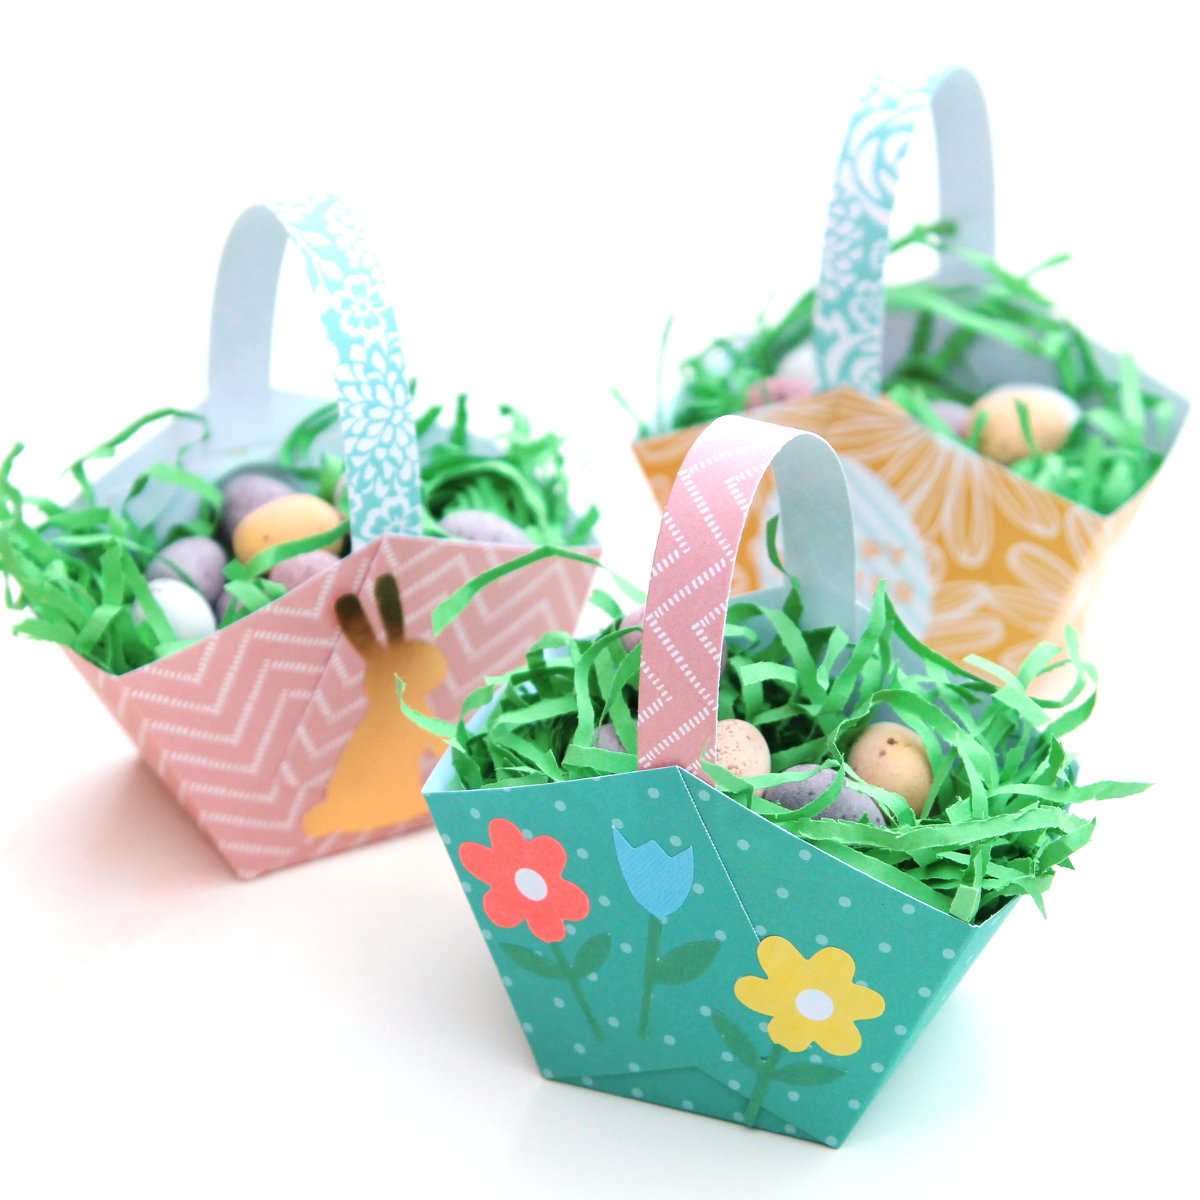
This quick and simple paper basket is a great place to store your Easter treats. Whether you hide them around the garden or display them on the table ready for Easter lunch your guests are bound to be charmed.
There are a few variations of these baskets out there, some using strips of paper for the sides like these ones from Merriment Designs and some using printable designs but I think this is the easiest way by far.
All you need is a square piece of paper, some scissors and glue. A few folds and snips later and you have a lovely homemade basket that you can fill with chocolate eggs or maybe even a chocolate bunny or two.
Easter Basket Craft.
Depending on how crafty you are these baskets can take anywhere from 5-10 minutes to make. The more you make the quicker you get so if you need a whole bunch for an Easter brunch or dinner you’ll be an expert in no time.
Can you embellish these homemade Easter baskets?
Yes! There are a few simple things you can do to make your baskets extra special. I decorated mine with some patterned scrapbook paper and stickers but you could decorate them by colouring, painting or even stamping.
Add extra details by using ribbon for the handle (you may need to add a piece of wire to make it stand up) or use a contrasting card to really make it stand out.
Add a little name tag using a gift tag punch or maybe even this P-touch Embellish Ribbon & Tape Printer that you can use to write messages on ribbon or tape.
Once you’re done you can fill it with eggs and display it until it’s time for your guests to arrive.
Want to make a bigger basket?
These baskets measure 2x2 inches at the base and are big enough to hold some small chocolate eggs or a couple of creme eggs. If you want to make a larger basket all you need to do is make your paper square divisible by 3.
So if you use a 9-inch square score at 3 and 6 inches for a box that measure 3x3 inches at the base. If you’re using a 12-inch square score at 4 and 8 inches.

Supplies:
Scrapbook Paper ( I used the Pebbles range by Jan Hadfield that is sadly no longer available but you can more of her stunning designs here.)
A Scoring Board (and bone folder)
Scissors
Double-sided tape or glue

How to make a quick Easter basket.
1. Trim your paper to 6 x 6 inches.
2. Place on scoring board and score lines at 2 inches and 4 inches.
Top tip: If you want to make your basket bigger all you need to do is make it divisible by 3. So if you use a 9-inch square score at 3 and 6 inches and if you use a 12-inch square score at 4 and 8.
3. Rotate the paper 90 degrees and score again at 2 and 4 inches.
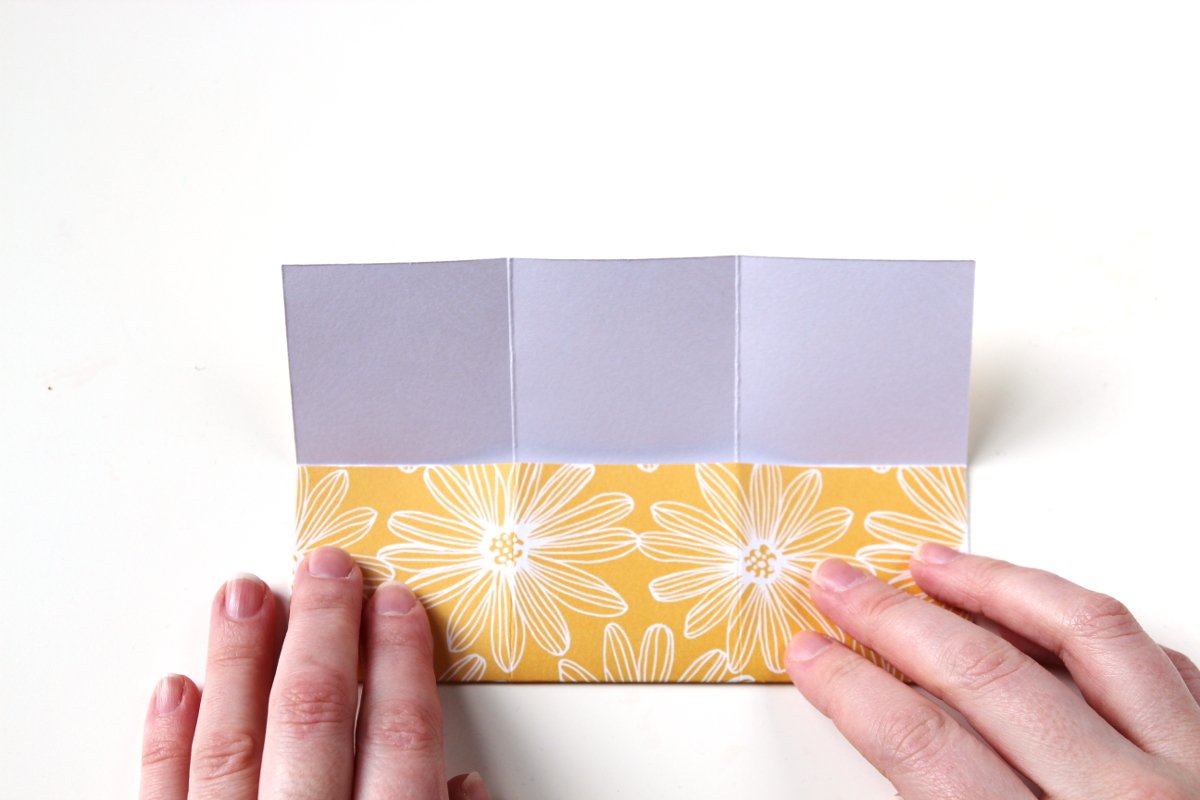
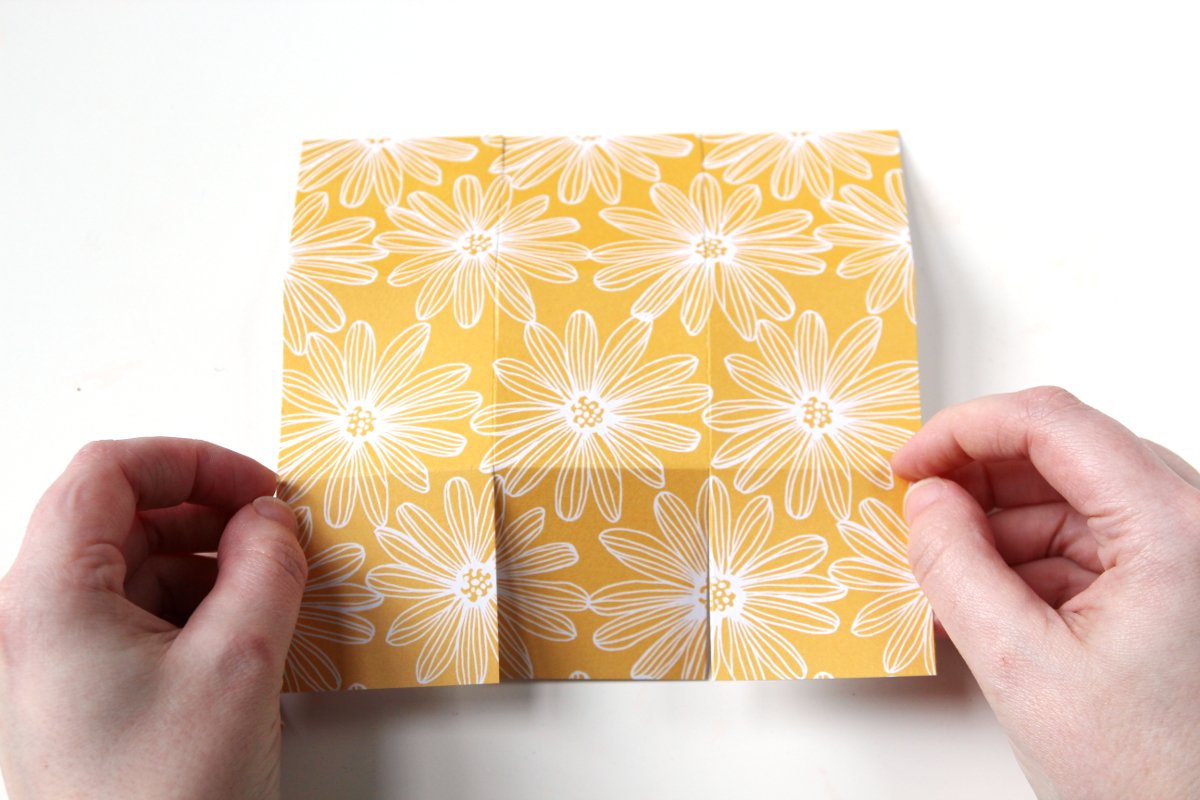
4. Fold along all the scorelines.
Your card should now be divided up into 9 squares.
5. On the two opposite sides, cut in on the two vertical score lines up to the first horizontal scoreline.
Do not cut the sides.
You should have three flaps on the bottom and three flaps on the top.
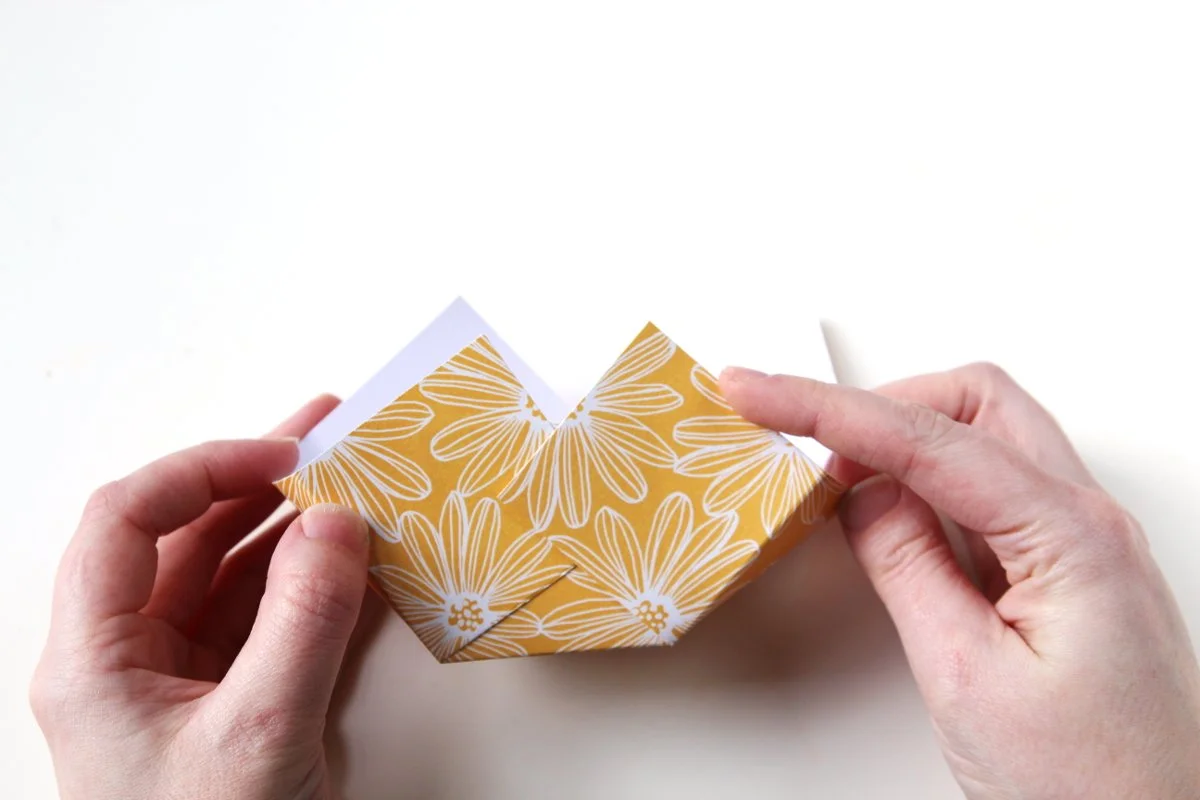
6. Hold your paper by the uncut sides and fold together.
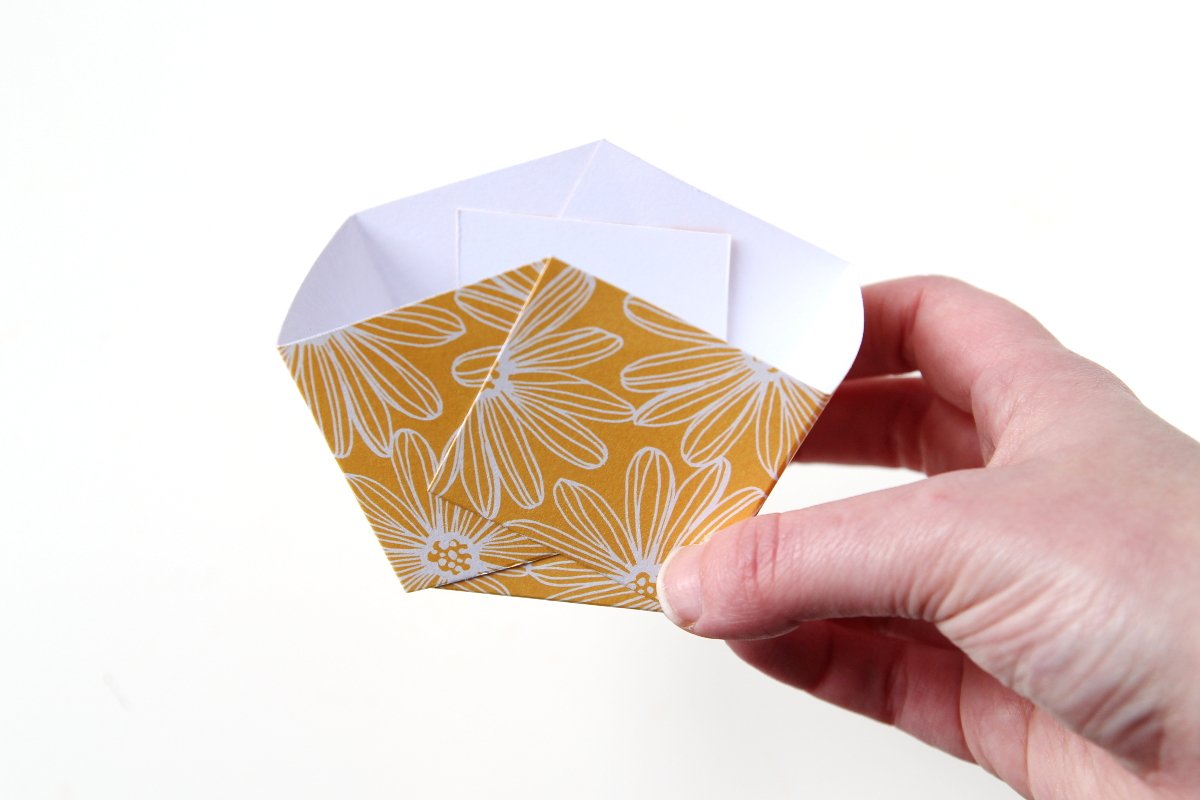
7. Fold the outside flaps over the centre square and stick together.
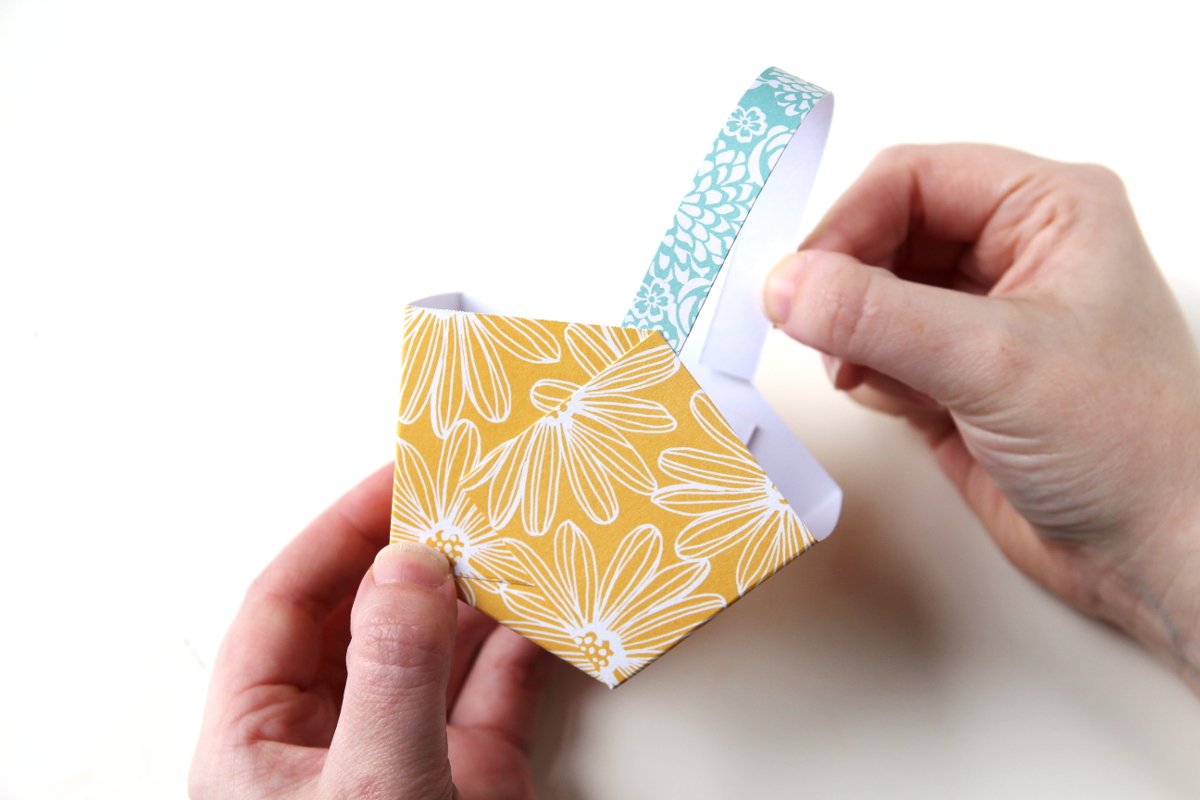
8. Cut another strip of paper half an inch wide to use as a handle.
This is a good one for using up all those scraps of paper you might have lying around.
9. Glue to the inside of your basket.
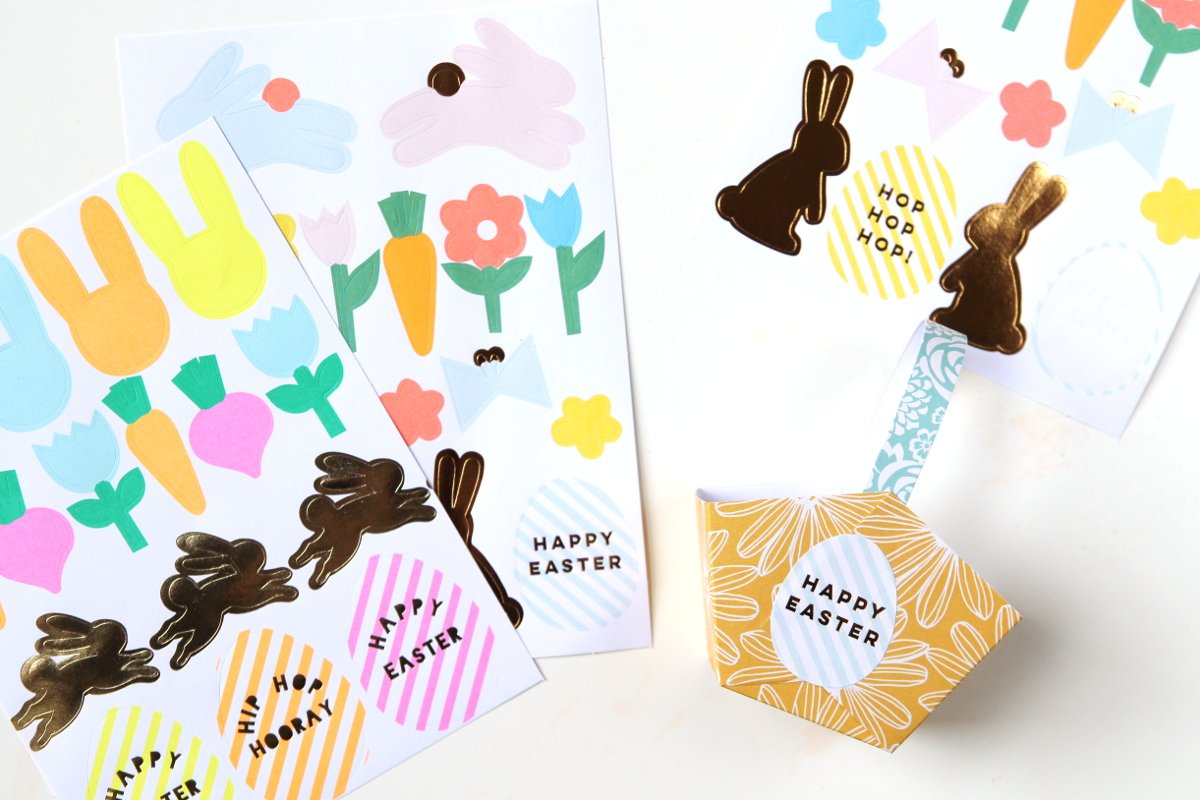
10. Decorate your basket with stickers.

11. Fill with shredded tissue and mini eggs.
And there you have it, a cute DIY Easter basket you can whip in around 10 minutes. They‘d make fantastic place settings or even just displayed as Easter decor.
Have fun making your own paper Easter baskets! And make sure to check out the links below for more Easter basket ideas.