
Easy Origami Bow Ties
/Learn how to make your own Origami Bow Tie. These easy paper bows are great for quickly dressing up a gift, using as hair clips, decorating cards or embellishing scrapbooks.
Follow this step by step photo and video tutorial to make this adorable origami accessory.

Origami Paper Bow Ties.
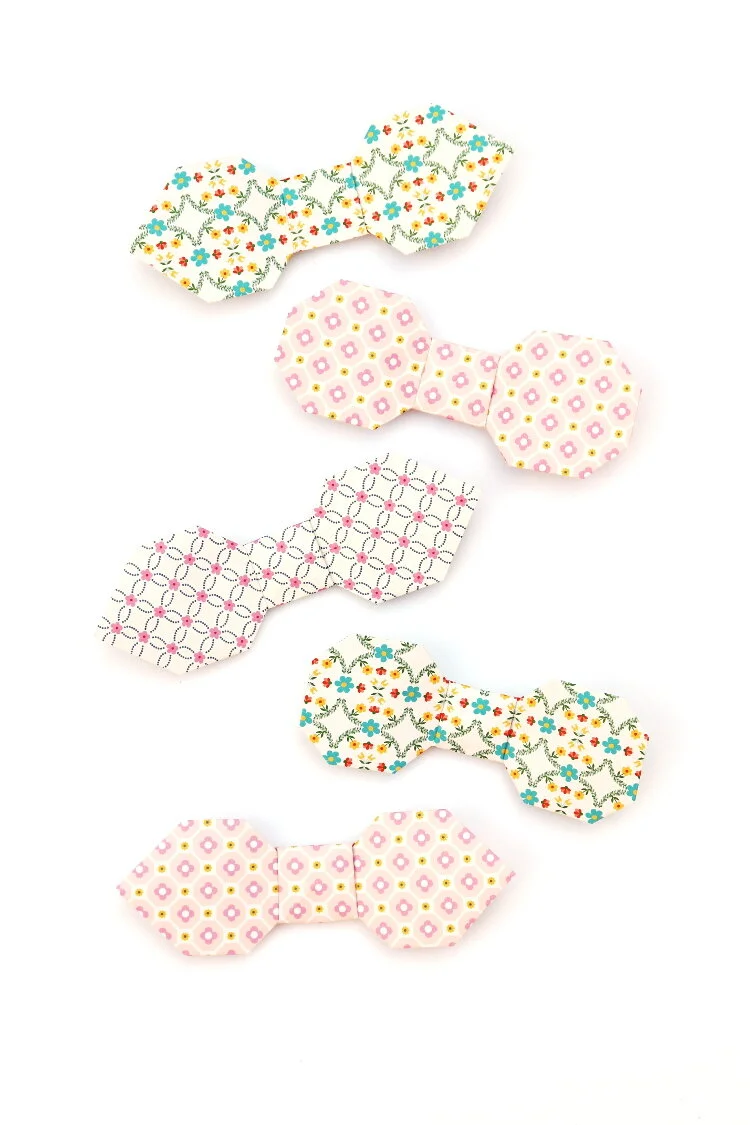
Today I’ve got a really cute and totally easy paper project to share with you, DIY Origami Bow Ties. It’s been five years since I made my first origami bows and my love for pretty paper bows is still going strong. No gift is complete without one!
These simple bows are a lot easier to make than my previous ones. There’s no cutting for a start and far fewer folds. The trickiest part is opening them out at the end so if you’re making them with younger kids they might need a little help with the final steps.

Easy Paper Bow Ties.
The great thing about these paper bows is how versatile they are. You could use them as decorations on cards and gifts for both boys and girls. How about making some origami shirts for Father’s Day and adding origami bow ties to match?
Turn them into hair clips or brooches. Pin them onto some ribbon and use them as a dapper paper bow tie or headband.
String them up as a garland for a cheap party decoration or glue mini ones to cocktail sticks to dress up some cupcakes. There are so many clever ways you could use them.
Supplies:
This gorgeous origami paper is by Djeco and sadly no longer available but you can get this pretty pastel origami paper instead.
But keep your eyes peeled when you’re out and about. You can often find Djeco in independent shops and I’ve even picked up a couple of things in garden centres so it’s always a good idea to keep a lookout.
Don’t have any origami paper?
Use gift wrap or old magazines and customise them to match your wrapping or party theme. Old colouring books are another good alternative.


How to make an Origami Bow Tie:
1. Take a 6 x 6 square of origami paper and cut it in half. This means you can make 2 bows out of each piece of paper.
2. Fold one of your rectangles of paper in half lengthwise. Open back out.

3. Fold each of the corners in to meet the center crease.

4. Fold both the bottom edge up to meet the center crease.

5. Flip your paper over and fold in half so that the end points meet.

6. Open back out.
7. Flip back over.

8. Take left side and fold it diagonally. You want to align the center crease with the crease you see on front of the right side (show below).
9. Unfold and repeat on the right side of your model.
10. Collapse the paper in half with the open ends at the top.

11. Fold the top layer down. Use the folds underneath as a guide.
12. Flip it over and repeat on the other side.
13. Fold both the top corners diagonally into the center.

14. Flip it over and repeat on the other side.
15. Gently open out your origami. As you open it out press down on the center of the bow at the same time.

16. Press the center flat.
Optional extra:
To give your bow tie a rounded finish fold in the ends on both sides.
For a square end, fold the ends of the points back to meet the straight edge.

