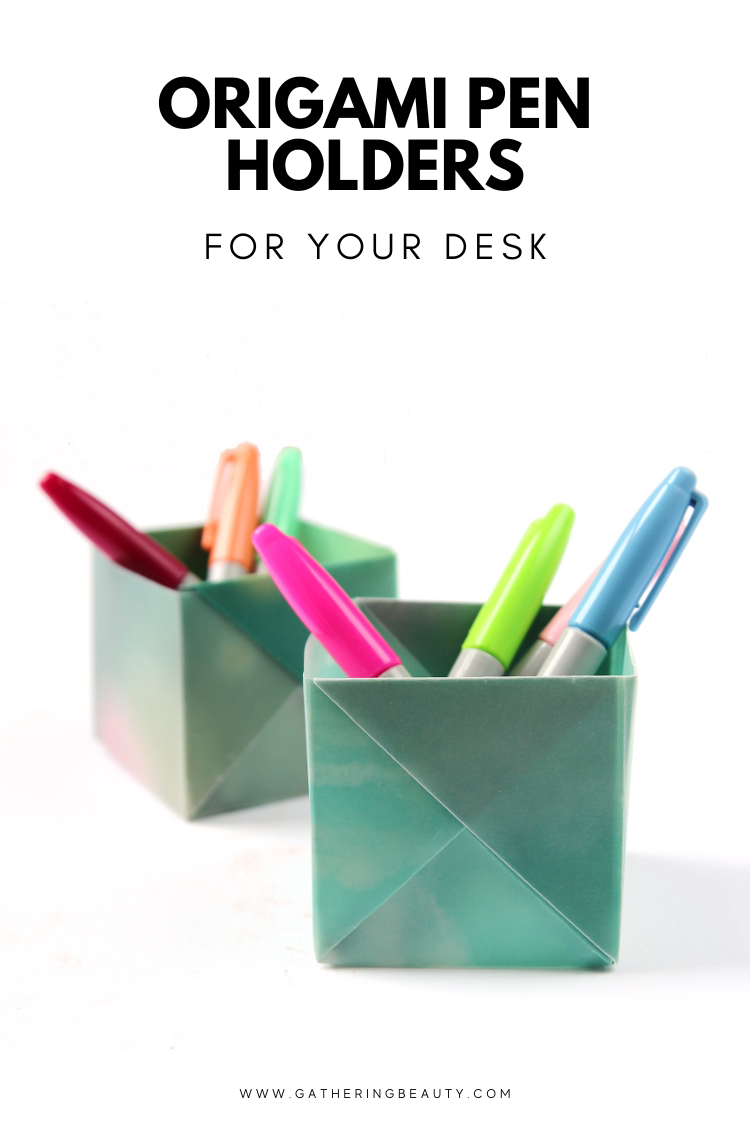
DIY Origami Pen Holder
/

Here's a super quick way to dress up your fridge or noticeboard. These diy chipboard button magnets can be made in next to no time plus they're as pretty as they are practical.
These chipboard buttons are another of my crafting supplies I've been holding onto instead of using. So in an effort not to let my supplies go to waste I decided to turn them into these cute magnets instead. After all, it's much more fun to be able to look at these buttons on the noticeboard above my desk rather than let them sit in a drawer unused.

Steel Ruler
Glue.
The above links are affiliate links. This means that if you purchase through them I receive a small commission.

1. Cut the edges off your magnetic frames and remove the clear plastic front.

2. Pop out your chosen chipboard shapes (I used these) and peel the backing off.
3. Stick them down onto the front of your magnetic strip.

4. Use a craft knife to cut out your chipboard shapes. I found it easier to cut out the buttons by making lots of smaller cuts rather than trying to cut them out all at once.

The magnets are strong enough to hold a photo or postcard but if want to hold anything more I'd suggest using some extra strong magnets like these instead. Stick the chipboard down onto some paper, cut out and then glue a couple of the super strong mini magnets to the back.

And there you are, adorable diy button magnets to add a little fun to your fridge or noticeboard.
P.S. If you fancy having a go at making your own origami bows like in the photo above you can find that tutorial here.

One of my favourite things to make are notebooks or mini albums. I've never met a mini album or notebook I didn't love. I always like to have one tucked away in my bag to jot down notes or save receipts in.
I've made and shared quite a few here on the blog but I think this mini envelope album might be my favourite.
Have you seen these envelope mini albums before? They're so clever. I made a similar one the other year but it folded like an accordion instead (you can find my accordion folding album here).
Each page of the album doubles as a pocket so you can store photos, tickets or other memorabilia inside. Such a cute idea.

Patterned cardstock or mini envelopes
Martha Stewart score board and envelope tool or an envelope punch board
Washi tape, stickers and embellishments to decorate.
1. To begin with you need to make your mini envelopes. I trimmed my card down to 5½ x 5½ inches to make a finished envelope measuring 3¾ inches x 2¾ inches (or 9½ x 7 cm).

2. If you're using a Martha Stewart scoreboard like I did you need to place the envelope template in the top left corner and then place your paper alongside the edge of the template.
The template has measurements on you can use as a guide to make the envelopes. I scored at the 2-inch mark, rotated 90 degrees, scored at the 2½ inch mark and repeated.
Another alternative is to use an envelope punch board like this one, use an existing envelope as a template like I did here or pick up a pack of mini envelopes from your local craft shop.
3. Use a pair of scissors or a craft knife and a ruler and cut away each of the corners where the 2 scorelines meet.

4. Fold along the scorelines and use some glue or double-sided tape to stick the side flaps down.
5. Repeat until you have enough envelopes.

6. The next thing you need to do is start connecting the envelopes. Take your 1st envelope and fold back the flap. This will be the cover of your mini album.
7. Take a 2nd envelope and apply glue or double sided tape to the inside (the plain side) of the top flap.

8. Flip the 2nd envelope over and slide it into the 1st with the sticky side facing down. Make sure to press down firmly.

9. Repeat adding more pages until you're happy with the size of your mini album.

10. When you get to the end you should be left with only the 1st envelope flap showing. Wrap it around to the back of your album to finish the cover.
I found it helped to measure and score the flap where it naturally folded to help make a neat spine.

11. Use some strong double sided tape to stick the flap down. I like to use this wonder tape roll. It's super sticky and holds forever.

Now for the fun part. Decorate and fill your mini album to your heart's content.

I love how this project turned out. For my envelopes, I used some glittery patterned card I picked up from the craft department in The Range. It was only £3 for a pad of 32 sheets (4 x 8 in) by a company called DecoTime.
I used some die cuts from My Minds Eye, some pretty paper washi tape strips and letter stickers both from Simple Stories to embellish my cover. It's hard to show in a photograph but I love the combination of matte and glossy.
I already want to make another one, this time a little bigger. I think they'd work great as a recipe book. Each recipe could have a photo on one side and the recipe on a card in the opposite pocket.
What do you think?

Looking for a unique Father's Day gift idea? Turn a plain piece of paper into an Origami Shirt with these easy step-by-step instructions. Whether you're dressing up your greeting cards, making a cute bookmark or looking for a cute way to give cash as a gift, these paper shirts are perfect!
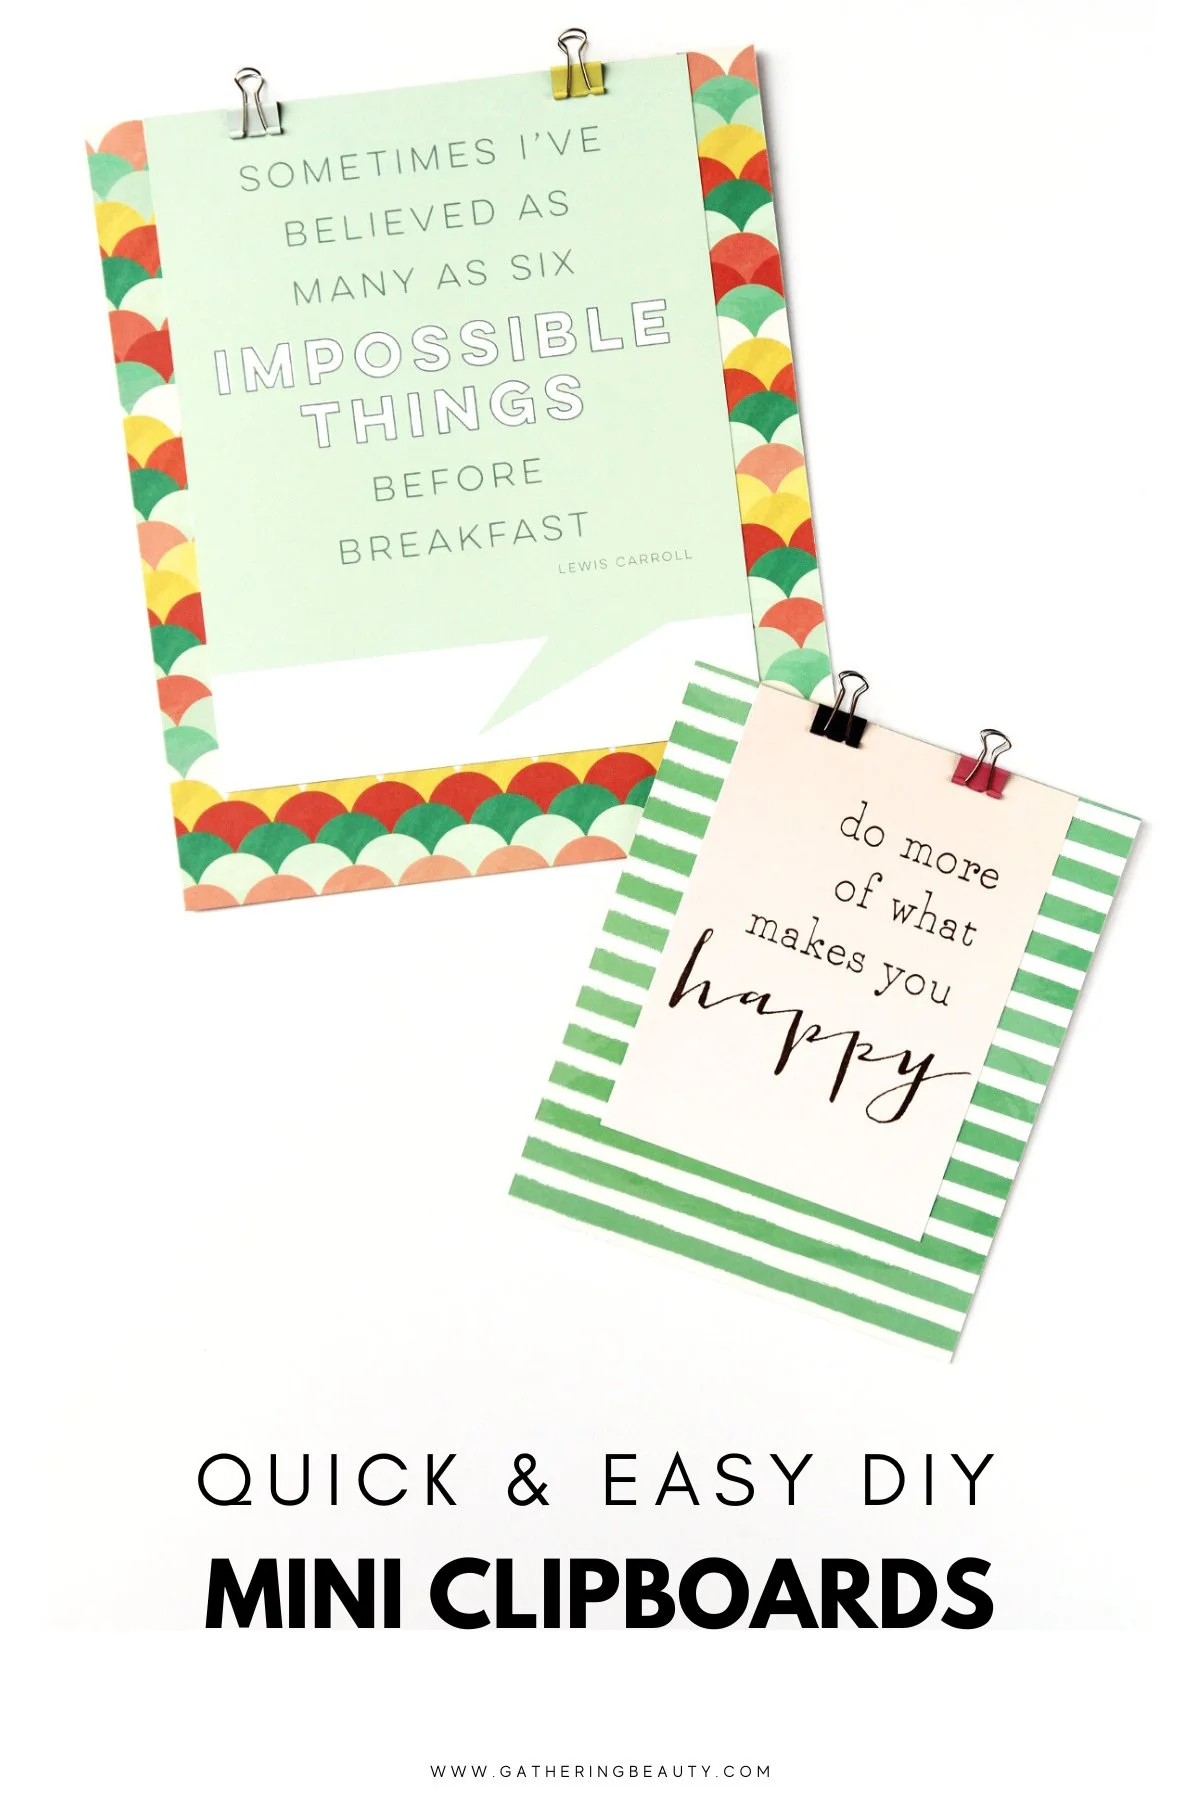
Read MoreLooking for a quick and adorable way to display your wall art? Check out our latest tutorial on making DIY mini clipboards using scrapbook paper and binder clips. It's super easy and adds a pop of personality to any space!
Read MoreGathering Beauty is a DIY, craft blog with a love for all things paper. Here you'll find origami, papercrafts, air dry clay projects as well as the odd crochet or weaving tutorials. Let's Get Crafty!

Hi, I'm Emma. I'm a life-long maker, artist and founder of the craft blog Gathering Beauty. You can learn more about me and my blog here.
COPYRIGHT & LINKING
You're welcome to link to GatheringBeauty.com or use a single image with a brief description to link back to any post. Republishing posts in their entirety is prohibited. Please feel free to pin on Pinterest!
AMAZON ASSOCIATES DISCLOSURE
As an Amazon Associate I earn from qualifying purchases.
COPYRIGHT © GATHERING BEAUTY 2013-2024 // DISCLAIMER AND PRIVACY POLICY // ACCESSIBILITY STATEMENT