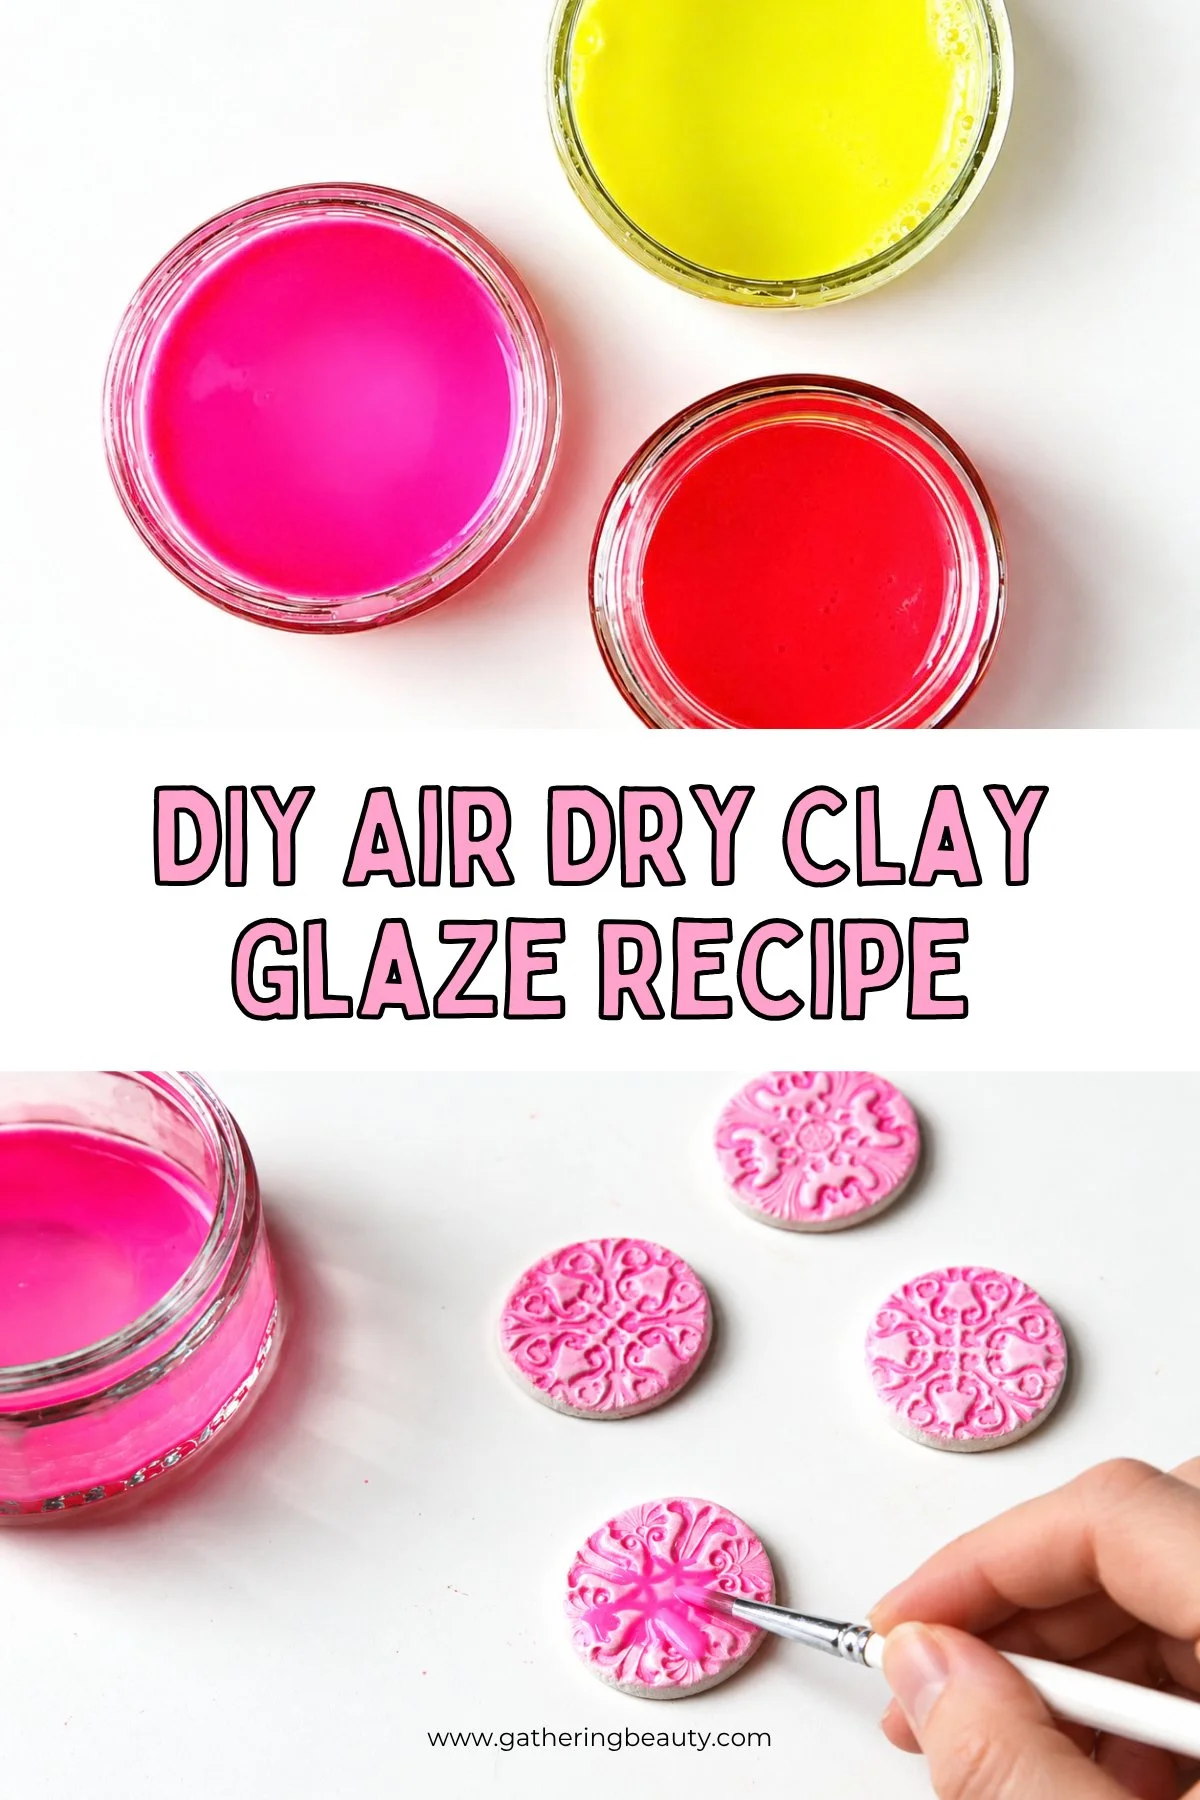
DIY Air Dry Clay Glaze: How to Make Your Own
/Learn how to glaze your air dry clay projects with your own homemade glaze. All you need are a few simple ingredients to make a cheap, colourful varnish to seal your clay crafts.
This page contains affiliate links. This means that if you make a purchase after clicking a link I earn a small commission but it doesn’t cost you a penny extra!
How to Make Air Dry Clay Glaze: DIY Recipe
Want to give your air dry clay crafts a glossy, glazed finish? This DIY air dry clay glaze tutorial shows you how to make a homemade finishing mixture using a few simple ingredients.
You can keep it clear or experiment with a little acrylic paint to create a colourful finish for your clay creations. I'll show you what you'll need, how to mix everything together and how to apply it to your finished projects.
Quick Note: This glaze is best suited for air-dry clay projects only. The nail polish can erode polymer clay over time, so stick to air-dry clay pieces for this one!
How Do You Glaze Air Dry Clay Without A Kiln?
Traditional ceramic glaze is applied to pottery and fired in a kiln at high temperatures. Air dry clay works differently because it hardens naturally as it dries, without needing to be fired.
You can experiment with suitable varnishes, sealants and other finishing products to create a smooth, shiny surface that resembles glazed pottery.
In this tutorial, I'm sharing a DIY glaze mixture made with clear nail varnish, clear craft glue and water, with optional acrylic paint for adding colour.
It's a fun technique to experiment with on decorative clay crafts, but I recommend testing the mixture on a small sample before applying it to a finished piece.
Just remember that this is a homemade craft finish, not a traditional ceramic glaze, and it won't automatically make your air dry clay waterproof or food-safe.
What You'll Need to Make DIY Air Dry Clay Glaze:
1 bottle of clear nail varnish
2 tablespoons of clear craft glue: Elmer's Clear School Glue or AmazonBasics Clear Liquid Glue
3 tablespoons of bottled water
Acrylic paint (this set is similar to the one I used if you’re a fan of the neon colours), optional, for adding colour.
A small mixing container
A spoon or mixing stick
A paintbrush
And a clay project to decorate.

How to Make Air Dry Clay Glaze.
1. Add the whole bottle of clear nail varnish to a small mixing container.
I used some old glass ramekins.
2. Add the clear craft glue and water. Stir gently until they're combined.
Don't worry if the mixture looks lumpy at the beginning. Keep mixing until everything comes together.
3. If you've already painted your clay or maybe stamped it like I did with these bowls and want a clear glaze then stop now.
The glaze looks a little cloudy but does dry clear.
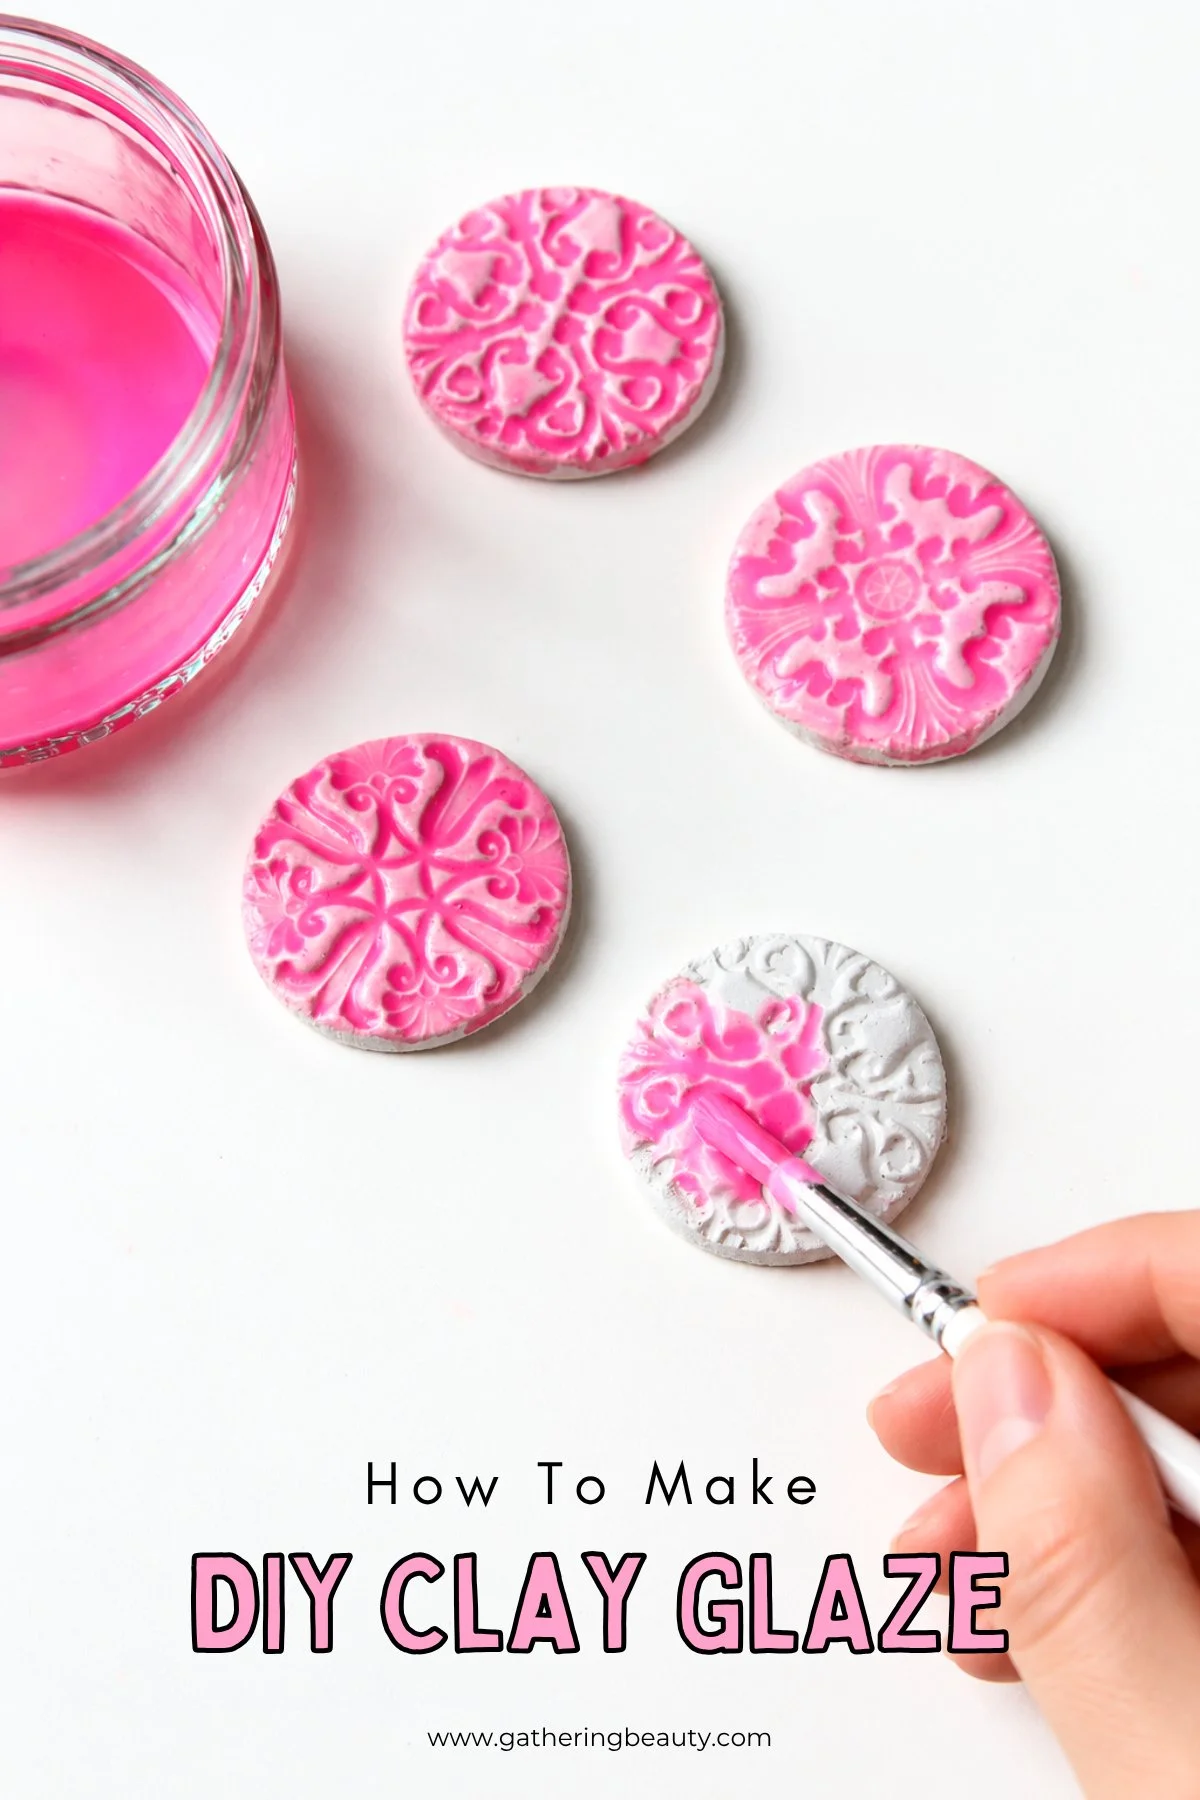
4. If you'd like to experiment with a coloured finish, add 1/2 teaspoon of acrylic paint.
Start with a small amount and mix gently. You can always add more paint. Bear in mind that adding paint may make the mixture less transparent, so it might not give you the same finish as a clear coating.
How to Apply Homemade Glaze to Air Dry Clay.
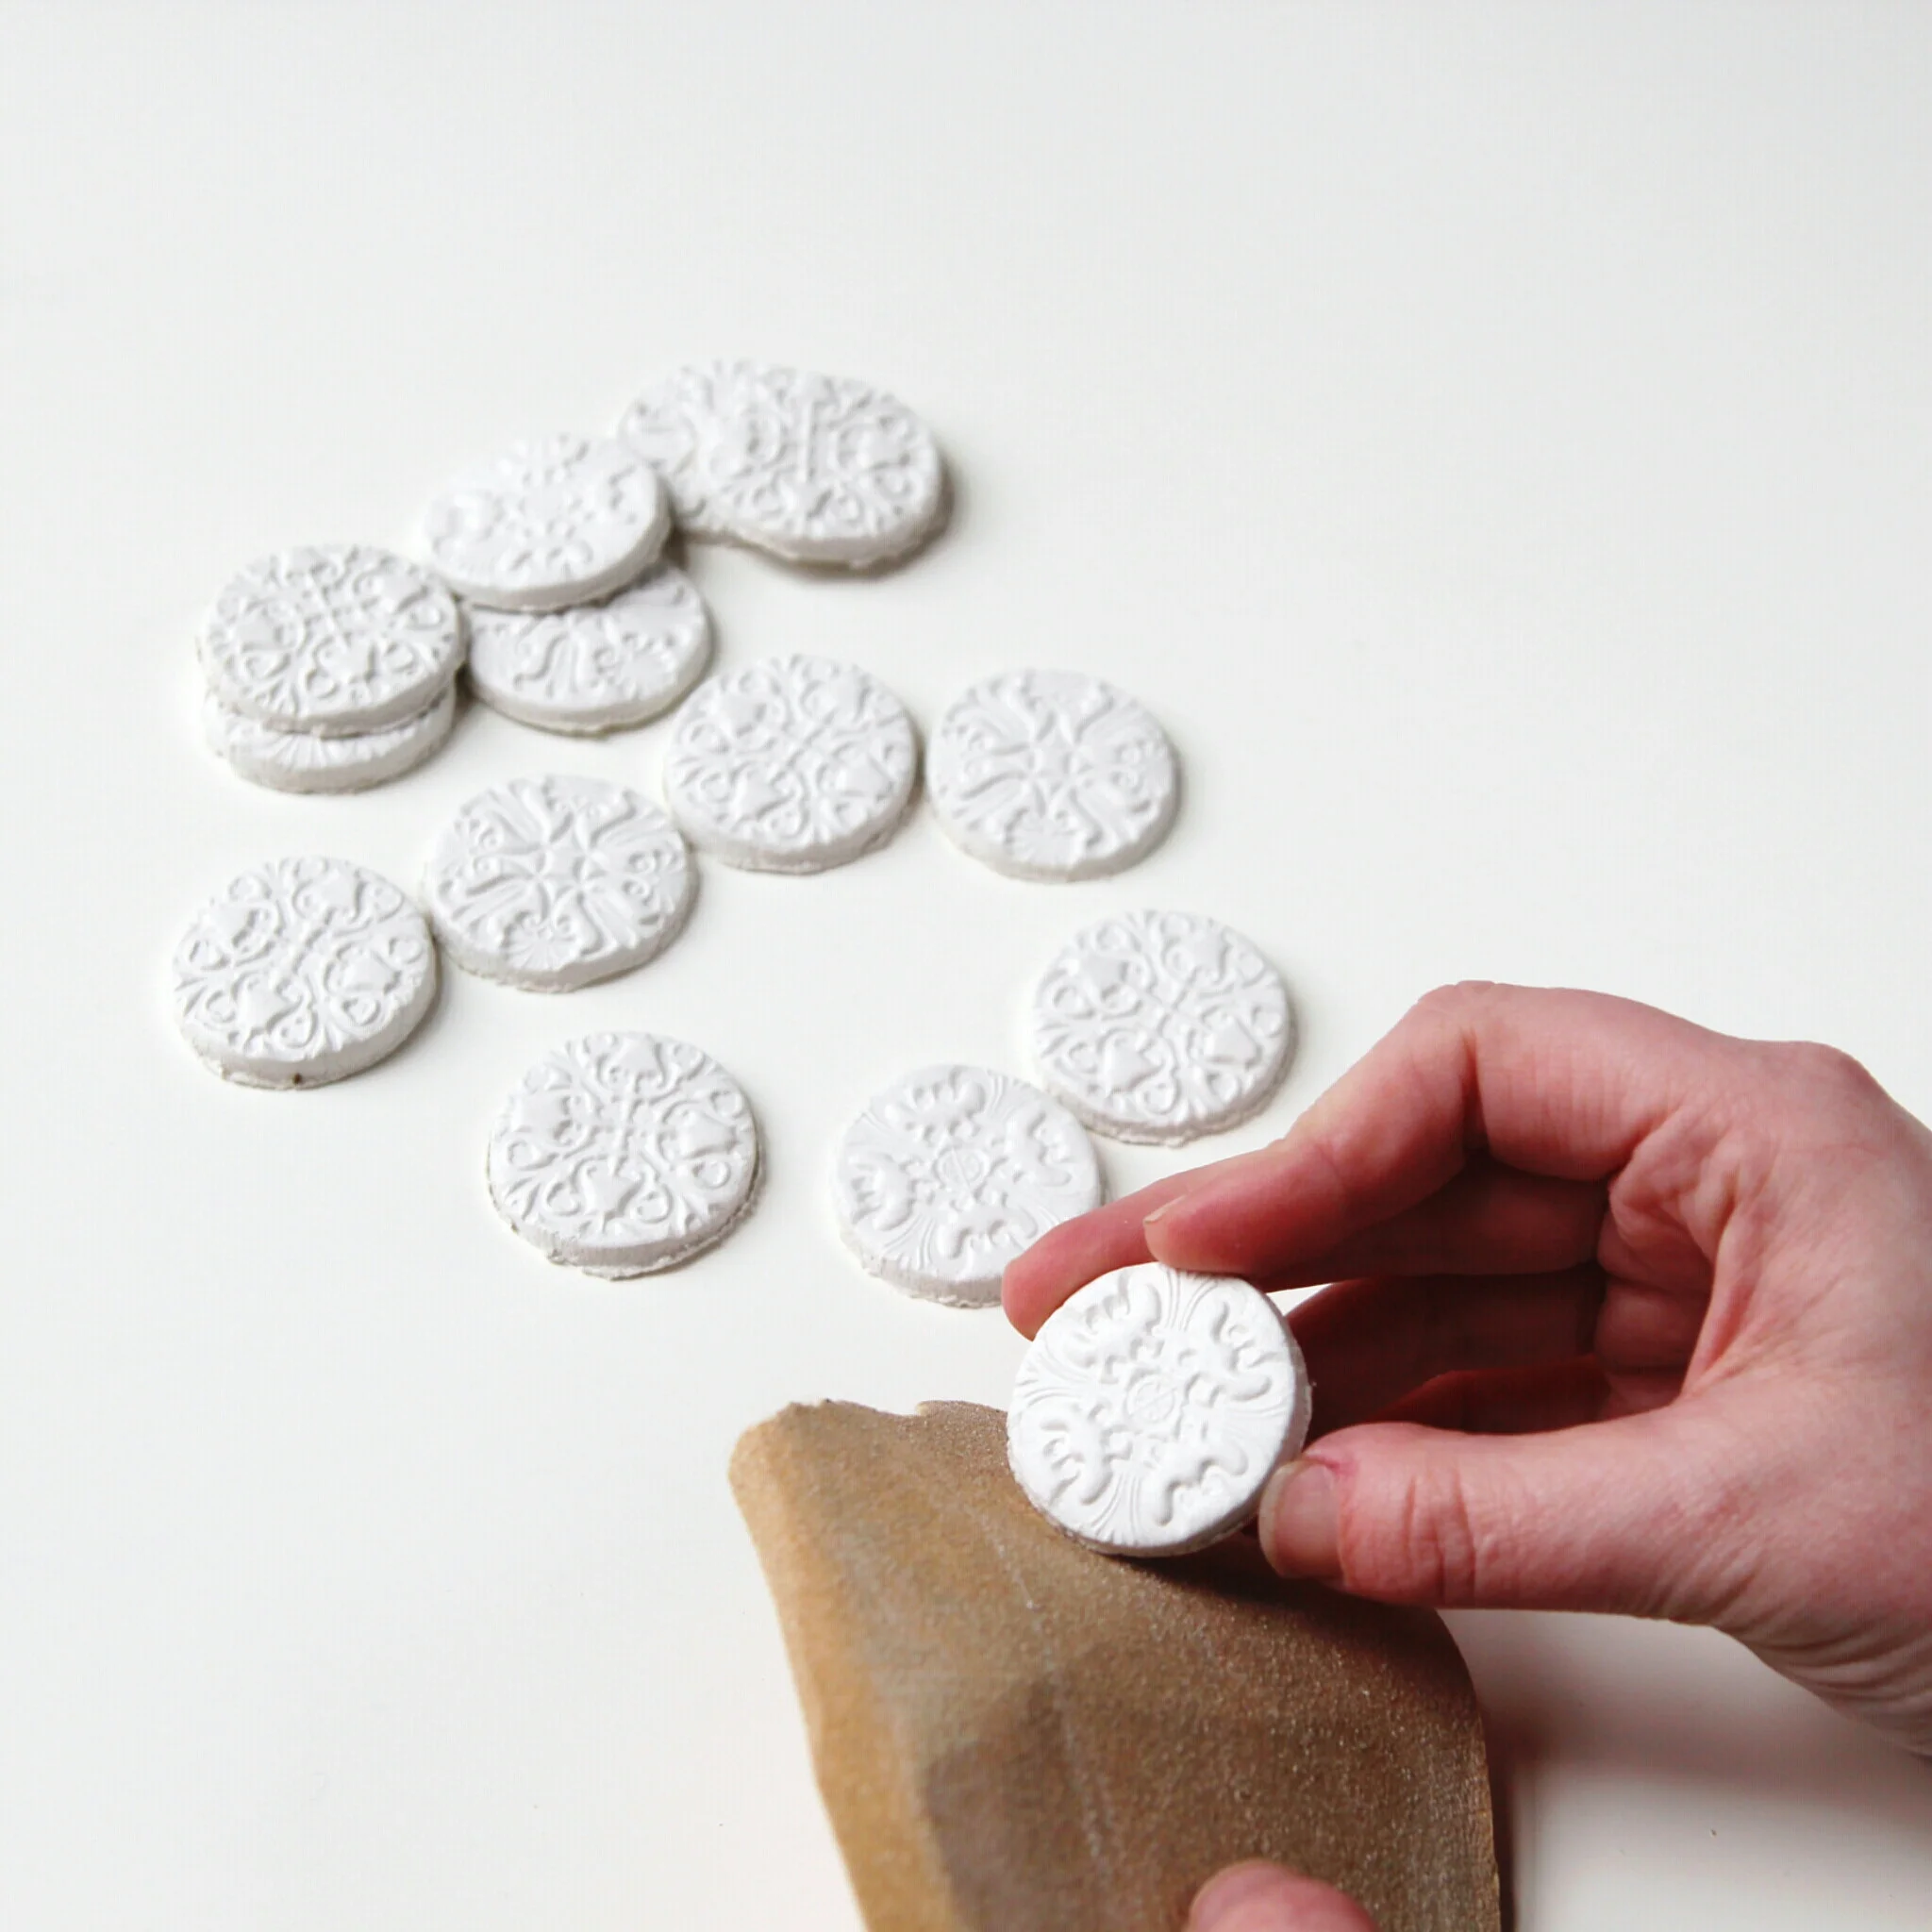
Before applying any finishing product, make sure your air dry clay creation has dried completely. Gently smooth the surface with fine-grit sandpaper and remove any dust before applying your finish.
Drying times depend on the thickness of the clay, the type of project and the conditions in your home. Thicker pieces may take several days or longer.
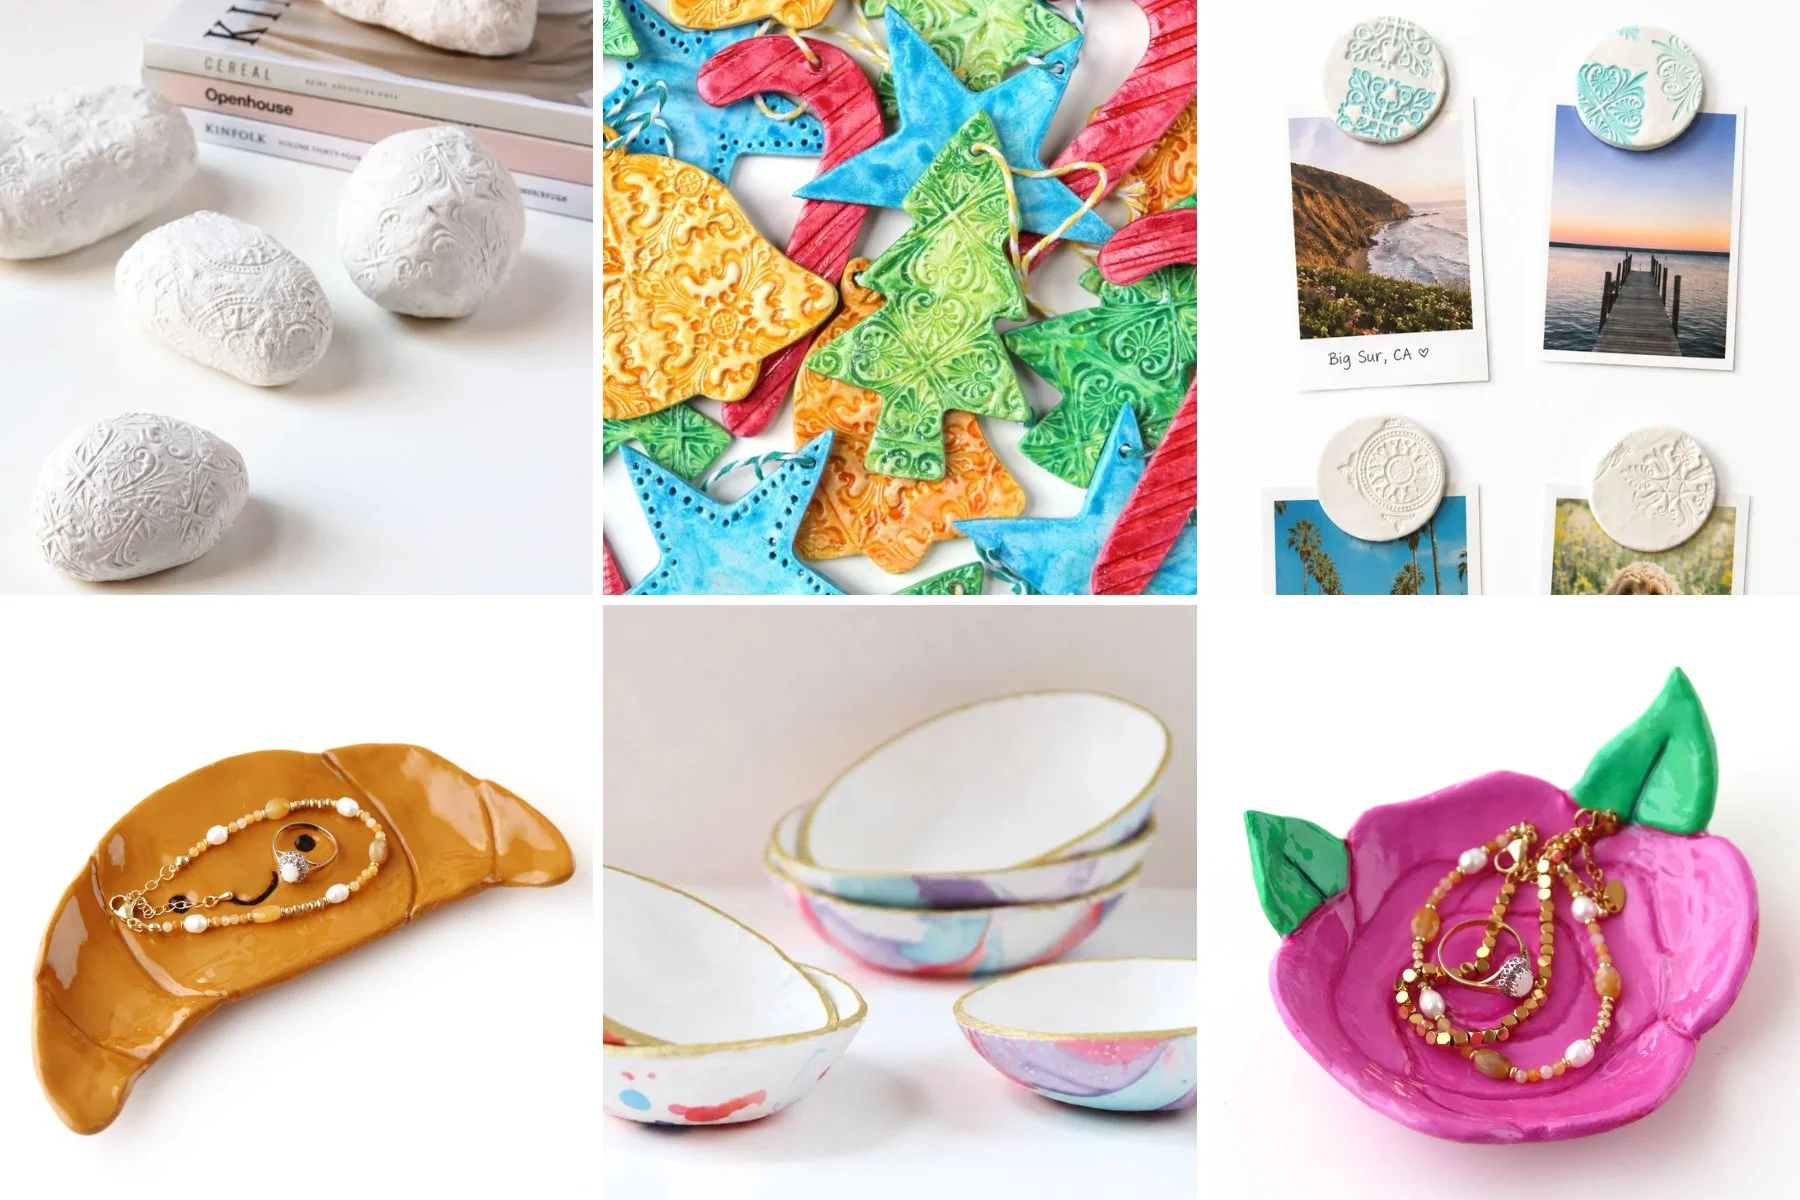
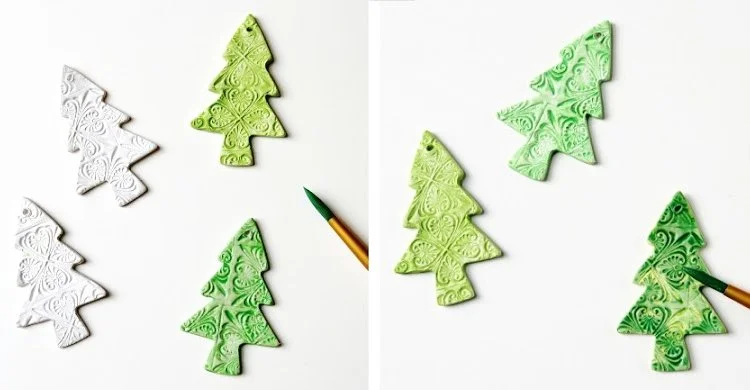
The glaze works best on textured clay, like in these air dry clay magnets and clay Christmas decorations.

Apply a Thin Coat.
1. Using a small paintbrush, apply a thin layer of your mixture to the surface of the clay.
The glaze will flood the indentations and leave a thin layer over the raised design, letting the white of the clay show through.
Air-dry clay is porous so the first layer will soak into the clay and dry quickly.
2. Once it’s dry, apply a second layer.
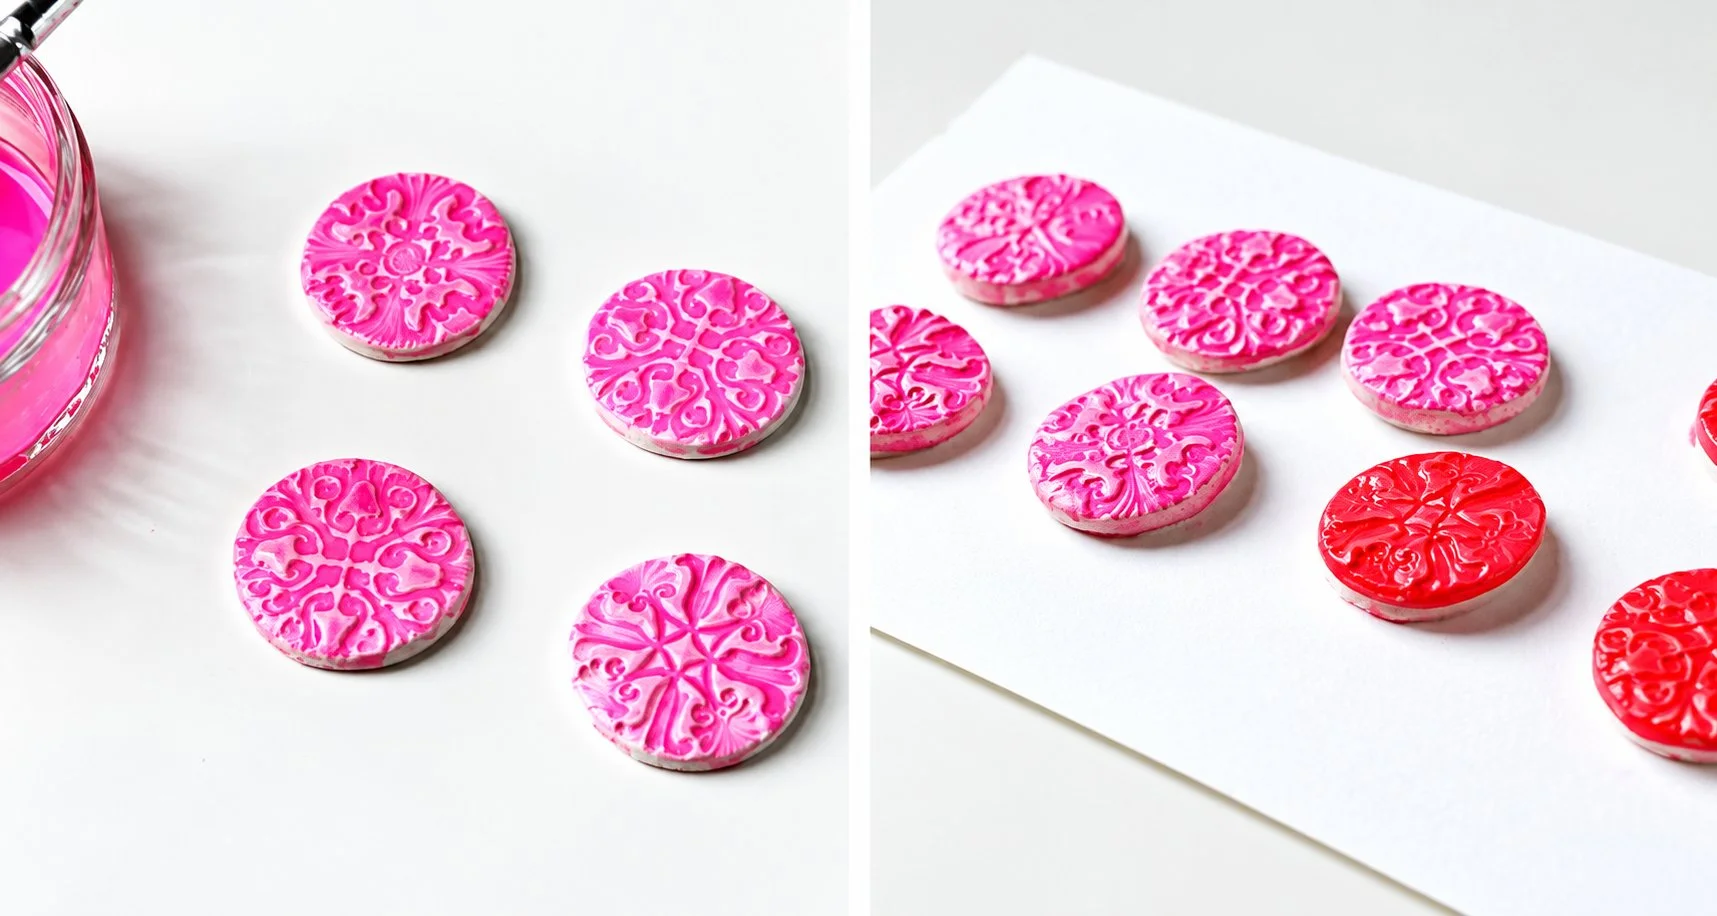
3. Keep building up the layers of glaze.
Be careful not to build up to many layers. I found no more than 3 worked best. Any more than that and the glaze remained sticky and tacky when dry.
4. To paint the sides of your piece, place them on a piece of scrap paper and raise them up using small balls of sticky tack. You don't want your glaze glueing your clay to your work surface.
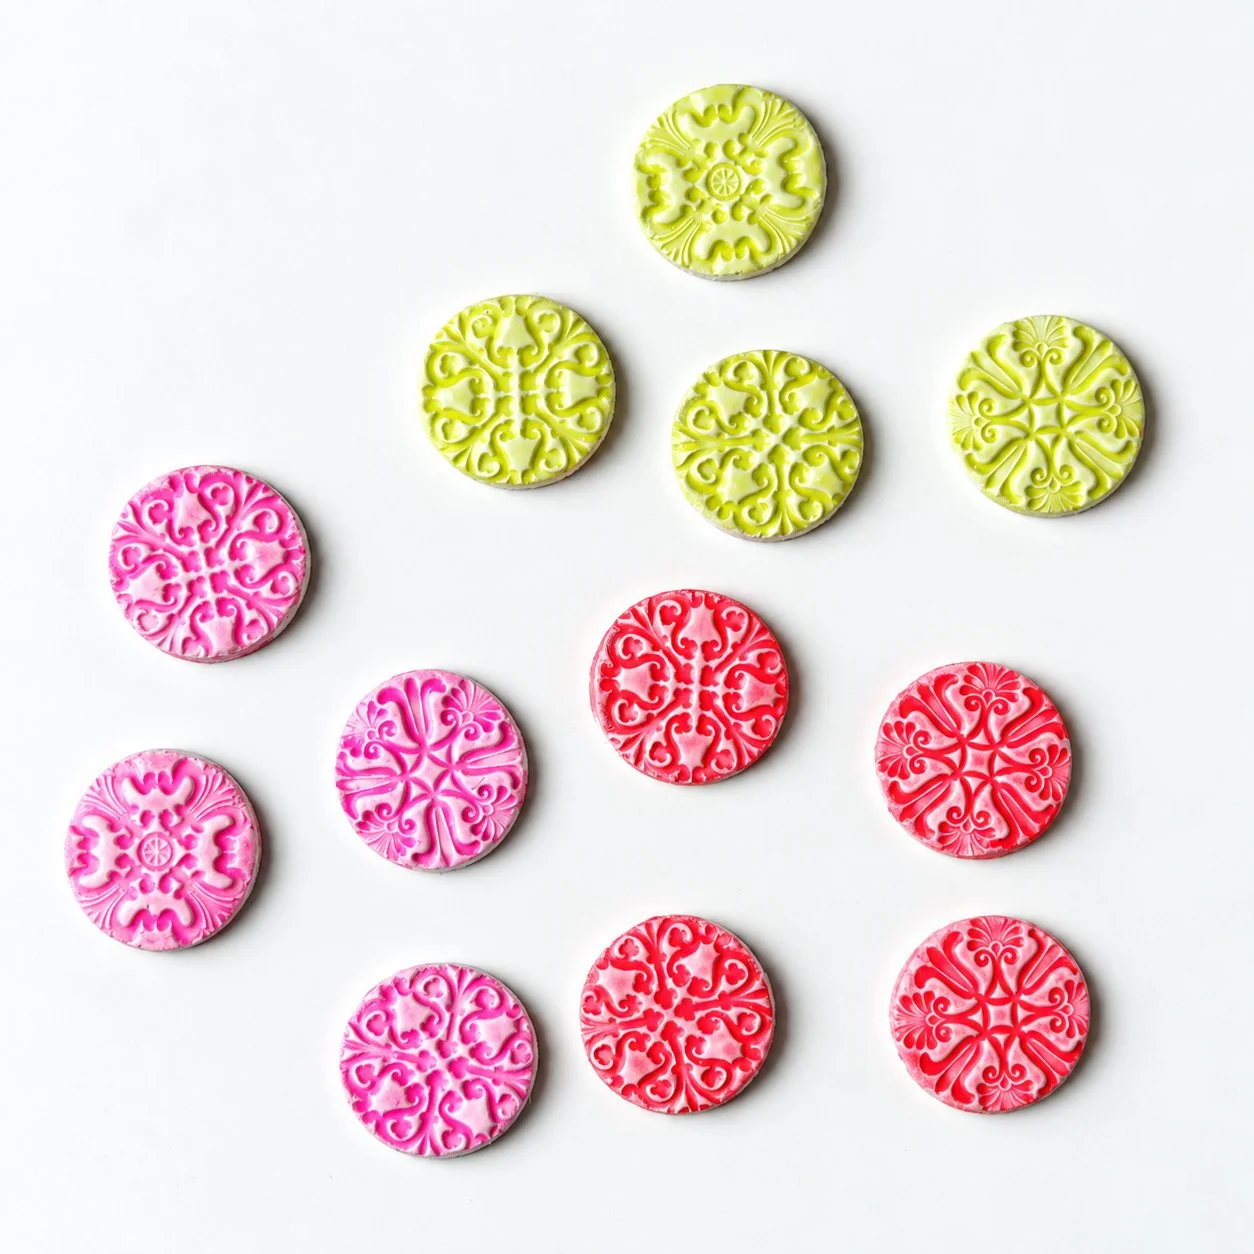
5. Leave to dry for a glossy finish.
6. You can store any leftover glaze in a glass jar.
Please note this glaze is for decorative purposes only and is not food safe.
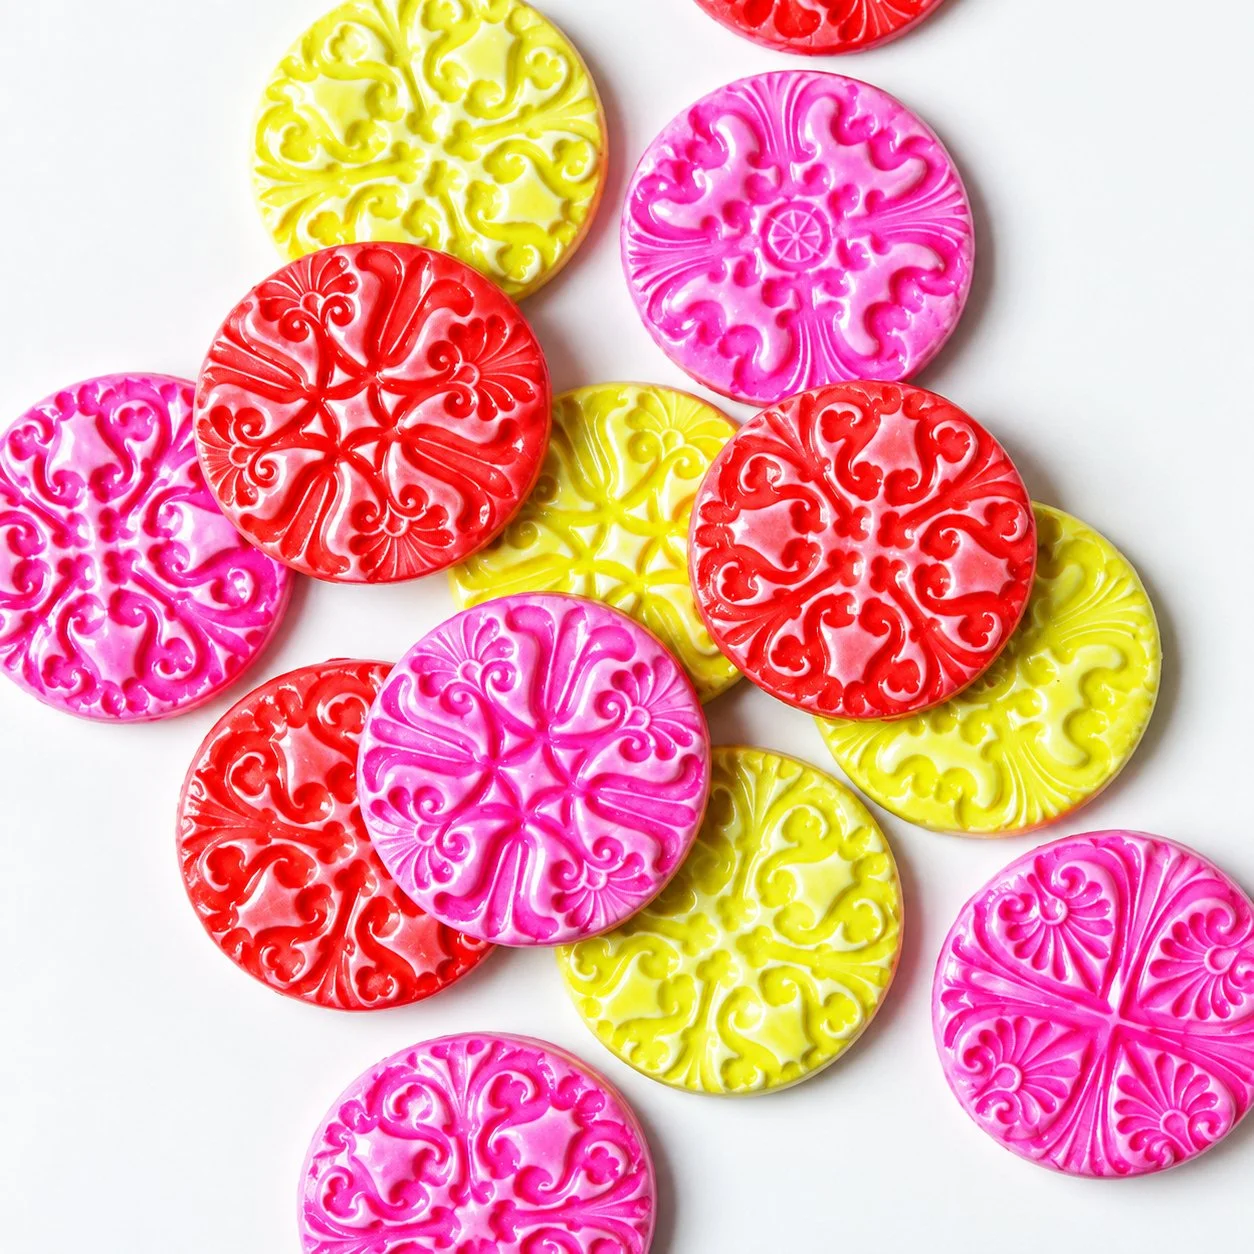
Is Homemade Air Dry Clay Glaze Food Safe?
No, even though the clay itself is non-toxic, it is still porous when dry. It can be made water-resistant but not totally waterproof as a traditionally glazed pot would be.
So while you shouldn’t eat any fruit or crisps and chips out of an air dry clay bowl (definitely no liquids), you can still use it to hold any wrapped sweets and treats.
For more tips on choosing the right finish for your projects, check out my guide on how to seal air dry clay, where I compare different varnishes and sealants.