How To Seal Air Dry Clay
/Learn how to seal air dry clay with acrylic varnish, spray sealer, Mod Podge, polyurethane and more. Plus, easy tips for a smooth, durable finish.

This page contains affiliate links. This means that if you make a purchase after clicking a link I earn a small commission but it doesn’t cost you a penny extra!
How To Seal Air Dry Clay: The Best Sealers, Tips & Tricks
Wondering how to seal air dry clay? You're in the right place! Sealing your finished air-dry clay project is a simple way to protect the surface, help it resist moisture and give your creation a beautiful matte, satin or glossy finish.
I've made lots of air-dry clay projects over the years, from little trinket dishes and bowls to decorations and colourful clay ornaments, and I've tried quite a few different ways of sealing them.
In this guide, I'm sharing the best ways to seal air-dry clay, including acrylic sealer spray, acrylic varnish, Mod Podge, polyurethane and resin. I'll also show you how to apply each one, when to seal your clay and which option I'd choose for different types of projects.
Quick answer: For most air-dry clay projects, I'd recommend a clear acrylic varnish. They're relatively easy to use, come in matte, satin and gloss finishes, and are a great choice for beginners.
One important thing to remember is that sealing air-dry clay doesn't turn it into waterproof or food-safe pottery. Air-dry clay remains different from kiln-fired ceramic, so sealed projects are best treated as decorative pieces.

Can You Seal Air Dry Clay?
Yes! Air-dry clay can be sealed once it has completely dried.
Sealing your clay adds a protective surface layer and can help protect painted details from everyday handling. It can also change the appearance of your project, depending on the finish you choose.
You can choose from:
Matte – soft and natural-looking with very little shine
Satin – a subtle sheen that's somewhere between matte and gloss
Gloss – shiny and bright, and great for colourful projects
High gloss – a glass-like finish, usually achieved with resin
The most important thing is to make sure your clay is completely dry before sealing it. Drying times vary depending on the clay brand, thickness and size of your project. Some manufacturers recommend around 72 hours for their air-dry clay, so always check the instructions for the particular clay you're using.
You can find more information about drying air dry clay in my blog post How Long Does Air Dry Clay Take To Dry?
If you're not sure whether your project is dry enough, give it a little longer. It's much better to wait an extra day than to seal moisture inside the clay.
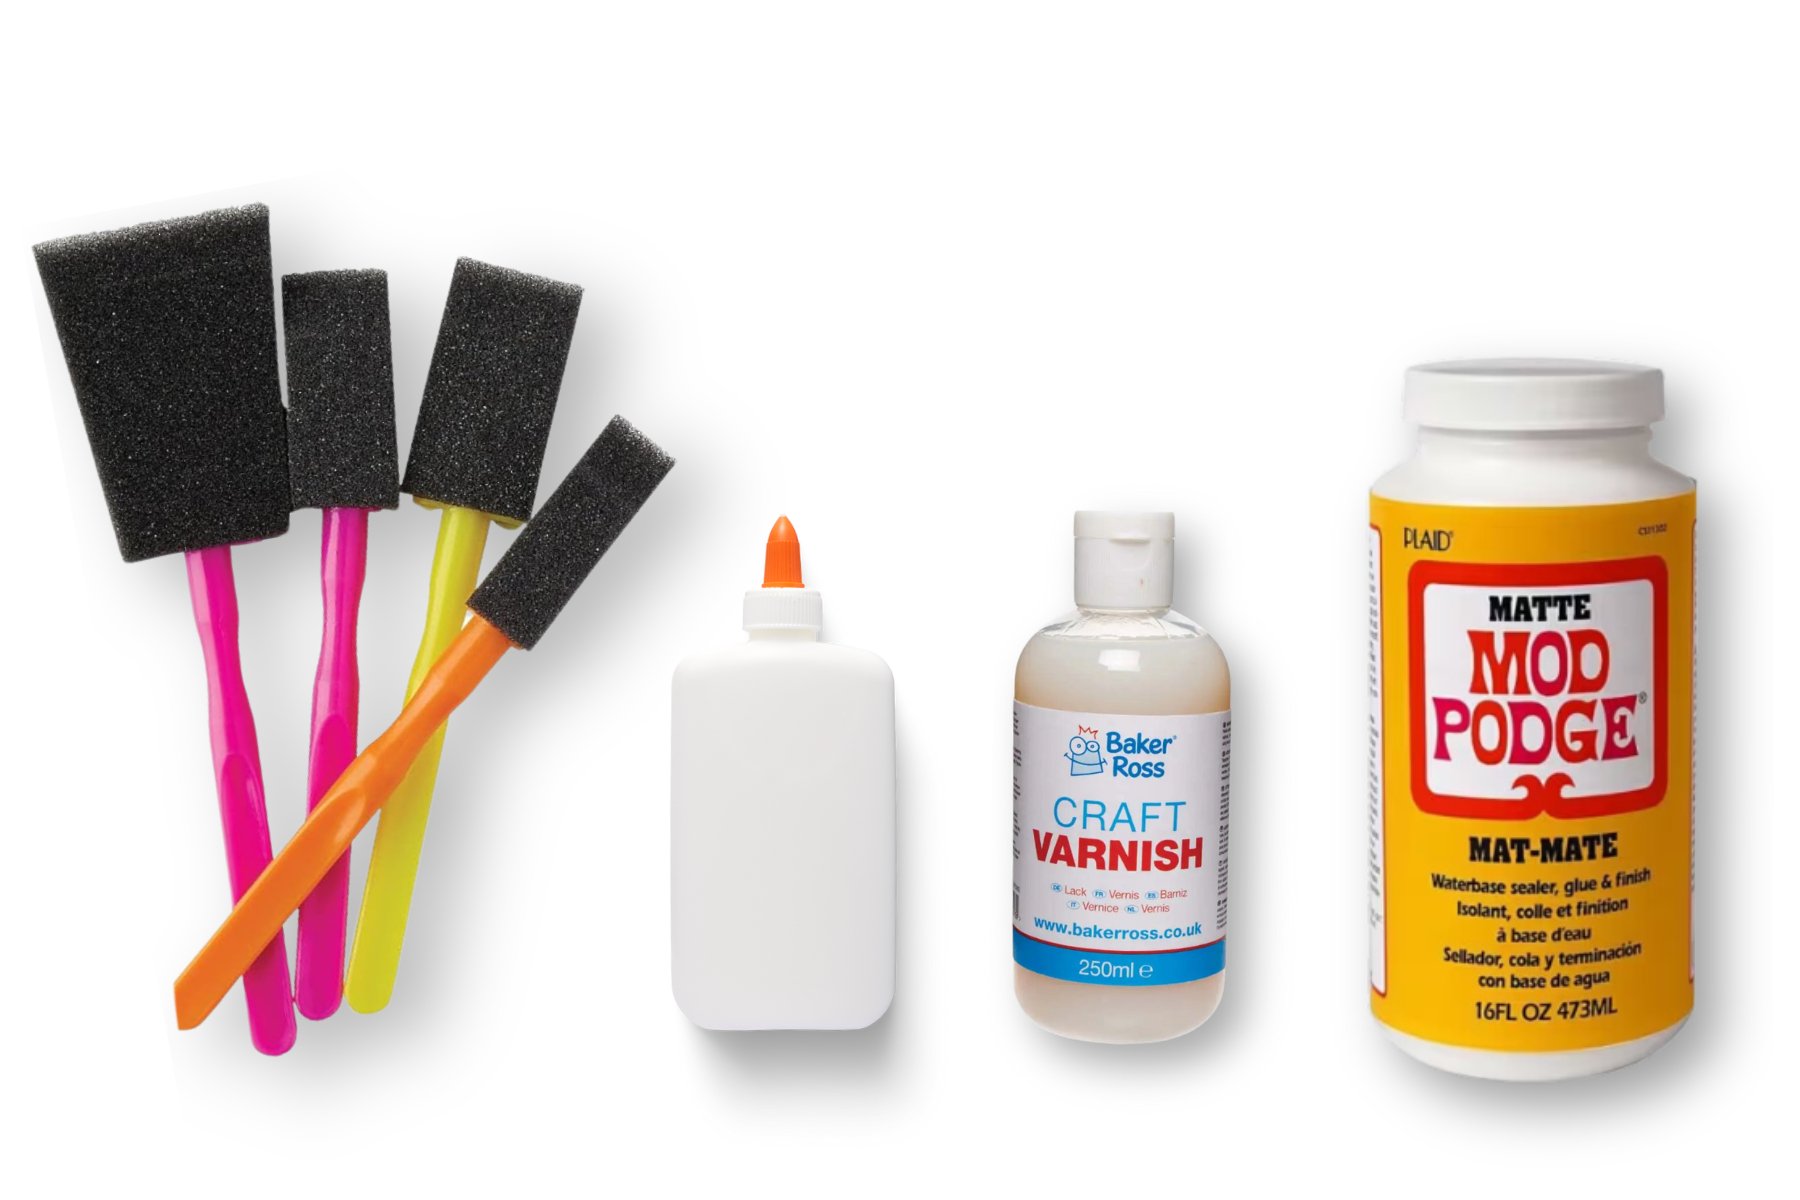
The Best Sealers for Air-Dry Clay.
There are lots of different products you can use to seal air-dry clay. Here are some of my favourites and what I think each one is best for.
1. Clear Acrylic Sealer Spray
A clear acrylic sealer spray is one of my favourite options when I want a quick and even finish.
Because you're spraying rather than brushing, you don't have to worry as much about visible brush marks. It's especially useful for larger pieces or projects with lots of little details.
You can usually find acrylic sealers in matte, satin and gloss finishes, so you can choose the look you want.
How to use acrylic sealer spray:
Make sure your clay is completely dry.
Take your project outside or work in a well-ventilated area, following the instructions on the product.
Shake the can according to the manufacturer's instructions.
Spray a light, even coat over your project.
Allow it to dry completely.
Add another thin coat if needed.
My tip: Don't try to get a thick, glossy finish in one go. Light coats usually give much better results.
Pro tip: Go for a matte or glossy sealer, depending on the look you’re going for! I usually use matte for natural-looking pieces and glossy for anything that needs a little pop.

2. Acrylic Varnish
If you're looking for a simple all-rounder, clear acrylic varnish is probably where I'd start.
It's easy to apply with a brush and is available in different finishes, including matte, satin and gloss.
How to use acrylic varnish:
Make sure your clay is completely dry.
Use a clean, soft brush.
Apply a thin, even coat.
Leave it to dry according to the manufacturer's instructions.
Apply another thin coat if you want additional coverage.
My tip: A soft brush and thin coats are your best friends here. If you brush the same area too many times while the varnish is still drying, you can end up with visible brush marks.
3. Mod Podge
Ah, Mod Podge. Is there anything this craft cupboard staple can't do?
Mod Podge can be used as a sealer and finish for air-dry clay, and I especially like it for simple decorative projects.
You can choose from different finishes, including matte and gloss, depending on the look you're after.
How to use Mod Podge:
Make sure your clay is completely dry.
Use a clean brush or foam brush.
Apply a thin layer over your project.
Leave it to dry completely.
Add a second coat if required.
My tip: Don't use a thick layer hoping it will make your project more durable. Thin, even coats are much easier to work with.
Is Dishwasher Safe Mod Podge suitable for air-dry clay?
Although Mod Podge has a dishwasher-safe formula, using dishwasher-safe Mod Podge doesn't make an air-dry clay project dishwasher-safe.
Air-dry clay isn't the same as fired ceramic, and I wouldn't recommend putting an air-dry clay project in the dishwasher or soaking it in water.
For clay dishes, coasters and similar projects, I'd treat them as decorative pieces and wipe them clean gently rather than washing or soaking them.

4. Polyurethane Varnish
If you want something a little more hard-wearing, polyurethane varnish is another option worth considering.
It's particularly useful for decorative projects that will be handled regularly and is available in different finishes.
How to use polyurethane varnish:
Make sure your clay is completely dry.
Apply a thin, even coat using a suitable brush.
Leave it to dry according to the manufacturer's instructions.
Apply additional thin coats if required.
My tip: Always follow the instructions on your particular product. Drying and curing times can vary between products.

5. UV Resin
If you're looking for an ultra-glossy finish, UV resin can give air-dry clay a beautiful glass-like surface.
Unlike traditional two-part epoxy resin, UV resin cures under a UV lamp, so you don't need to measure and mix two separate components. This makes it a little quicker and more convenient for small projects.
How to use UV resin on air-dry clay
Make sure your clay is completely dry. This is especially important before applying resin, as you don't want to trap moisture underneath the coating.
Paint your clay if desired and allow the paint to dry completely.
Apply a thin layer of UV resin over the surface of your project. A small brush or silicone tool can help you spread it evenly.
Check for bubbles and gently remove them according to the instructions for your particular resin.
Cure the resin under a UV lamp for the recommended amount of time.
Check the surface and add another thin coat if needed, allowing each layer to cure fully.
My tip: UV resin works particularly well for small air-dry clay projects, jewellery, charms, and decorative dishes where you want a really glossy finish.
5. DIY Glue and Water Mixture.
If you’re in a pinch and don’t have any fancy sealers on hand, you can make your own with some white PVA glue (like Elmer’s) and water. It’s definitely not as strong as the other options, but it’s better than nothing and works for pieces that won’t be handled much.
How to use it:
Mix equal parts white glue and water until you have a thin, paintable consistency.
Brush it over your clay piece, being careful to keep it smooth.
Let it dry completely.
Pro tip: I recommend using this trick only for decorative pieces that won’t be exposed to moisture, as it’s not as durable as a spray or varnish.
If you want to try a homemade option, I’ve got a simple, budget-friendly glaze recipe you can whip up right at home! This DIY glaze can be left clear or tinted with a bit of acrylic paint to add some colour.
All you’ll need is some PVA glue, clear nail polish, a little water, and the paint of your choice.
Quick Note: This glaze is best suited for air-dry clay projects only. The nail polish can erode polymer clay over time, so stick to air-dry clay pieces for this one!

Is Air Dry Clay Food Safe?
No. Air-dry clay projects should not be used to serve or store unpackaged food.
Even if you've painted and sealed your project, that doesn't turn it into food-safe ceramic.
That means your gorgeous handmade clay trinket dishes are perfect for things like:
Jewellery, hair clips. keys, small stationery like paperclips and wrapped sweets
But I wouldn't put fruit, crisps, biscuits or other unpackaged food directly onto them.
And definitely don't use air-dry clay for anything that will hold hot food or be placed near a heat source.

Air Dry Clay Projects I've Sealed.
I've used different sealers on lots of my own air-dry clay projects over the years, and one of my favourite things about experimenting with different finishes is seeing how much they can change the look of a finished piece.
A glossy sealer can make bright colours look even more vibrant and give your project a shiny, polished finish, while a matte varnish gives a softer, more natural look.
I've also been experimenting with UV resin on some of my more recent clay projects. I used it on my cute air-dry clay croissant trinket dish and rose trinket dish, and I love how glossy and colourful they turned out. The resin really makes the details and painted colours pop, giving both dishes that shiny, almost glazed finish.