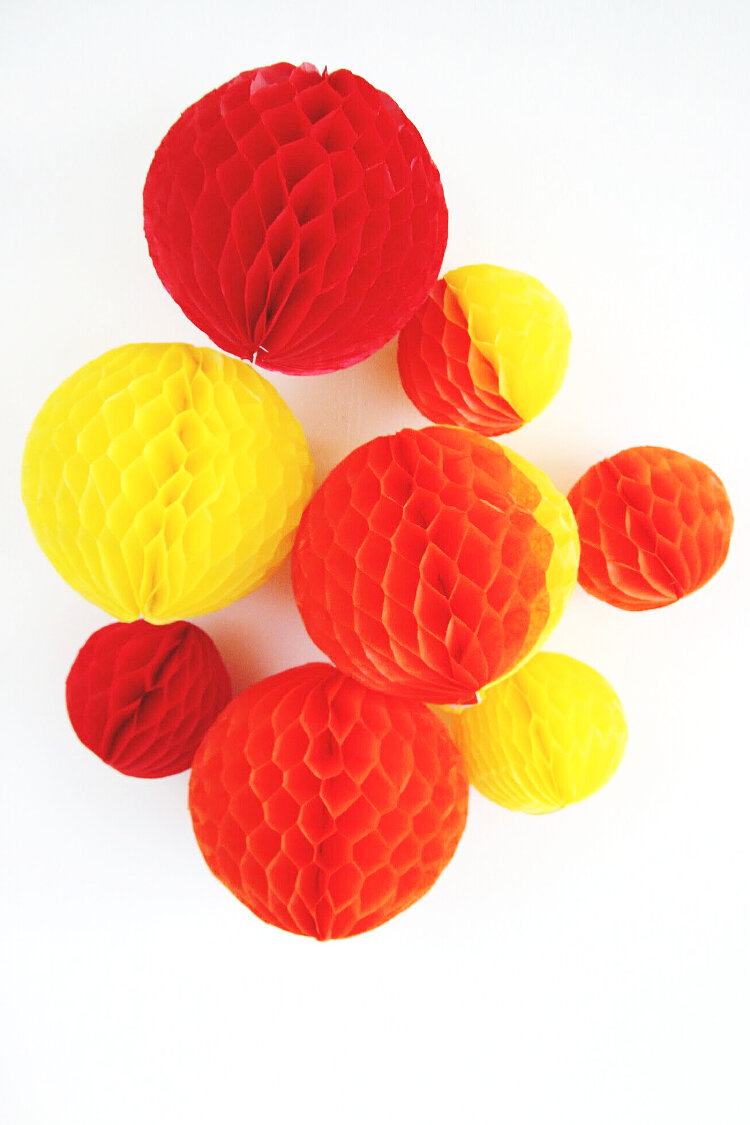
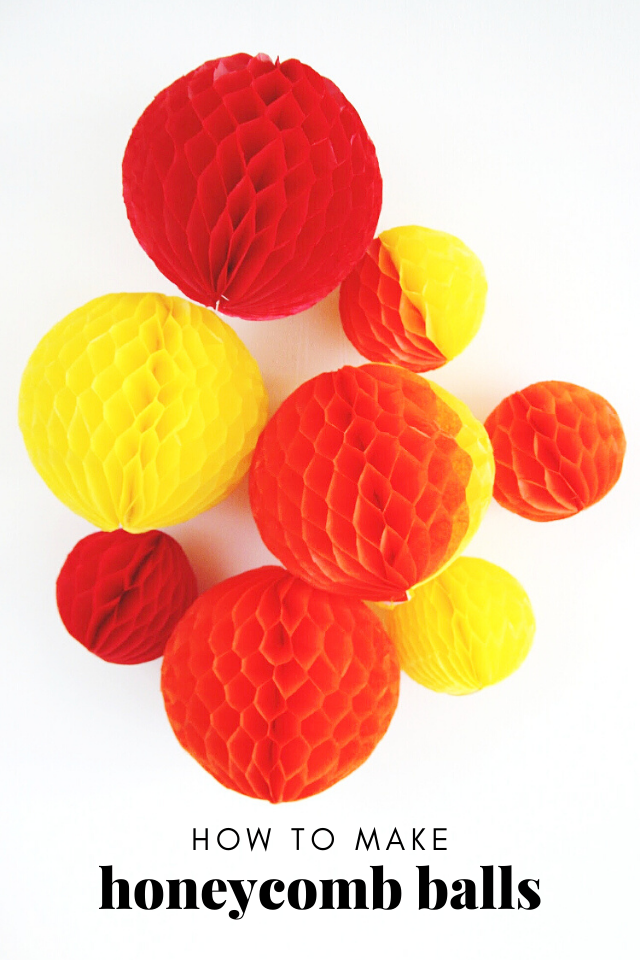
HOW TO MAKE DIY HONEYCOMB BALLS.
/Want to know how to make tissue paper honeycomb balls? They’re super cheap, easy to make and can be made to match any colour theme.
The perfect decorations for a birthday party or wedding or well, just about occasion really. Having a summer bbq? Hang them from a tree or fence. Indoor party? Cover a wall and make a cool photo backdrop. Perfect.
Follow this simple honeycomb paper ball tutorial and learn how to make your own.
This page contains affiliate links. This means that if you make a purchase after clicking a link I earn a small commission but it doesn’t cost you a penny extra!
Ever wondered if you can DIY those cute tissue paper honeycomb balls at home? The answer is yes. They are totally DIYable if a little time consuming but don’t let that put you off. It’s pretty magical when you open them for the first time and think, yes, I made these!
I've always admired those tissue paper decorations at parties. They add such a lovely splash of colour to any occasion, don't you think? I was thrilled to discover that it’s actually possible to make them as home yourself.
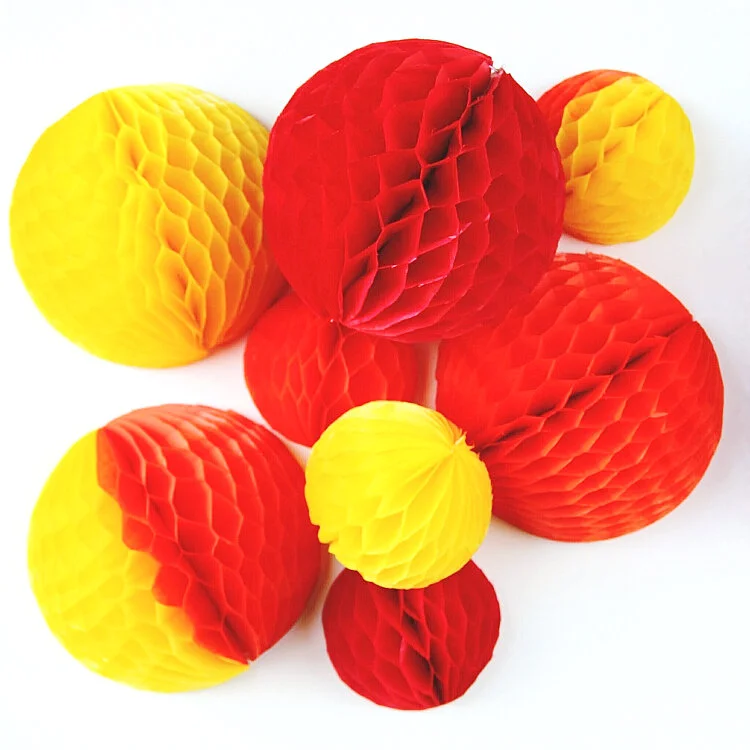
I can’t deny that they take quite a long time to make but if you need a lot of them the buying the ready-made ones can get quite expensive. One of the great things about homemade honeycomb pom poms is that you can totally customise the colour and go as crazy as you want with the colour combinations. You can make them striped, half and half or even rainbow.
I love how versatile these honeycomb pom poms are. You can make them in all kinds of different shapes and colours. Cut them into adorable strawberries, pineapples, balloons or even shamrocks.
And bonus, they not only make great party decorations. They also make cute gift toppers and honeycomb wall decor too! So feel free to get as creative as you like!
SUPPLIES:
Scrap paper to draw your guide on,
Washi tape or another low tack tape to hold your tissue paper in place,
A Ruler,
A couple of different coloured markers,
Card,
A Plate or Bowl to draw around,
Scissors,
A glue stick,
An awl,
A strong tapestry needle and thread
And some paper clips.
I should add for those of you who don't fancy making them totally from scratch or are short on time, you can buy a 12 pack of 8x10 honeycomb paper pads in assorted colours instead then all you need to do is cut out some card semi-circles and glue them on.

How to make honeycomb paper:
The first step in this honeycomb ball DIY is to learn how to make the honeycomb paper. You’re going to need around 50 sheets of tissue paper to make each ball.
The honeycomb paper is made by layering up and glueing sheets of tissue paper on top of each other. You glue the sheets down using alternating lines of glue to create the honeycomb effect.
When you’ve cut out your shape, in this case, a semi-circle, make sure to keep the excess paper. You can use the leftover honeycomb to make small balls. I was able to get one large and two small balls out of each stack.
How to make tissue paper honeycomb decorations:
1. Fold and cut your tissue paper. You'll need 50 sheets for each 8-inch honeycomb ball.
I took a stack of 20 sheets of tissue paper and kept folding and cutting them in half until I had divided the paper into 8 even pieces.
Or alternatively, pick up some of these honeycomb paper pads and jump straight to step 8 instead.

2. To make your guide take a piece of scrap paper that is larger than your tissue paper and divide into even sections.
If you want a dense honeycomb like the ones I made you need to divide your paper up into 1 inch sections. The closer your lines the more cells your honeycomb ball will have. To help make your life easier later on I found it helped to alternate the colours of the lines, pink, blue, pink, blue etc.

3. Tape your guide to your work surface. Fix a sheet of tissue paper to your guide using some washi tape or other tape that can be easily removed.
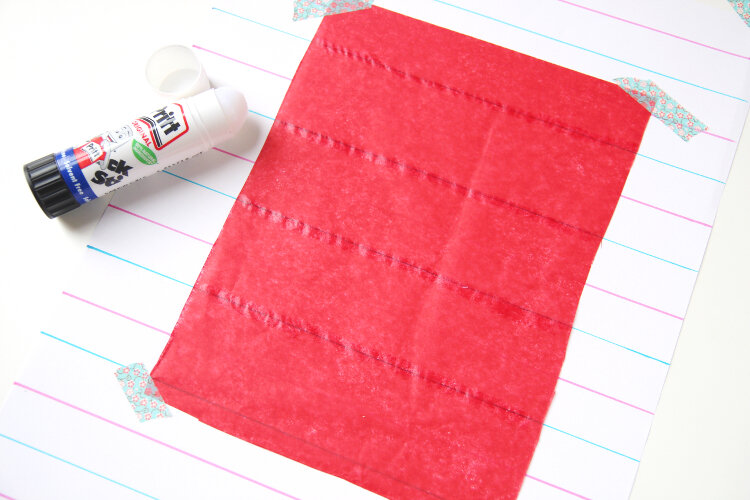
4. Pick a colour, I started with the blue and traced the glue stick gently along this line. You may need to hold the tissue paper down so it doesn't rip. Do the same for all the blue lines.
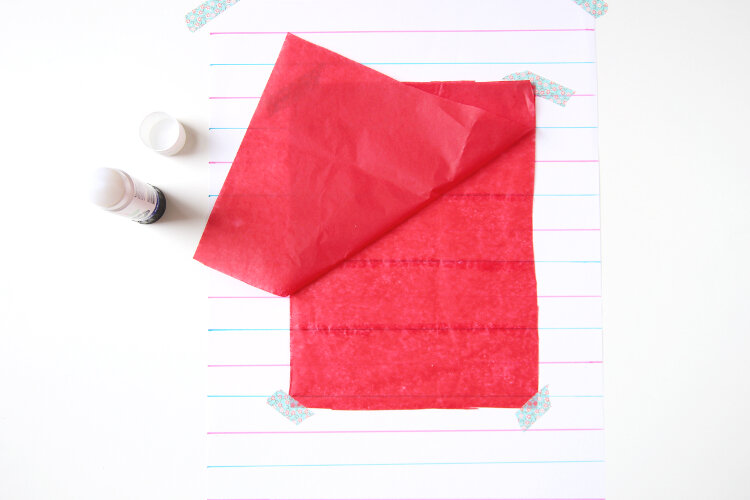
5. Lay your next sheet of tissue paper on top and press down.
6. On your next sheet run your glue stick over the pink lines and stick down another sheet of tissue paper on top.
7. Keep layering up your tissue paper sheets alternating between the pink and blue lines as you go until you have a stack of 50 sheets.

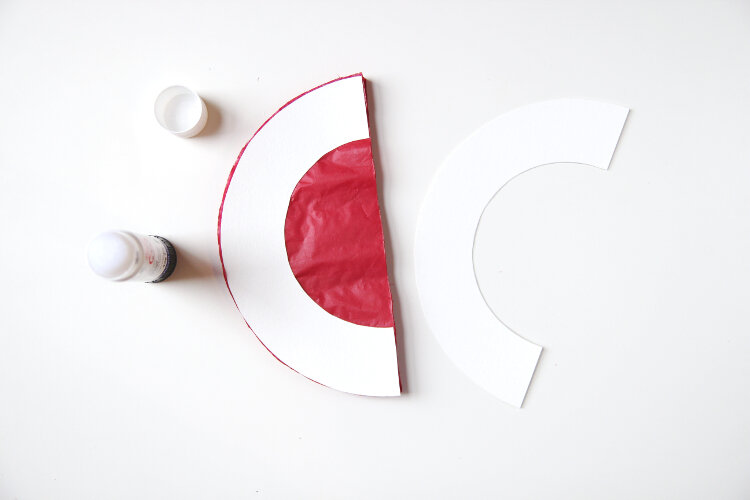
8. Cut a semi-circle out of the card, line it up with the edge of your tissue paper stack and draw around it. I used an 8-inch plate to make my semi-circle.
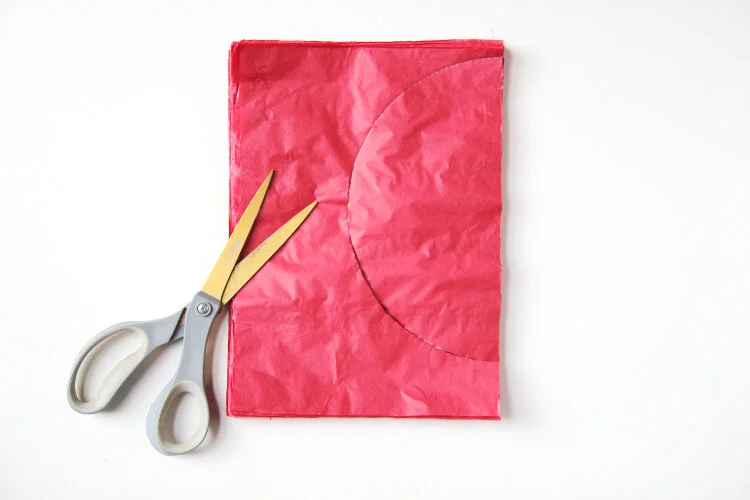
9. Carefully cut out all your sheets.
As you can see in the photos above when I cut out my semi-circle I had quite a lot of excess tissue paper left over. Don't let it go to waste. Instead of throwing it away I managed to squeeze 2 smaller 5-inch honeycomb balls out of it.
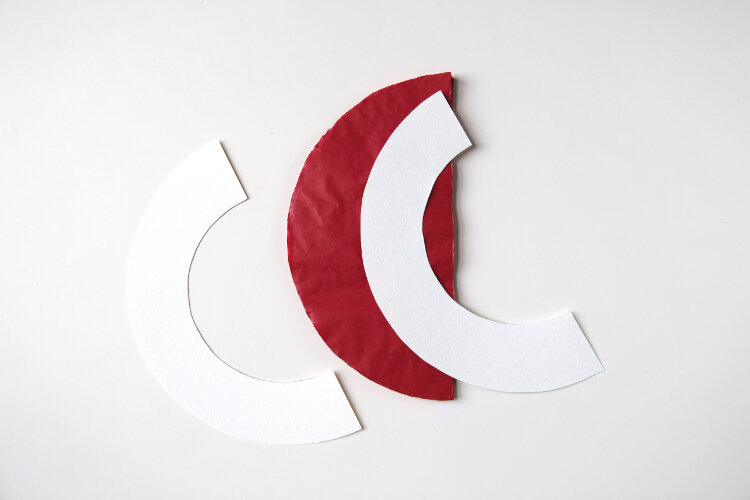
10. Cut 2 arches out of the card.
I found the easiest way to do this was to draw and cut around a plate and then place a smaller bowl inside and draw and cut around this as well. Fold and cut in half to make to semi-circles like the ones above.
In the example above I made the arch the same size as the tissue paper but when I opened it out to make the ball the card stuck out slightly and I had to trim it to make it fit. I'd recommend making the arches slightly smaller than your tissue paper so you don't have this problem.
11. Glue the arches down to each side of your tissue paper sheets.

12. Poke a hole using an awl or strong needle through the bottom and top of your tissue paper/card stack.
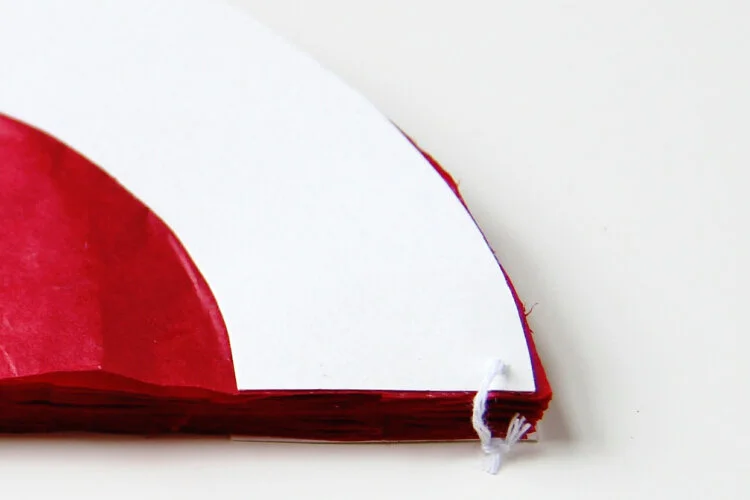
13. Thread some cotton through the holes and tie in a loose knot. You need to make sure to leave a little slack so your ball can open. Making sure you can fit your thumb in between the knotted thread and the honeycomb is a good guide.
You can leave extra cotton on one end and hang your ball from this or attach extra cotton later.
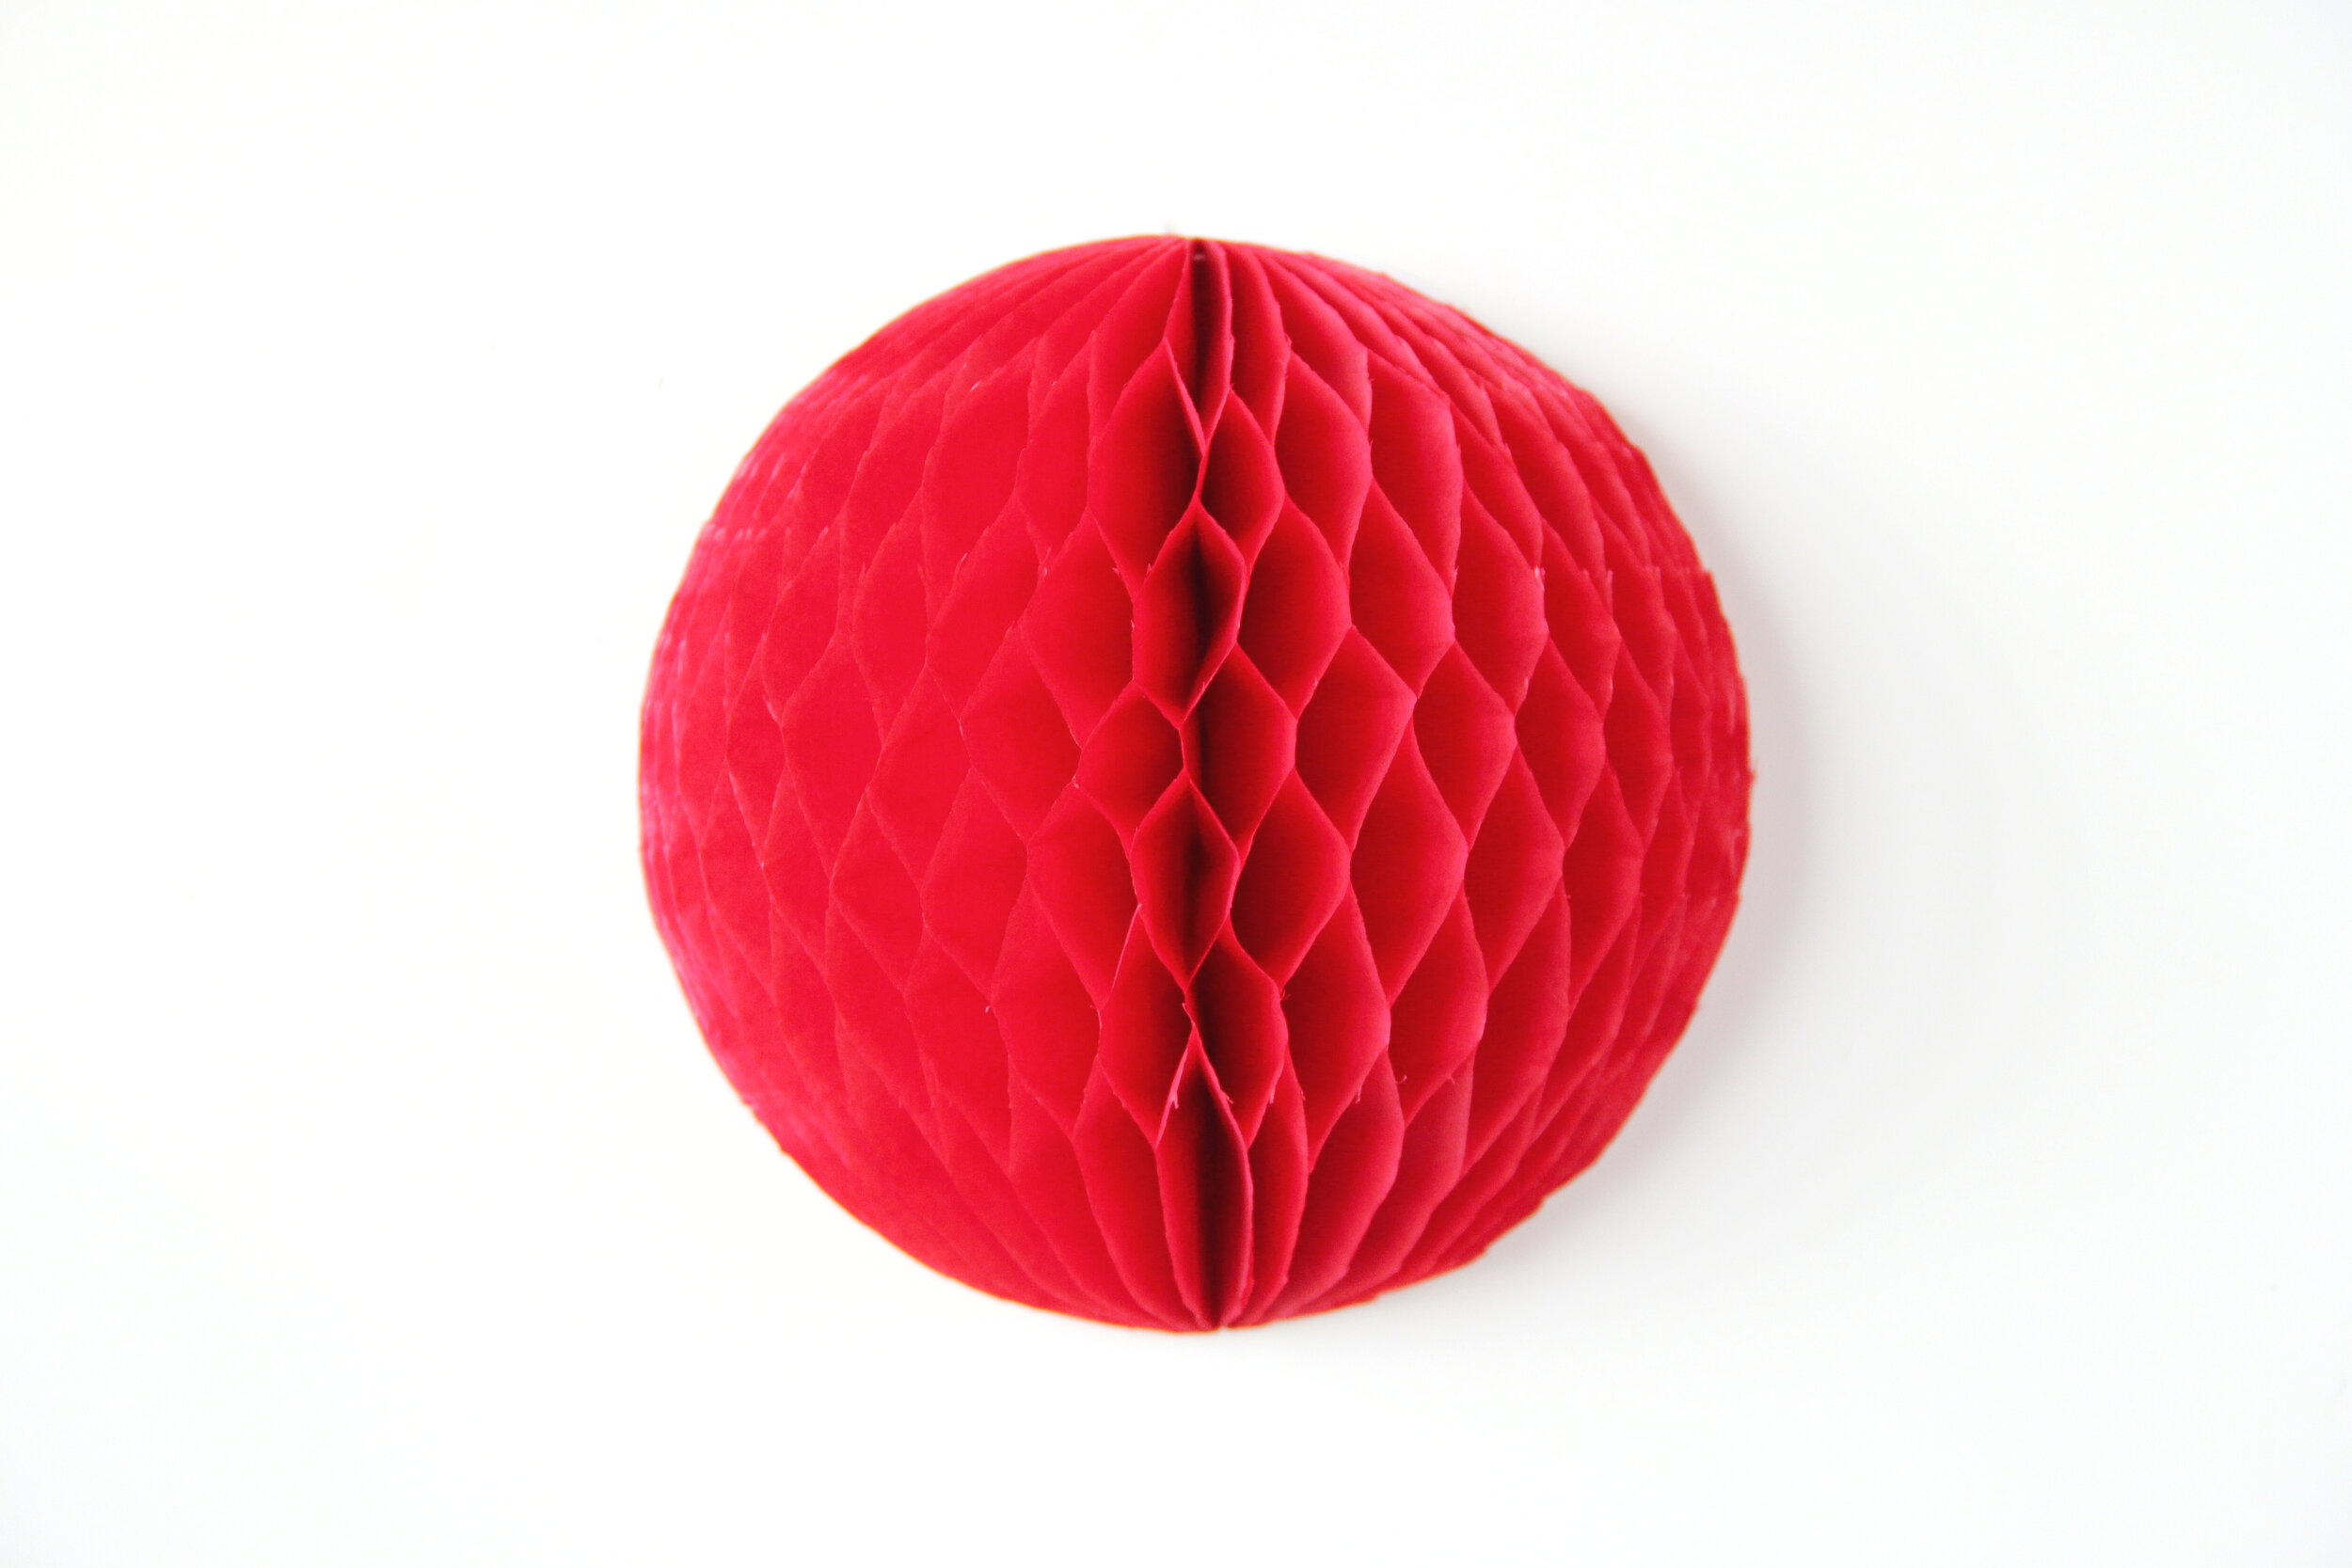
13. Fan open your honeycomb ball.
If you want to be able to fold them back down and store them flat use a paperclip or some rolled tape to keep them open. If you want to keep them on permanent display you could apply some glue to each of the card arches and glue them open.
14. Hang your tissue paper honeycomb balls from the knotted thread and enjoy.

Aren't they pretty?