How To Use Air Dry Clay
/Learn everything you need to know to get started with air-dry clay. Find step-by-step guides, tips, and tricks to help you master this versatile crafting medium. It's a great way to make small decorative pieces including bowls, pots and tea light holders.
This page contains affiliate links. This means that if you make a purchase after clicking a link I earn a small commission but it doesn’t cost you a penny extra!
How To Use Air Dry Clay.
Air-dry clay is one of my favourite materials to work with. But, I know it can seem a bit daunting if you've never used it before. So today, I'm going to walk you through everything you need to know to get started.
Related: Air Dry Clay Tips And Tricks

What is Air Dry Clay?
Air dry clay is a versatile and affordable material. It's usually made from a mixture of natural materials, paper pulp or fibres and glue that hardens when left to dry in the air, hence its name.
It’s cheap to buy, simple to use, kid-friendly and doesn’t need firing or baking in the oven. This makes it a popular choice for anyone wanted to get started with pottery.
It can be rolled and cut into shapes using cookie cutters to make ornaments or jewellery. Moulded into pinch pots and shaped into bowls.
Simply leave it out to dry and in 48 hours you’ll have a stunning clay piece that can be painted using acrylic paint, varnished or decorated. This makes it perfect for making home decor like decorative bowls, candle holders and gifts that will last for years to come.
Types Of Air Dry Clay.
There are a few different types of air dry clay out there but there are a couple that I have used time and time again and would recommend.
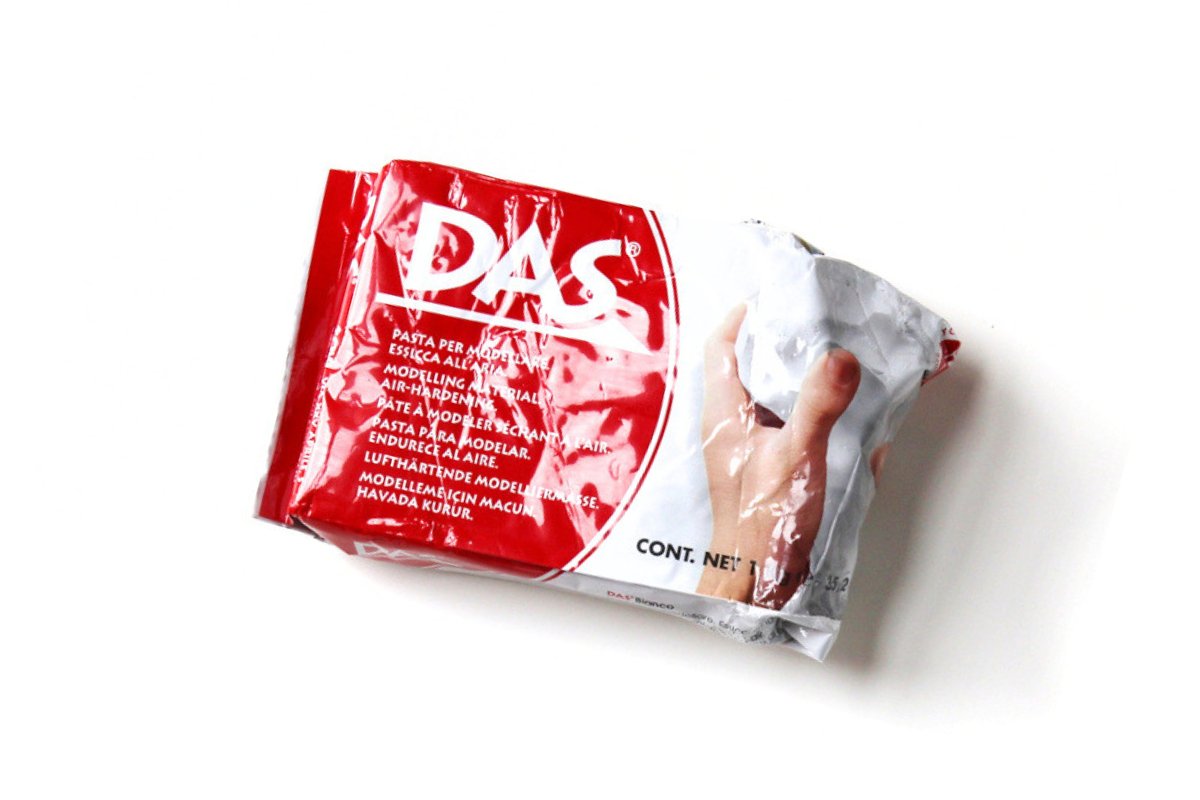
First up is the Das Air Dry Clay. It's available in most craft stores and online. It comes in white, terracotta and stone.
The next one is the white Crayola Air Dry Clay. It comes in a large 5 lbs resealable tub. Great for large projects or big groups.
Most air drying clay comes in either white or terracotta. Both the Crayola and the Das white clay look grey when wet but dry to a matte off-white colour. The white clay is my personal favourite as it really makes the colours pop.

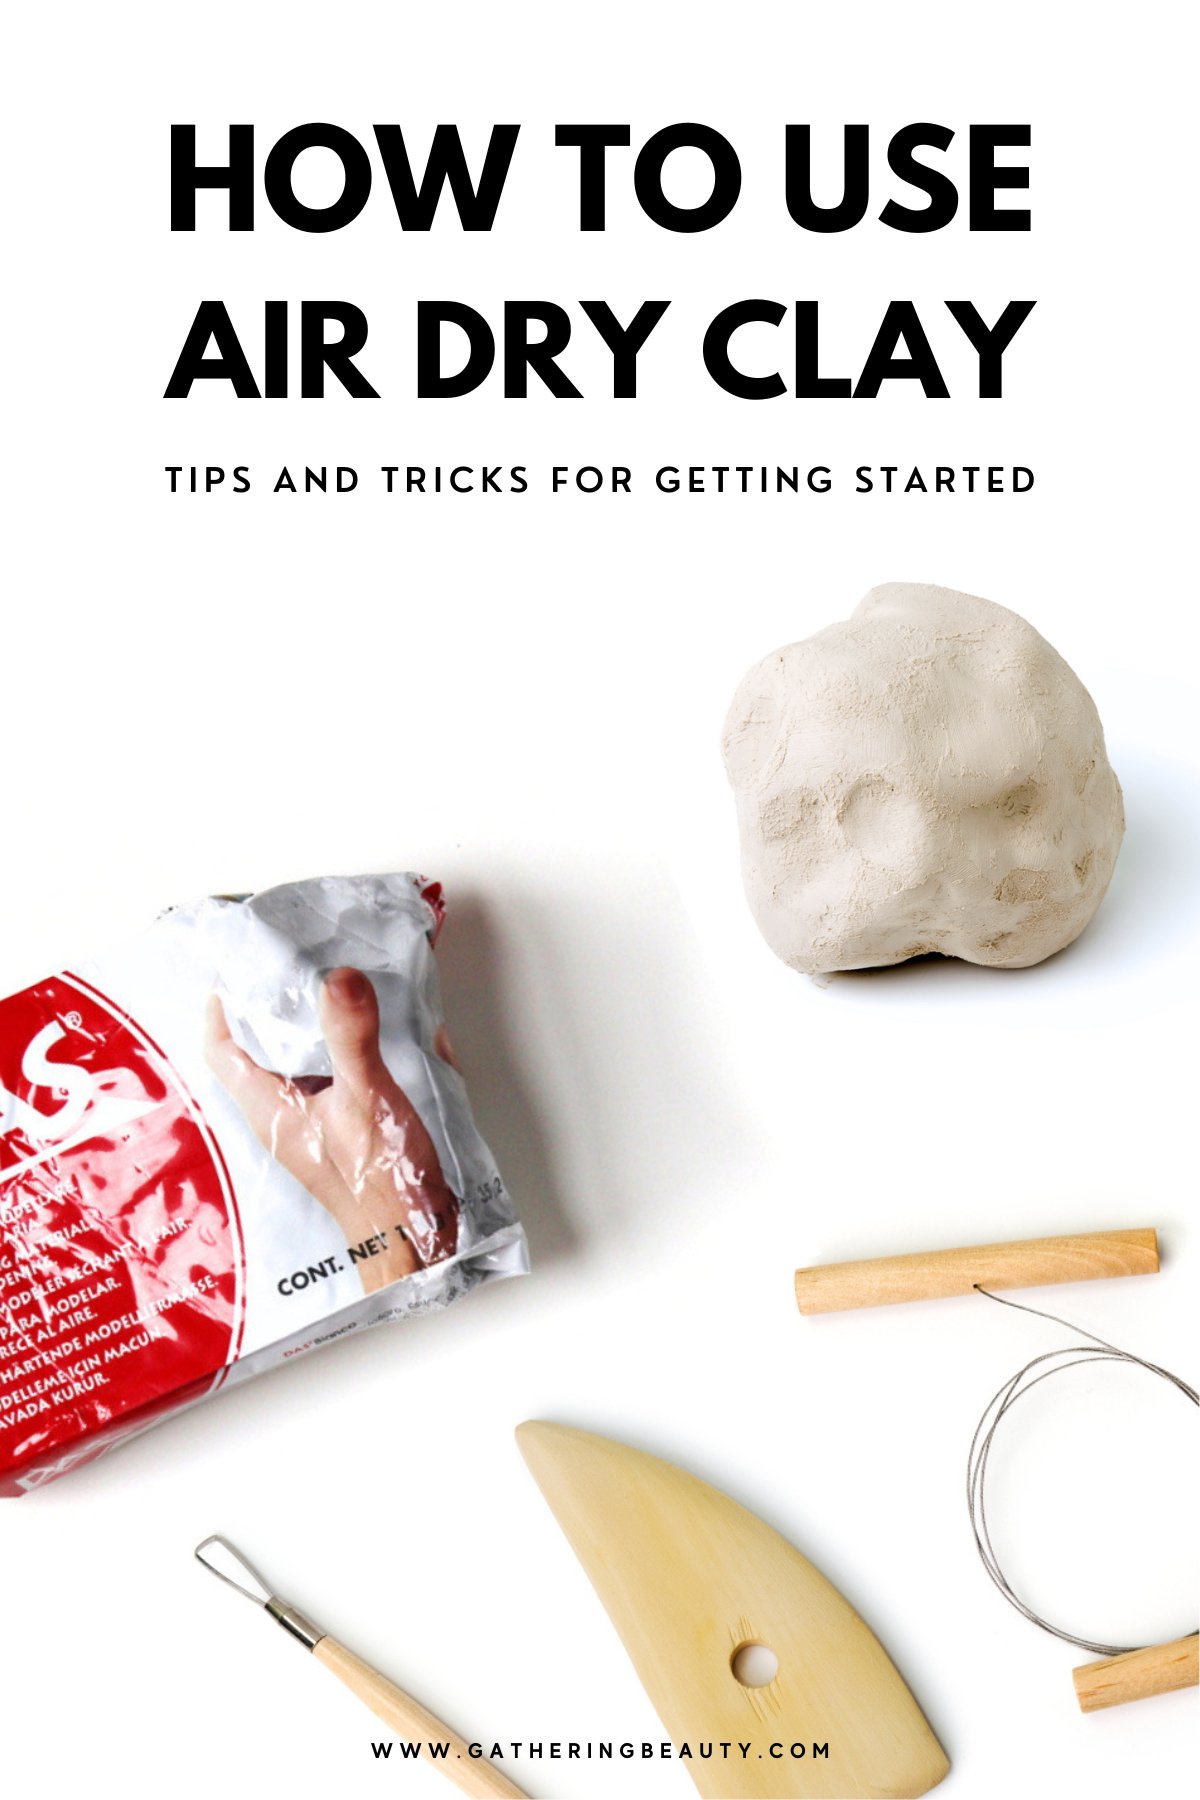
Tools and Materials.
Before you get started, make sure you have all the necessary tools and materials on hand.
You'll need things like:
A Work Surface (a smooth, flat surface covered with wax paper or silicone mat works best),
Clay Tools for sculpting and shaping,
Acrylic Paint for adding colour,
Mod Podge or another acrylic sealer to protect your finished piece,
And a little water to smooth out any cracks and air bubbles.
If you to make it even easier to get started, I recommend getting an air dry clay kit. They contain everything you need to get started.

Prep Your Workspace: Before you get started, make sure you've got a clean and flat surface to work on. Lay down some parchment paper or a silicone mat to protect your surfaces and prevent sticking.
As you work, keep a small dish of water nearby to help smooth out any rough edges and blend seams.
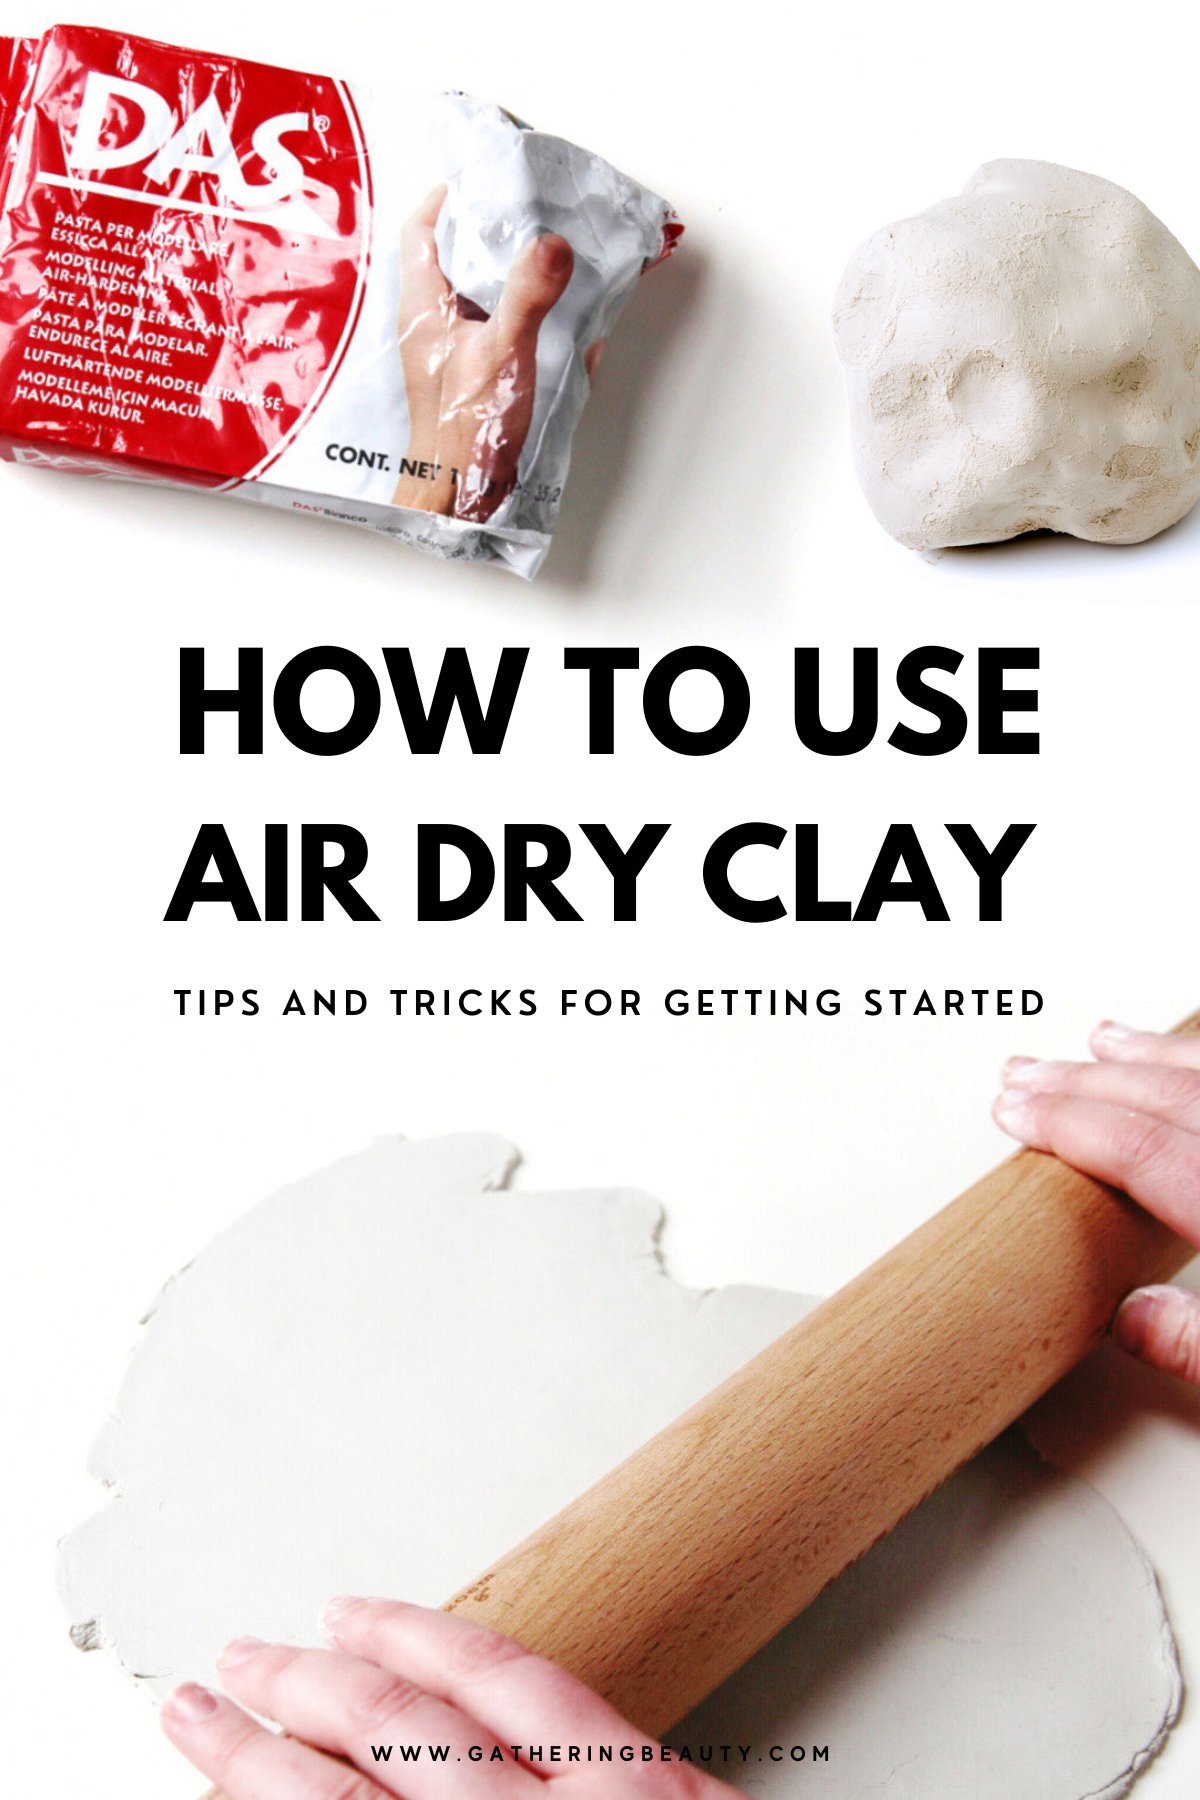
Condition the Clay: Now it's time to get that clay nice and pliable! You'll want to soften your clay by giving it a good knead. This is called conditioning the clay helps make it easier to work with.
Get Creative: Now comes the fun part! Sculpt animals, mould jewellery, or even create mini plant pots—whatever sparks your imagination! Don't be afraid to experiment and try new things.

Add Texture and Detail: Want to take your creations to the next level? Try adding texture and detail! Use stamps, textured fabrics, or even household items like toothpicks to create unique patterns and designs. Or even real leaves onto your clay to create unique patterns and designs.

Let It Dry: Once you're happy with your masterpiece, set it aside to dry. This part requires a little patience as air dry clay is slow drying. It can take anywhere from 24-72 hours depending on the thickness of your clay and the humidity in your environment. Therefore, larger pieces will take longer to dry than smaller air dry clay projects.
If you're having trouble getting your air dry clay to dry make sure to give my post How Long Does Air Dry Clay Take To Dry? a read as it's packed full of tips and tricks to speed up the drying process.
Keep it Airtight: To stop your leftover clay from drying out, store it in an airtight container (such as a ziplock bag or a plastic container with a tight-fitting lid) in a cool dark place. For extra protection, I like to wrap my open clay in cling film first. You can find more tips on How To Store Air Dry Clay here.

Finishing Touches: Once your clay is completely dry, it's time to add the finishing touches! You may want to give your finished piece a quick sand first to remove bumps and uneven edges like I did with these air dry clay bowls.
Decorate your finished creations. I've found acrylic paint works the best because it applies smoothly and evenly and dries quickly.
Add a coat of varnish, acrylic gloss medium or Mod Podge to protect them and give them a glossy finish. Check out my full guide on How To Glaze Air Dry Clay where I talk you through the process of sealing finished air dry clay finished pieces.

Air Dry Clay Ideas.
Now you know the basics you need to get started, there are plenty of amazing things you can make. Check out my 30+ Air Dry Clay Ideas including things like pots, bowls, Christmas decorations and even jewellery. Need some more help? You can find all my best tips and tricks for working with air dry clay here.